Recipe: Spiced Garlic Shrimp Over Coconut Rice

LilyMorello_GarlicShrimp_1.JPG

With international travel still being potentially a ways away, at the moment it seems like the most accessible tropical destination for those of us with U.S. passports is the beautiful state of Hawai’i. It feels like at any given time, someone I follow on Instagram is there and, of course, the thing I am most jealous about is the FOOD! The famous garlic shrimp trucks right along the water (the last one I visited in the before times was Geste Shrimp on Maui) are life changing, in my opinion! Still determined to travel virtually through food as much as I can right now, I whipped up a batch of my own version of those super buttery, garlic-loaded shrimp.

I have tried emulating those Hawaiian shrimp trucks before, but this time around, I decided to give it a slightly spicy, Southeast Asian-inspired twist. I seasoned the garlic butter with Spice Tribe’s Thai-inspired Long-Tail Sunset spice blend, which is made up of coconut, ginger, tamarind, Thai chili, coriander, cumin, and lemongrass. For a seasoned spicy-eater, I find this blend to taste more spiced than spicy from the chili, and overall there is a lovely tangy tropical flavor. It definitely gives the dish some nice flavor complexity, but with minimal extra effort. If you like spicy, garnishing the shrimp with fresh Thai chilies will more than make up for it!

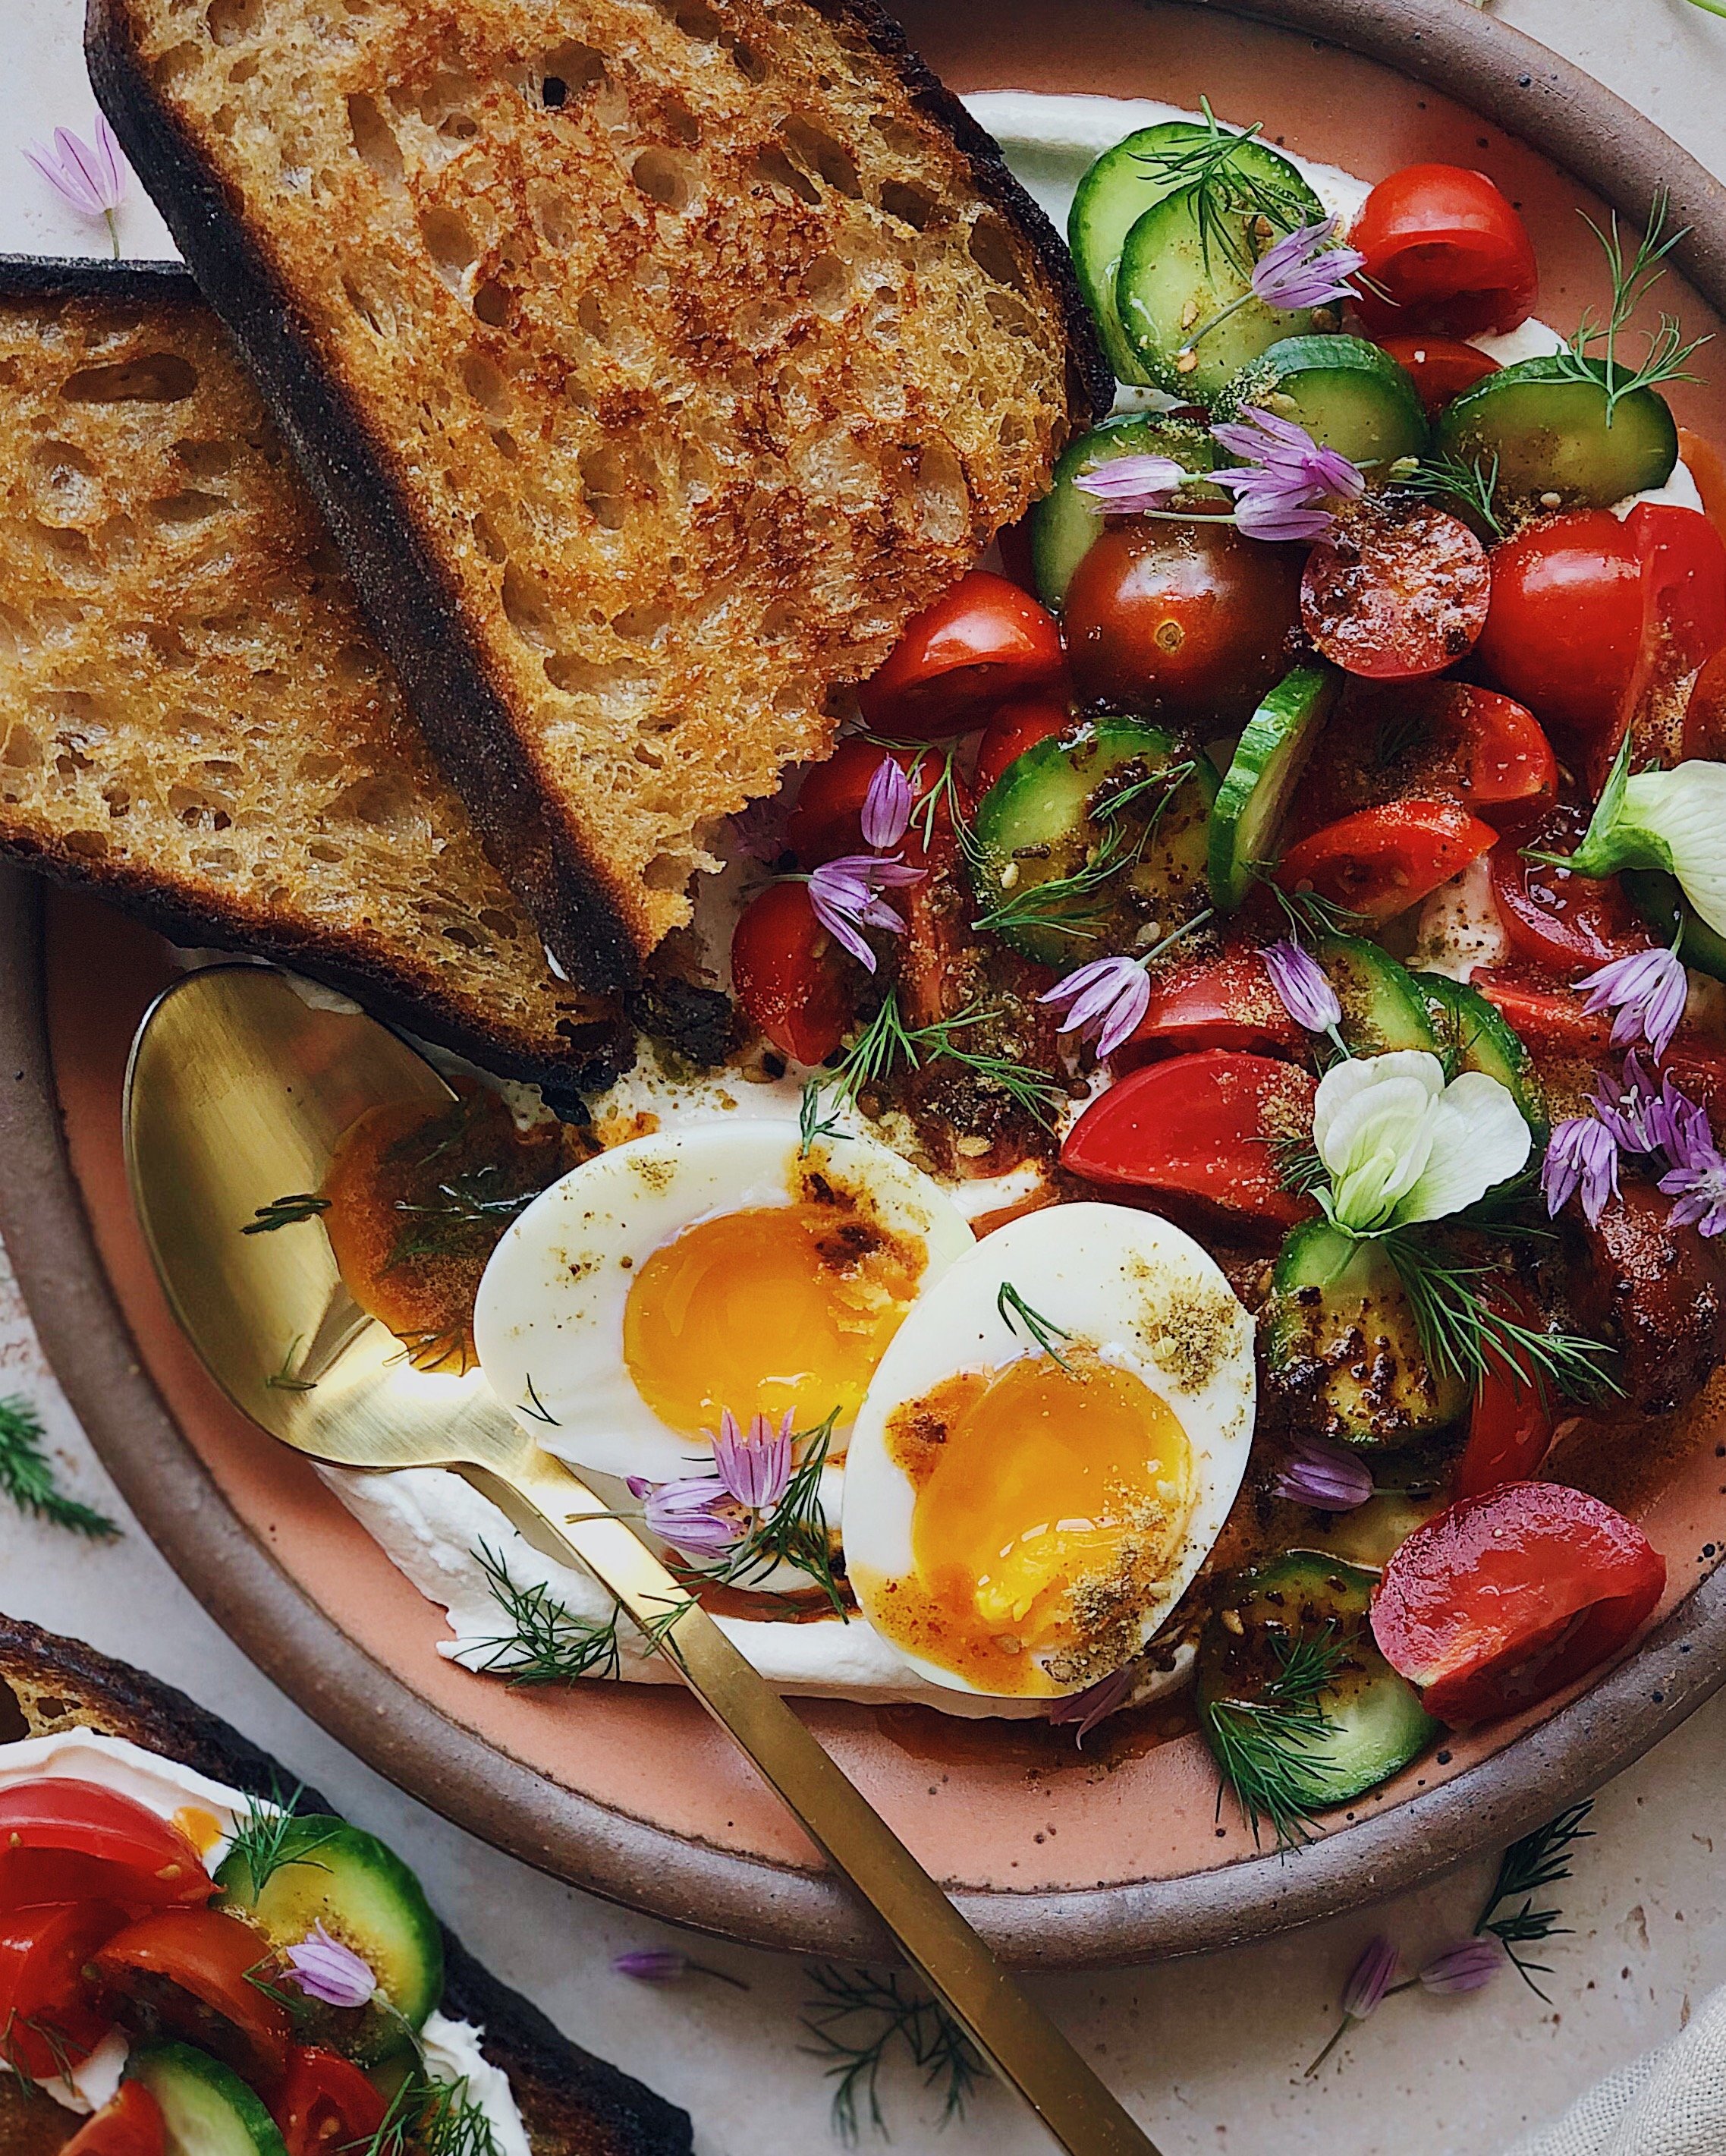
You gotta have rice to capture all the extra butter and garlic, and since this tropical shrimp goes perfectly with my coconut rice, I went ahead and included it in this recipe. Coconut rice is the foundation of nasi lemak, the (unofficial) national dish of my parents’ home country of Malaysia, but I have found that it is so good with so many other things—pretty much anything with Southeast Asian flavors. (If you want a way to visually wow people with a super simple staple recipe, you can also learn how to make a blue version of my coconut rice using butterfly pea blossoms here.) I also opted to include cucumber as a suggested accompaniment to this recipe because it is a common accoutrement in nasi lemak. If you are wondering how I made those cucumber roses, I simply used a vegetable peeler to make thin cucumber “ribbons”, stacked 2–3 together, and rolled them up.

LilyMorello_GarlicShrimp_4.JPG
LilyMorello_GarlicShrimp_2.JPG

Some things to consider as you gather your ingredients:

  • Shrimp: One thing that bothered me about the garlic shrimp I ate in Hawai’i is that the shells were left completely on. I’m cool to deal with the mess, but I always felt like that garlic infused butter was going to waste simply coating the part of the shrimp that would get peeled off. One of the advantages of making it at home is getting to prepare the shrimp the way you like it! I like buying a big bag of frozen “E-Z peel" shrimp from Costco to keep in my freezer; they come deveined, and are super easy to peel off the shell entirely or peel off everything but the tails like I did for these photos. These were 10/13 sized shrimp—they were massive and super plump! You may want to reduce the cook times if you are using much smaller shrimp; use your visual cues.

  • Potato starch: You can definitely substitute with cornstarch if you don’t have potato starch. However, I find potato starch to fry up lighter and crisper when using it for a dredge like this. You can find it at Asian grocery stores, as it is common in Korean and Japanese cooking. Adding a thin crust to the shrimp makes a big difference in giving the butter and garlic something to cling to.

  • Garlic: Yes, there is a lot of garlic going on here because that is the whole point of this dish! I still clearly remember the big puddle of melted butter and fried garlic at the bottom of my takeout container when I ate from that shrimp truck in Maui. This recipe is actually more on the conservative side, relatively speaking, and should give you just enough butter and fried garlic to generously coat the shrimp without any left over. But it’s definitely for garlic lovers only!

  • Coconut milk: I find that the consistency of coconut milk varies drastically from brand to brand. You want something where you can thoroughly shake it to a homogeneous consistency in the can before opening. I find that Thai-based brands usually work well for this recipe. If you try shaking the can and you can’t hear or feel things mixing together, this means there is a big solidified glob of coconut fat stuck on one end that will be hard to fully integrate with the liquid without a blender; try to avoid these cans.

The intention is to serve the shrimp over a bed of the coconut rice, to capture the spirit of the Hawaiian plate lunch. However, it’s obviously also fun to serve it family style, where you and your dining companion can fight for the last shrimp!

LilyMorello_GarlicShrimp_3.JPG

How to Make Spiced Garlic Shrimp Over Coconut Rice

Ingredients For the Shrimp

1 1/2 lbs shrimp, peeled and deveined (10/13 size recommended)
1/2 cup potato starch
1/4 tsp fine salt
2–3 tbsp high-smoke point oil
6 tbsp butter
18 cloves of garlic, peeled and chopped
2 1/2 tsp Spice Tribe Long-Tail Sunset blend
1/2 tsp fish sauce
cilantro leaves, for garnish
3–4 Thai chilies, sliced (optional)

Ingredients for the Rice

1 cup jasmine rice, washed and drained
1/2 cup Thai coconut milk, shaken before measuring
1 cup water
pinch of salt

For serving

lime wedges 
cucumber slices

Procedure

To make the coconut rice, mix the jasmine rice, coconut milk, water, and salt in the pot of a rice cooker and cook as normal. When rice is done cooking, immediately fold together gently, and then cover and let rest until serving.

Combine potato starch and salt in a shallow bowl. Pat shrimp dry and toss to coat thoroughly in the potato starch mixture. Dust off the excess potato starch.

In a large skillet, heat 2 tablespoons of cooking oil on medium-high. Add shrimp in a single layer. Cook for 2 minutes, or until color becomes vibrant, then flip, add extra oil if needed, and cook for the same time on the other side. Turn off the heat and transfer shrimp out of the skillet.

To the same skillet with the heat off, add butter and garlic. Set heat on low and stir with a spatula as the butter melts. Keep stirring to evenly and gently fry the garlic and infuse the butter. When the butter is melted and becomes completely foamy, add the Spice Tribe Long-Tail Sunset blend. Keep cooking and stirring until the garlic becomes golden brown, about 5 minutes, then turn off the heat and add the fish sauce. Stir to combine, then add the shrimp and toss to coat.

Divide coconut rice onto plates and top with shrimp. Sprinkle cilantro leaves and Thai chilies (if using) over the shrimp. Serve with lime wedges and cucumber.

Thank you so much to Spice Tribe for sponsoring this recipe! Check them out on Instagram here or visit their website to purchase high quality spices and unique small-batch spice blends.

How to Make Malaysian-Style Half-Boiled Eggs

malaysian_breakfast.JPG

Malaysian half-boiled eggs were the most iconic preparation of my childhood. American kids probably grew up more familiar with scrambled or hard boiled eggs, but I didn’t realize that half-boiled eggs were basically unheard of outside of Southeast Asia until much later in life.

What are half-boiled eggs? Poached inside their shells in a hot water bath, half-boiled eggs are like a more humble onsen or sous vide egg. This recipe will produce eggs where there is a thin layer of set whites that you can scoop out of the inside of the shells; some other softer, barely set whites; and an extremely runny yolk.

Pictured above are elements of a typical kopitiam/Malaysian coffeeshop breakfast: A couple of half-boiled eggs scooped into a bowl and topped with soy sauce and white pepper, and some kaya toast for dipping. When I was a kid, my parents and I used regular American sliced bread for dipping.

But now as an adult, I have been trying to spread the glory of Malaysian half-boiled eggs by sharing many ways in which they can be enjoyed. They are great for dipping toast soldiers if you put them on an egg holder and gently saber off the top, or they are lovely with noodles or jook or anywhere where you’d enjoy an onsen egg. They are basically the most forgiving and easiest way to make a nice runny egg!

toastsoldiers.JPG
katetoast.jpg

How to Make Malaysian-Style Half-Boiled Eggs

Ingredients

1–2 eggs

Procedure

Bring a small pot of water to a rolling boil. Gently lower the egg(s) into the pot and shut off the heat. Let the egg(s) cook in the hot water for 8 minutes. Remove from the pot and place in an ice bath to stop the cooking.

Disclaimer: consuming raw or undercooked meats, poultry, seafood, shellfish, or eggs may increase your risk of foodborne illness, especially if you have certain medical conditions. Eat at your own risk and don’t sue me, bro.

Shortcut Beef Rendang Sauce for Biang Biang Noodles

RendangNoodles1.JPG

Lunar New Year is coming up, and for the occasion, we Chinese folks eat long noodles to symbolize longevity. Well, there is no longer type of noodle than a biang biang noodle! In some restaurants, bowls of biang biang noodles are served up where the entire dish comprises of one super long noodle. I’m not THAT good at noodle stretching yet, but I am pretty proud of how long I can get the biang biang noodles I make at home, and I believe you can make those super long noodles at home too! You can find my easy recipe for how to make them here!

Even though biang biang noodles famously come from the Xi’an area of China, they are a glorious blank canvas for any sort of sauce. For this batch of biang biang noodles, I was in the mood for something inspired by the Malaysian flavors that are a big part of my heritage. Malaysian curries and stews are so loaded with flavor—usually a mix of chilies, spices, lemongrass, and coconut—and the wide, chewy noodles always go great balanced with punchy flavors like these. For this fusion dish, I took inspiration from fellow Malaysian-Chinese food enthusiast Jun Loh and his Rendang Rigatoni. Rendang is an iconic Malaysian stewed beef dish, simmered in coconut milk until the solids separate from the oil and get caramelized and sticky, acting as glue to encase the tender pieces of meat with spices. It’s usually eaten with rice. If you’ve seen my goulash-inspired spaghetti and meatballs recipe, though, you’ll know that I love converting beef stew gravies into pasta sauces, so Jun’s idea of turning rendang into a twist on bolognese really spoke to me. I’ve made Jun’s recipe before and it was awesome, a combination of two of my great loves (pasta and Malaysian food).

When I make the noodles from scratch, though, I tend to get lazy with the sauces. So, much like my version of cumin lamb noodles, this vague sauce recipe leans heavily on a storebought paste to make easy work of getting those rendang flavors. I like using this rendang paste; I can find it at most large Asian supermarkets in my area. Give it a taste and decide how much of it you want to use. For sauces like this, listening to your tastebuds is more important than following an exact recipe. The ingredients described below go great together and are tried and true combinations in Malaysian cooking, so you really can’t go wrong throwing them together in different quantities. Don’t expect a very “wet” sauce though; much like how rendang is thick and paste-like, you should aim for something that just coats the noodles and doesn’t weigh them down.

I admit that this noodle dish isn’t the prettiest, so especially if you are serving it for Lunar New Year, I recommend you make some pickled red chilies to go on top! In Malaysia, pickled green chilies are served as an accompaniment to wonton mee, but I like to pickle red Fresno chilies (especially when I grow them in my backyard in warmer months). I always keep a jar in my fridge, made loosely based on this recipe.

RendangNoodles2.JPG

Awkwardly Vague instructions for Beef Rendang Noodles

Ingredients

3/4 lb ground beef
1/4 onion, finely diced
2 cinnamon sticks
lots of chopped garlic
1 tsp cumin
1 tbsp Chinese or Korean chili flakes
pinch of salt
~ 1/2 cup Malaysian rendang curry paste (like this one)
1/2 cup coconut cream
1/2 pandan leaf, finely shredded (optional)
juice from 1 lime
coconut oil
Thai basil, for garnish
cilantro, for garnish
pickled red chilies
raw hand-pulled noodles

Procedure

Prepare your large pot of boiling water for the noodles.

In a wok, heat oil and stirfry onions. Add cinnamon stick and stirfry until fragrant. Add beef and garlic. Season with cumin, chili flakes, and salt. Continue to stirfry until beef looks just about cooked. Add curry paste and stir to combine. Mix in coconut cream and pandan leaf. Mix in lime juice. Simmer on low.

Cook biang biang noodles as described in the noodle recipe.

Add cooked noodles directly on top of sauce mixture. Toss to coat the noodles and add extra salt if necessary, to taste.

Garnish with Thai basil and cilantro. If desired, add pickled red chilies on top.

Toasts From My Childhood

For National Toast Day, I want to talk about some toasts from my childhood. But first, here’s my reimagining of those childhood flavors as an adult.

childhoodtoasts.JPG

As a kid, these probably would have all been on pre-sliced white bread. I don’t think my mom would have even gone for the Wonder Bread name brand; we probably got the generic supermarket brand white bread. But for this dressed-up adult version, and because I worked damn hard in life and now I can, I went for one of the most luxurious (but still square-shaped) breads available at my local vegetarian grocery co-op: the Josey Baker Bread Adventure Bread. Here’s what you’re looking at (clockwise from top-left):

Whipped buttercream and brown sugar. Inspired by my memories of having toast slathered with margarine (from the plastic tub) and a scoop of sugar sprinkled over. I don’t know why my mom thought this was a legitimate thing to serve a child, but in fairness I never had any energy and was scared of playing outside, so sugar intake was not an issue.

Creamy peanut butter and apricot preserves. Because yes, even as an Asian kid, I had peanut butter and jam. I never liked grape jelly.

Condensed milk. I think everyone knows about condensed milk toast now. I made my own condensed milk for this because I didn’t want to open up a whole can just to smear a little bit on a tiny piece of bread for a photo. (So I made a whole jar of it by laboriously stirring for 45 minutes over the stove instead? Adult Lily logic.)

Pandan kaya jam. Yes, I’ve been having this ever since I was a child even though you may have just learned about it from seeing someone post about it on Instagram. This is really what I wanted to talk about.

Kaya toast is having a moment right now here in San Francisco. Thanks to the popularity of Bread Belly’s version, with a bright green pandan kaya piped diagonally across the surface of the bread, kaya toast is showing up on my Instagram feed more often that the ubiquitous avocado toast these days. I haven’t made my way across town to try it just yet, but they seem to be a great little local business and I am happy for their success over presenting Asian-inspired flavors in high-quality baked goods. Seeing kaya toast blow up this way is a little weird for me, though. You see, Bread Belly did not invent kaya toast, nor do they make any claims that they did, and I have been eating kaya toast since I was a little kid. It’s a flavor I associate with visiting my family in Malaysia, when—even though I wasn’t considered a picky eater as a kid—my aunties were kind enough to give me toast and cereal for breakfast because they knew I wasn’t used to having curry or nasi lemak in the mornings. I associate it with avoiding eye contact with tiny lizards on the walls and the rotting-fruit smell of ripe durian caught in the humid air as I made my way down the stairs in their homes. I do not associate it with eating for the ‘Gram.

This must be what it was like for Japanese people when all of a sudden everyone started losing their shit over ramen that didn’t come out of a styrofoam cup or for Danish folks when everyone suddenly realized that putting stuff on bread looks more aesthetic when served open-faced. I’m excited that a food so Malaysian/Singaporean in origin is rising in popularity but part of me feels strangely worried that almost none of the people flocking to it know where it came from. Do they know that you can get a jar of kaya (a jam made of coconut milk, sugar, and eggs—pandan optional) from the Southeast Asian section of the Asian supermarket for less than $4? Because that’s the kaya I’m familiar with: not the nice, handcrafted, vibrant looking stuff that makes toast pretty, but rather the fresh-from-the-jar gooey stuff, as everyday as the processed peanut butter I used in this photo. Should I care about whether or not people know this?

I never bought it before in the States because I wanted to preserve that specialness that I associated between visiting Malaysia and the flavor of kaya but now I’ve gone and purchased it for $3.19 at Pacific Supermarket right here in San Francisco for purposes of this photo and the story I wanted to tell with it. I wanted to do my part to share with people where kaya came from and try to describe how weird it is to suddenly see everyone getting excited about it. I’ve always loved it and it’s always been exciting to me. I’m glad you like it, too.