


Learning to Crochet in the Round
/
A couple of months ago, I decided to learn how to crochet. This blog post is about my journey as a beginner and some resources that I found to be incredibly helpful to me for completing my first project.
I had done some very basic crocheting back when I was in college, but being that my brain has very limited storage these days, I felt I had completely deleted any knowledge of how to crochet and was effectively going to need to start as a complete newbie. I’d also never learned how to read or follow a pattern, or how to “crochet in the round” (which I learned means to crochet round and round in a circle) and this time, I wanted to make things that were actually functional.
When I first began this endeavor, I started by looking at a written pattern for something I wanted to make. As someone brand new to reading crochet patterns, it felt as if I was trying to read a secret code! I was completely intimidated. But then I remembered that my old friend Google was always there to help me. I had jumped into things too quickly, but pulling back and getting an understanding of the basics quickly made everything feel much more accessible. These are the things that really helped me get started with making this jute and yarn basket!
Helpful YouTube Videos for Learning to Crochet
How to Read a Basic Crochet Pattern by Crochet with Tiffany
This video walks through the 5 most basic stitches: chain, slip stitch, single crochet, half double crochet, and double crochet. And for each one, the name, abbreviation, symbol, and a video demonstration of how to do the stitch is given in a way that is very easy to follow. After watching this video, I immediately had a clear idea of how to read a beginner pattern that used some combination of these stitches.
Reading Written Patterns by Simply Daisy
This video also walks through common abbreviations of stiches and other abbreviations found in written crochet patterns, and gives clear video demos on how to do each thing. This video included some more advanced information that the previous video did not, so I felt like it was a good follow-up while broadening my knowledge.
Some key things I learned in this video were the terms “front loops only”/”front post” and “back loops only”/”back post”. When you make a crochet stitch, it creates a V shape. When you make a new stitch on top of it, most of the time, you insert your crochet hook under the whole V. But sometimes you only go under one of the sides of the V. That’s what front/back loops are referring to. It will make more sense when you watch the video! (That being said, I realized after completing my first project that I did the entire thing wrong, using the “back loops only” process. Oops! But the project still turned out looking and functioning exactly how I wanted!)
Amigurumi Basics for Beginners by Ollie + Holly
Amigurumi is a term borrowed from Japanese that refers to the art of crocheting mini stuffed creatures. They usually have spherical heads and rounded bodies.
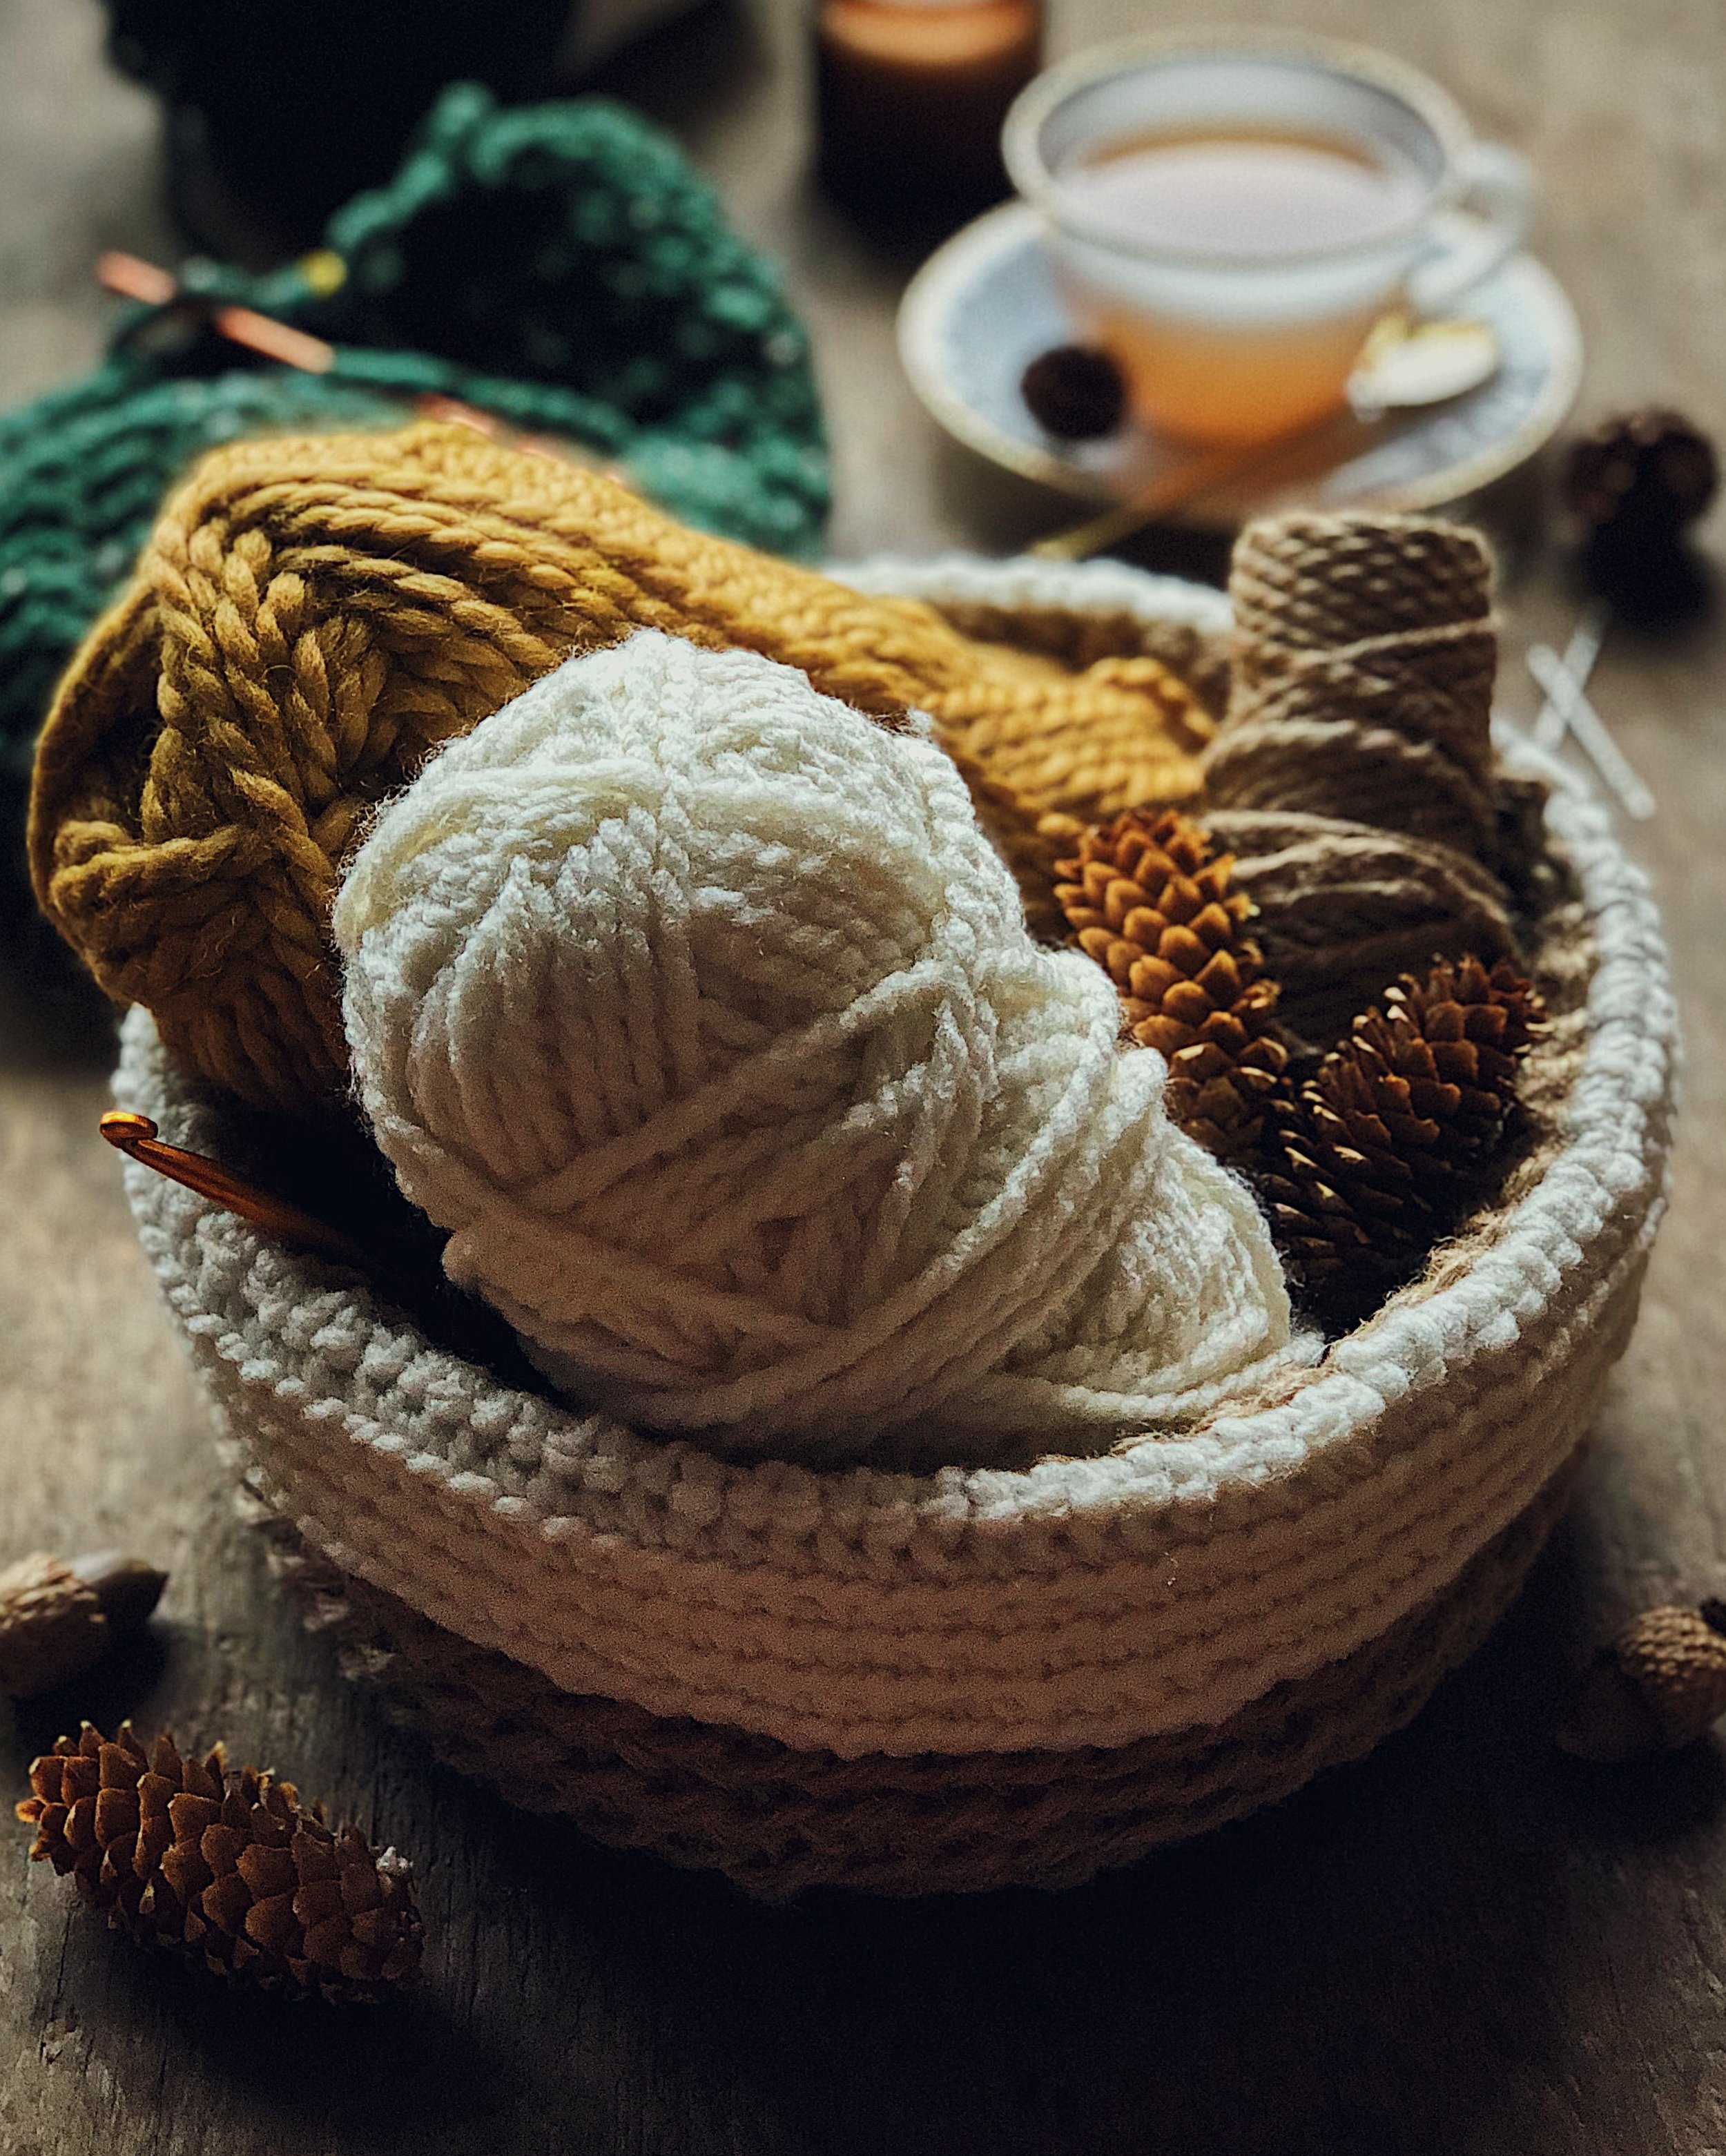
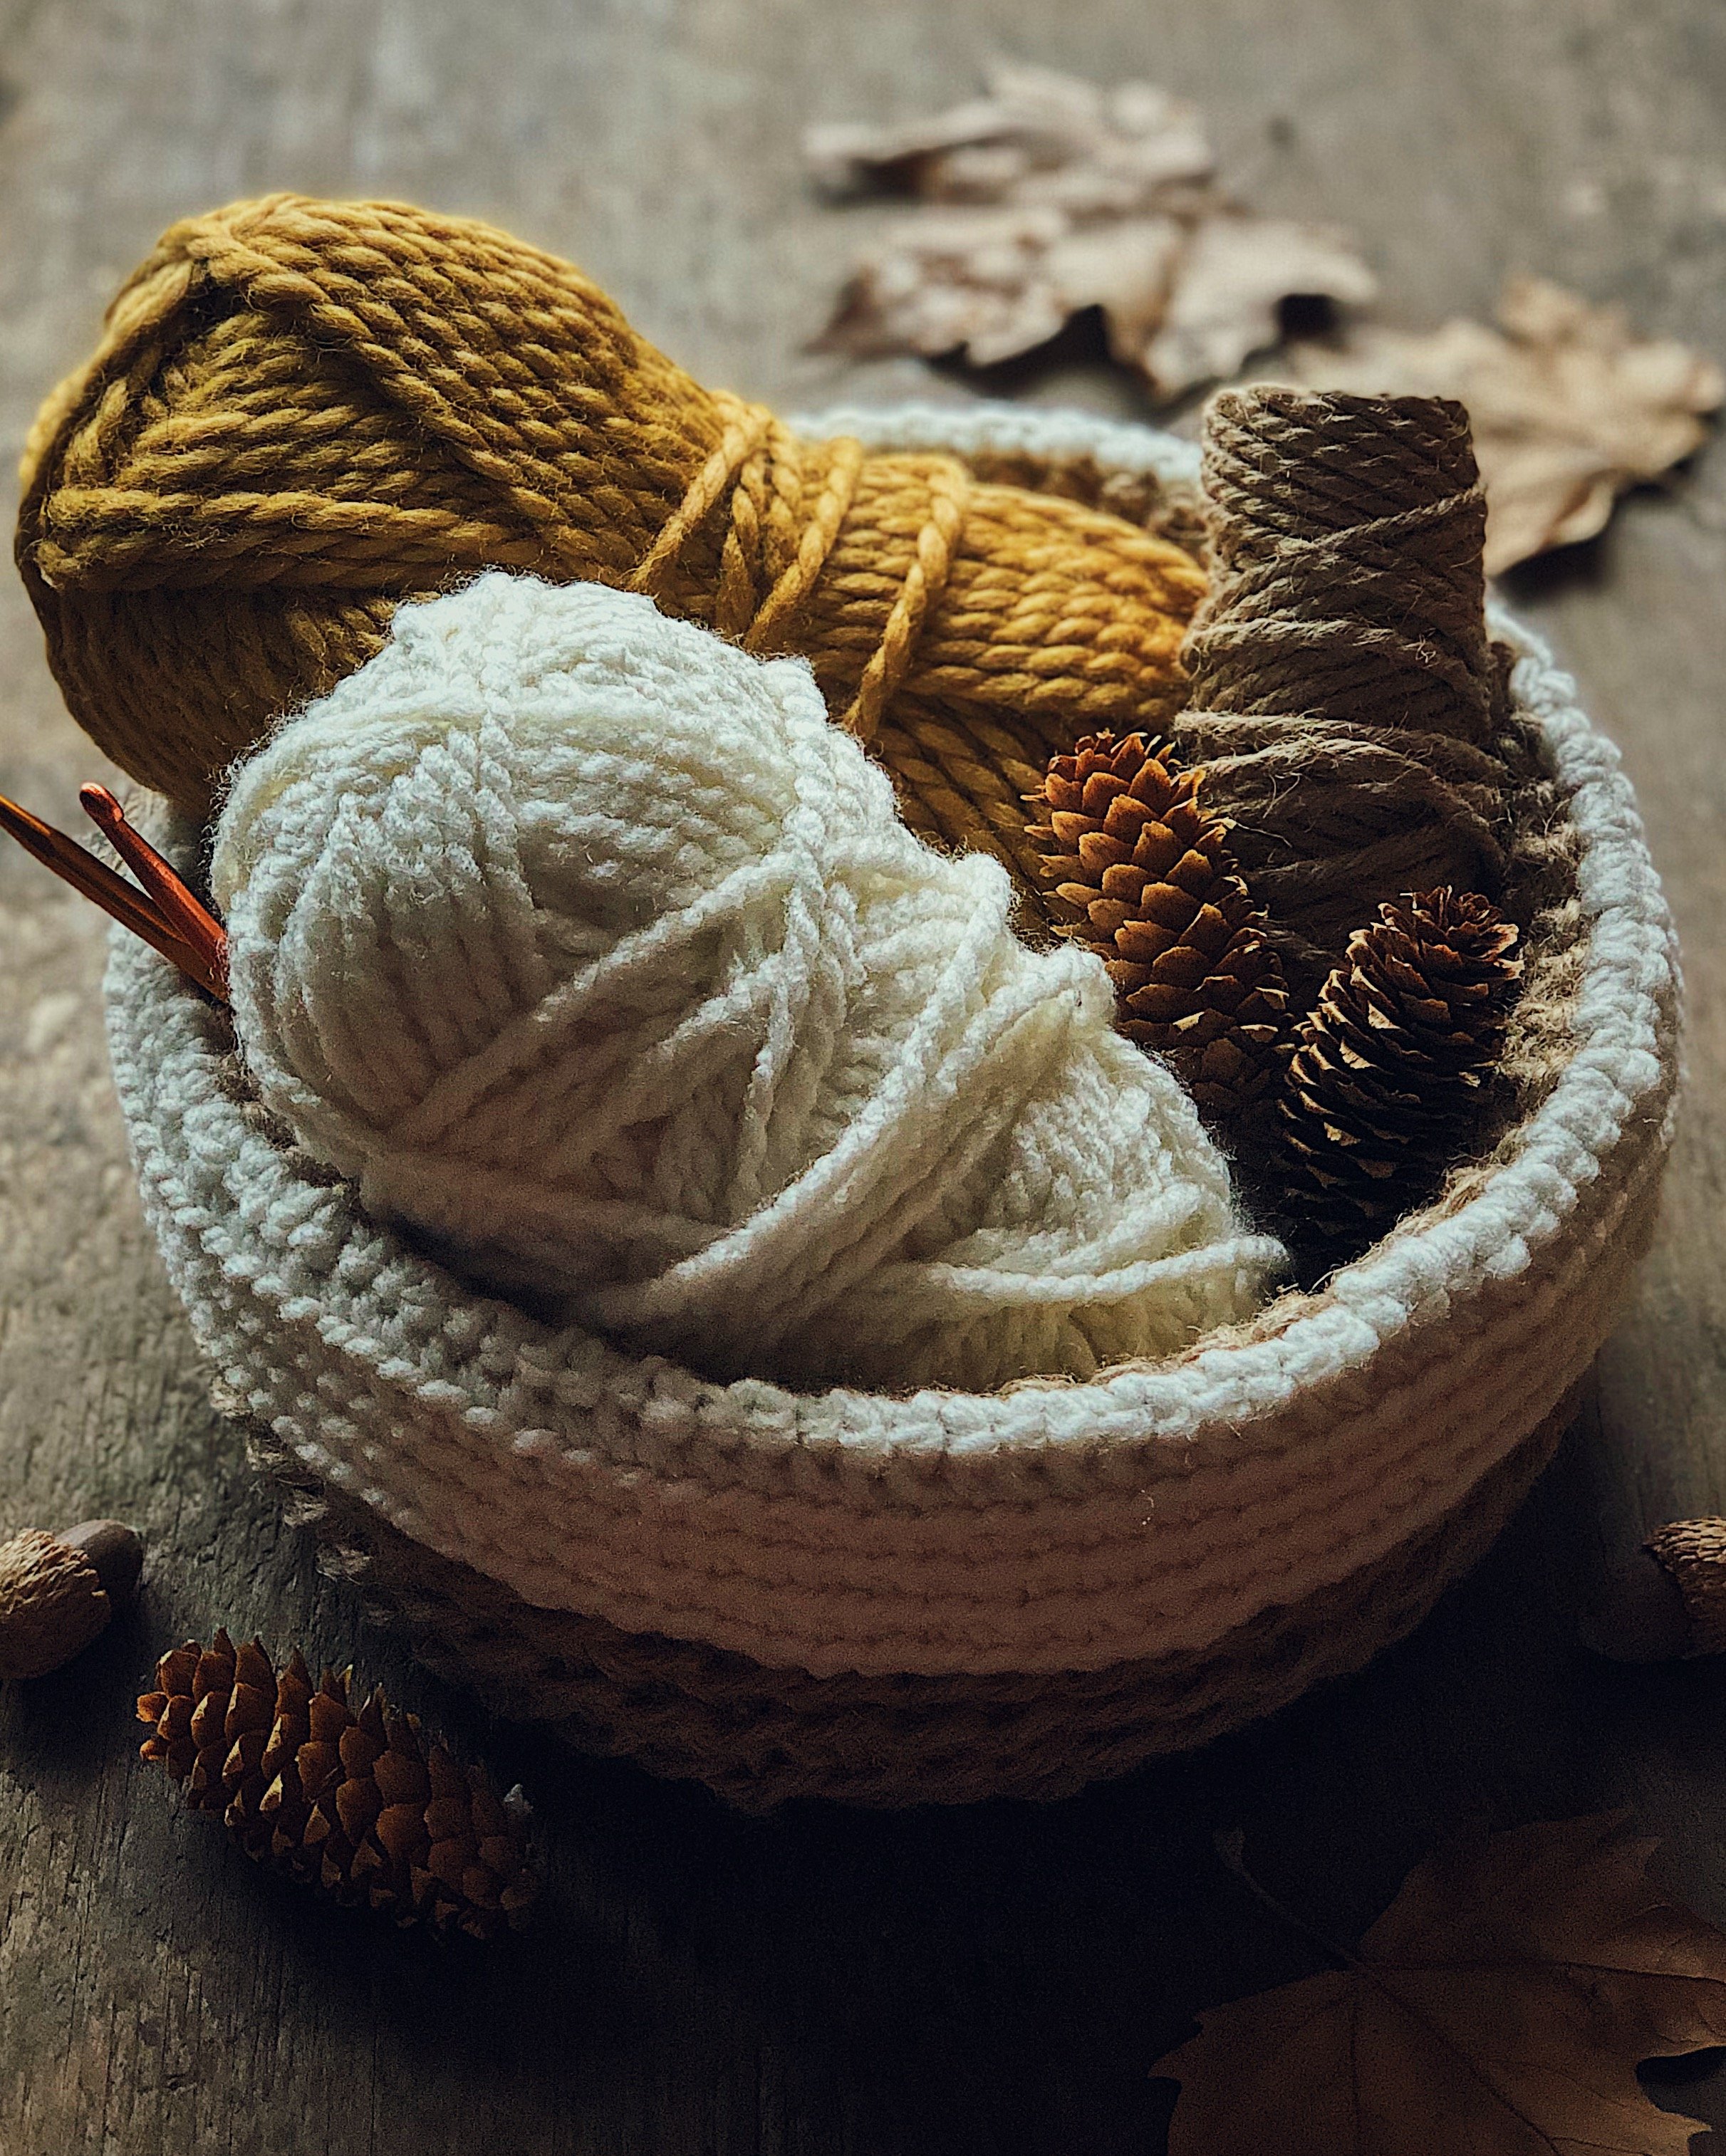
For my first project, I wanted to make a round basket to hold my crochet supplies—super functional and kinda meta! So, I wasn’t planning on making an amigurumi sphere, but I did need to learn how to “crochet in the round”. I found that watching the whole process of how to make a sphere in the video above allowed me to get a feel for what my own rounded project would entail. I found the manner and voice of the person in the video to be slow and pleasant to listen to.
This video also showed me how to make a “magic circle” which is the way you start many projects that are crocheted in the round.
How to Fasten Off by Red Heart Yarn
This is the video I watched to learn the term “fasten off” or tie a knot to end the project and detach it from the ball of yarn. The voiceover sounds a bit robotic but the video helped me clearly understand the step.
More Helpful Links for Learning How to Crochet
I still really like using step-by-step written instructions to learn stuff, rather than having to pause/replay videos. I basically just watched all the above videos once and then referred to written instructions when I needed help for each step of my project. I found the website sarahmaker.com to be easy to follow. Specifically, these links helped me with my project.
And if you are truly brand new to crochet, I think this page is a very helpful resource: How to Crochet
At the end of my project, I followed these instructions for an invisible seamless join by Crochet 365 Knit Too for what to do with the very last stitch of my round basket, to get a nice seamless finish. This one is not really a crocheting basic but I am including this here mostly for myself to get back to these instructions in the future!
Starter Kit for Crocheting Newbies
To get started on your first crochet project, you will also need the right tools! The most important things are yarn and needles, of course. Having a whole set of crochet needles in varying sizes is useful if you think you will stick with crocheting multiple projects; this way you will have what you need for any yarn size.
Here is the link to the starter kit that I bought** (affiliate)
At the time of this blog post, the kit is only $7 and it comes with a bunch of crochet needles in different sizes, plus tapestry needles and stitch markers. Honestly this is an incredible deal.
Tapestry needles are used to weave your yarn tail into your piece at the end of the project or to stitch crocheted things together; they are like blunt-tipped sewing needles with big eyes for threading yarn through. The ones from this kit feel sturdy enough and come in a cheap but useful little tube with a cap.
Stitch markers are for keeping track of a specific stitch and they work just like safety pins but not as sharp; the ones that came with this kit were pretty low-quality but this is the least essential tool in the kit anyway. If you end up hating these, you could use a paper clip or a safety pin.
I found the aluminum needles themselves to have a good weight to them and they are comfortable for me to use; in contrast, I found a super lightweight plastic crochet needle in my crafting box from college and did not like the feel of that one at all.
I definitely recommend this kit! I use one of those pink pouches from Glossier to hold everything together (thank you to my friend Taleen for gifting me the pouch).
My First Crocheting Project
And finally, here is the info on my first project.
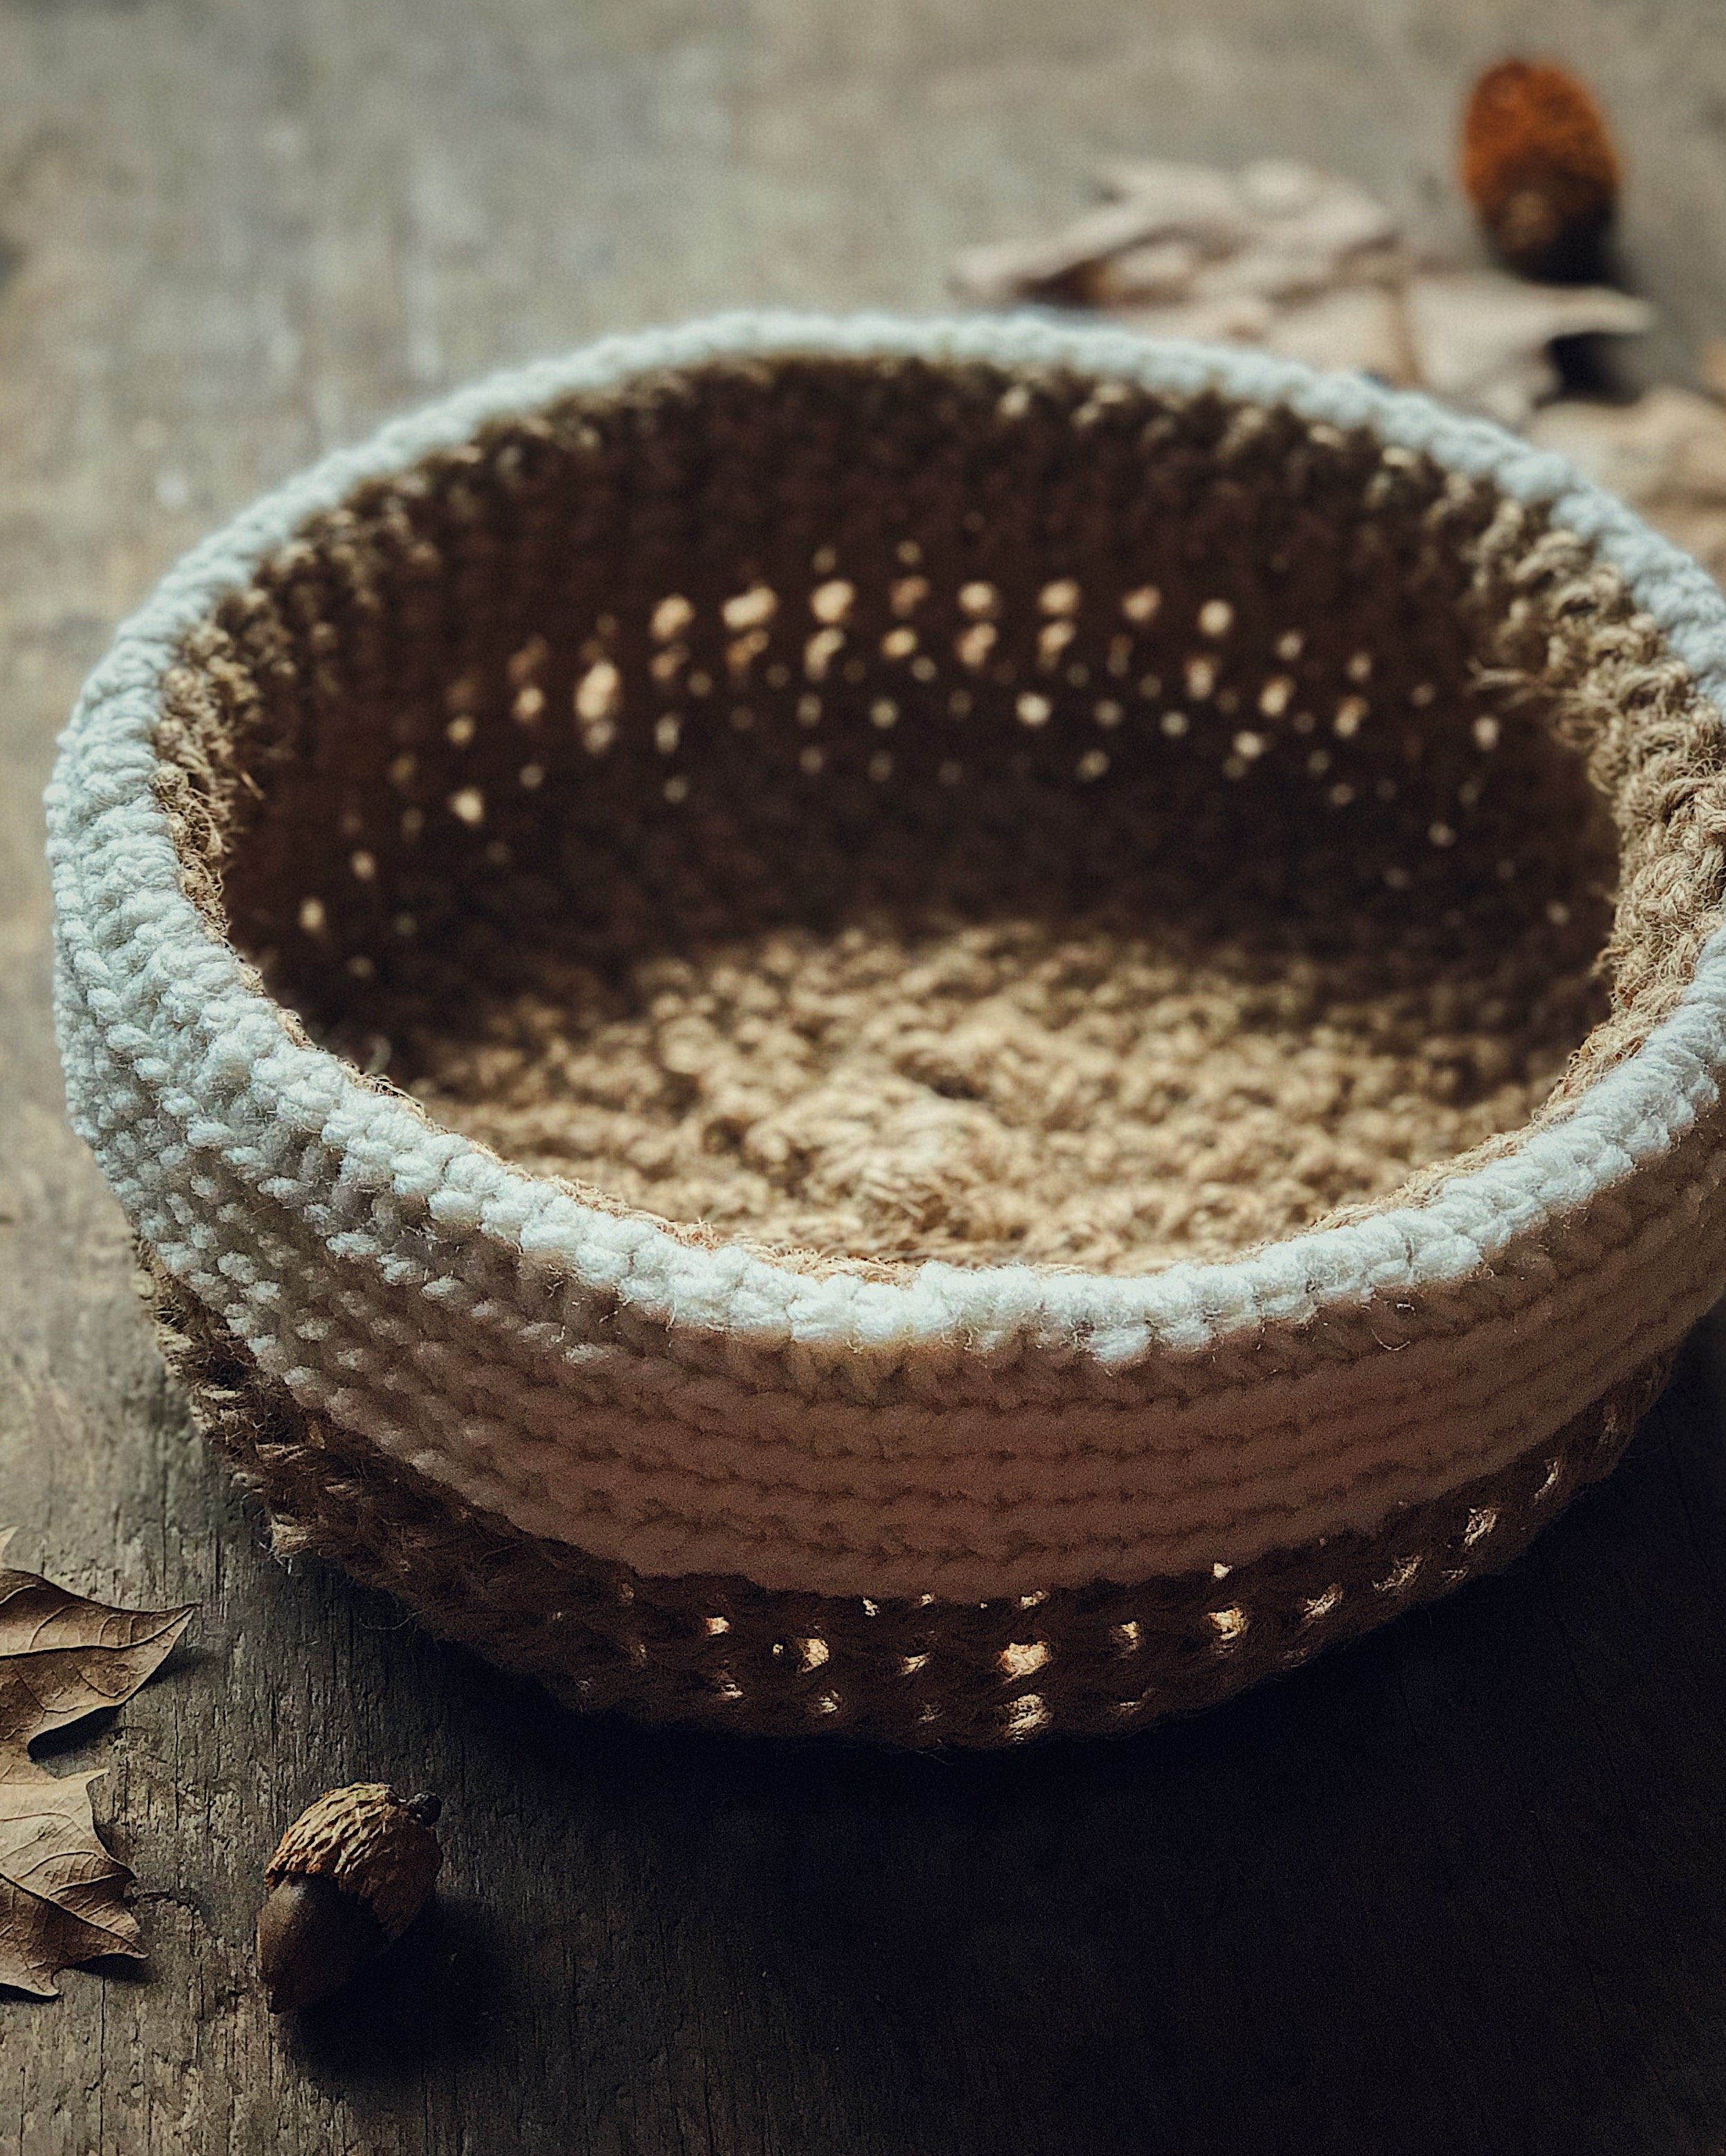
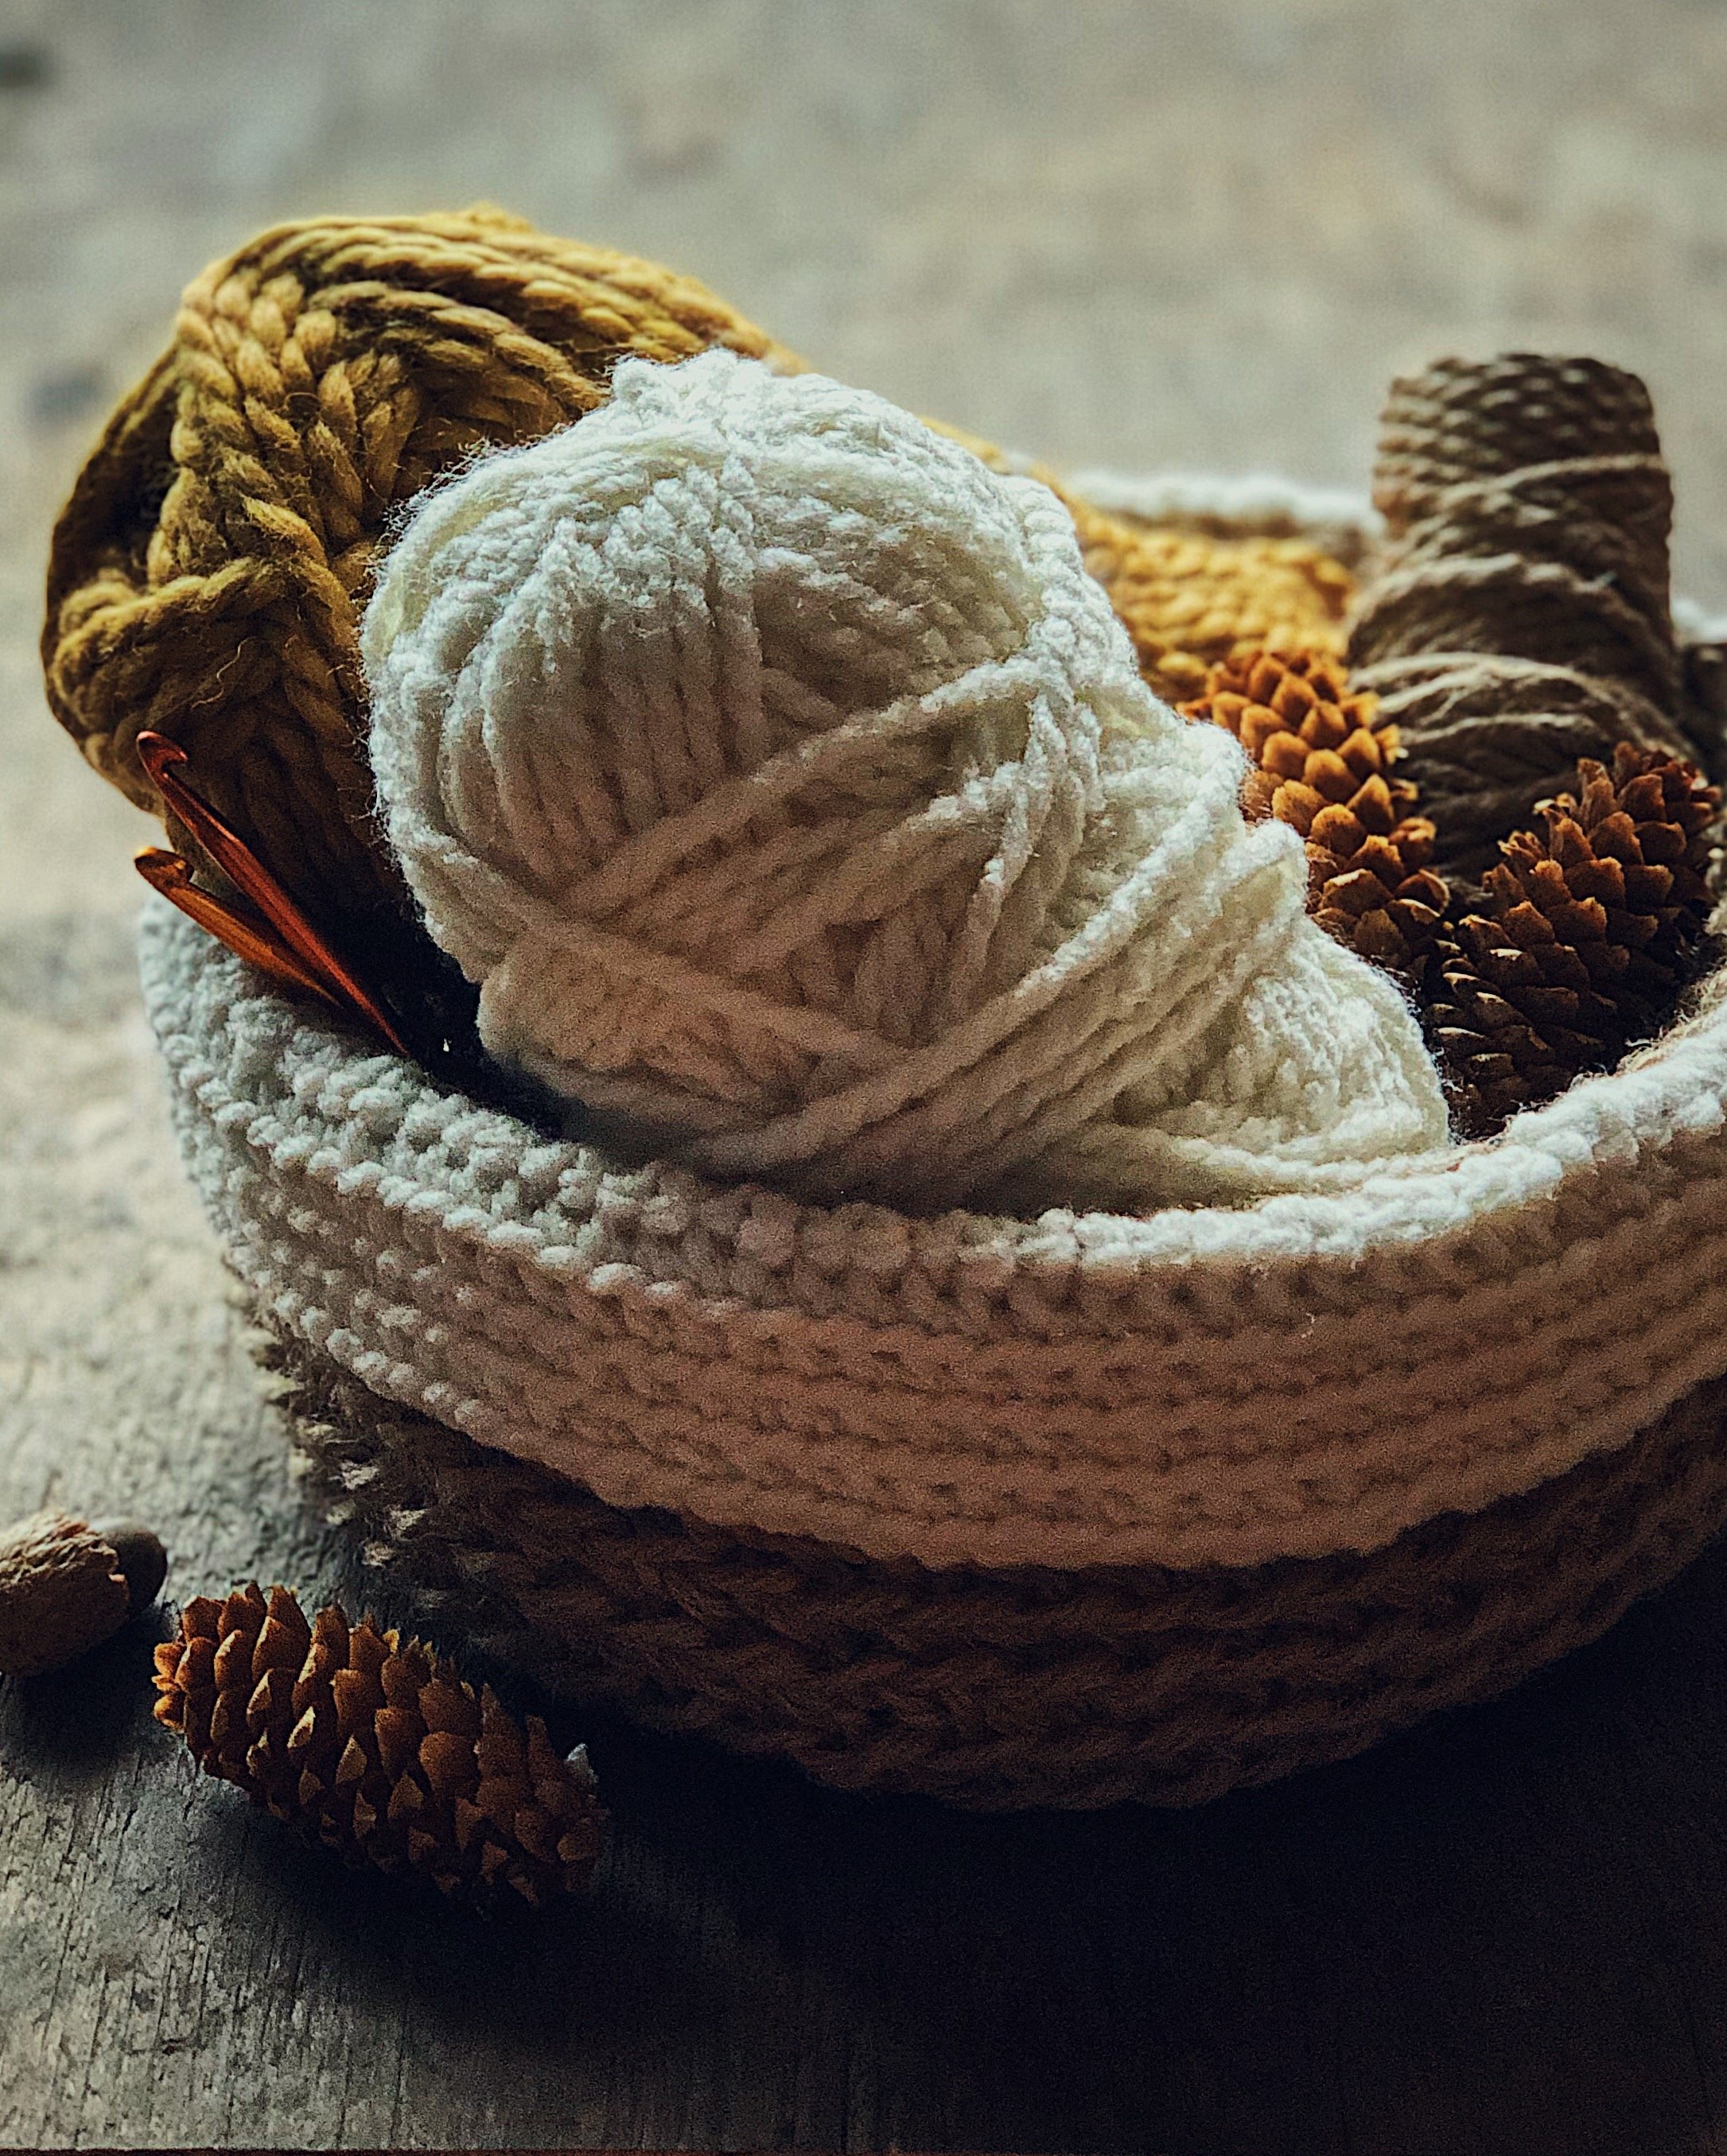
I thought, what better way to start than to make something that I can use to hold all my crocheting supplies? I made this basket by following this pattern from Crochet 365 Knit Too, with some major caveats. The pattern uses two strands at a time to get a bulkier look, but I think that is too complicated for a beginner like me who is just getting used to making the stitches and understanding what they should look like. So for both the jute and yarn sections, I just used materials that were thicker than the ones noted in the pattern, and did everything as a single strand. Also, as I mentioned before, I was not a very good student to all the teaching materials I listed, because I was connecting the stitches completely wrong the whole time! I didn’t even realize until I started learning how to read the pattern for my next project that I was doing all my stitches through the “back loops only” instead of building the stitches wholly on top of one another. So there is pretty much no way I’ll ever be able to exactly replicate this basket again, but I am quite proud of how it turned out.
I think this basket took me about 4–5 sessions that were 1–1.5 hours each. They were just spaced out over a really long time because travel, other projects, and distractions of life really killed my momentum. Also, about halfway through I spilled an overly-sweet mango tea all over it and had to rinse it off, which relaxed the stiffness of the jute and for a while I was really disheartened by that. IMPORTANT LESSON: Don’t let your yarn get caught on the straw of your drink!!!
Anyway, I hope this is helpful to someone out there who wants to learn how to crochet. And even if no one reads down to this point, at least I have this blog post for myself to refer back to when I eventually delete all this information from my brain and want to learn how to crochet all over again.