


Recipe: Apricot and Brie Tart
/
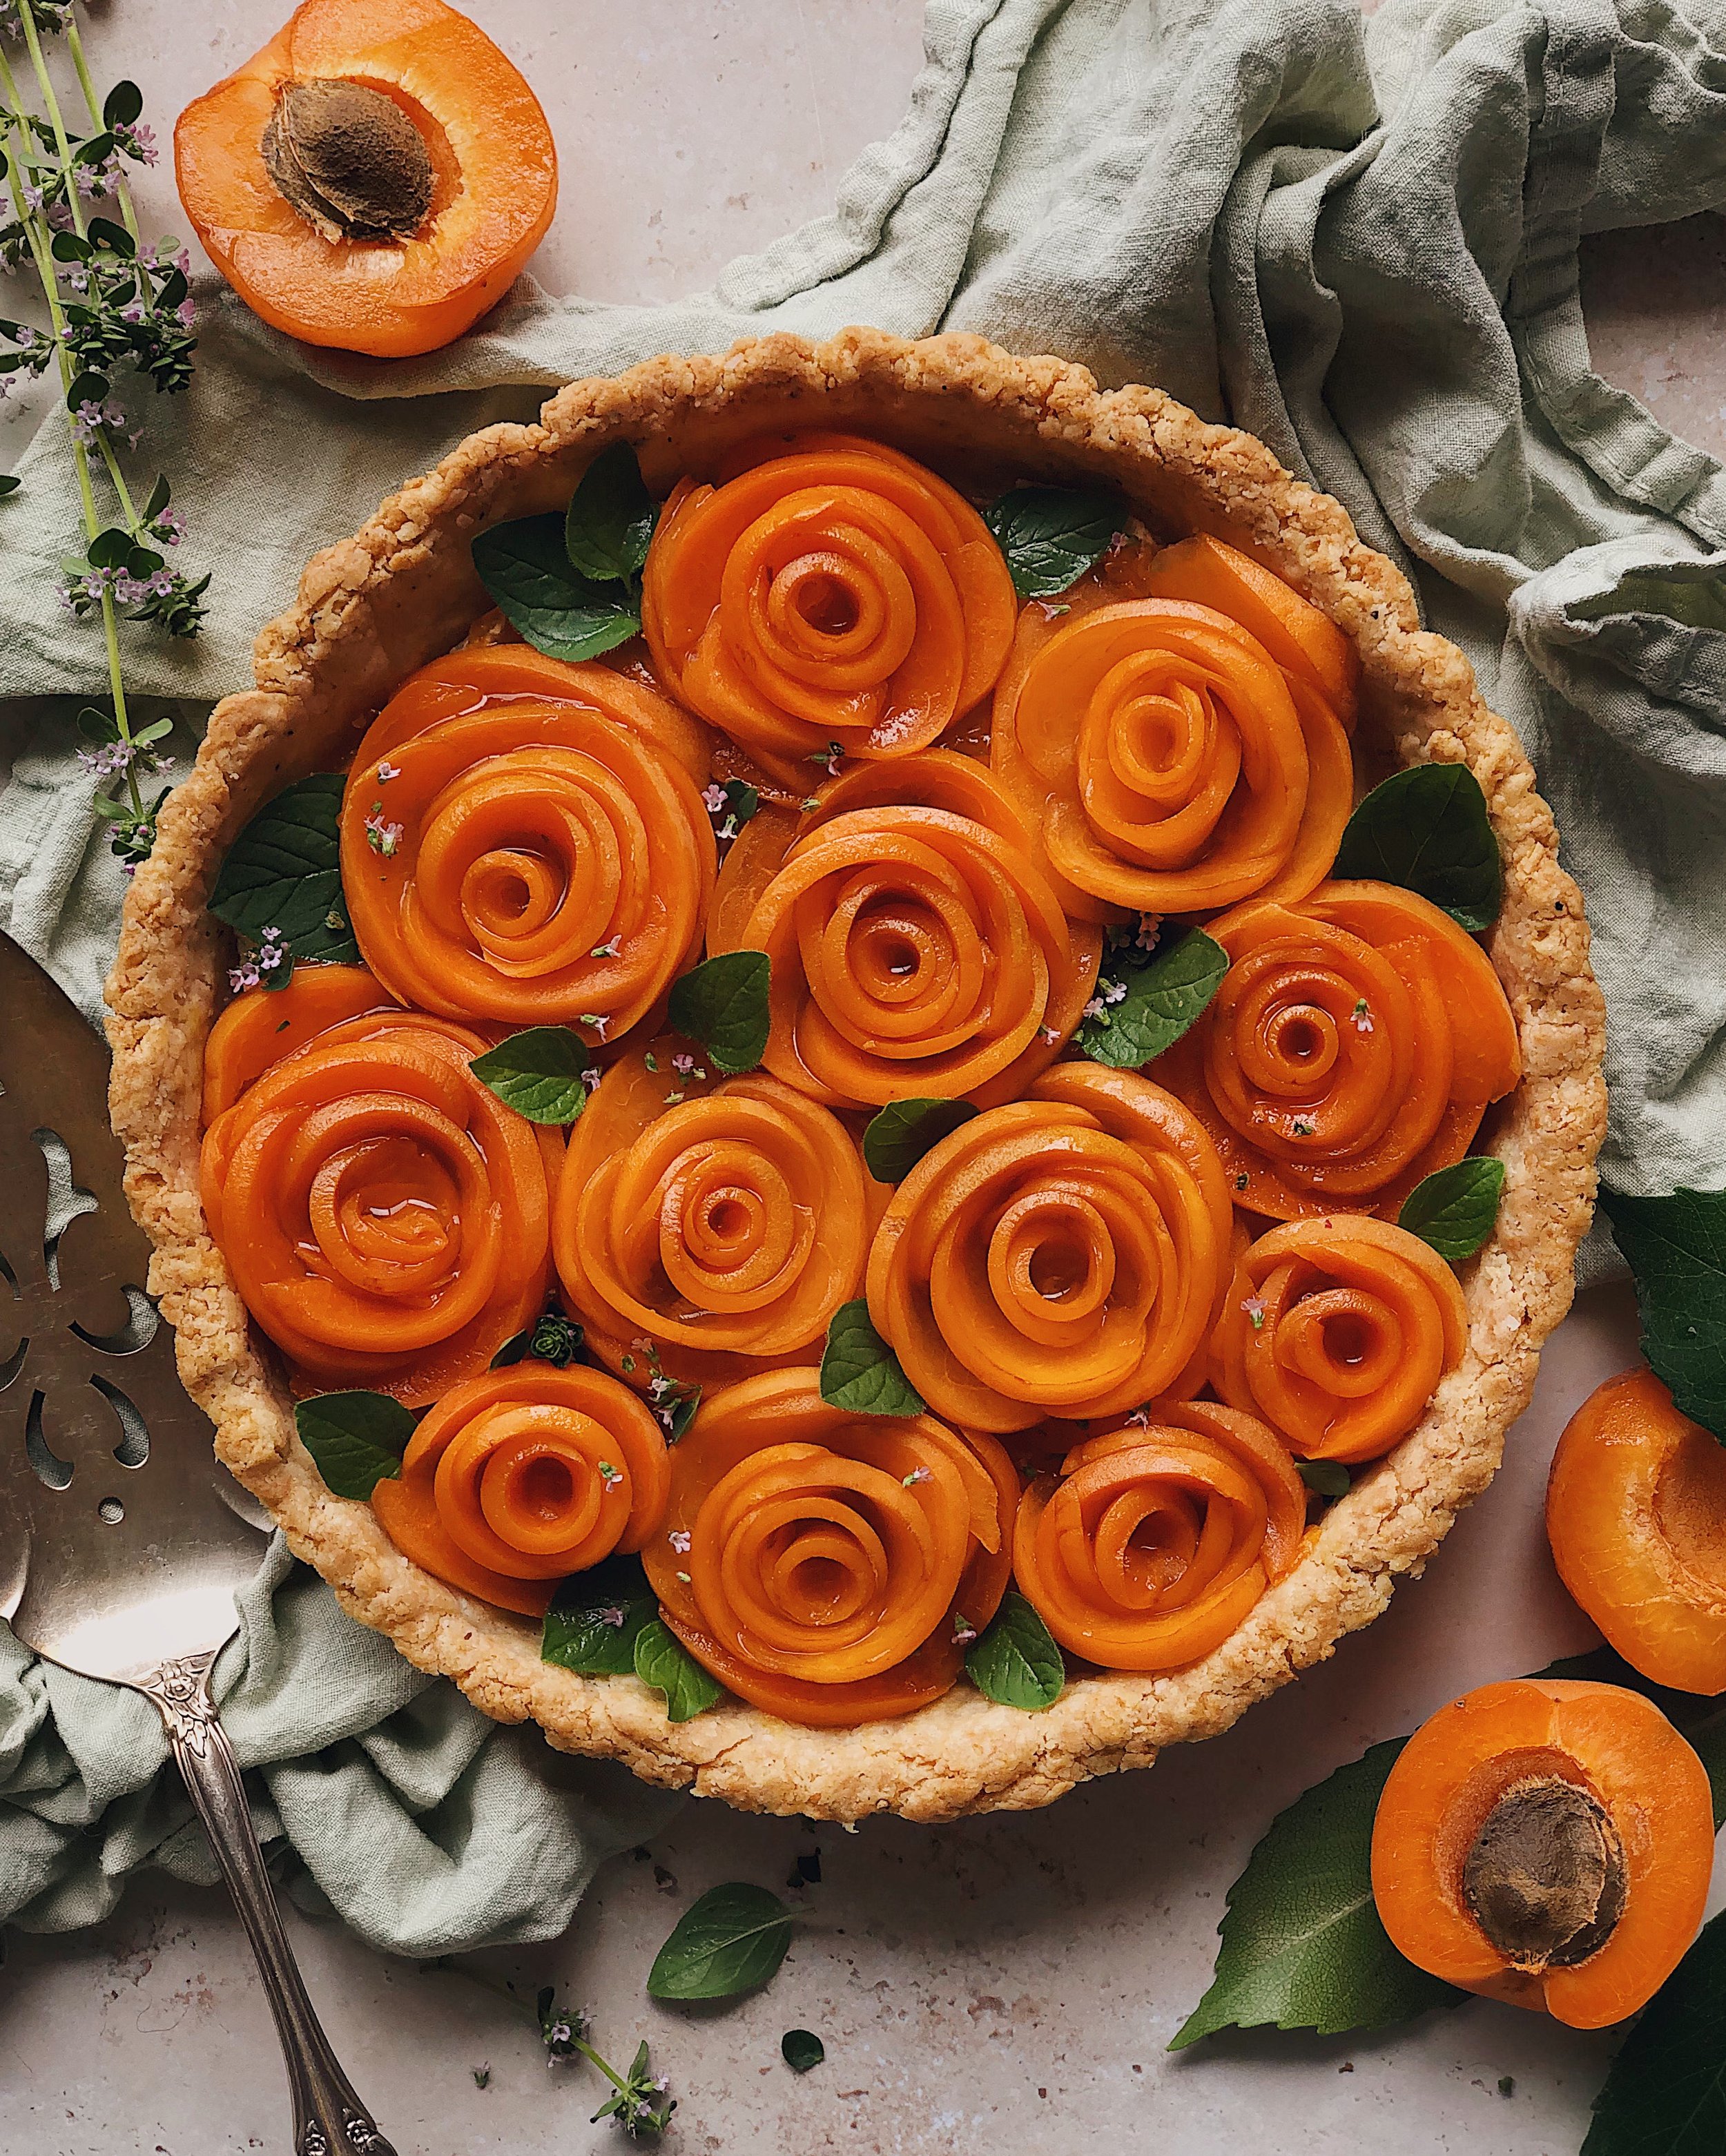
I wanted to make a bunch of apricot rosettes and what better way to display them than in a sweet and savory tart?
Once I have finished working on a recipe I really am happy with, I try to get as much out of it by riffing on it and using it in different contexts. Recipe testing is time consuming, and I am determined to get my time’s worth by using that recipe over again. For this tart, I made the same cheesy, savory short crust shell that I developed for a sponsor for this mixed stone fruit and goat cheese tart here. I love this crust recipe because it’s cheesy and peppery and unlike what you’d expect for a fruit tart. It has a serious snap to it, and enough flavor that it could really stand alone, but it is also perfect for tarts that have a savory cheese filling. The dough comes together very easily in a food processor, though you do have to plan ahead a bit and freeze the cubed butter. The actual labor involved is low, though, so you can save your energy for rolling up those pretty apricot roses!
In reality though, this is still going to taste good if you just cut up your apricots into little pieces and dump them onto the tart. I am completely willing to admit that slicing up a bunch of apricots and then wrapping the slices round and round each other to form a bunch of rosettes is not a normal way for someone to spend a summer afternoon. But would you have clicked on this recipe if the tart didn’t look this pretty? I personally find it sort of therapeutic to focus on delicately handing tiny pieces of produce for a bit, and at this time of year, I’ll find any excuse to immerse myself in stone fruit.

Here is a detailed walkthrough of how to make this apricot and brie tart:
Make the tart shell/crust: You will need to plan ahead here, because you’ll need to cut butter into small cubes, freeze them, make the dough, press it into the tart tin, and then let that chill. This tart utilized the tart crust recipe found here. Follow the “ingredients for crust” section and the first step of the procedure and that will take you up to the point where you have your chilled raw crust that is ready for baking action. That’s where the story picks up over here with a different filling, this time celebrating the beautiful delicate combo of brie and apricots.
Bake the crust and brie: First, you will blind bake just the raw crust for 20 minutes with some sort of pie weights to keep its shape and prevent it from puffing up in the tin. (I line my crust with foil and then use dried beans as a cheap alternative to buying pie weights.) Then you will bake the crust until it is nearly golden brown and pretty much fully baked. For the last 5 minutes, you’ll add slices of brie to melt across the bottom. I used this goats milk brie, but a more traditional version will be just as tasty. Just make sure you are getting as even of a layer as you can when you are slicing and placing the cheese; it doesn’t matter if the pieces of cheese look weird because they will get fully covered.
Spread the jam: After the brie has been melted, it will cover the bottom of the shell more evenly. Then you’ll want to add a layer of apricot jam or preserves. Feel free to swap for a different flavor but I wanted to keep the flavors simple in this one so I stuck with apricot. This sticky jam layer is going to be what holds the apricot roses in place.
Make and place the apricot rosettes: To make the rosettes, I first cut the apricots lengthwise into thin slices. I’ll use the thinnest pieces for the centers of the rosettes, rolling them into as tight of a spiral as I can, and then I will wrap a few pieces around it before placing it into the jam layer. Then I will tuck a few more pieces around it until I am happy with the size and fullness of the rosette. Keep doing that until all the big gaps are filled.
Glaze the apricots: Whisk together a little honey and water to form a glaze; microwave the mixture a little if needed to help dissolve the honey. When the glaze is back to room temp, brush this over the apricots. It will give them a shiny look and prevent them from browning if you are making this a bit ahead of serving.
Fill in the gaps with herbs: If you wish to, you can fill in any gaps in between the rosettes with fresh herb leaves to give the tart a very full and finished look. I used oregano here because I had a lot in my garden, but small basil or mint leaves would honestly be a better flavor pairing. You could also fill the gaps with pitted cherries—I think that’d look lovely. I also sprinkled a little bit of lemon thyme on the tart, which added a nice herbal aroma.
Cut in with a very sturdy, sharp knife and enjoy!: The crust is quite short and snappy so you’ll need a good knife to press through for cutting clean wedges. It may feel like a shame to cut into it after making all those roses, but food—even pretty food—is meant to be eaten!
How to Make the Apricot & Brie Tart
Ingredients
1 chilled, unbaked cheesy shortcrust from this recipe
5 oz brie cheese, cut into 1/8"-inch slices
5–6 tbsp apricot jam or preserves
3–4 apricots, thinly sliced
1/2 tsp honey
1 tsp warm water
fresh herbs for garnish (optional)
Special Equipment
food processor
tart pan with removable bottom
dry beans or pie weights
Procedure
Preheat oven to 400°F.
Dock chilled shell with a fork to prevent it from warping and puffing while baking. Line with parchment paper or foil and fill with dry beans or pie weights. Place the tart pan on a baking sheet and bake for 20 minutes.
Gently remove the lining and weights, then bake for an additional 15 minutes.
Add brie in an even layer over the bottom of the tart shell. Bake for an additional 5 minutes, or until brie is melted and crust is golden brown.
Spread apricot jam or preserves in an even layer over the brie.
Form rosettes with the slices of apricots and arrange them in the tart. The apricot jam will help hold them in place.
Whisk together honey and water and brush over the apricot rosettes to give them a shiny, glazed look.
Garnish with fresh herbs if desired. Oregano, mint, or basil leaves could be used to fill in gaps between the rosettes.