

Leek and Cheesy Mashed Potato Tart (featuring Green Garlic)
/Tender buttery leeks and green garlic with a hint of miso sit atop cheesy mashed potatoes, encased together in a flakey puff pastry tart.
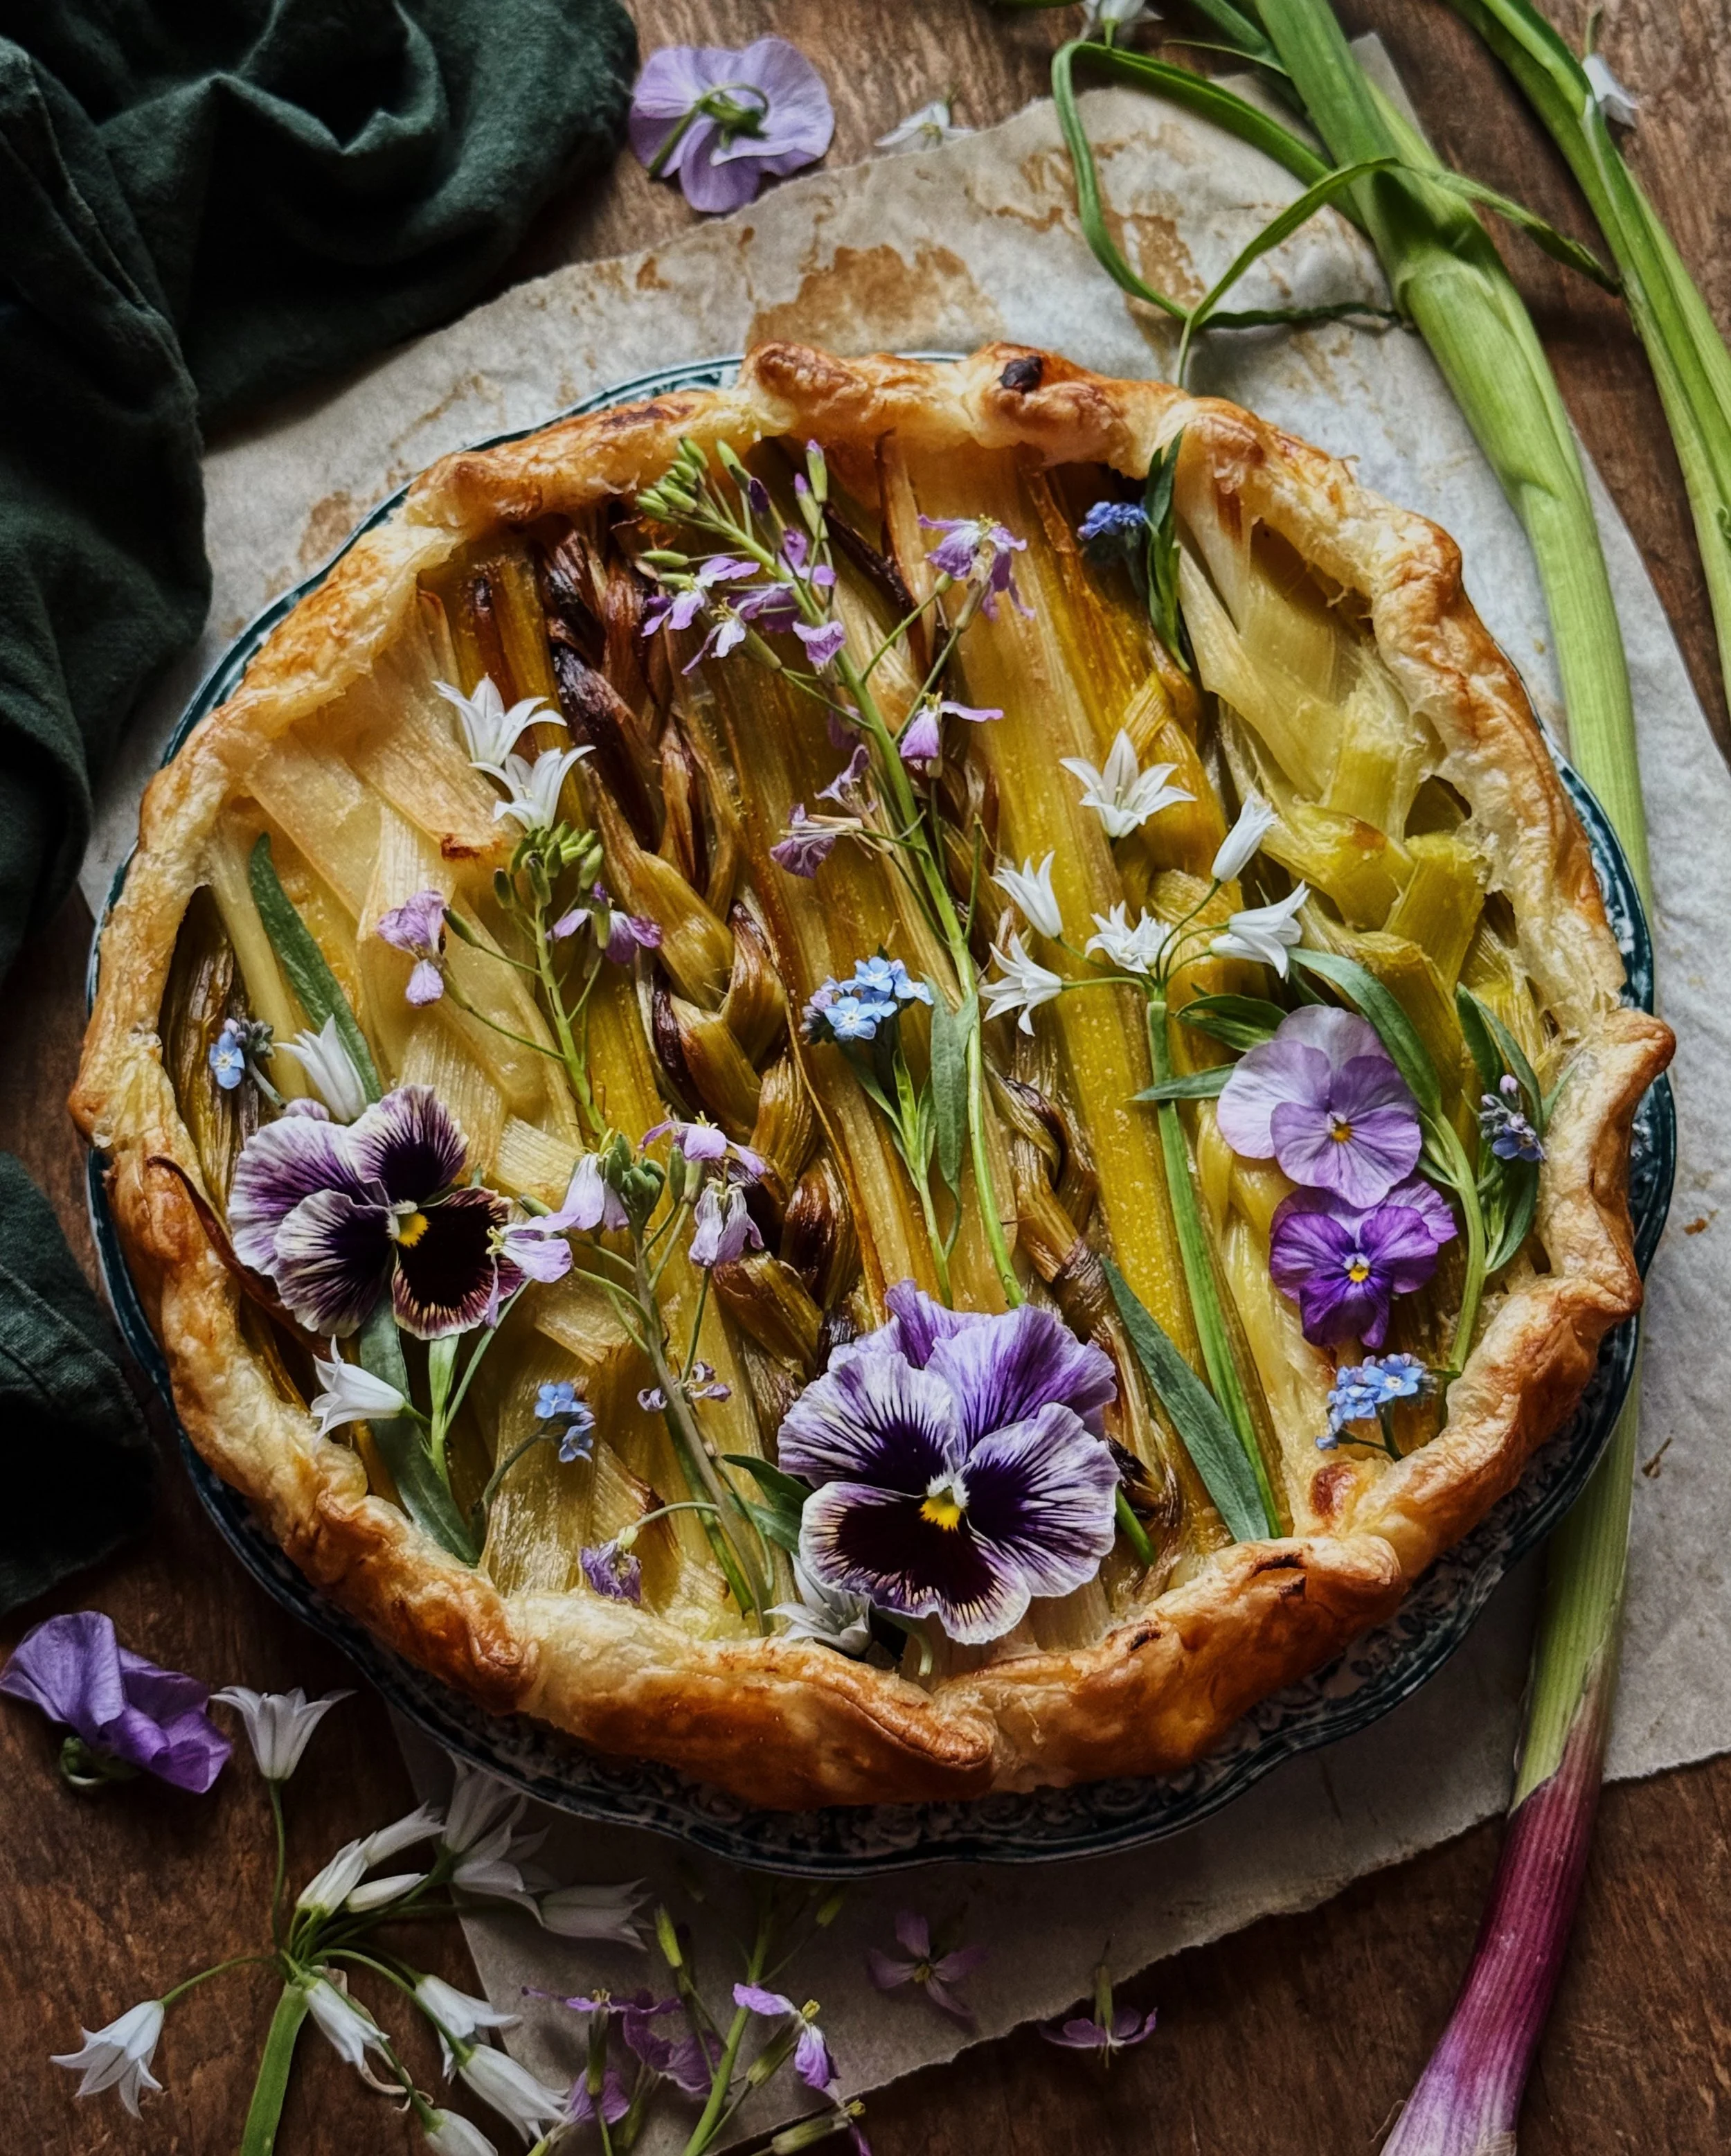
This tart is my celebration of the transition from winter to spring. I literally made this with the last bit of mashed potatoes in my freezer, left over from a much chillier night’s meal and a frozen puff pastry sheet that I don’t even remember buying. I wanted to make a leek tart because leeks, when cooked properly, are so tender, silky, sweet, and iconically spring. But then I also found green garlic at the store! Green garlic is only available in the spring because it’s young garlic plants that got pulled up when farmers are thinning their garlic crop. So, I had to include that in my spring tart, but if you want to make this and you can’t find it, you can certainly stick to just leeks.
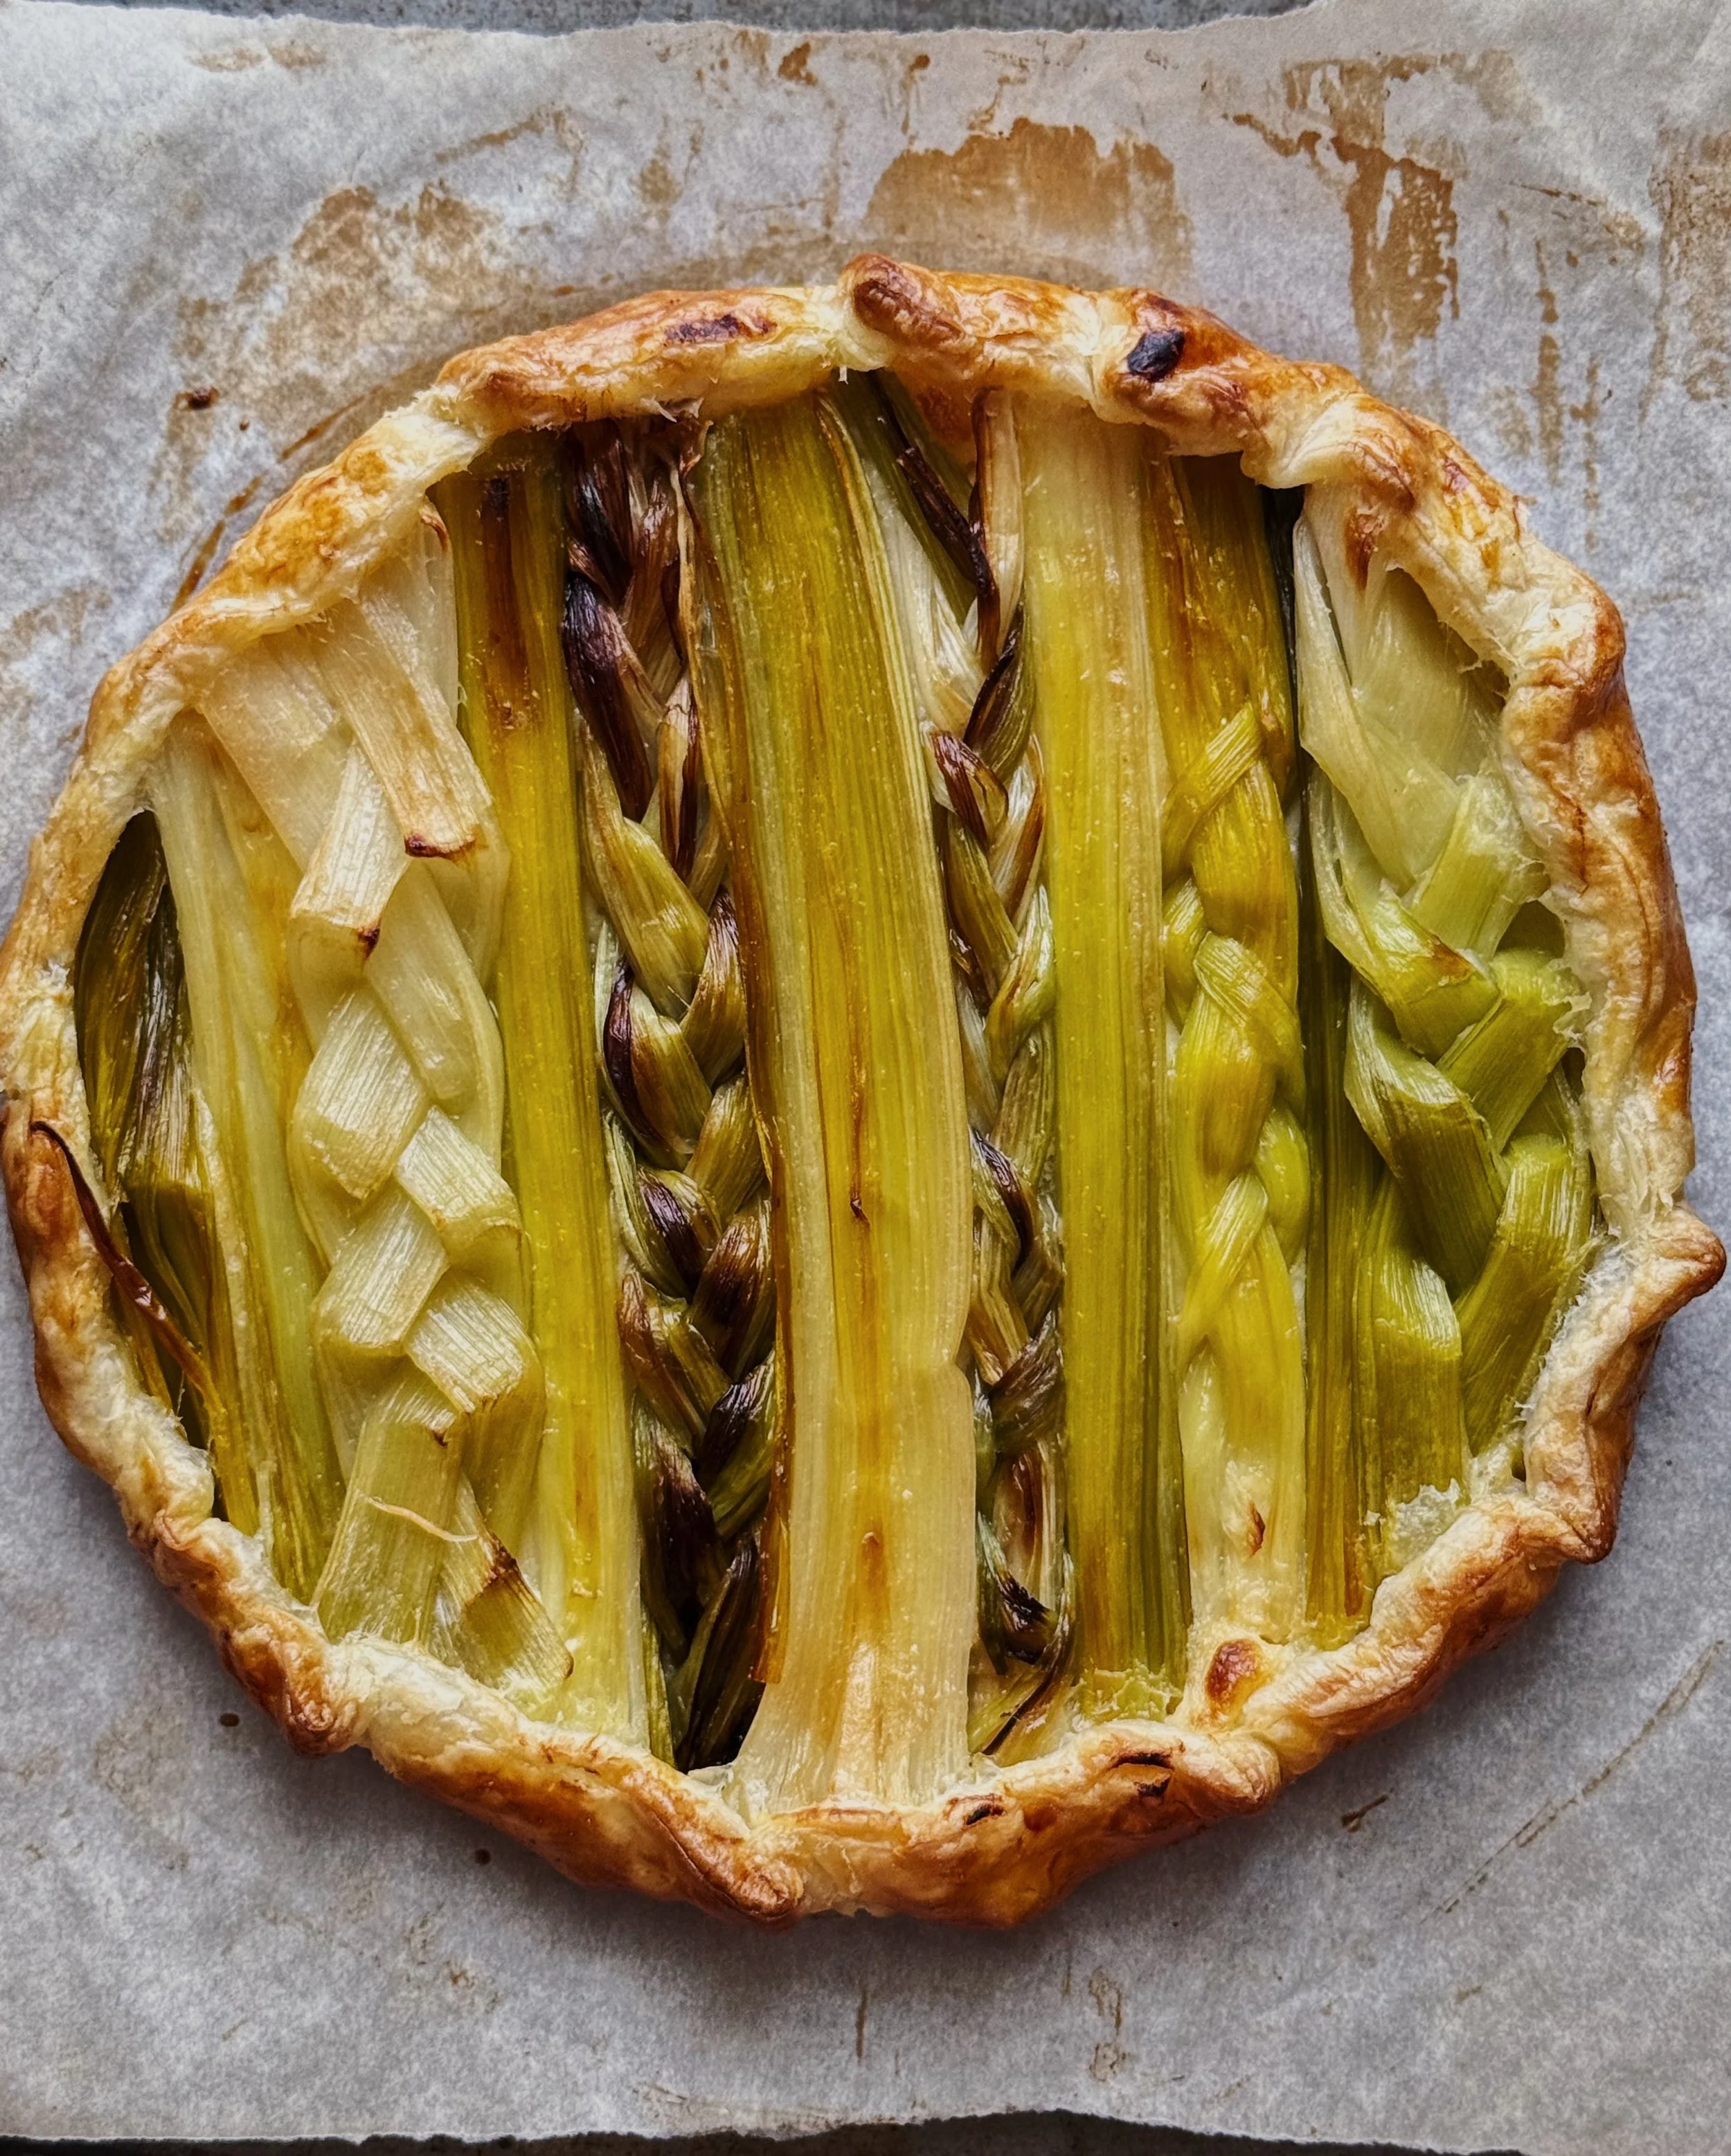
I braided some of the leeks before arranging them onto the mashed potatoes but that step is totally unnecessary. Yes, it looks pretty, but to be honest, I thought the sections of un-braided alliums had a better texture as I was biting through the tart.
I do not have exact measurements for everything but tried my best to detail below how I made this tart. It was meant to be something that used up extra bits from my freezer, after all, and I think measuring can sometimes take away from the sense of adventure when putting together that type of meal. I hope it at least inspires you to enjoy the beautiful produce of spring and to have a little fun foraging around in your fridge/freezer too.
Awkwardly Vague instructions for a Leek and Cheesy Mashed Potato Tart
Ingredients
3–4 leeks, cleaned and sliced lengthwise
green garlic, tender stems only, sliced lengthwise (optional)
extra virgin olive oil
kosher salt
1/2–1 cup premade mashed potatoes
1/2–3/4 cup grated white cheddar
1 sheet puff pastry, thawed according to package instructions
flour, for dusting
1 tsp white miso
1 tsp butter, melted
egg, beaten (for eggwash)
for decorating (optional)
tarragon
edible flowers
Procedure
Preheat oven to 400°F.
Combine alliums (leeks and green garlic, if using) with olive oil and salt and place cut-side-down on a baking tray. Roast until soft, about 30 minutes. Discard any outer layers that feel tough and dry and let the rest cool.
Meanwhile, add mashed potatoes to a small pot on medium-low heat. If frozen, allow mashed potatoes to thaw. Use a spatula to fold in a big pinch of cheese. Once incorporated smoothly, repeat until there is an elastic-y mass that’s nearly equal parts cheese and potato. Allow to cool.
Combine miso and butter and set aside.
Unfold/unroll puff pastry onto a lightly floured parchment sheet. (I like to keep the original thickness of the puff pastry dough, only using a rolling pin to gently smooth out the texture without rolling it too much thinner). Cut out a circle from the pastry dough. Dock the majority of the center area with a fork before spreading on the cooled mashed potatoes, leaving about 1 inch of bare pastry all along the edges.
Arrange the roasted alliums, cutting them to fit over the mashed potato area. Brush the leeks with the miso butter. Fold in the pastry edges like a galette and eggwash. Let the tart chill in the freezer for 20 mins then bake according to the instructions of your puff pastry.
Decorate as you wish!