


Recipe: Cheesy Mini Frittata Muffins with Pickled Jalapeños
/
The base for this easy mini frittata muffin recipe is super simple—just eggs and a boxed pancake mix and a little cheese is all you need to achieve these cute, bouncy, and conveniently portable breakfast bites.
There are so many great combinations of fillings that you can add to the base batter to customize them. For these, I decided to go for a jalapeño popper vibe. I don’t think I’m ever not craving jalapeño poppers which is why I also have recipes for Jalapeño Popper Crostini (here) and Jalapeño Popper Stuffed Soft Pretzels (here). For this recipe, I mixed in pepper jack cheese and pickled jalapeños into the batter but you can change this to whatever you normally like to add to a frittata, quiche, or omelette. And the approach would be the same as for a frittata, quiche, or omelette—pre-cook the ingredients that need extra cooking time or release a lot of water and drain any super wet ingredients before mixing them in.
I have been using this easy egg + boxed pancake mix hack to make these since I was in college and they might be the oldest recipe that I still make today with relatively few alterations to when I would make them 20 years ago. One improvement that I have learned for it more recently, though, is to use a good quality pancake mix. This is NOT sponsored but I really like Bob’s Red Mill’s homestyle buttermilk pancake (and waffle) mix. I noticed that when using this nicer pancake mix, my frittata muffins turned out airier and more pillowy than when using the same (cheaper) pancake mix brand that I used in college. They’ll still be good either way! But if you are put off by denser egg things, go for a pancake mix that you also find produces light fluffy pancakes.
I thought of this recipe concept again earlier this year when it was pretty challenging to find eggs in stock at the grocery store and even when they were available they were super pricey. This caused me to by more mindful about using my eggs sparingly and I am still carrying that mindset with me even though the issue is not as bad as it was a few months ago. This recipe uses fewer eggs than you would need to make a frittata but really satisfies the same cravings, and much like an elaborate frittata, these are perfect for a brunch party!

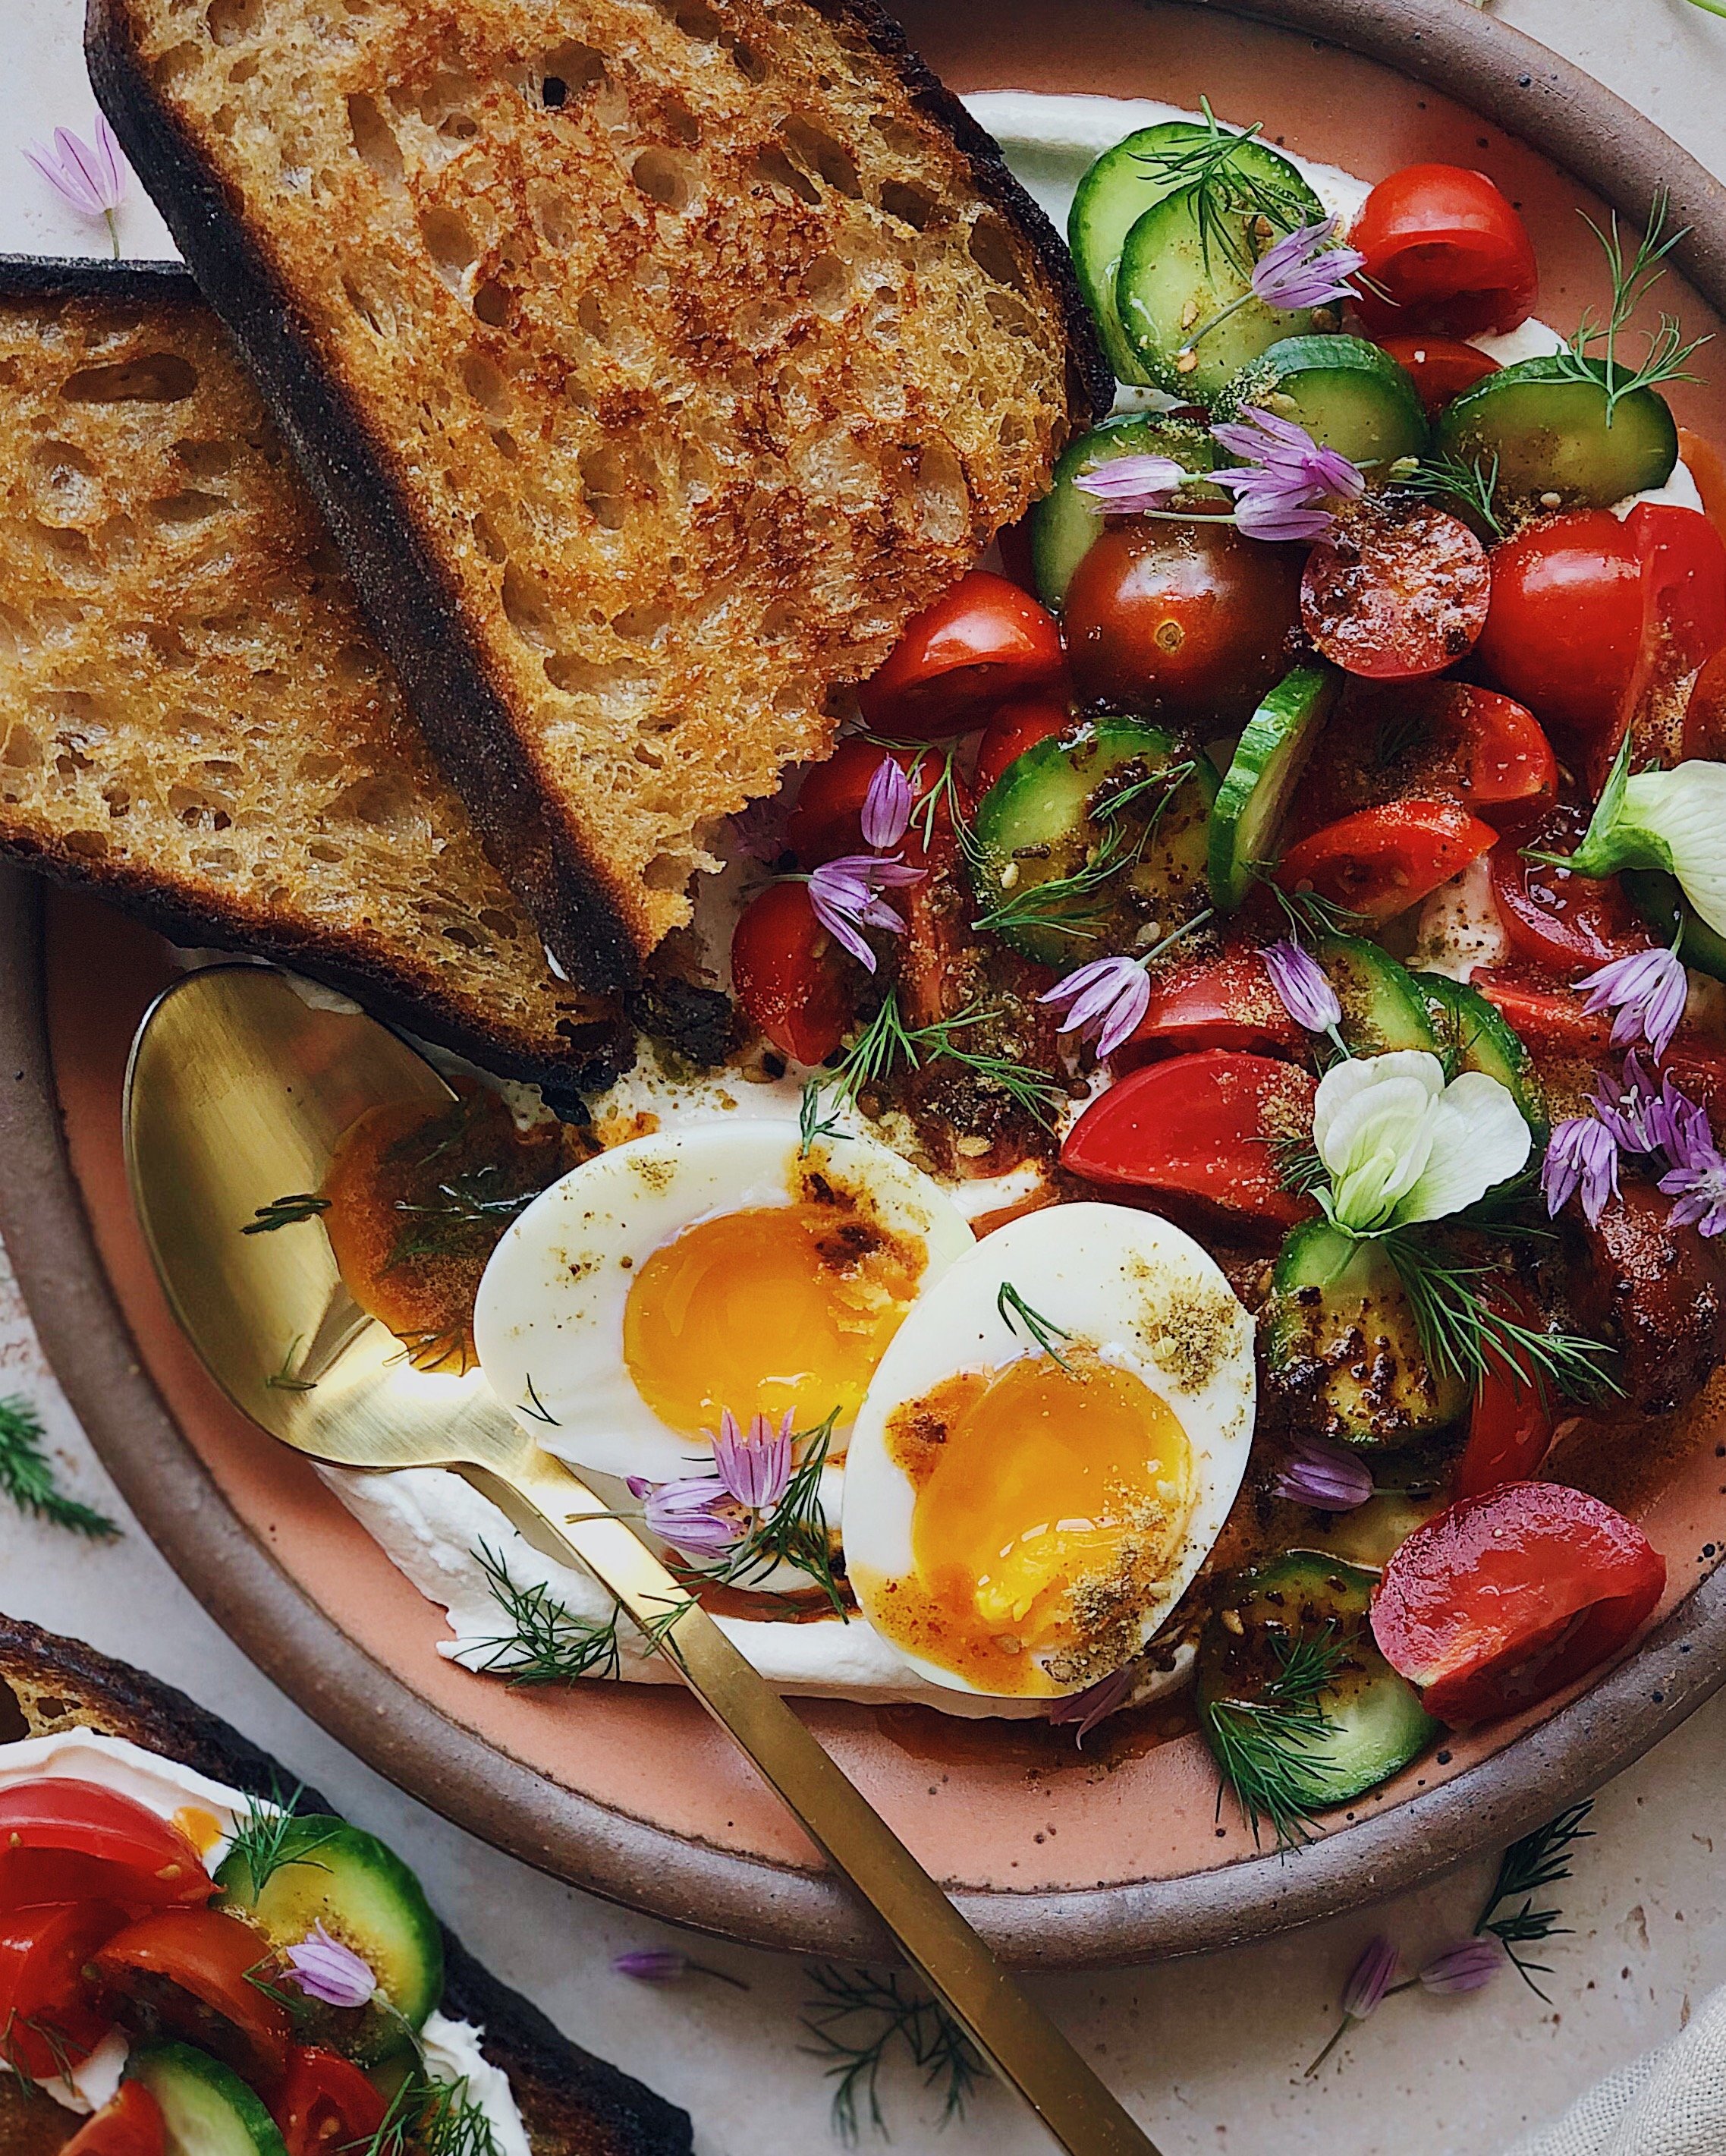
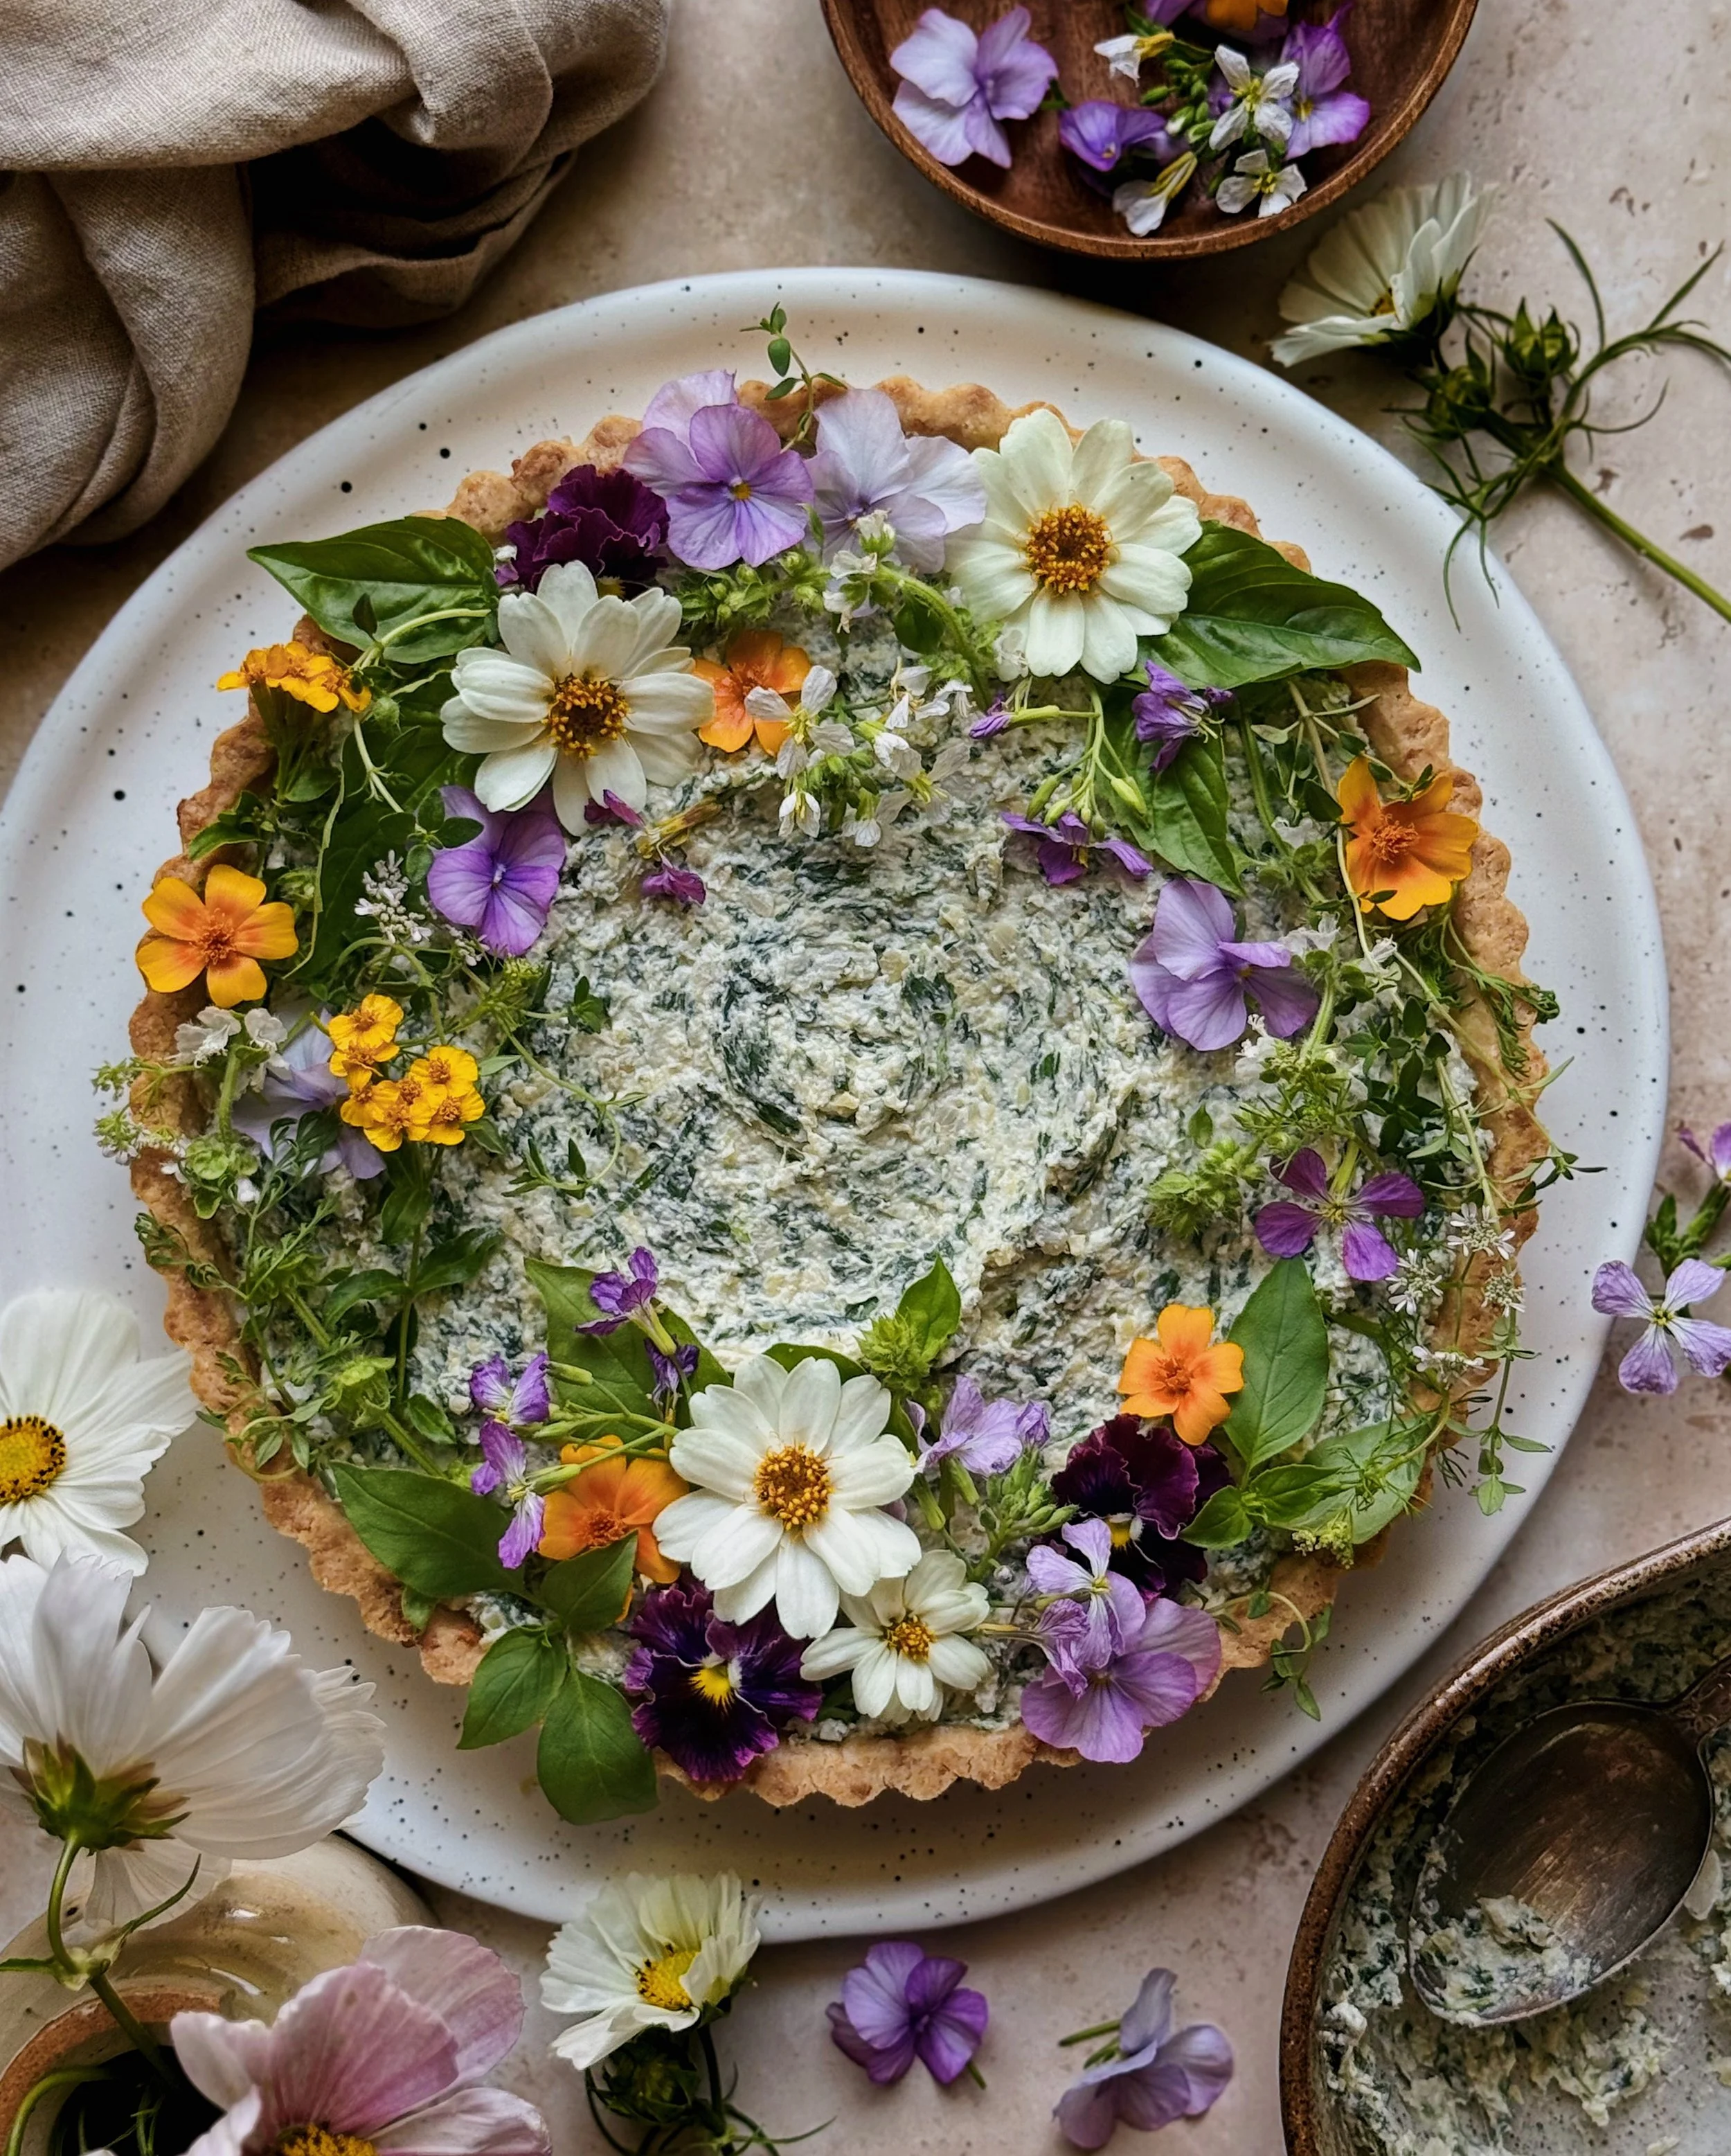
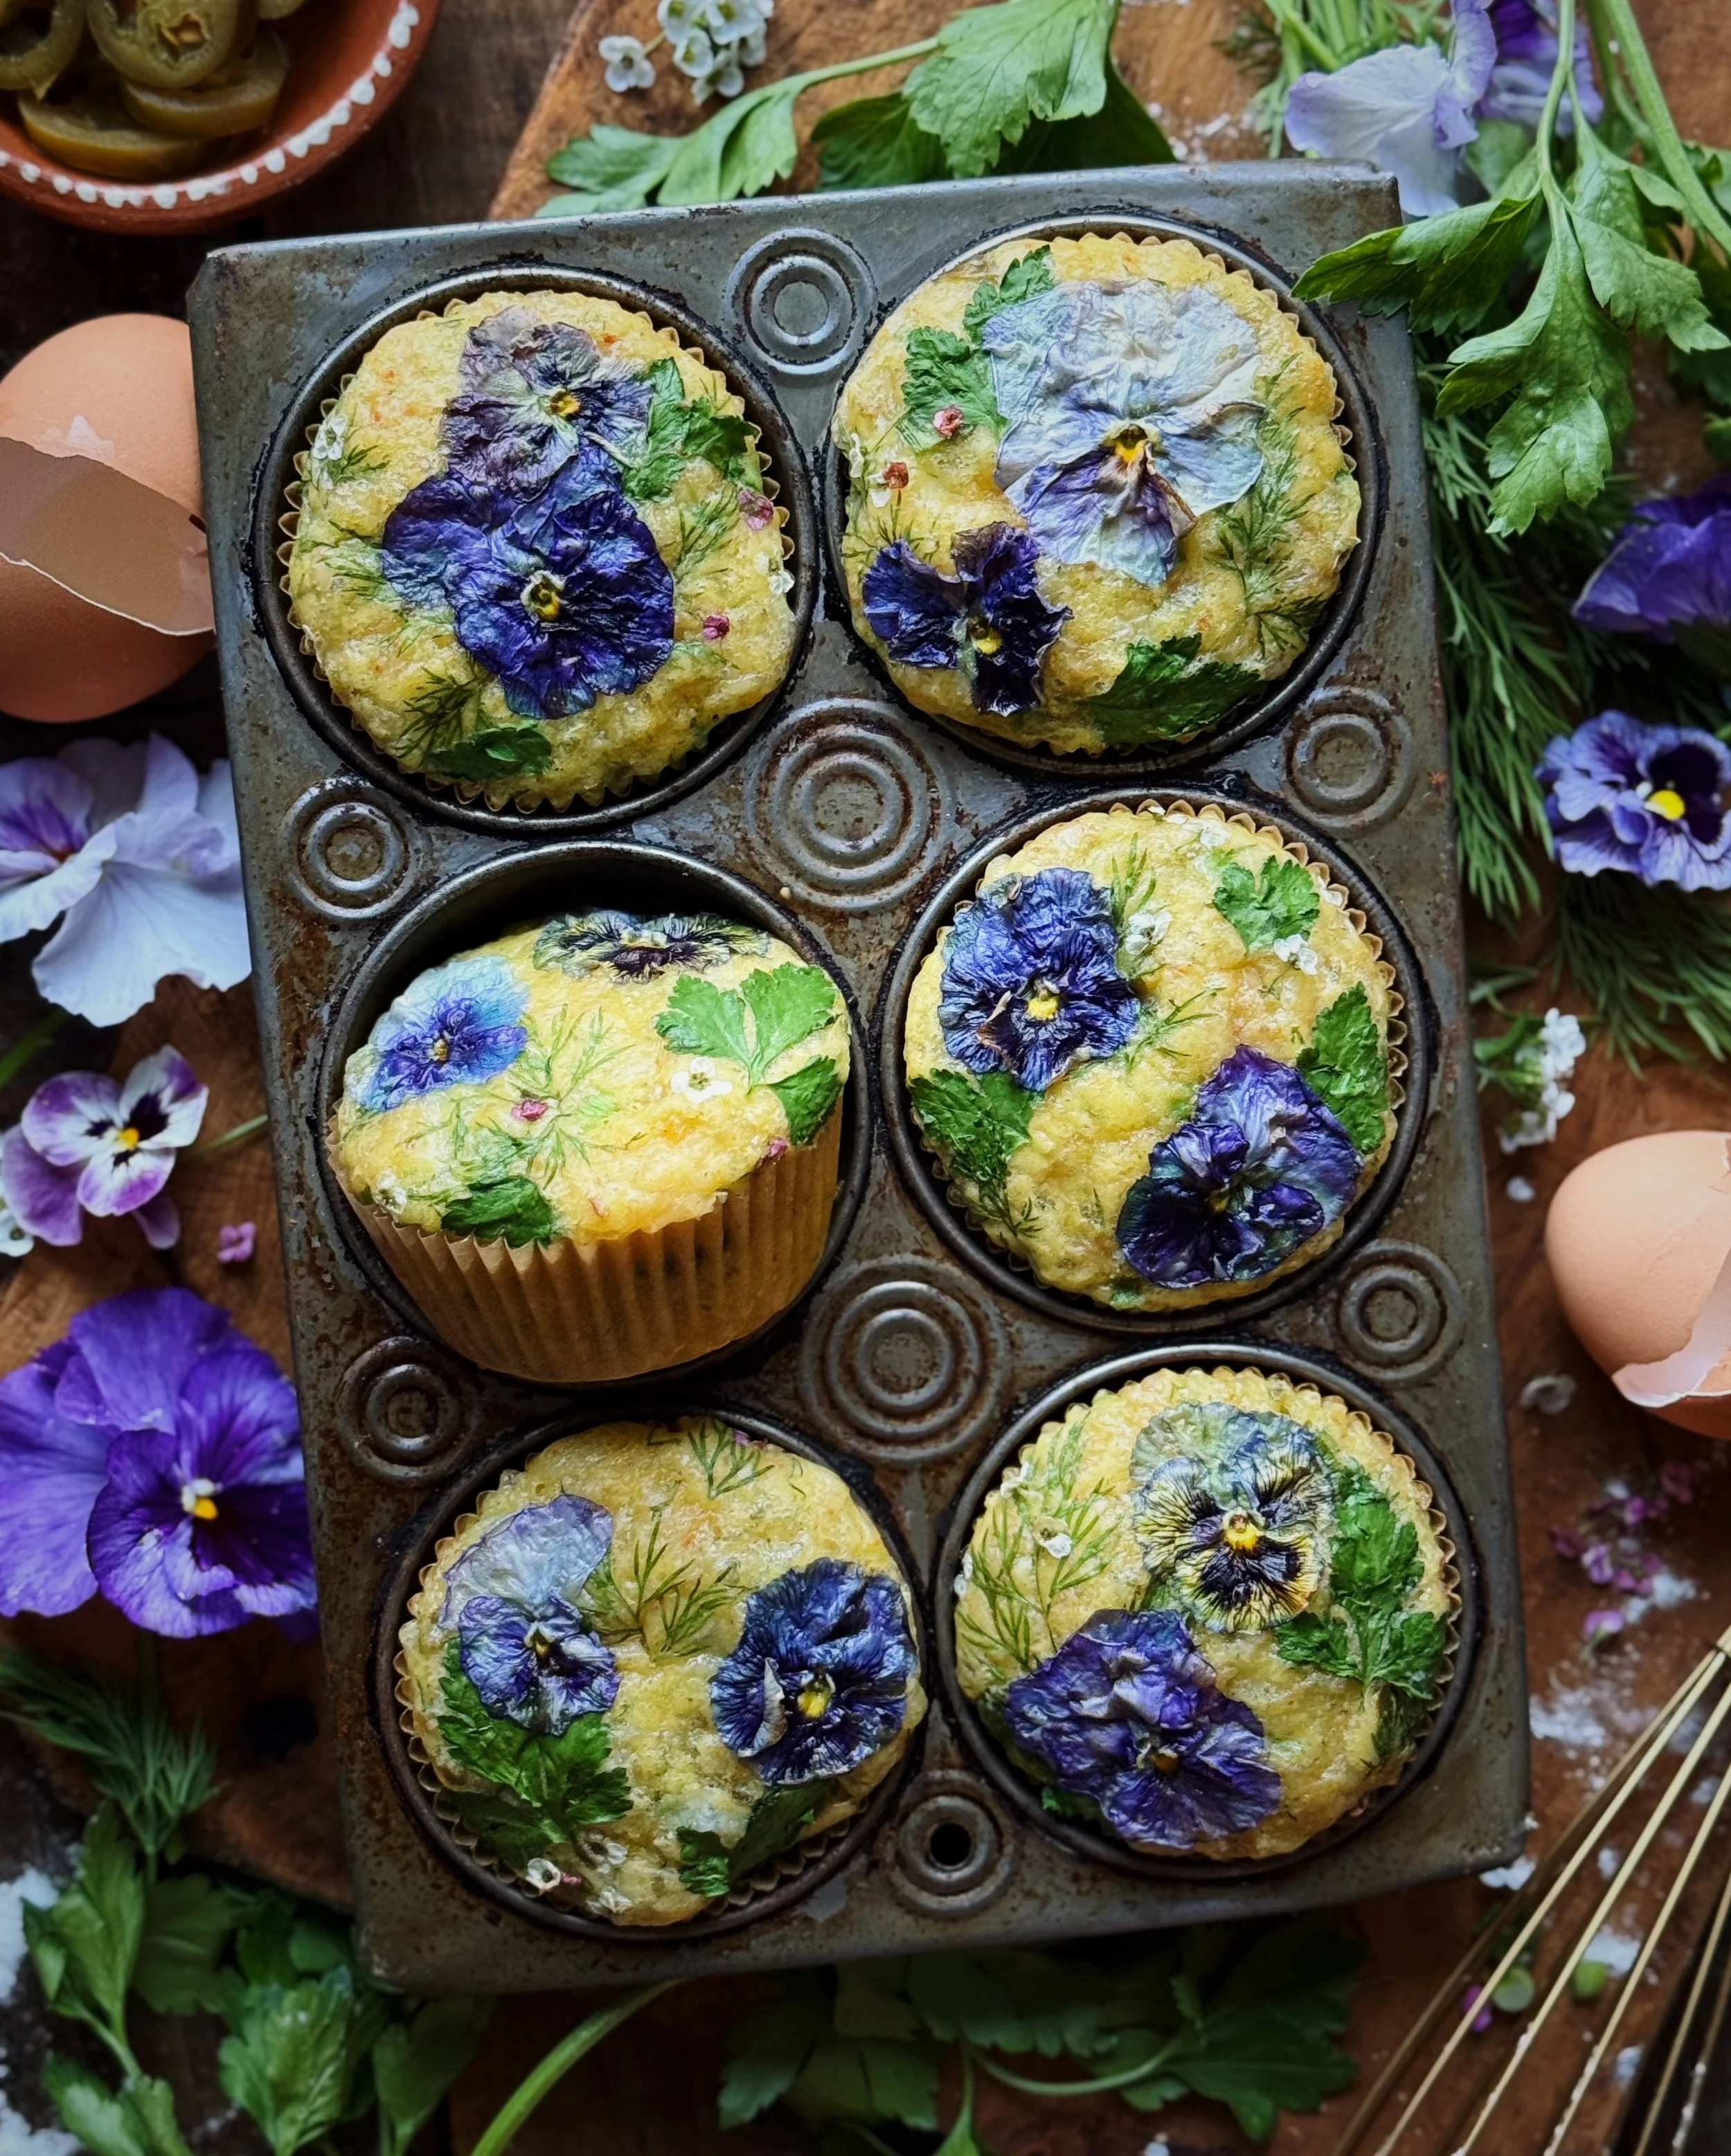
Now, for my usual disclaimers about decorating with edible flowers. The flowers you see in the photos are safe to eat and I grew the myself in my own backyard. I used pansies and sweet alyssum and the leaves are parsley and dill. The flowers have very minimal impact on taste but I think adding some herbs on top gives them a nice look and adds a smidge of an extra depth of flavor. In this case, I think the dill pairs very well with the pickled jalapeños so if I were making these for myself and not for the ‘gram, I would have just gone big with the dill on top. If you do wish to decorate with edible flowers, this is a great recipe to do so because you are placing the flowers on a very wet batter. The moisture from the batter helps the flowers keep their color and shape in the heat of the oven. For best results, use very thin flowers and make sure they are fully in contact with the surface of the batter, as anything that is not touching the batter will easily shrivel up while the muffins are baking.
I recently learned that Starbucks has these things called “egg bites” that I guess are pretty popular; I haven’t stepped into a Starbucks in over a decade so I wouldn’t really know but based on looking at photos I’d say those look more eggy-textured whereas these are much more fluffy and have a slight hint of a Southern biscuit vibe that comes from combining the egg and the pancake mix. That’s why I call them frittata muffins—they are definitely like the texture and flavor of a frittata but in adorable muffin form.

How to Make Cheesy Mini Frittata Muffins with Pickled Jalapeños
(Makes 6 muffins)
Ingredients for muffins
3 eggs
2/3 cup American style dry buttermilk pancake mix
~2 cups grated pepper jack cheese
1/4 cup pickled jalapeños, thoroughly drained and roughly chopped
2 scallions, chopped
Special Supplies
6 muffin liners
Ingredients for Decorating (optional)
parsley or cilantro leaves
dill
edible flowers, such as pansies, violas, and sweet alyssum
1 tbsp butter, melted
Procedure
Preheat oven to 350°F. Line muffin tins with paper muffin liners.
Beat eggs thoroughly in a mixing bowl. Pat pickled jalapeños dry of any excess moisture and mix in with the eggs. Stir in pancake mix. Then fold in scallions and pepper jack cheese.
Divide batter evenly among lined muffin tins.
Decorate if desired. Try to use only the softest parts of the herbs and flowers and press them against the surface of the batter, ensuring as much contact as possible to preserve their color and shape. Brush decorations with melted butter, again to help preserve their color while baking.
Bake for 15–17 minutes or until an inserted toothpick comes out clean. Allow them to cool and set slightly before removing and enjoying.