


Recipe: Shrimp Toast Smashed Tacos
/These shrimp toast smashed tacos are my contribution to the smash burger taco trend from maybe a couple years ago? The filling for these smashed shrimp tacos is inspired by a classic Hong Kong dim sum dish—shrimp toast—where a smooth aromatic shrimp paste is spread on triangles of white bread, coated in sesame seeds, and deep fried. It is so delicious but I think my taco version is just as good (and perhaps a little bit healthier, as a bonus!)
Shrimp toast is not a dish that I grew up with but I know it is nostalgic for many fellow Chinese-Americans. Since I grew up in an area where variety for Chinese restaurants was sparse (we literally just went to the same two restaurants) I think I missed out on a lot of iconic Cantonese takeout dishes; I am lucky that I now feel am part of a lovely Asian-American community here in the Bay Area, and I have friends to teach me about these dishes from their childhoods. And it was not too late in life for me to become just as addicted to shrimp toast!
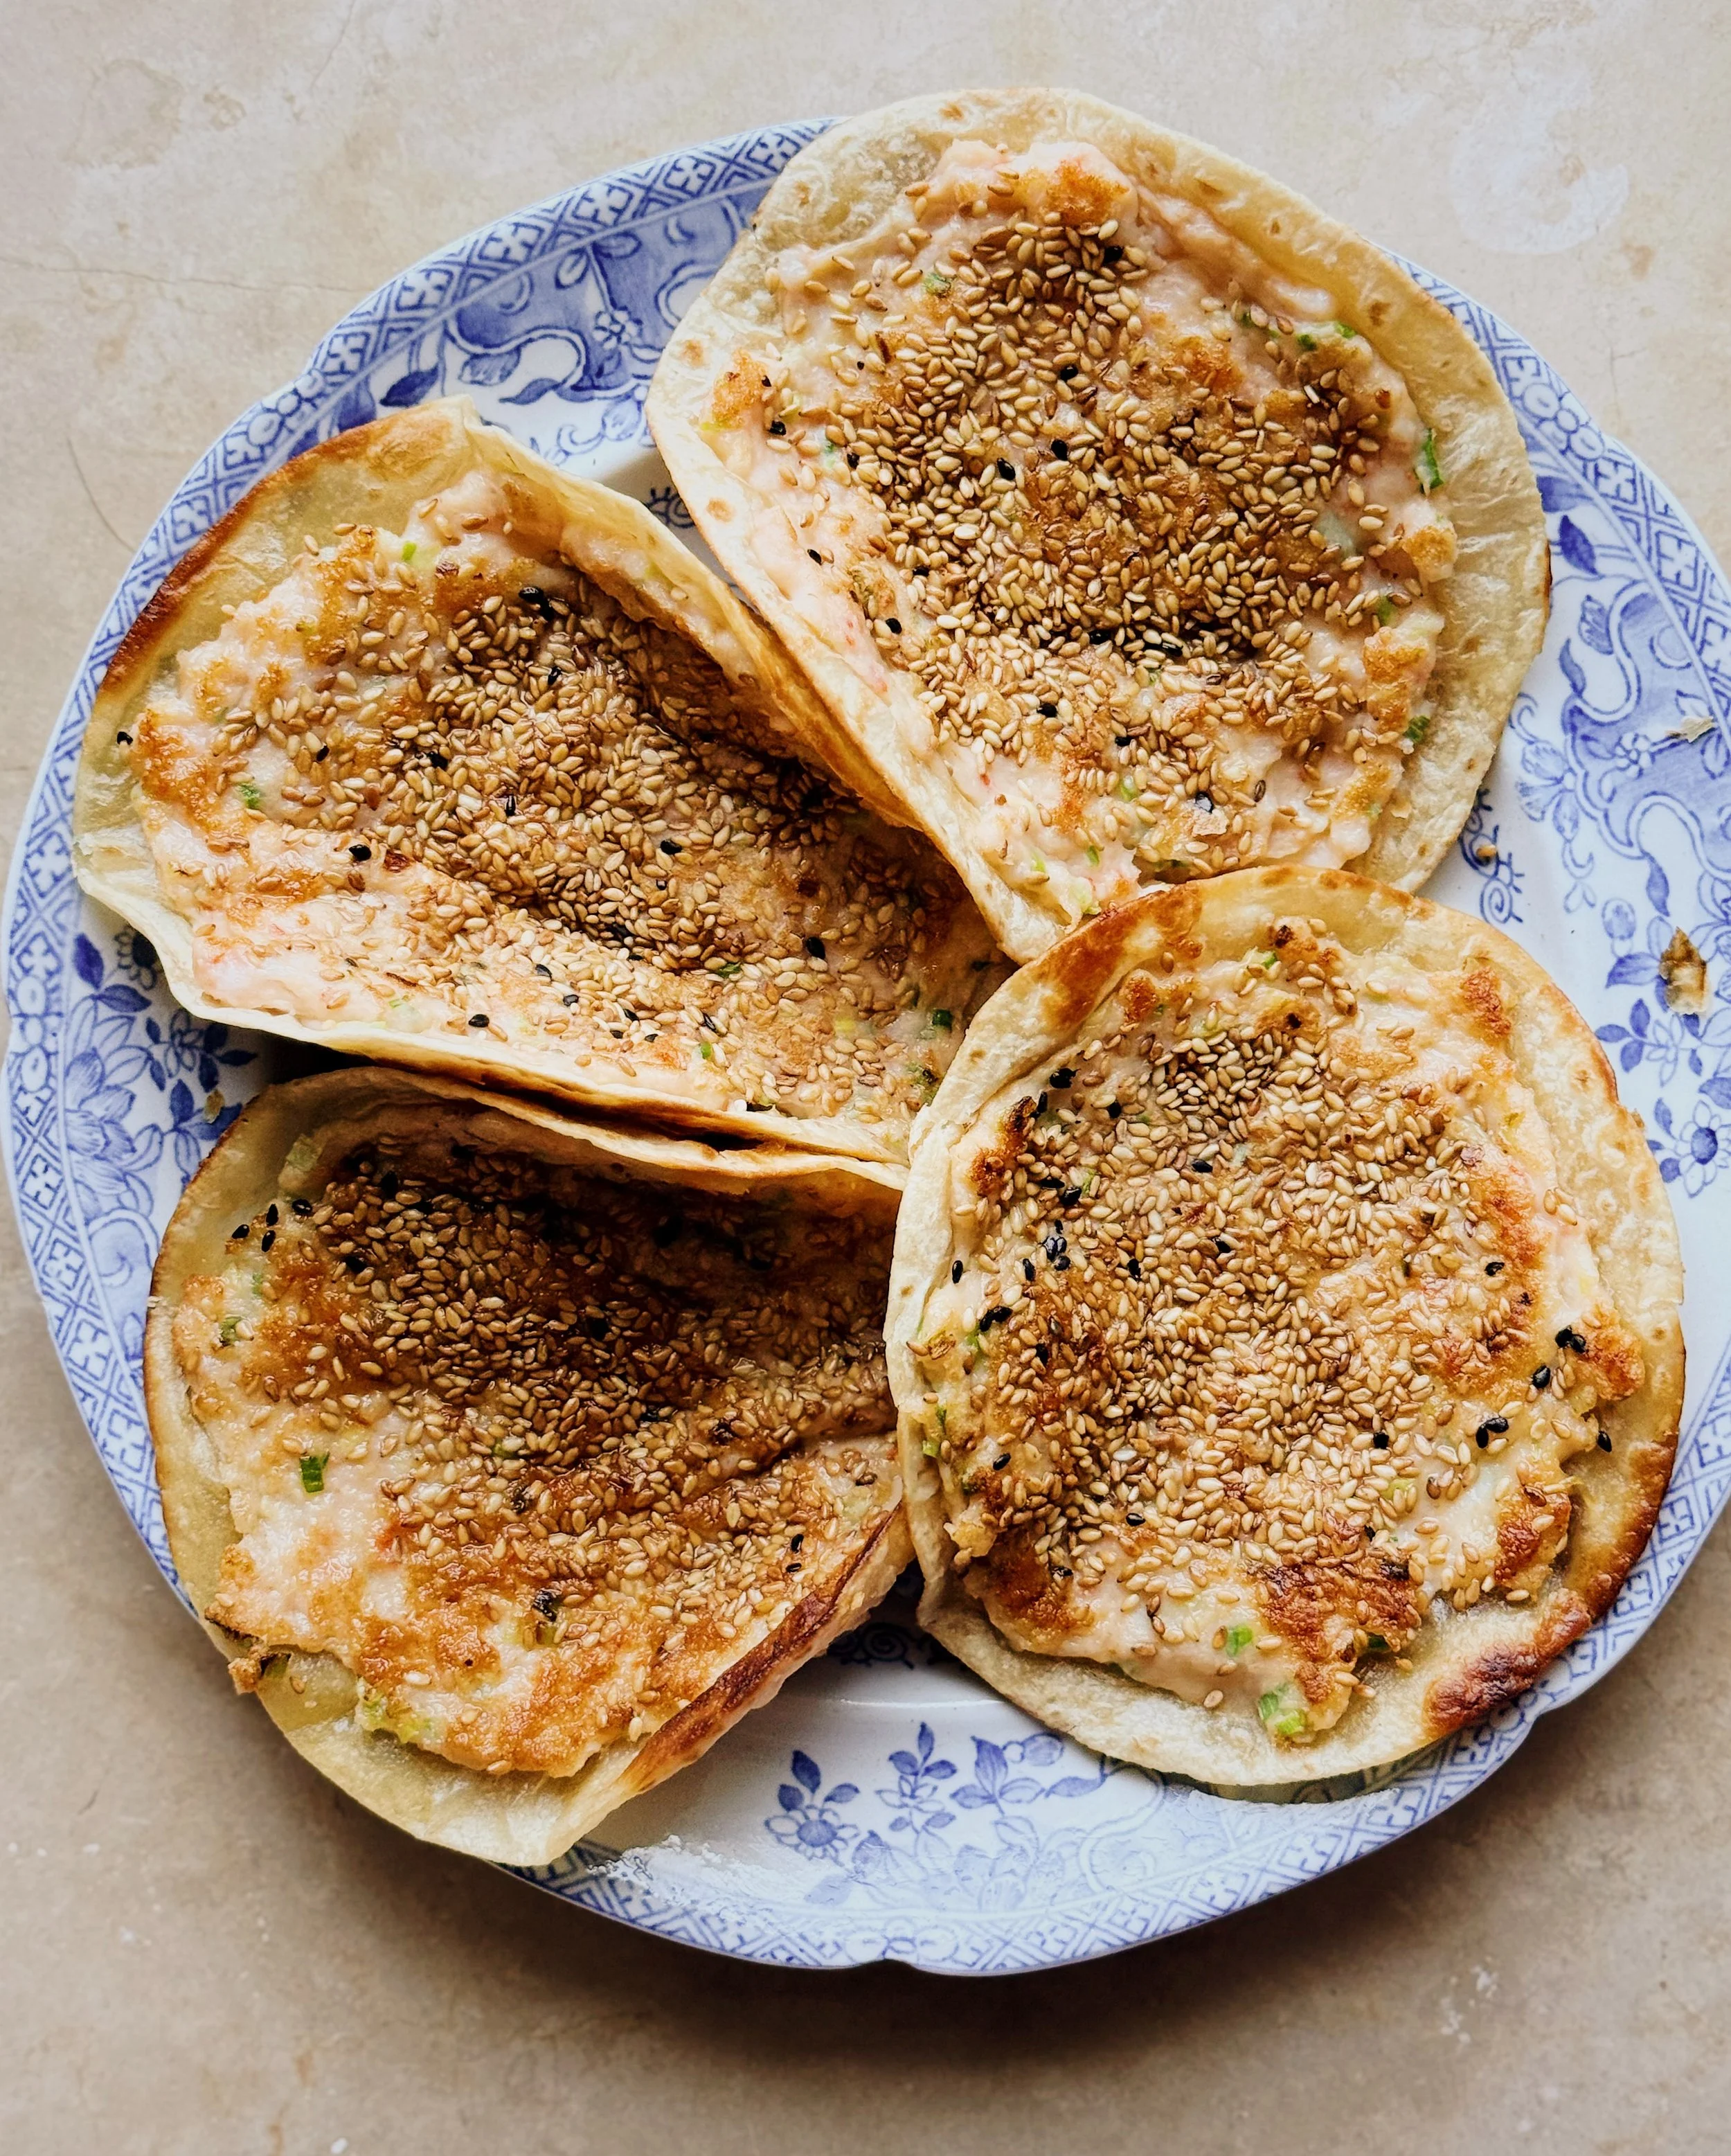
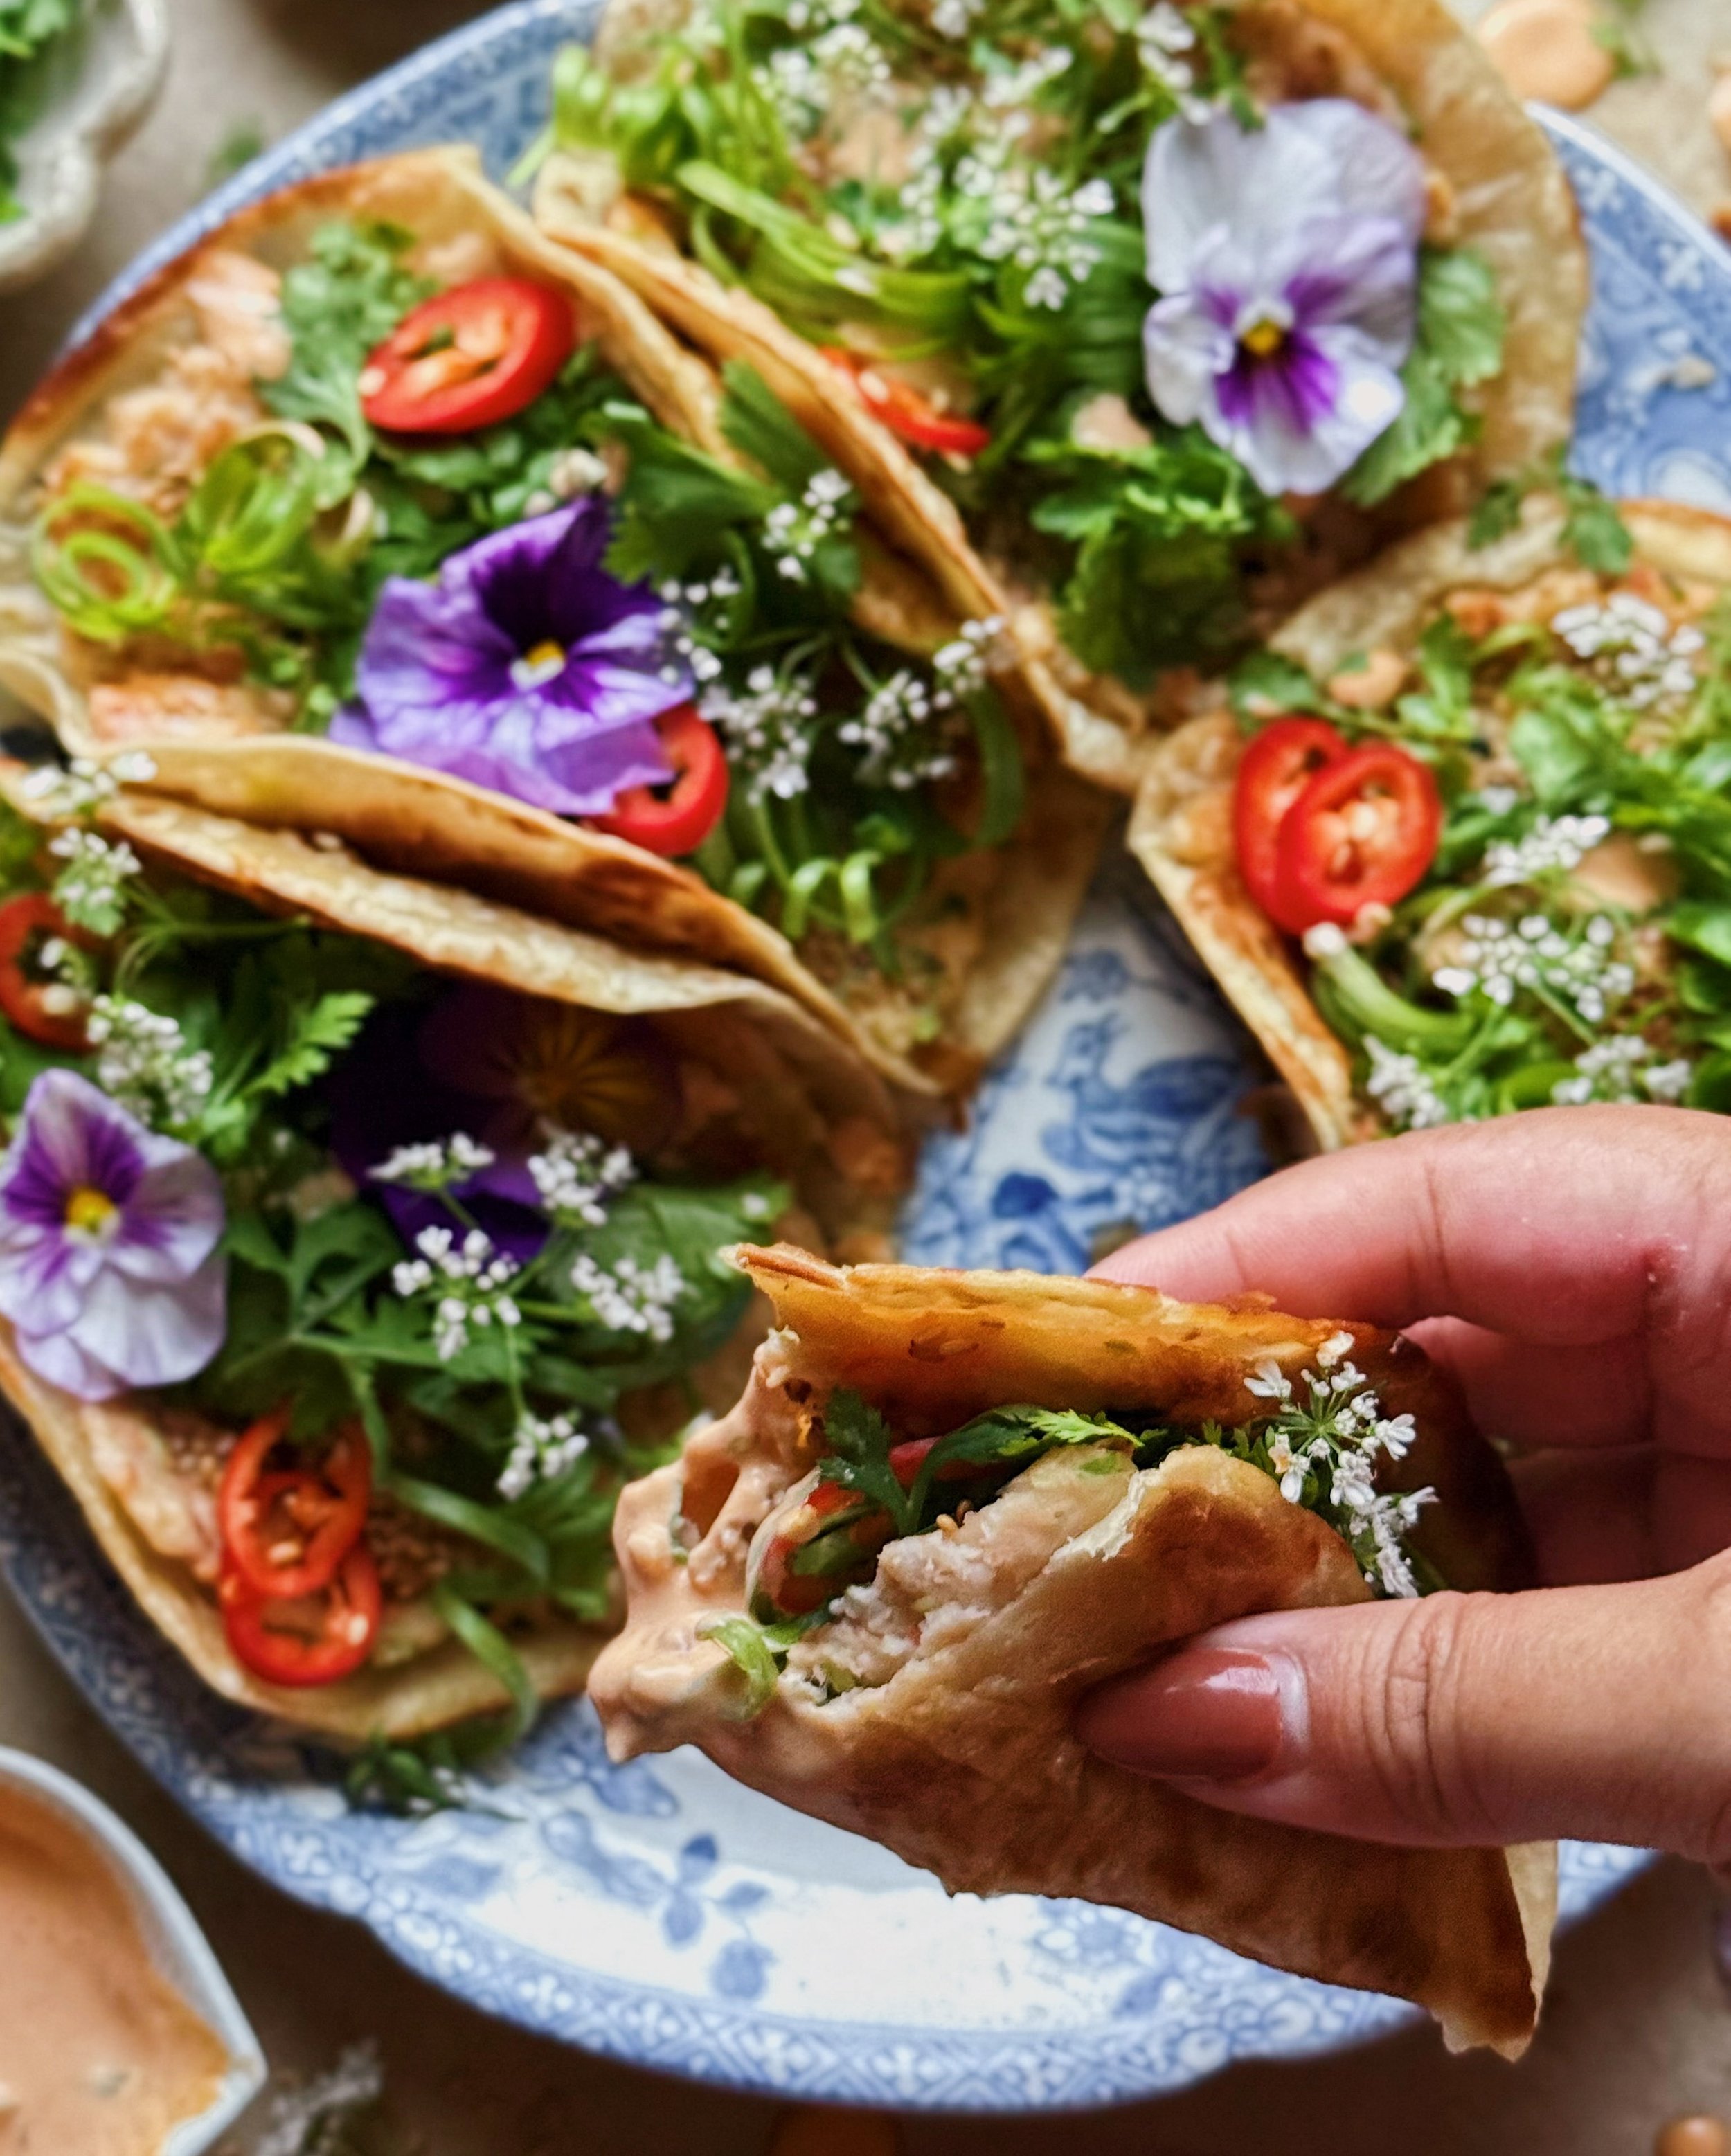
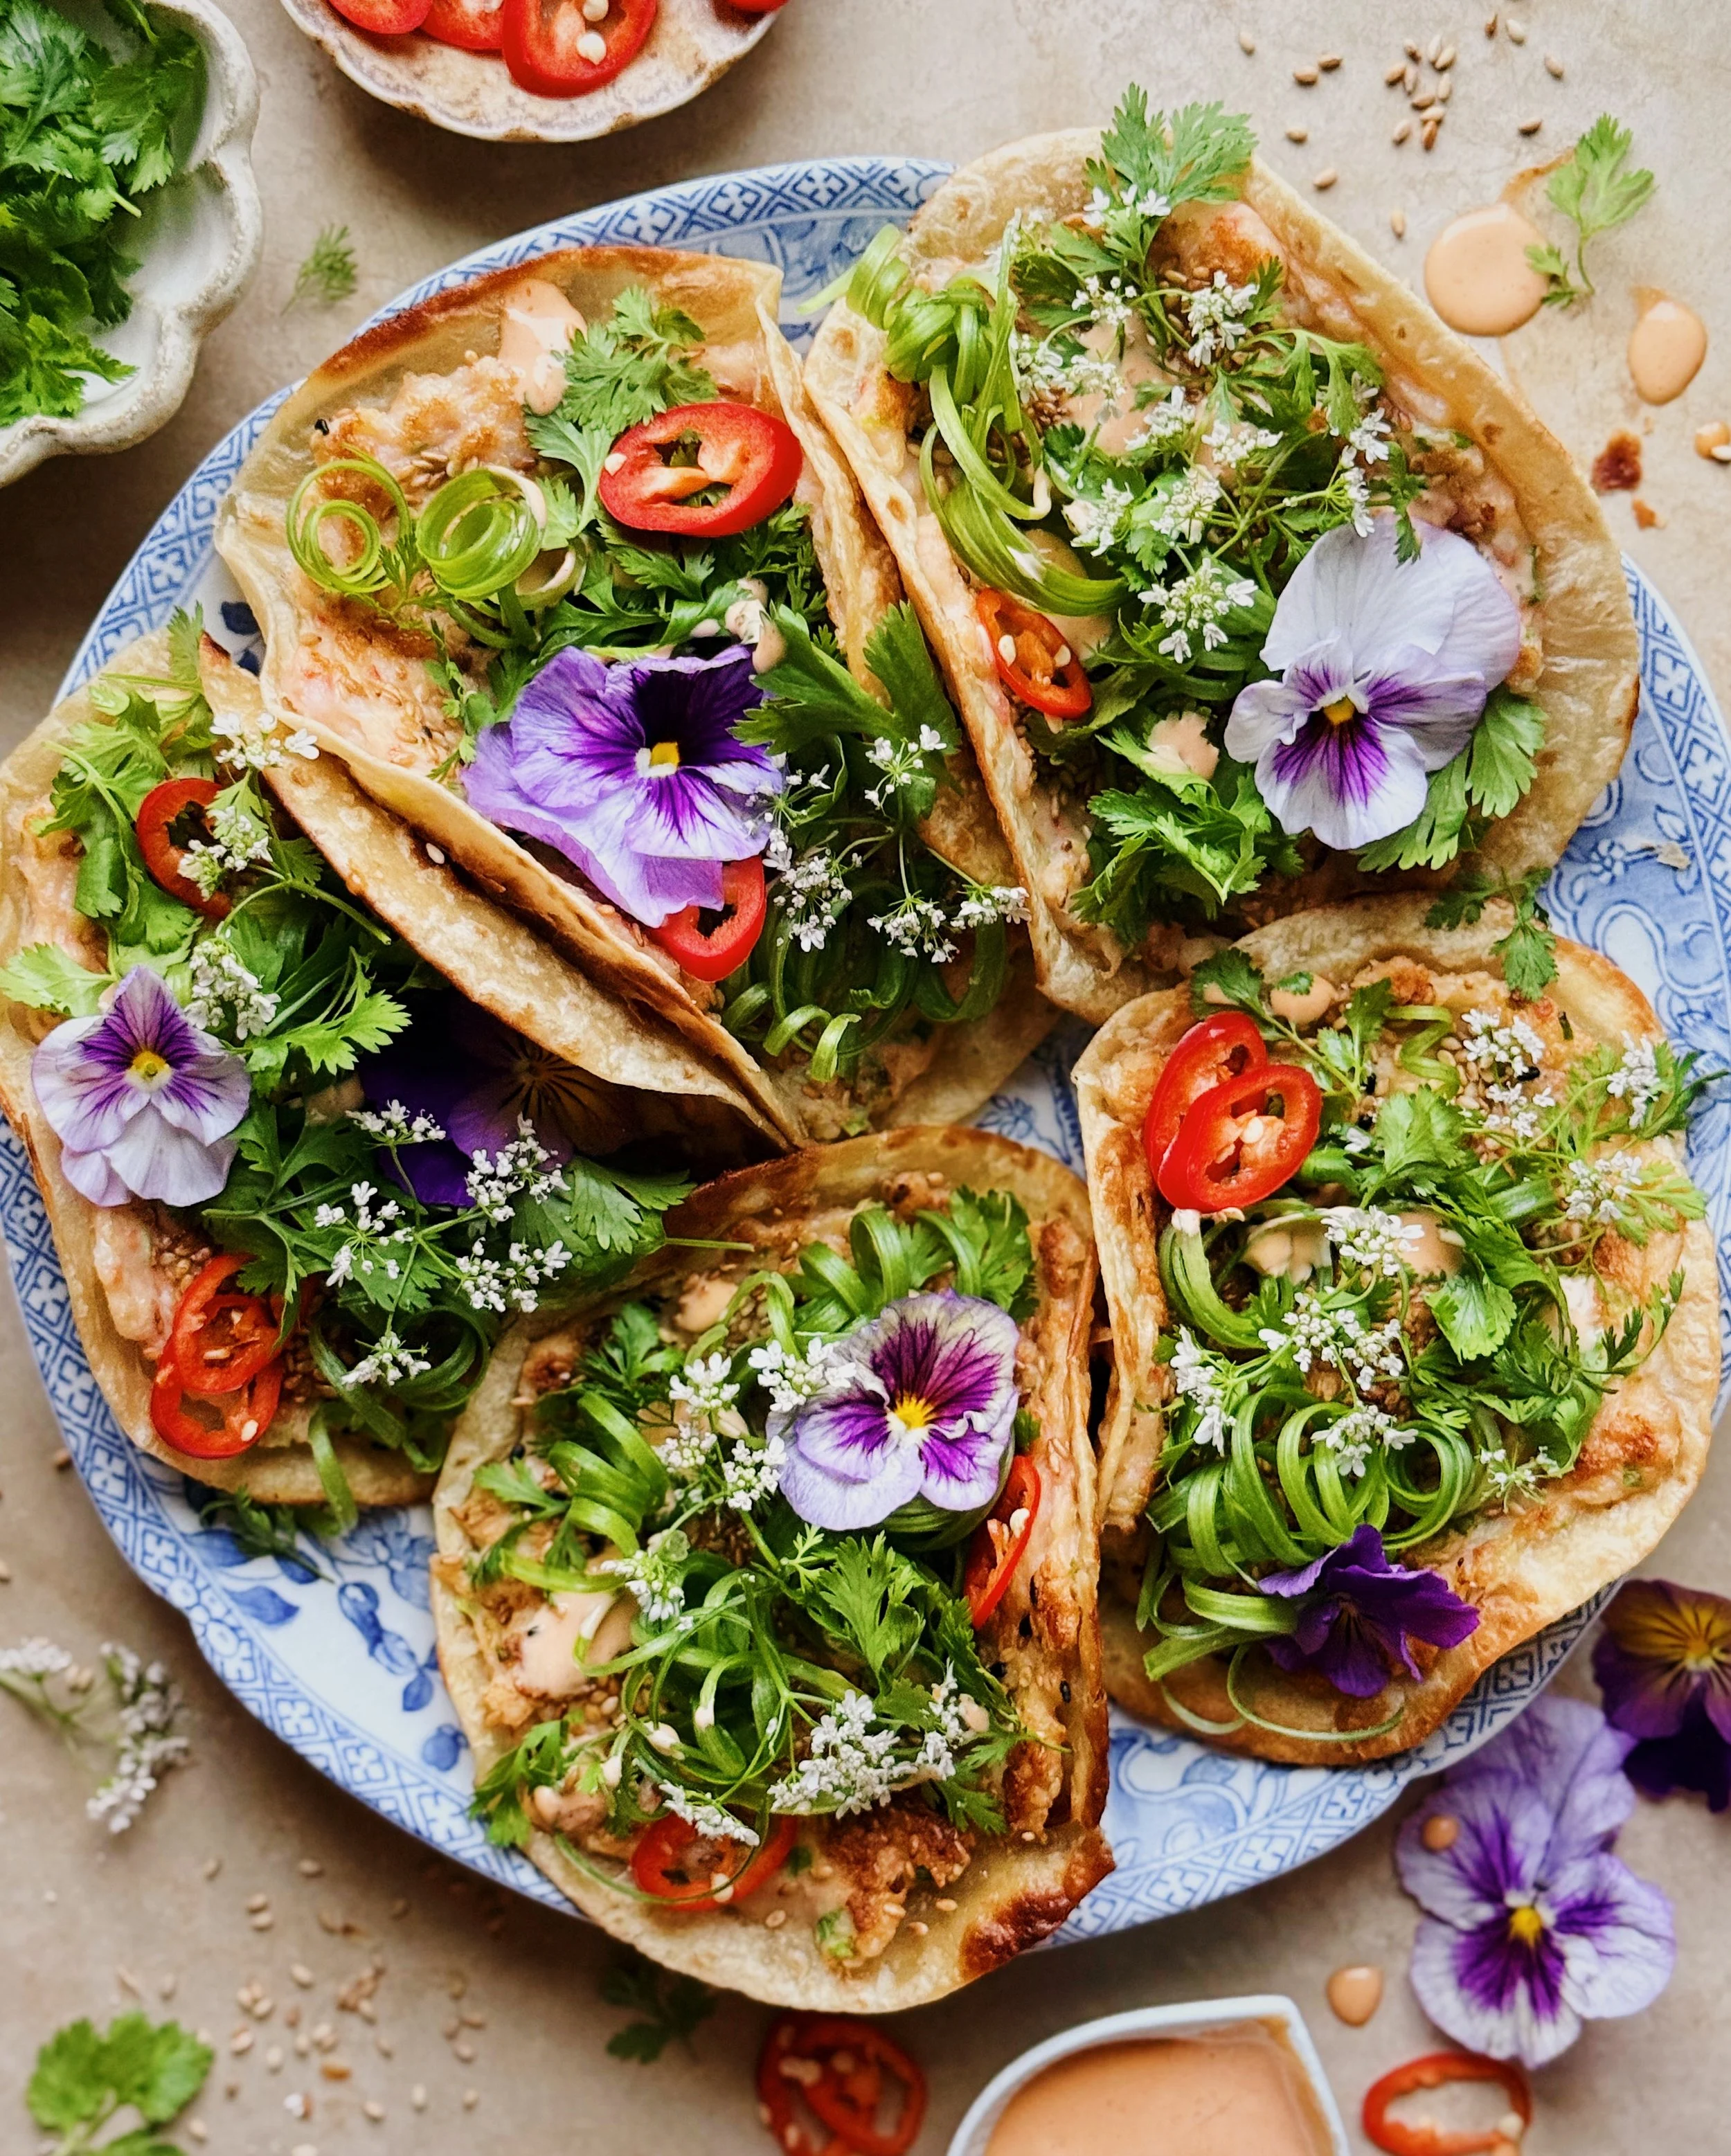
For my easy taco version, shrimp, scallions, and other seasonings are turned into a paste with a food processor, and then spread onto flour tortillas; they then get a layer of sesame seeds—just like shrimp toast—before being pan fried until both the tortilla and the sesame seeds get nice and crispy and toasty. I then load them with lots of scallions and cilantro, plus a drizzle of sriracha mayo, for a unique and very Californian taco night.
Notes about the Ingredients for the Filling
The filling for this recipe was adapted from the shrimp toast recipe by Woks of Life but I simplified it to make it a little easier, since there will be other flavors coming from the garnishes and sauce.
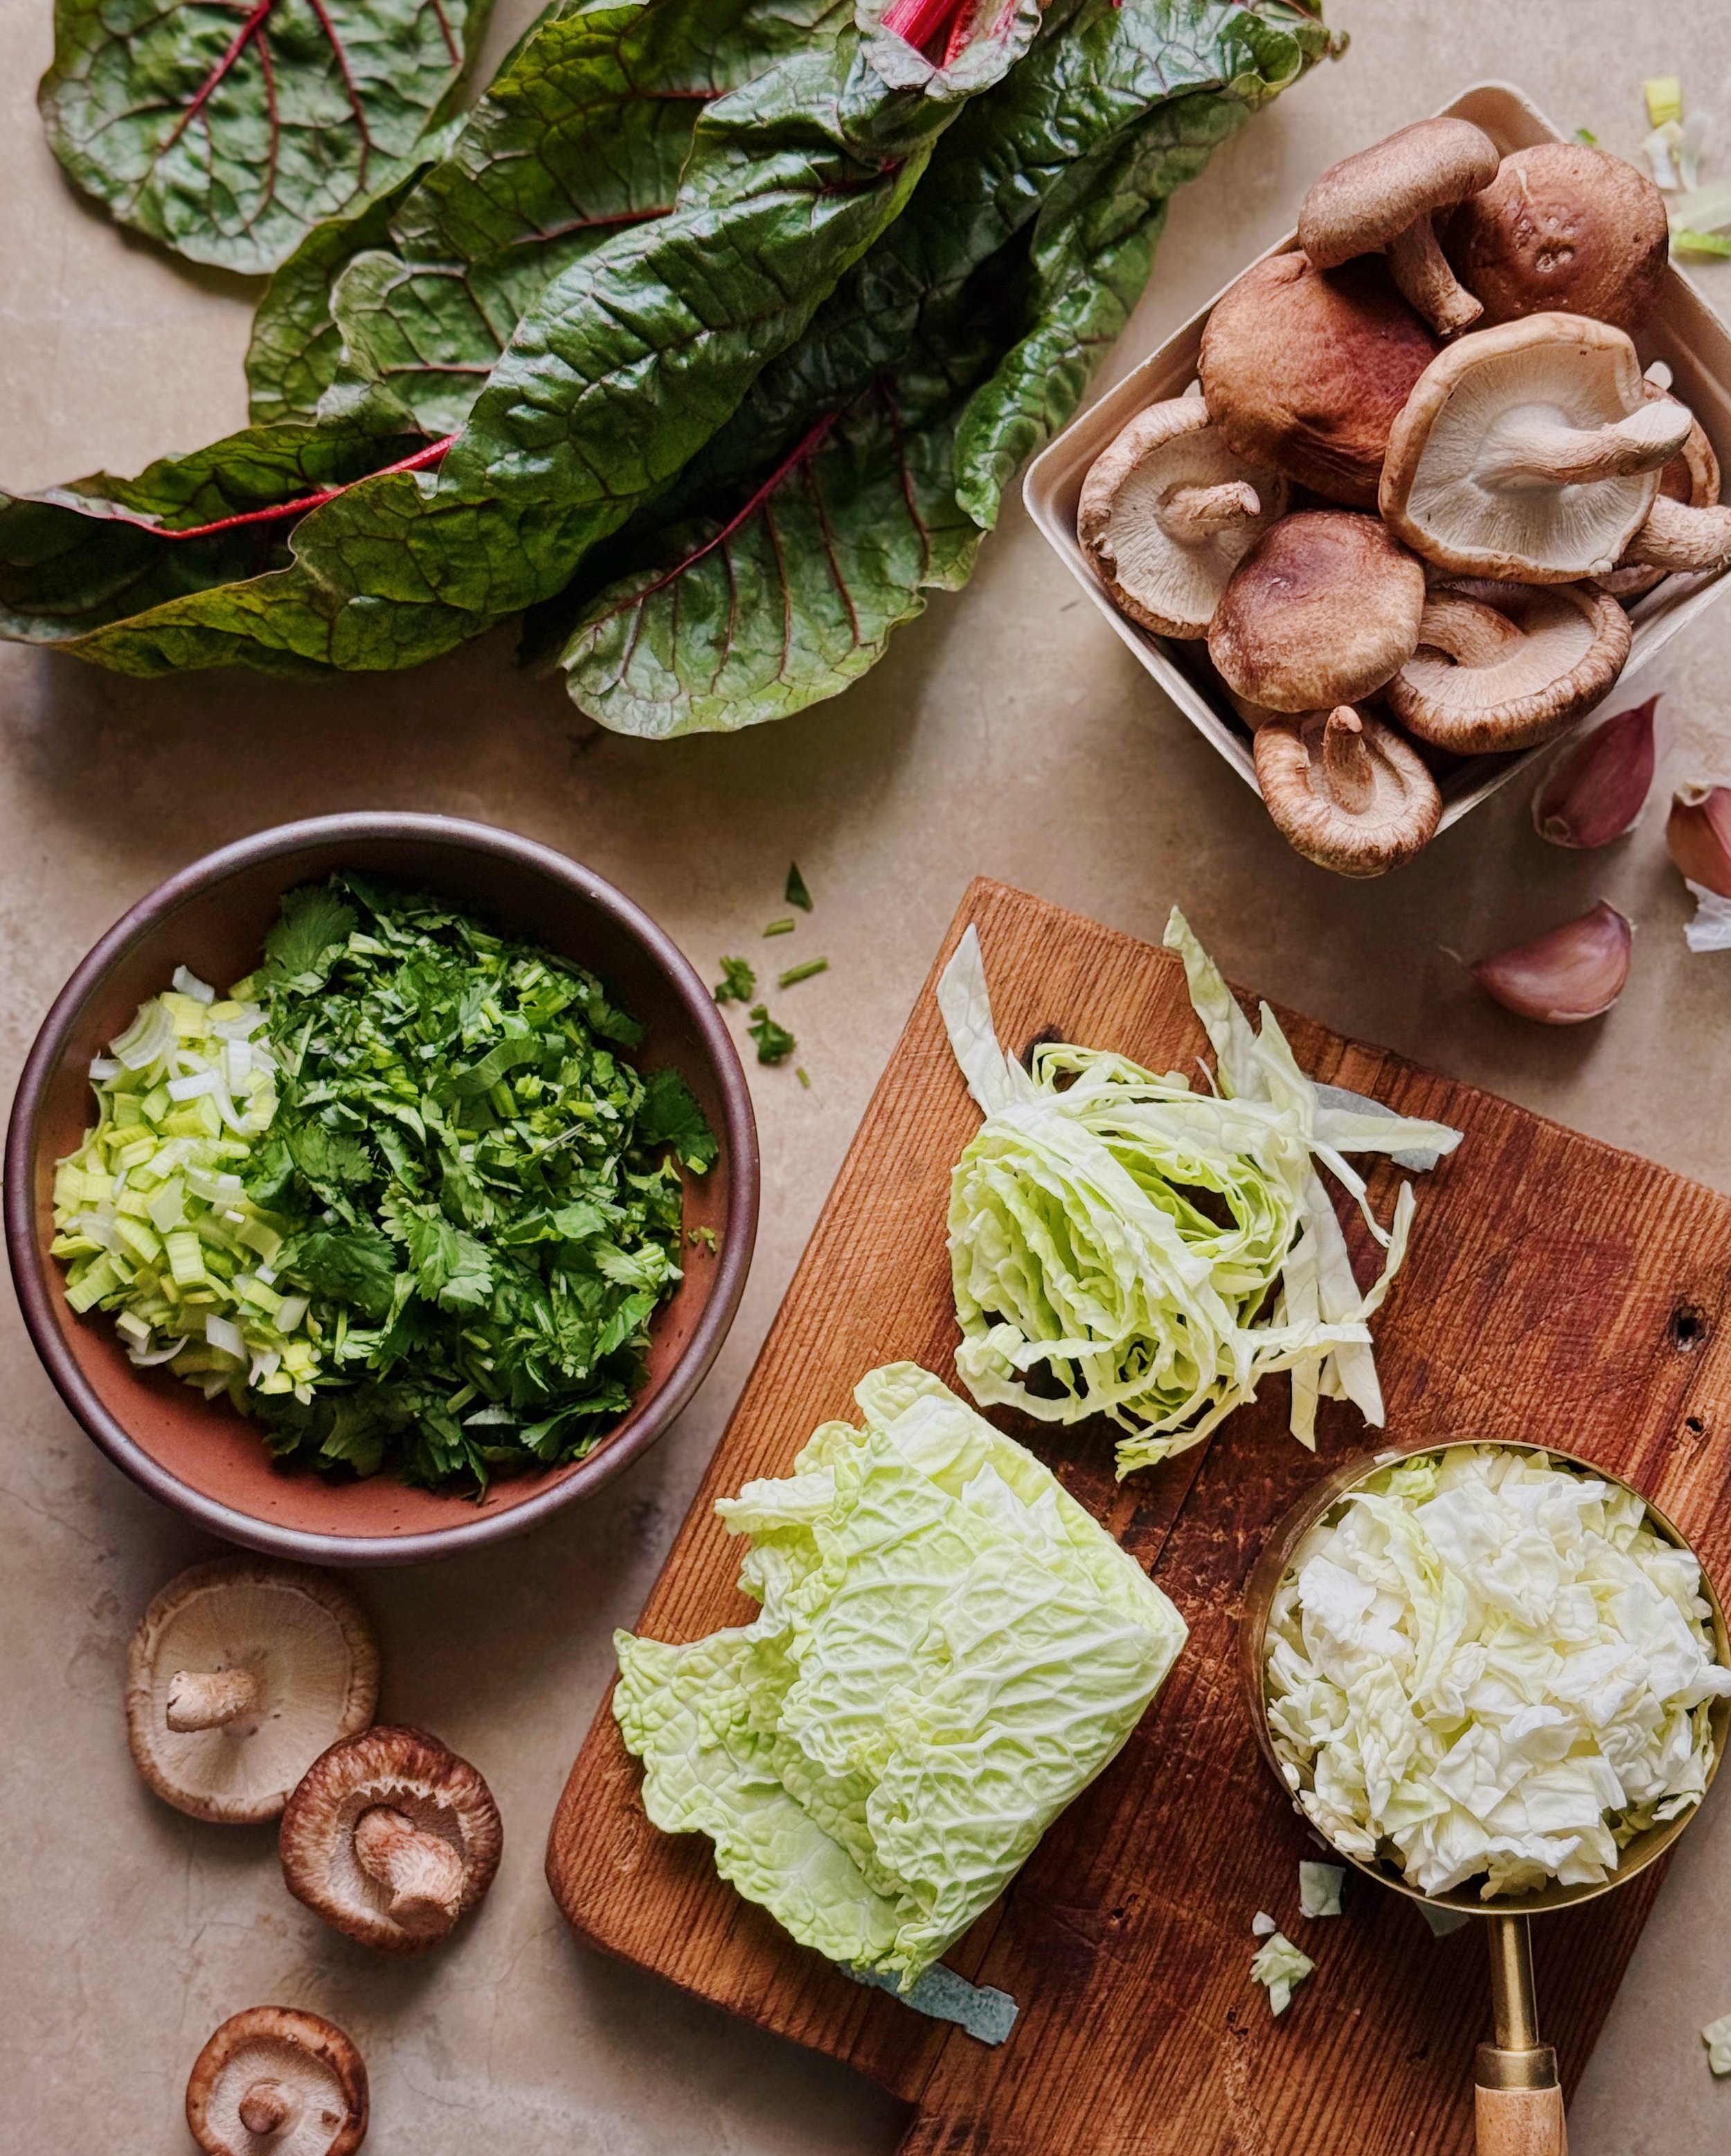
The ingredients for the filling are raw shrimp, Japanese-style mayo (Kewpie), ground ginger, ground white pepper, sesame oil, salt, sugar, scallions, and cornstarch. Combining these in a food processor produces a nice light and bouncy texture for the taco filling.
Choosing the Tortillas
I used Trader Joe’s Mini Sonora Style tortillas to make my shrimp toast smashed tacos. These are thin flour tortillas that look very irregular and handmade, and I think they are perfect for this recipe because when they get pan-fried, they slightly resemble Chinese scallion pancakes. If you can’t find these, any small flour tortillas will do.
Garnishing the Tacos
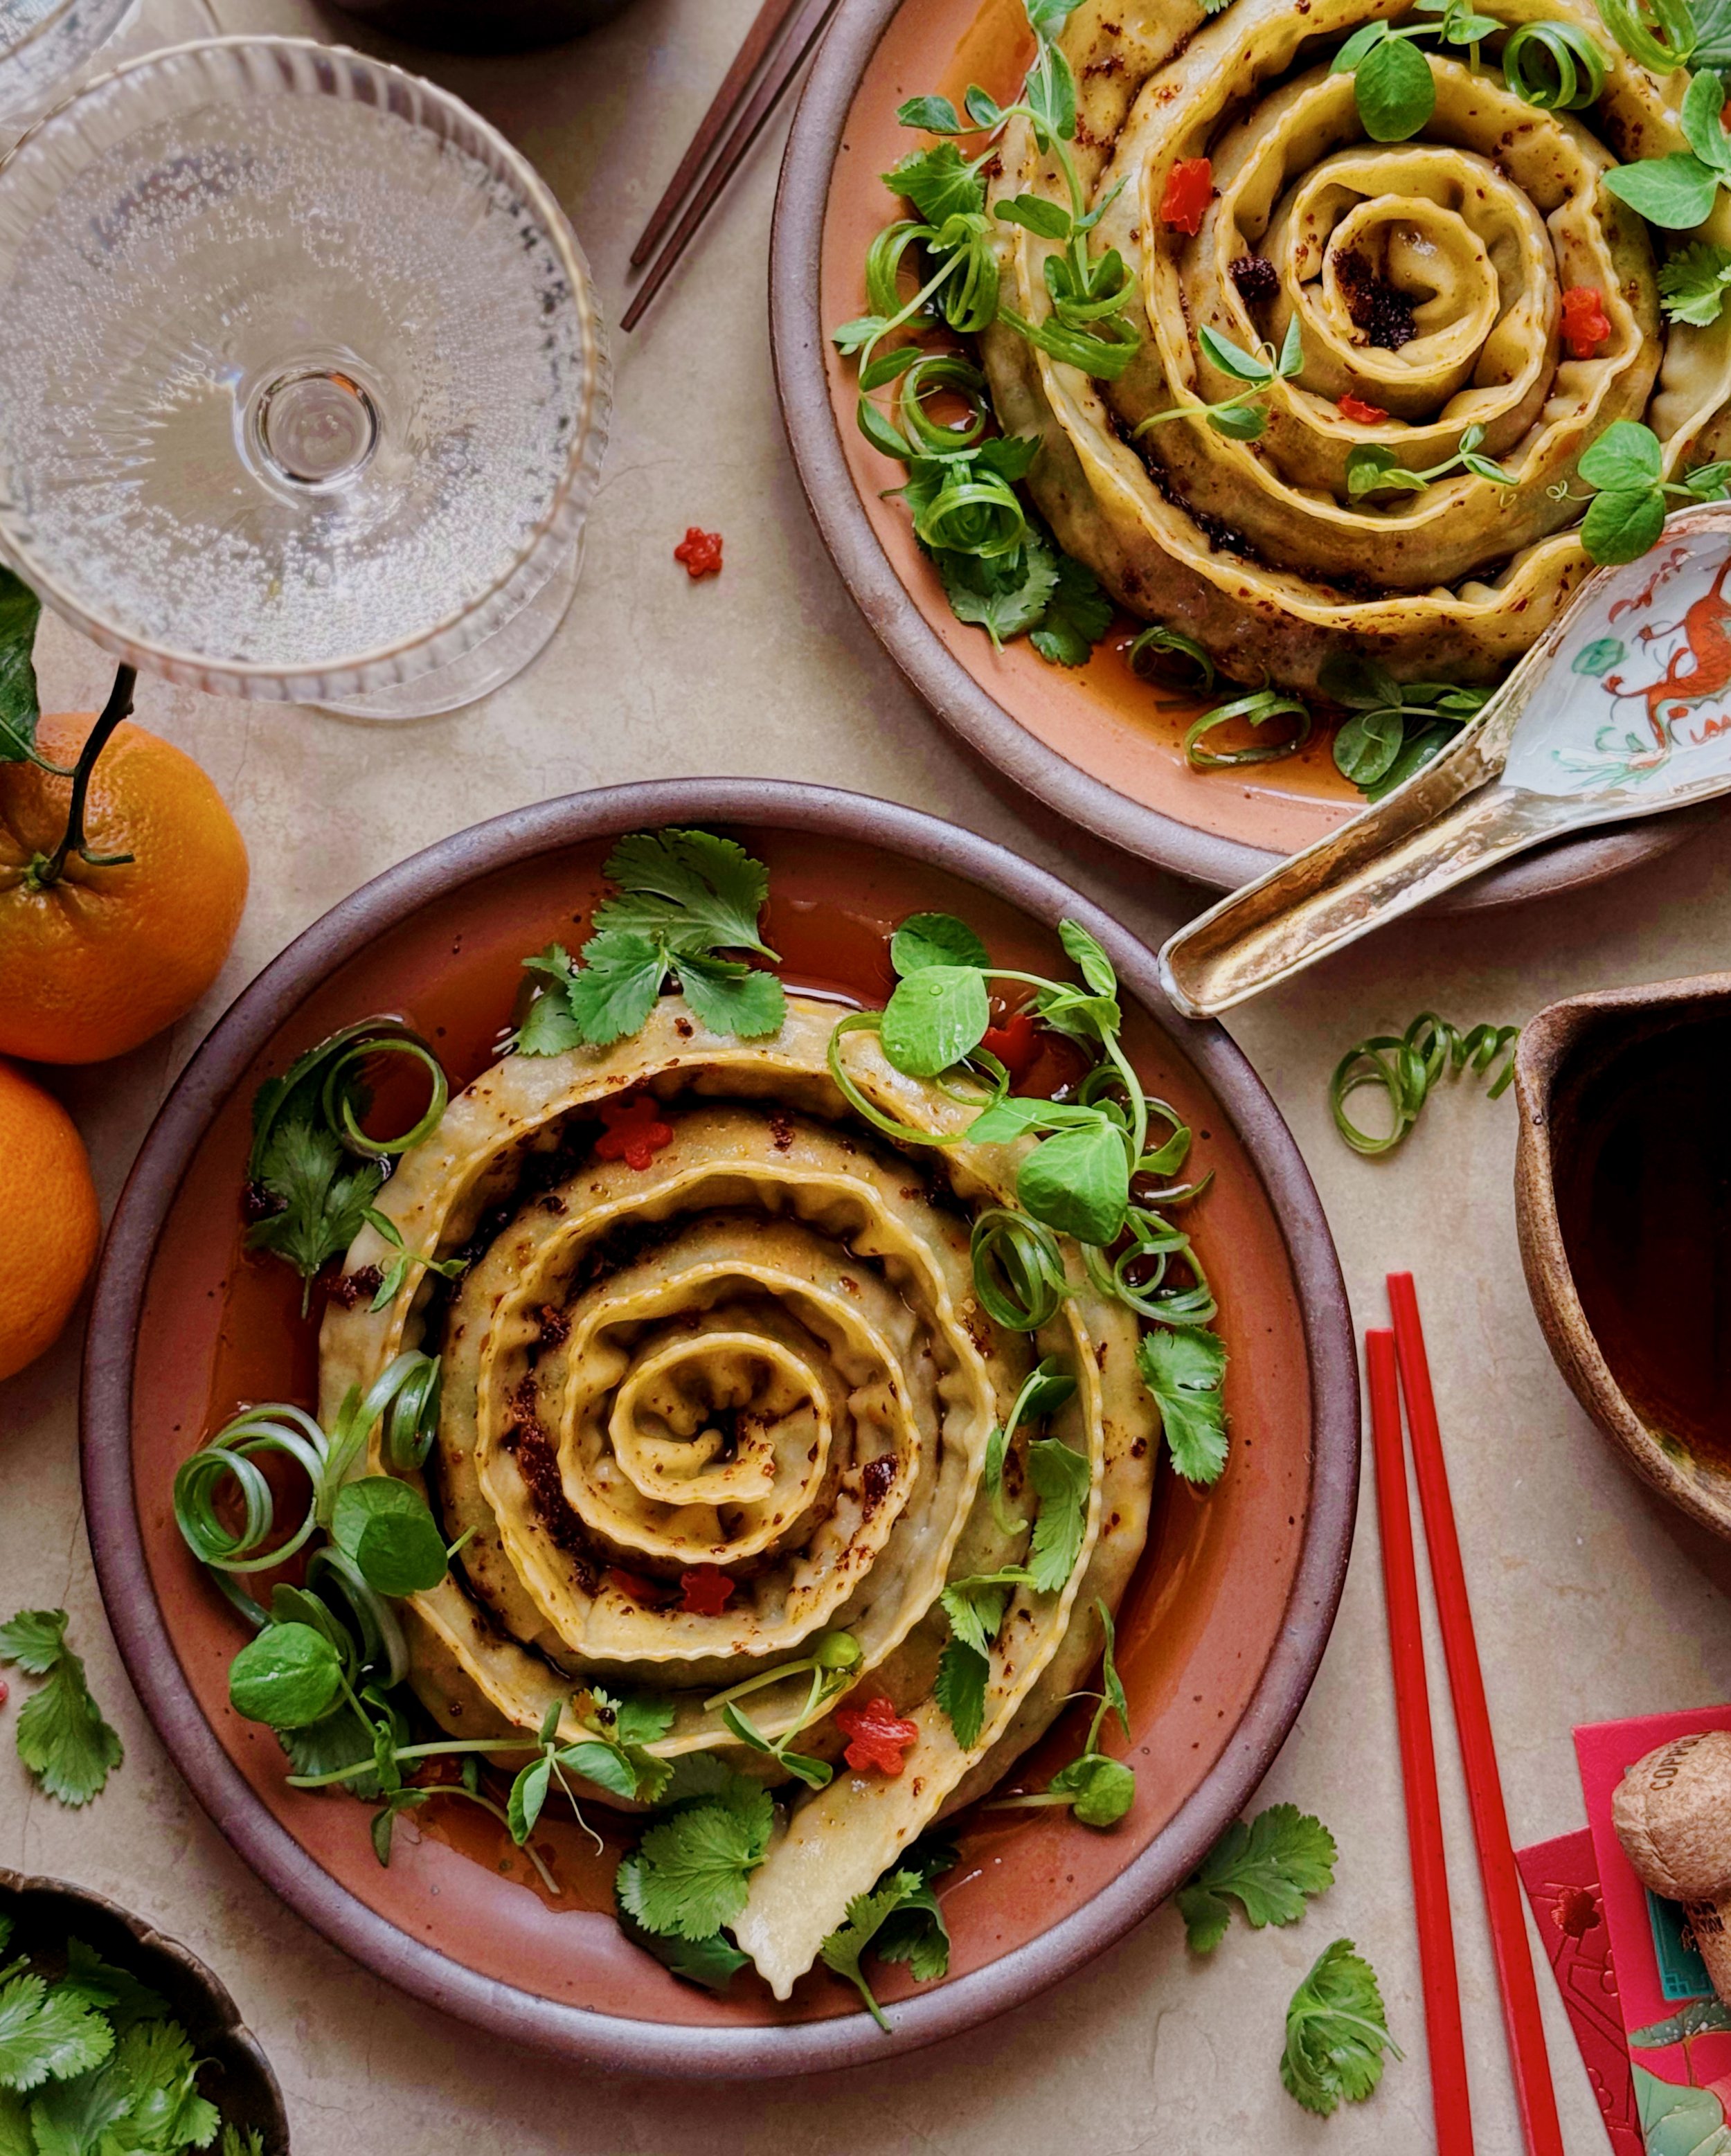
In addition to a drizzle sriracha mayo, the key finishing touches for these tacos are fresh scallions and cilantro. I recommend using both to bring bold, fresh herbaceousness to these savory seafood tacos.
To make the curly scallions that you see in the photos, I slice very fresh scallion greens lengthwise into very strips with the tip of a sharp paring knife. I then put them in a jar of cold water and pop that in the fridge before preparing the rest of the recipe. Sometimes when I am short on time, I will curl them around a skewer before dropping them in water and that gives the natural curling process a jumpstart; when you do this, wrap them with the side that was on the inside of the tube facing outward as you curl them around the skewer. Making these curly scallions is completely optional, of course! You could simply chop them, slice them on a bias, or use a Korean scallion slicer tool to prep your scallion garnish instead.
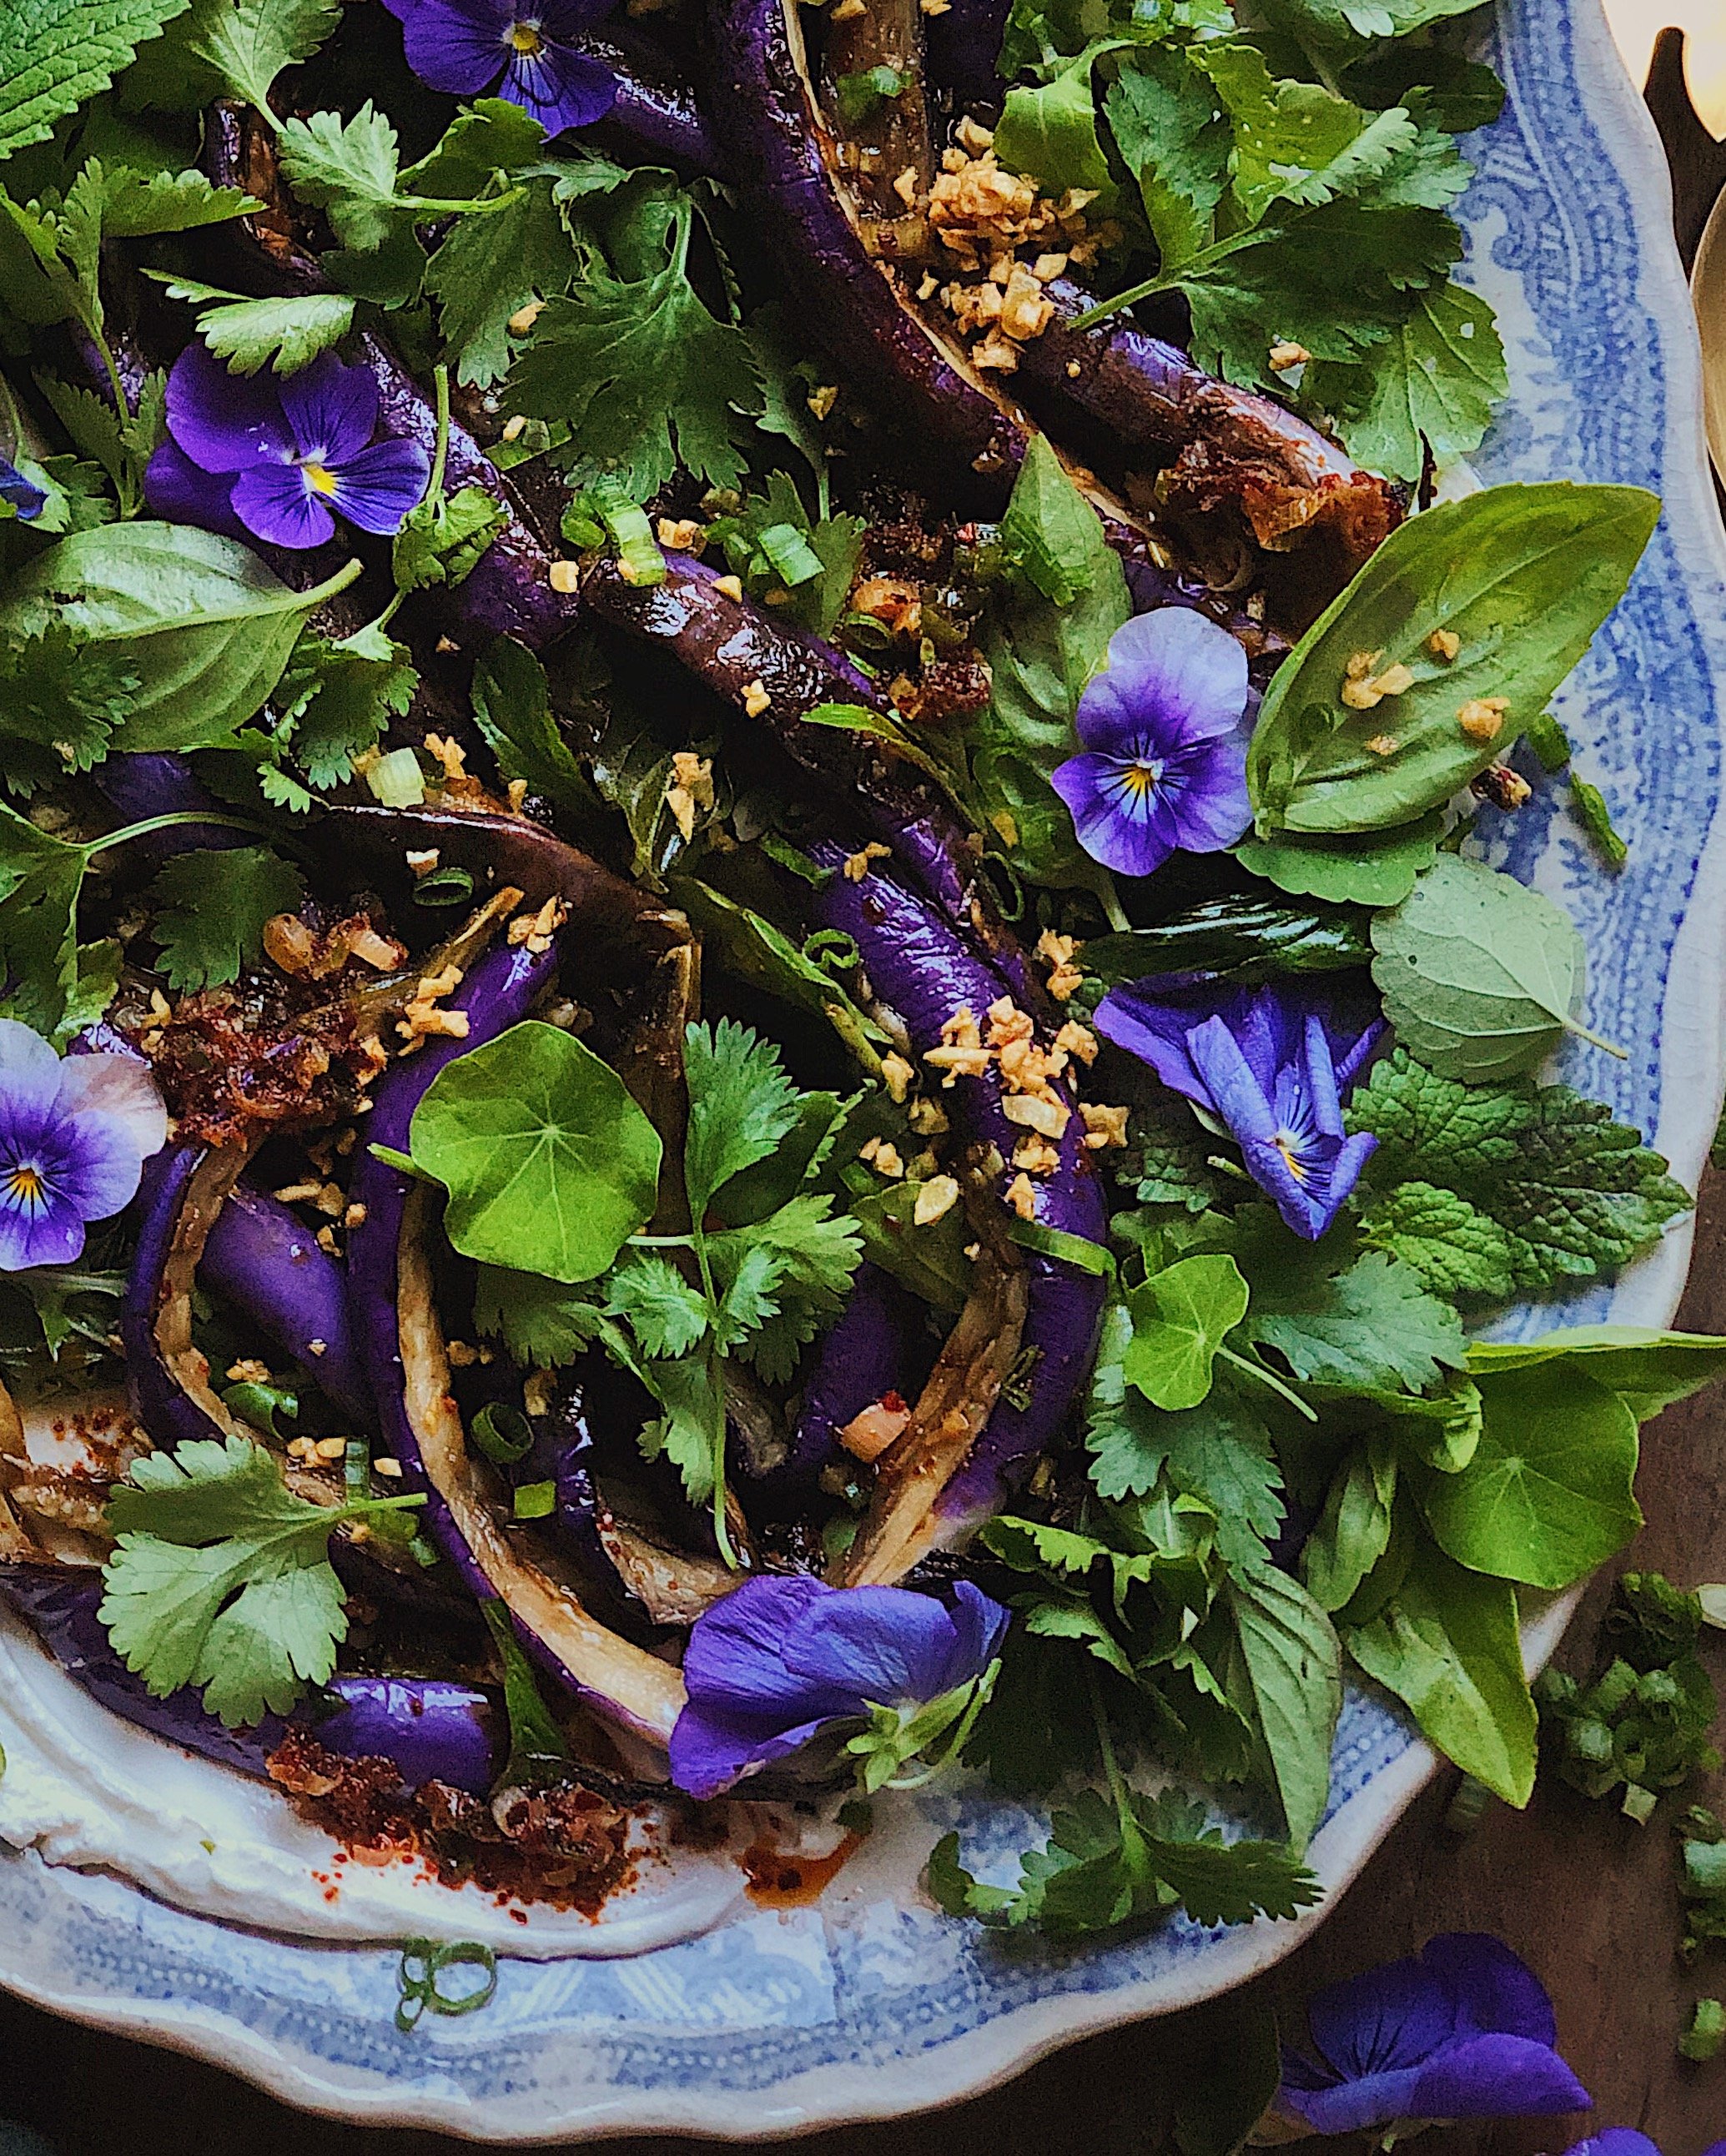
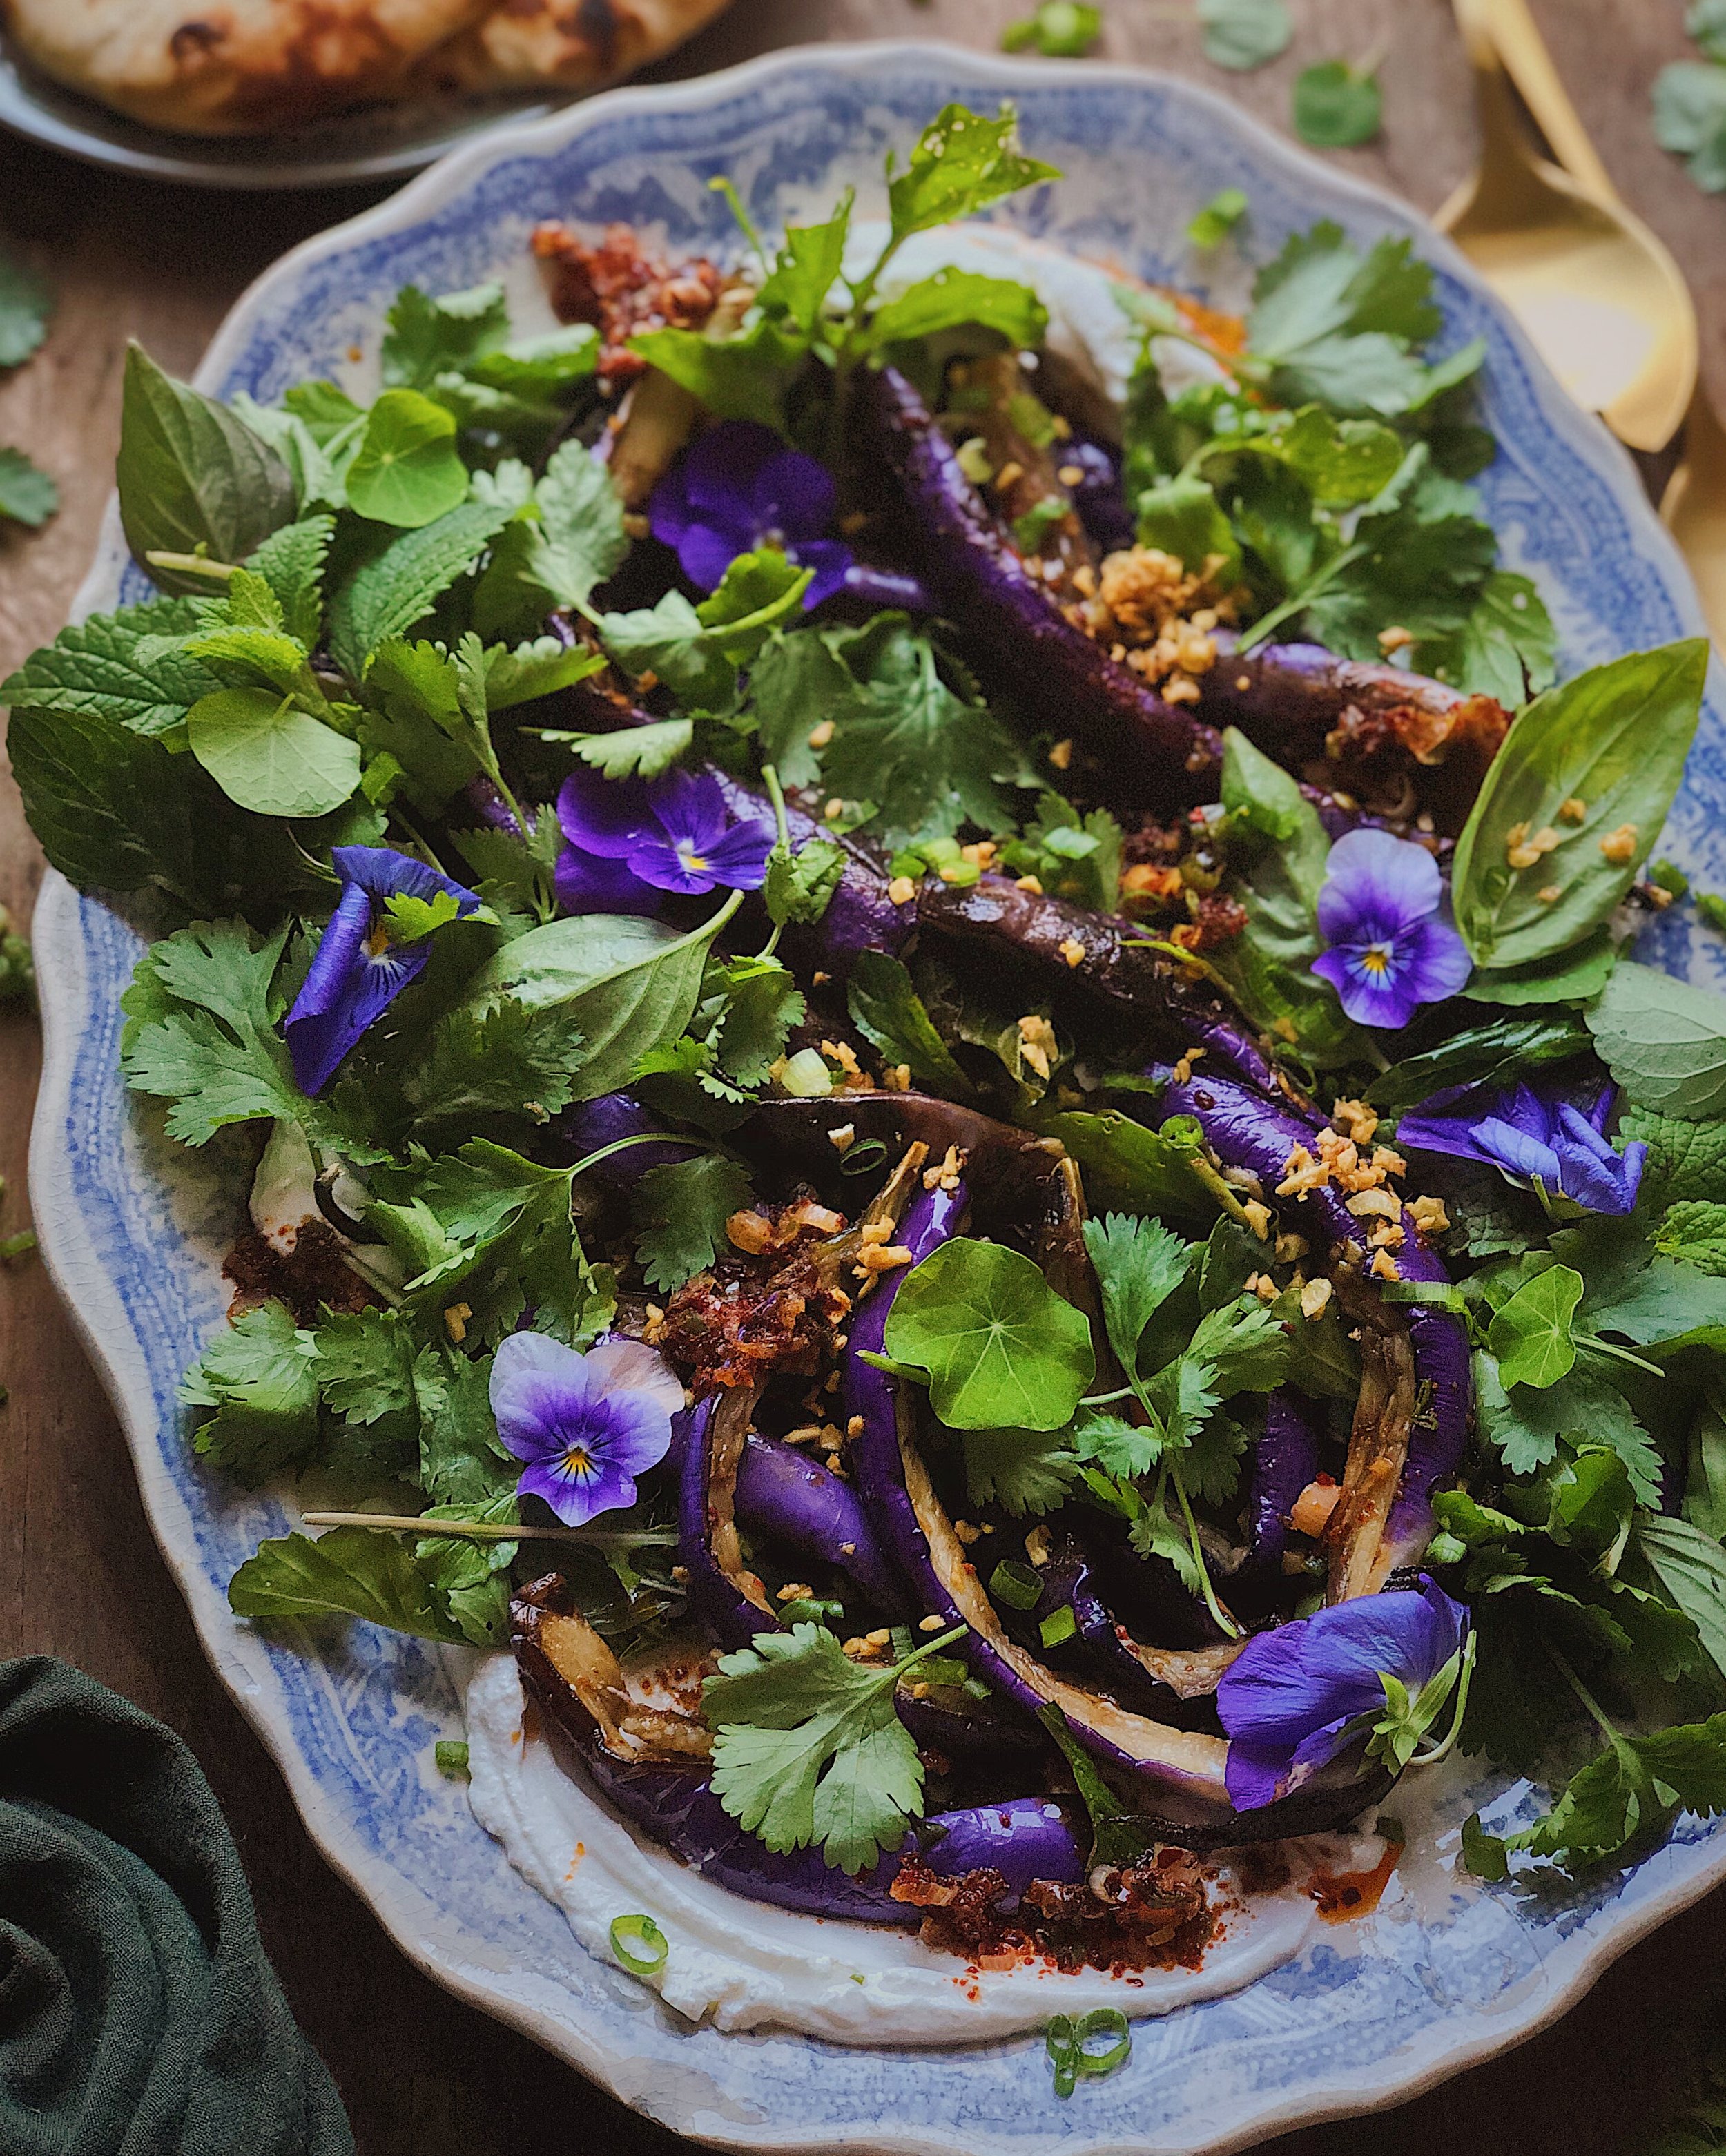
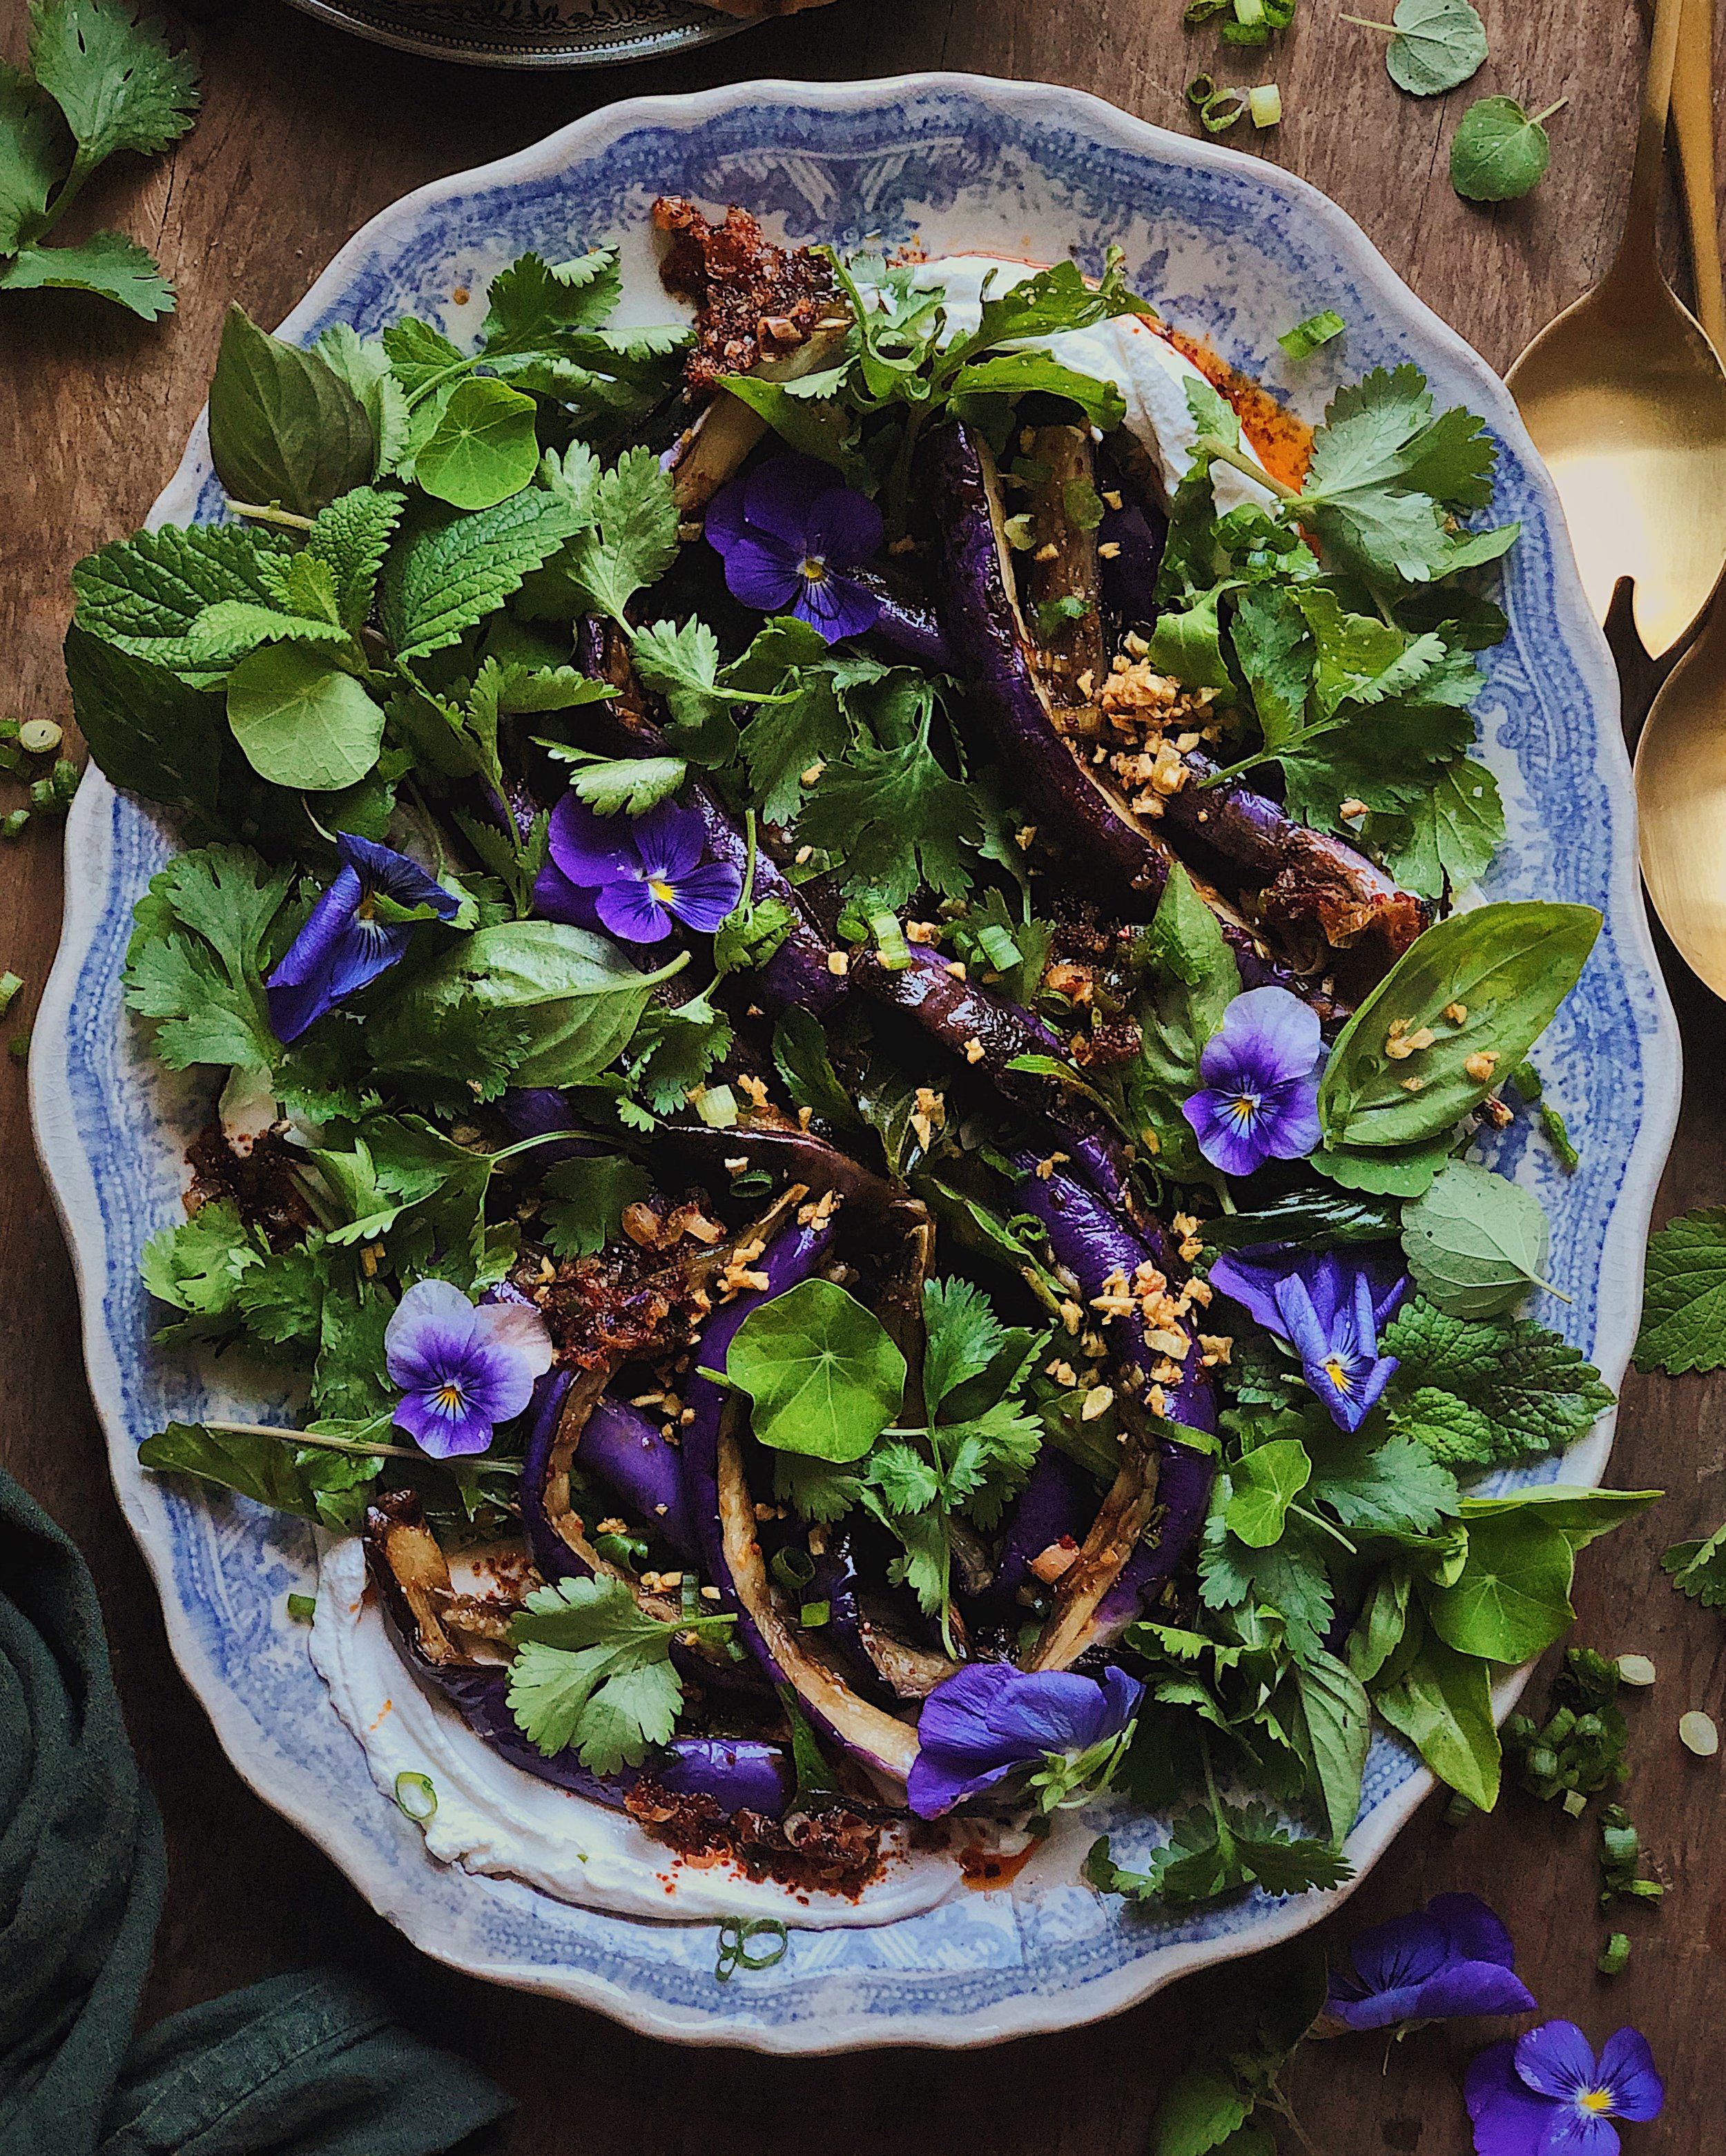
In the photos, you will see I also included red Fresno chili slices, cilantro blossoms, and pansies as garnishes. These are totally optional.
This recipe is meant to be a fun fusion that represents some things I love about California. Feel free to make adjustments to suit your tastes. I hope it is as much of a winner in your household as it is mine.
How to Make Shrimp Toast Smashed Tacos
Ingredients for the tacos
1/2 lb shrimp, peeled and deveined
1 tbsp Japanese mayonnaise
1/2 tsp ground ginger
1/2 tsp ground white pepper
1/2 tsp sesame oil
1/2 tsp kosher salt
1/2 tsp sugar
2 tsp cornstarch
2 scallions, thinly sliced
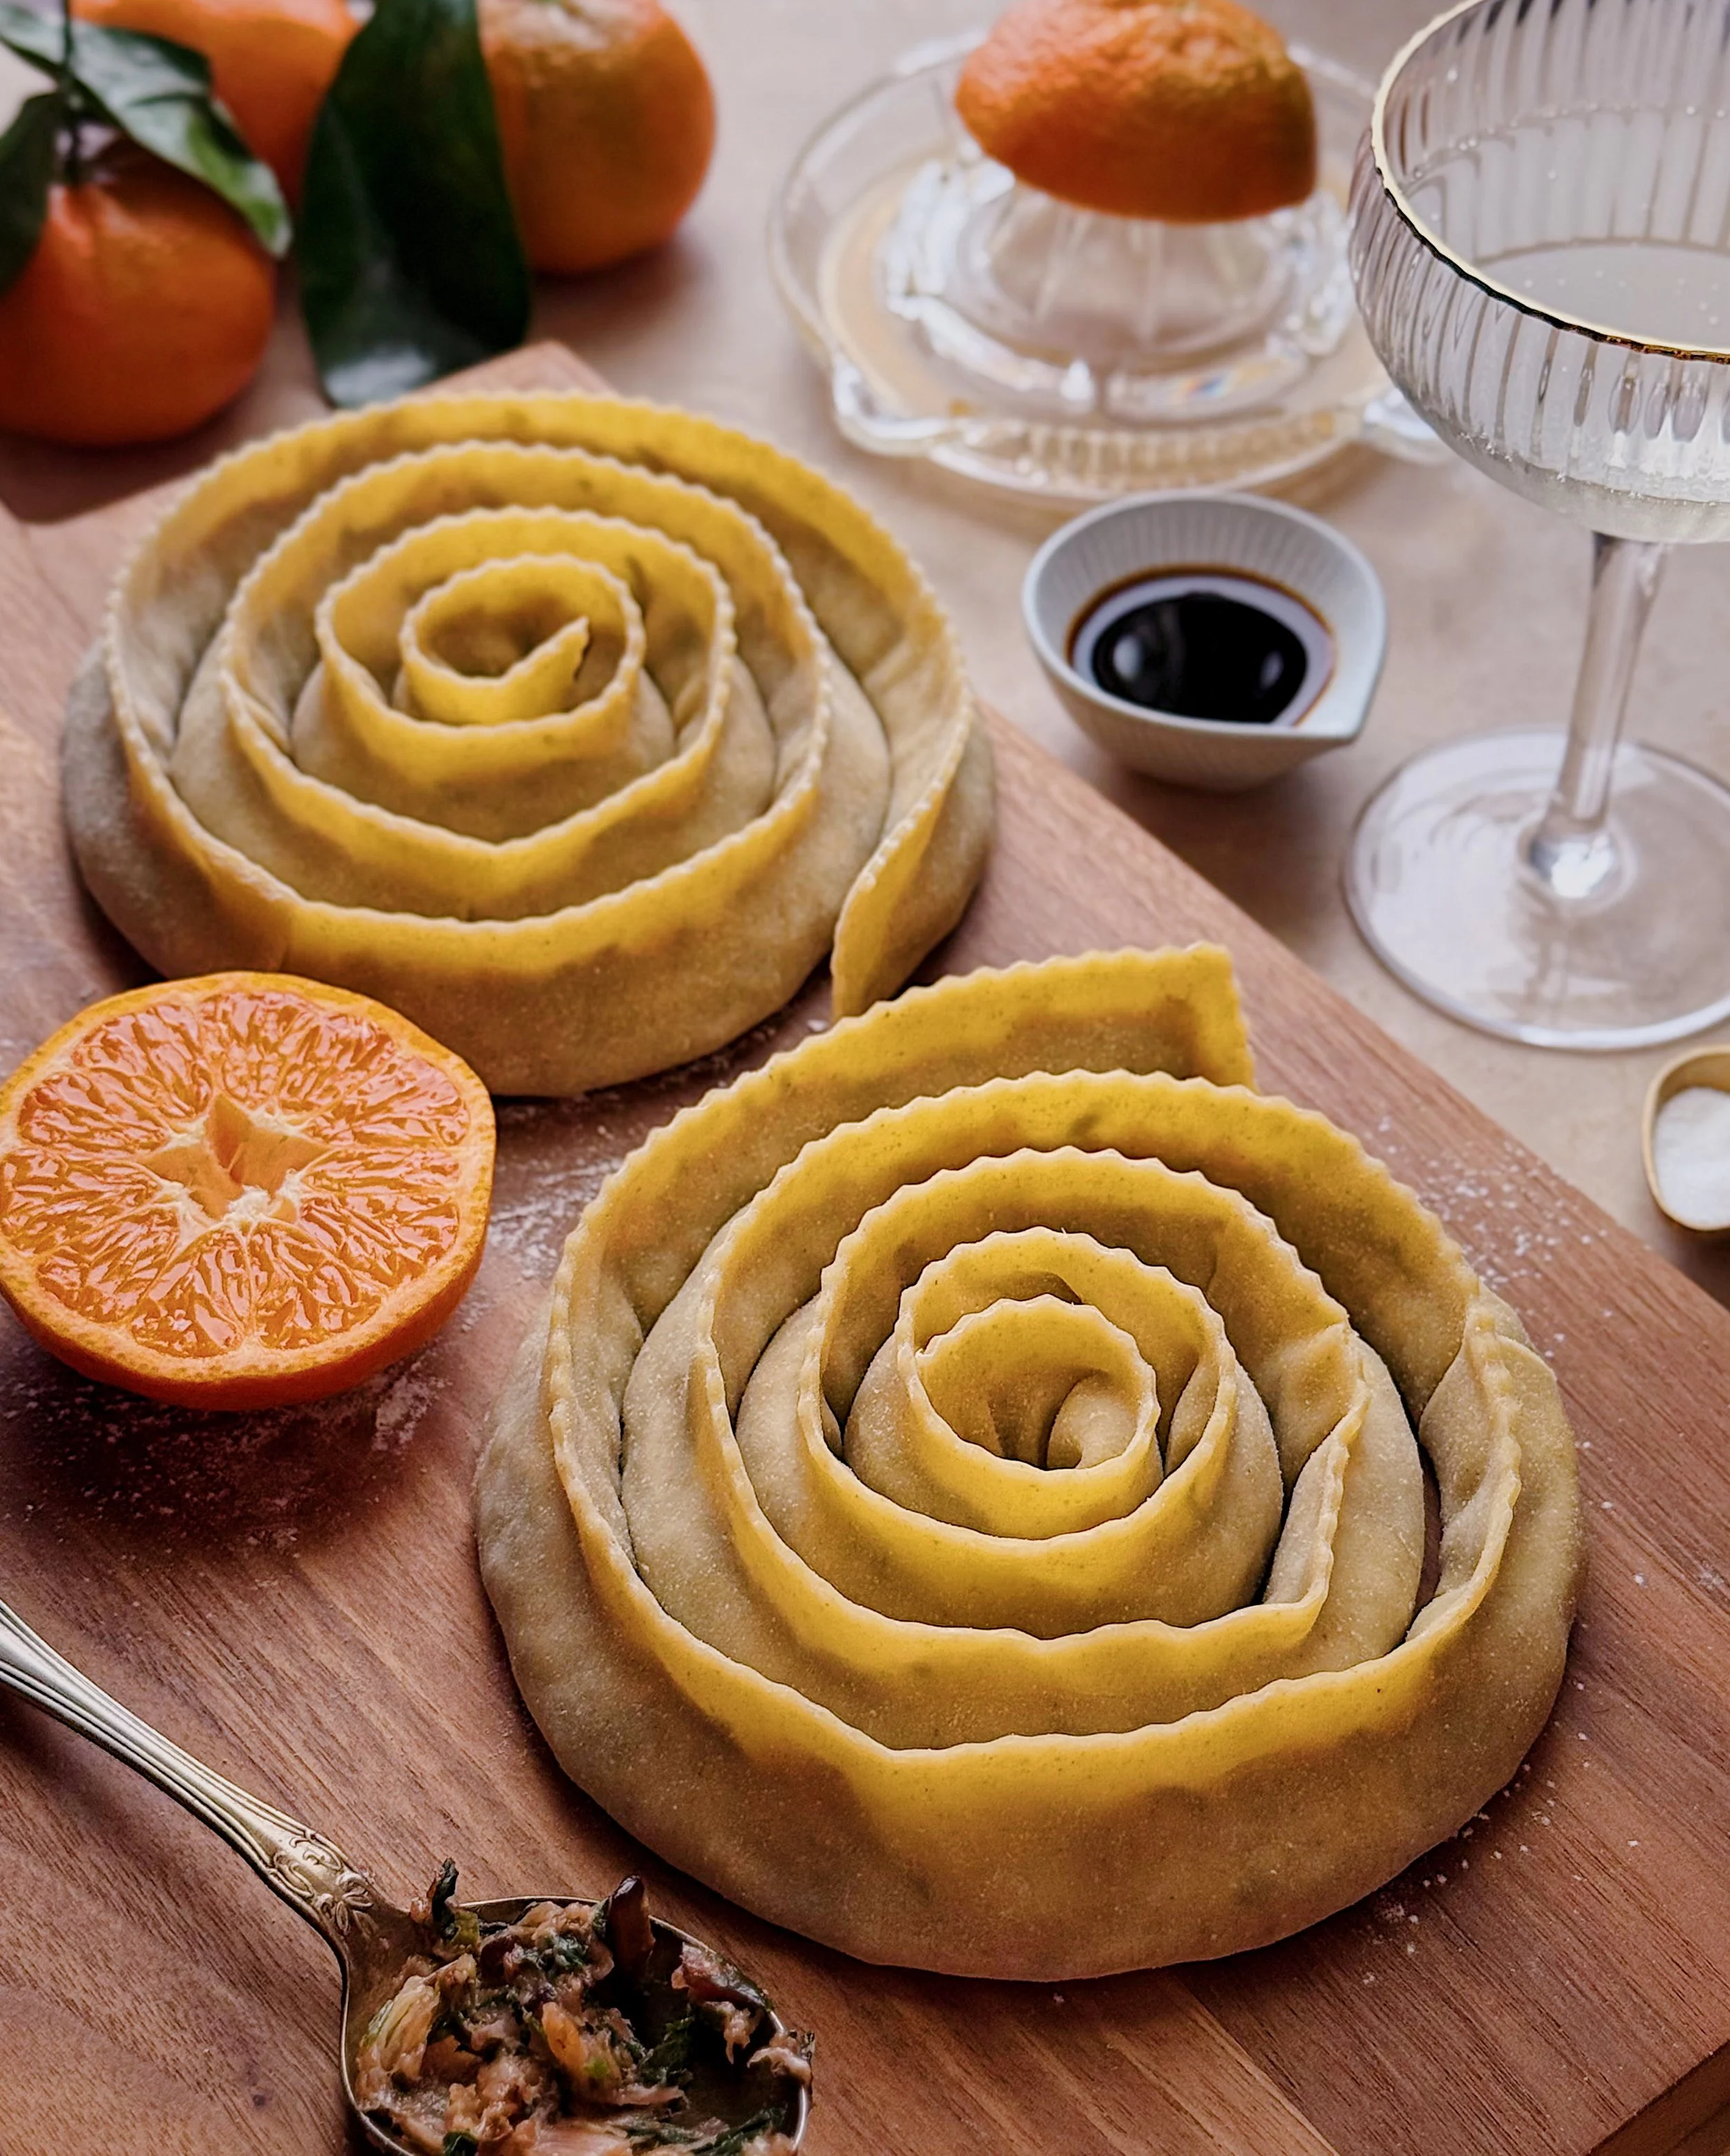
6 (5–6 inch size) flour tortillas
2–3 tbsp sesame seeds
neutral oil for pan-frying
Ingredients for the Sauce
2 tbsp Japanese mayo (or to taste)
1 tbsp sriracha (or to taste)
ingredients for the garnish
1–2 scallions, thinly sliced
~1/2 cup cilantro leaves
1 Fresno chili, thinly sliced (optional)
cilantro blossoms (optional)
Procedure
To make the filling, combine the shrimp, mayo, ground ginger, white pepper, sesame oil, salt, sugar, and cornstarch in a food processor. Process until smooth. Add half of the scallions and process well. Add the remainder of the scallions and pulse until just combined.
Divide the shrimp paste onto the tortillas and spread evenly almost to the edges. Cover the paste generously with an even layer of sesame seeds and press them in gently so they adhere.
Prepare the sauce by whisking mayo and sriracha together in a bowl, to your taste.
Heat a skillet or griddle pan on medium heat and coat with a thin layer of neutral oil. Pan-fry the tacos in a single layer with the sesame and shrimp side down, until the shrimp turns an opaque peachy color and the sesame seeds look toasted. Flip and allow the tortilla side to get crispy.
Transfer to a serving plate and top with garnishes. Drizzle on some of the sriracha mayo then serve the rest on the side.