Sunflower Crudités Board for O Organics

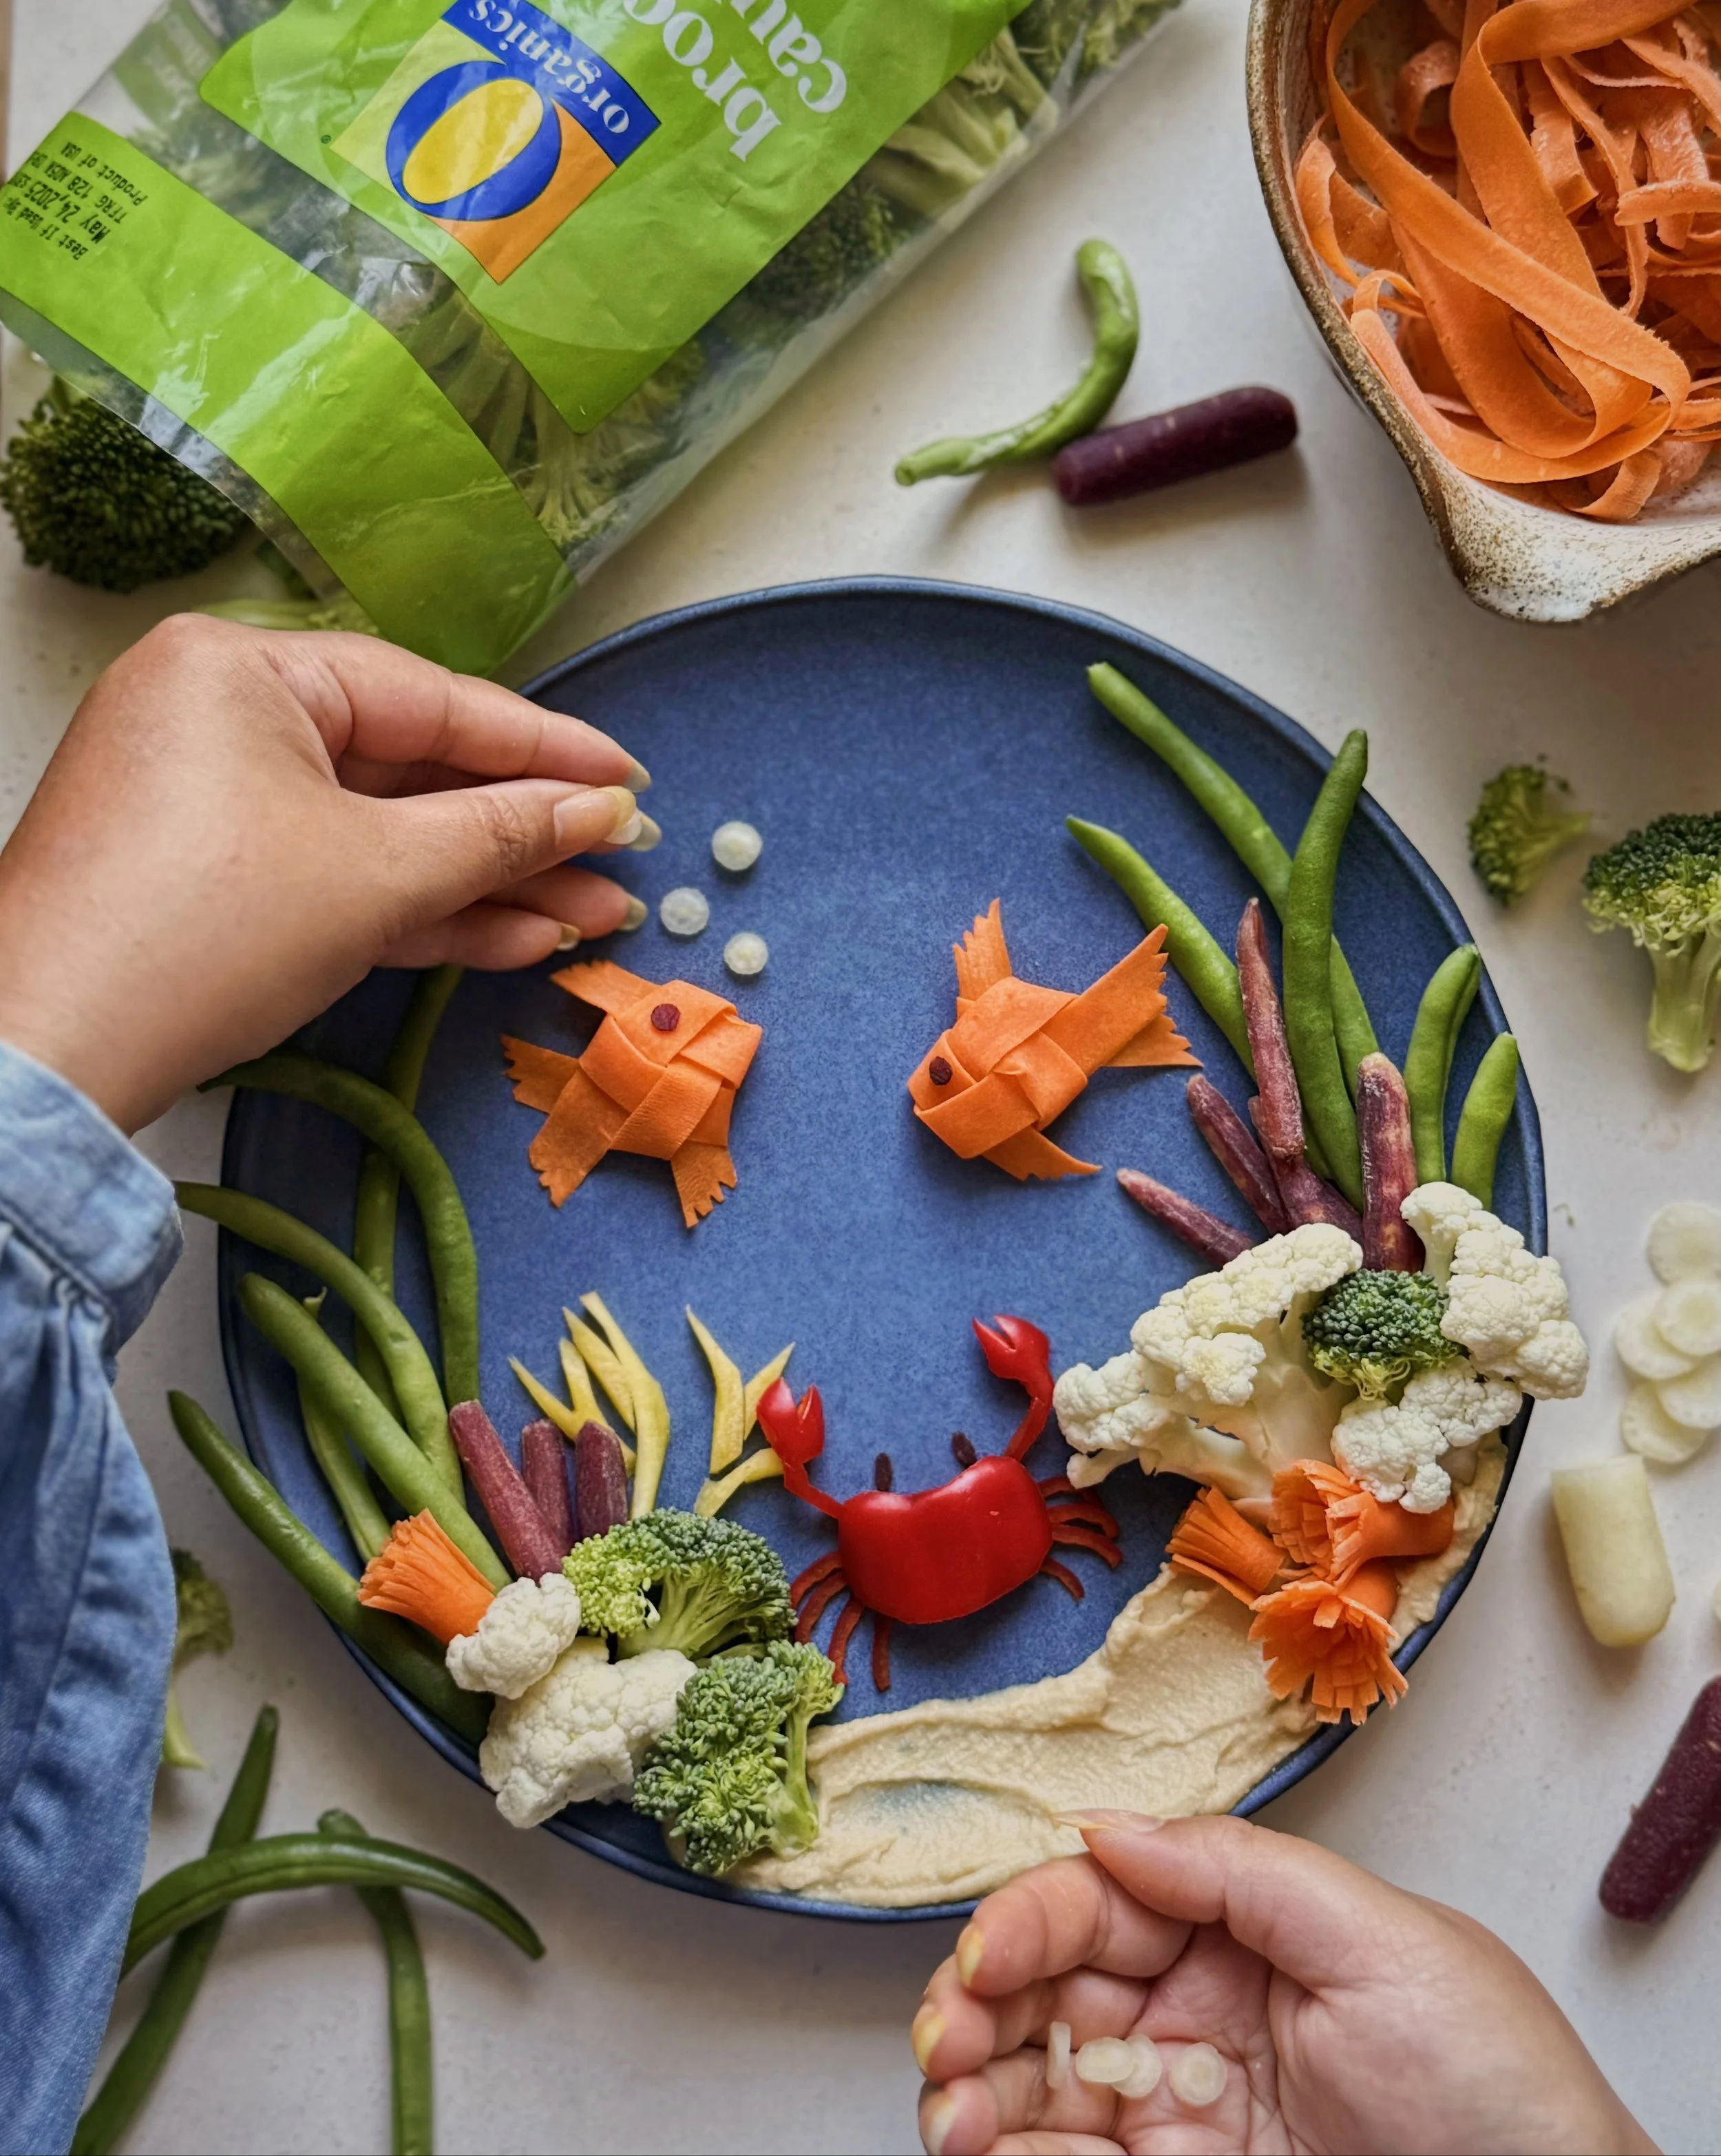
One of my recent client projects was styling and photographing this summery veggie crudité board for O Organics. Crudités means "raw things" and it is a term borrowed from French that really just is a fancy way of referring to a nibble board of raw veggie sticks and dips.

The prompt for this shoot was to make something garden themed and summery out of fresh veggies and other products from the client’s catalog. I thought this sunflower food art would be a pretty way to create sunshine vibes that are also related to the bounty of summer gardening. Though I do love to incorporate edible flowers in some of my other work, I also love showing flower-lovers how anyone can create their own aesthetic flower-themed food out of everyday ingredients.

Here are photos from the shoot!

10 Ways to Make an Edible Flower Bouquet (Without a Garden)

I love flowers just as much as the next girlie girl but what I love to receive more than anything is the gift of good food. And if your Valentine this year is like me, you might want to consider skipping that generic bouquet of roses for something homemade and edible instead!

One of the most frequent questions I get about making pretty food is asking where I buy the flowers I incorporate into my food styling. The answer is that most of them come right from my own backyard—growing your own edible flowers is the best way ensure the freshest and safest blooms that you can eat. I totally understand, though, that not everyone has their own outdoor space to grow in, which is why I also love creating flowers that are made directly out of actual food. The truth about edible flowers like pansies, violas, and zinnias is that while they make your food look beautiful, they don’t actually add that much, taste-wise. That’s why making your own flowers out of food is an even better option!

You won’t need a garden or access to a farmer’s market to make these pretty and impressive edible bouquets below! Whether you are looking to make a thoughtful dish to wow someone on Valentine’s Day or just wanting to treat yourself or your dinner guests with something special for the eyes as well as the palate, here are 10 ideas for how to make your own edible flower bouquet.

Sashimi Rose Rice Bowls

I love making these with salmon sashimi but you could use any kind of sashimi you wish. Use the thinnest piece and roll it into a tight spiral for the center, then continue to wrap pieces of sashimi around until you have formed your desired size for your “rose”. Serve these over a bowl of sushi rice, which will help to hold the rose formation in place. I usually like to style these with leaves cut from cucumbers. Here is where I learned how to do the cucumber leaves. You could also roll Japanese pickled ginger into roses and serve that as part of your edible sushi bouquet as well.

Charcuterie Board Pizza with Charcuterie Roses

My Valentine’s Day tradition with Spouse is to have a chill pizza night at home. You could make your at-home pizza date even more epic and romantic by turning your pizza into an edible bouquet! For this pizza, I was inspired by my love for charcuterie boards and I other than the melty cheese, I actually added most of the ingredients on top of the pizza after it was baked. Rolling slices of charcuterie like salami and pepperoni into roses is an easy way to make one of the most delicious edible bouquets.

I developed the recipe for this Charcuterie Board Pizza for 3 Little Pigs. You can find the full recipe here on their website.

Radish Violas on Toast

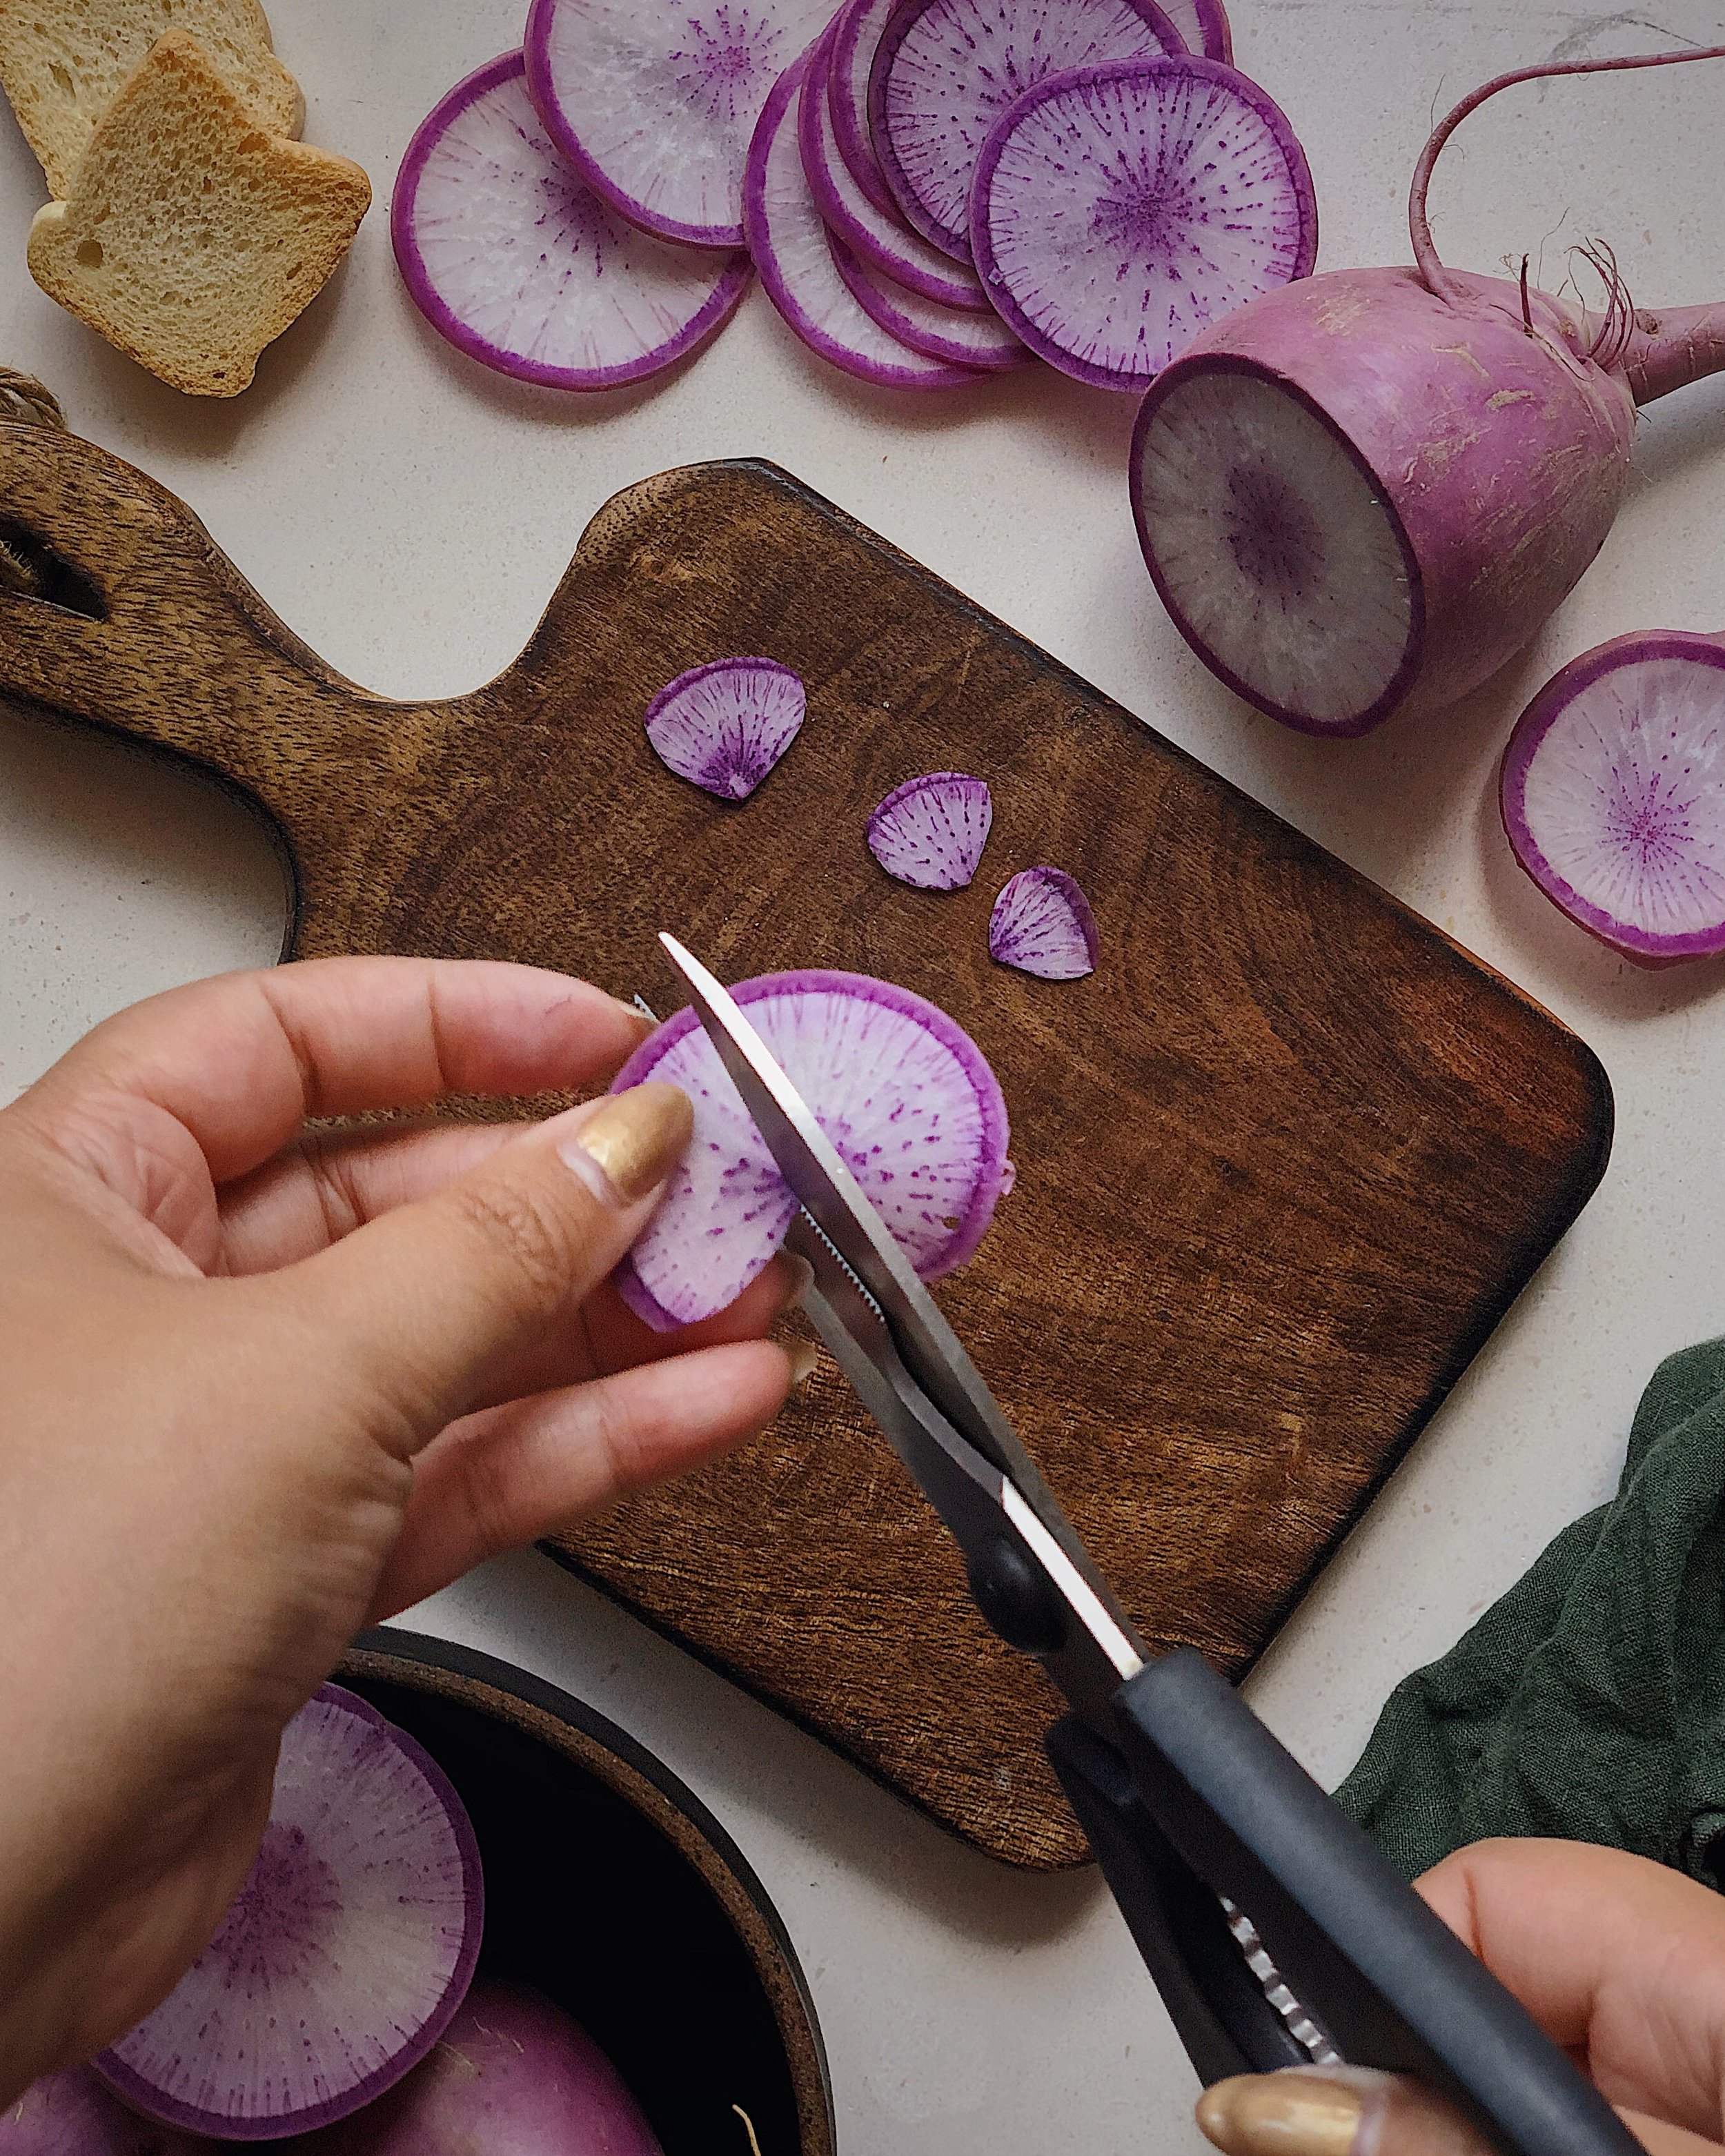
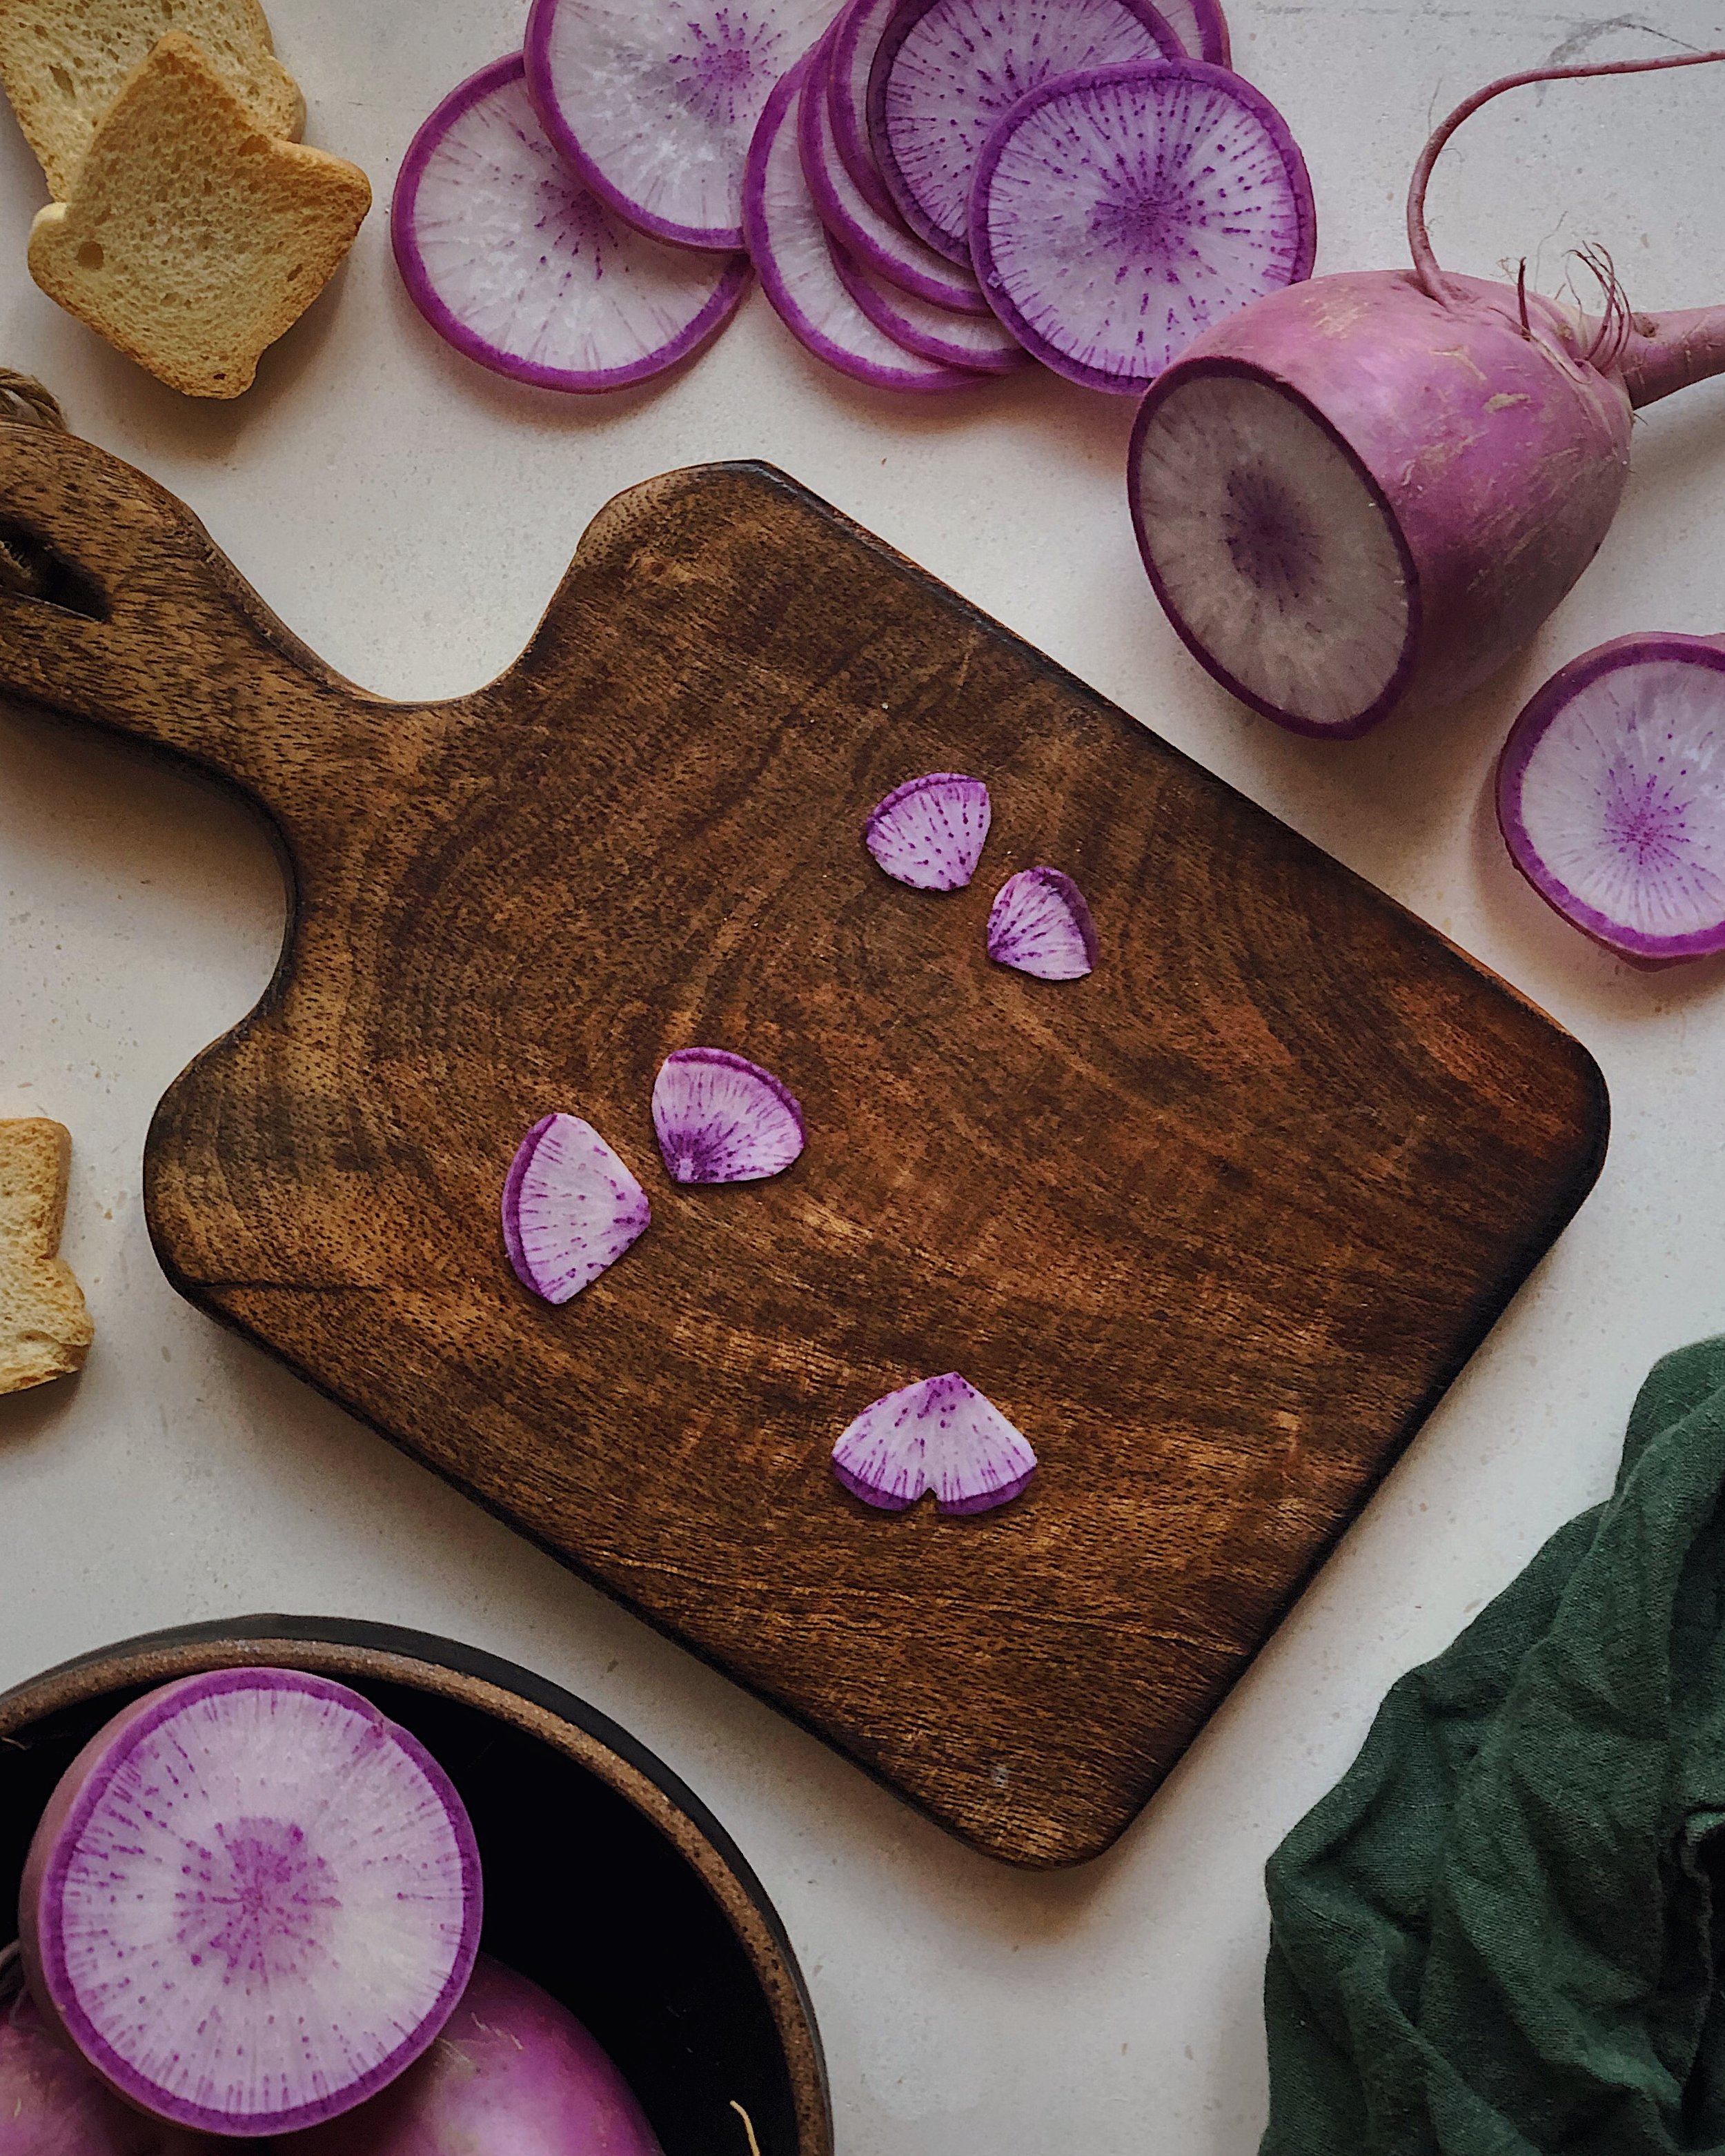
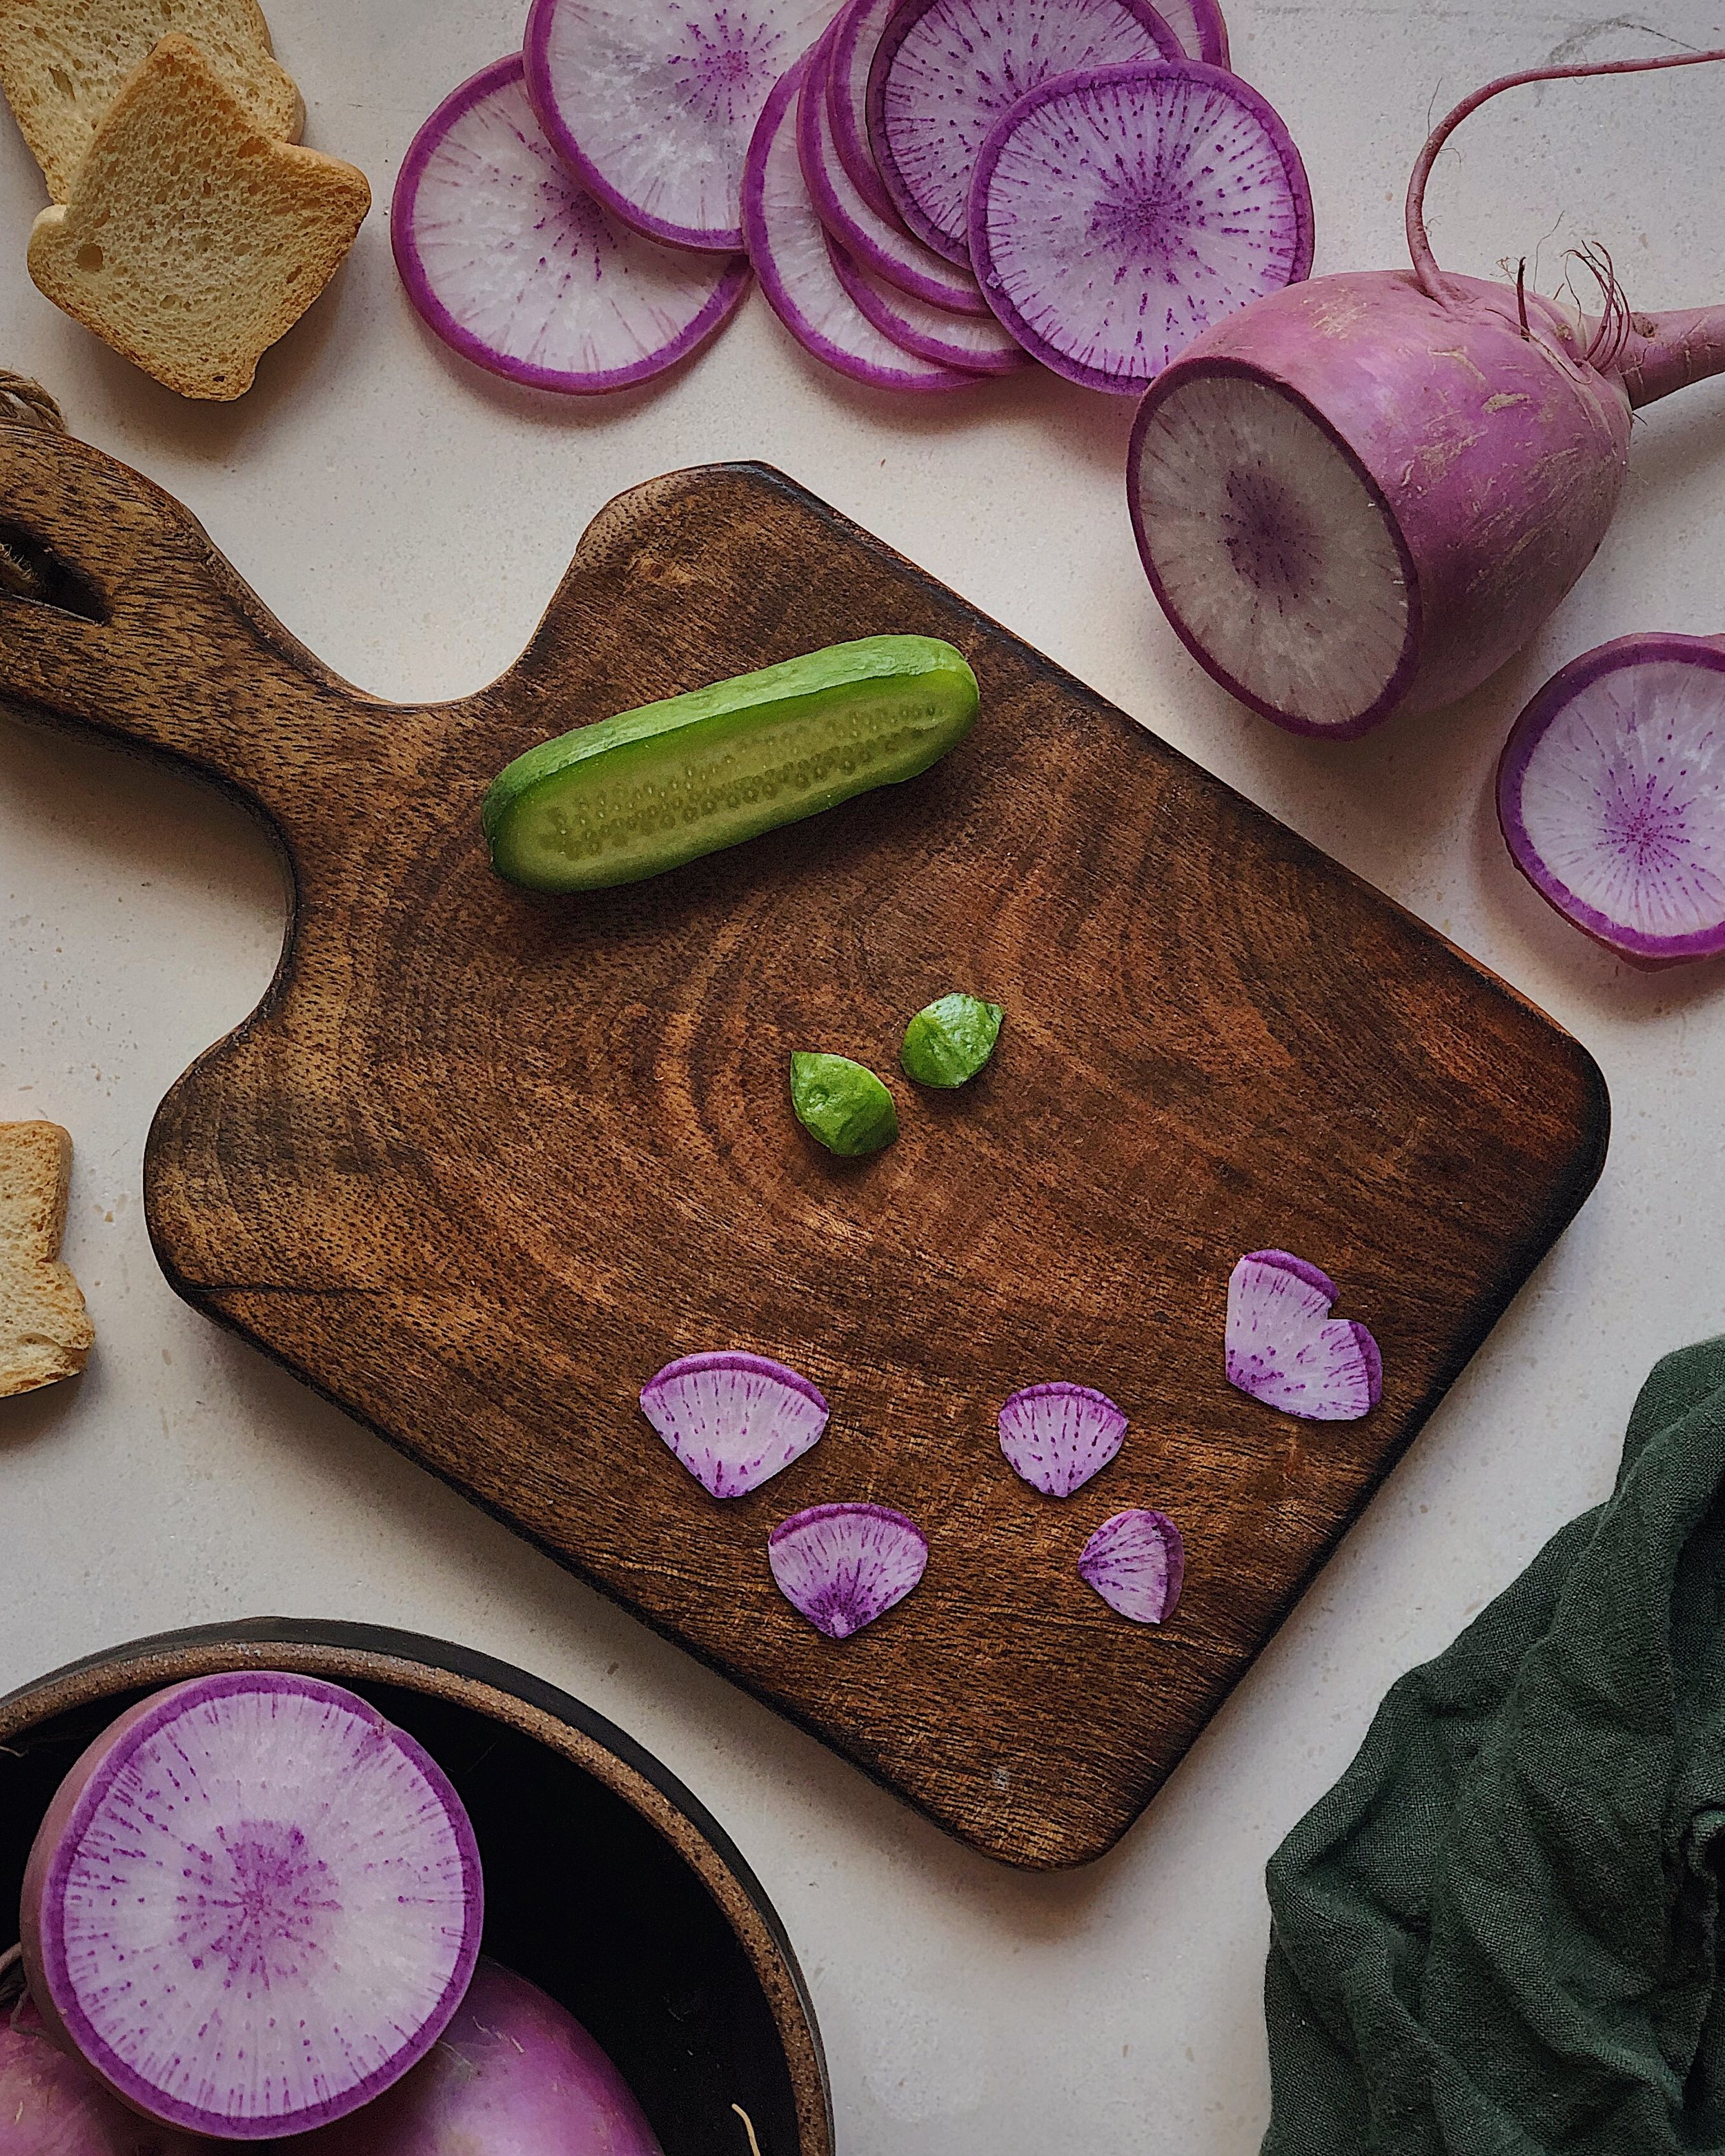
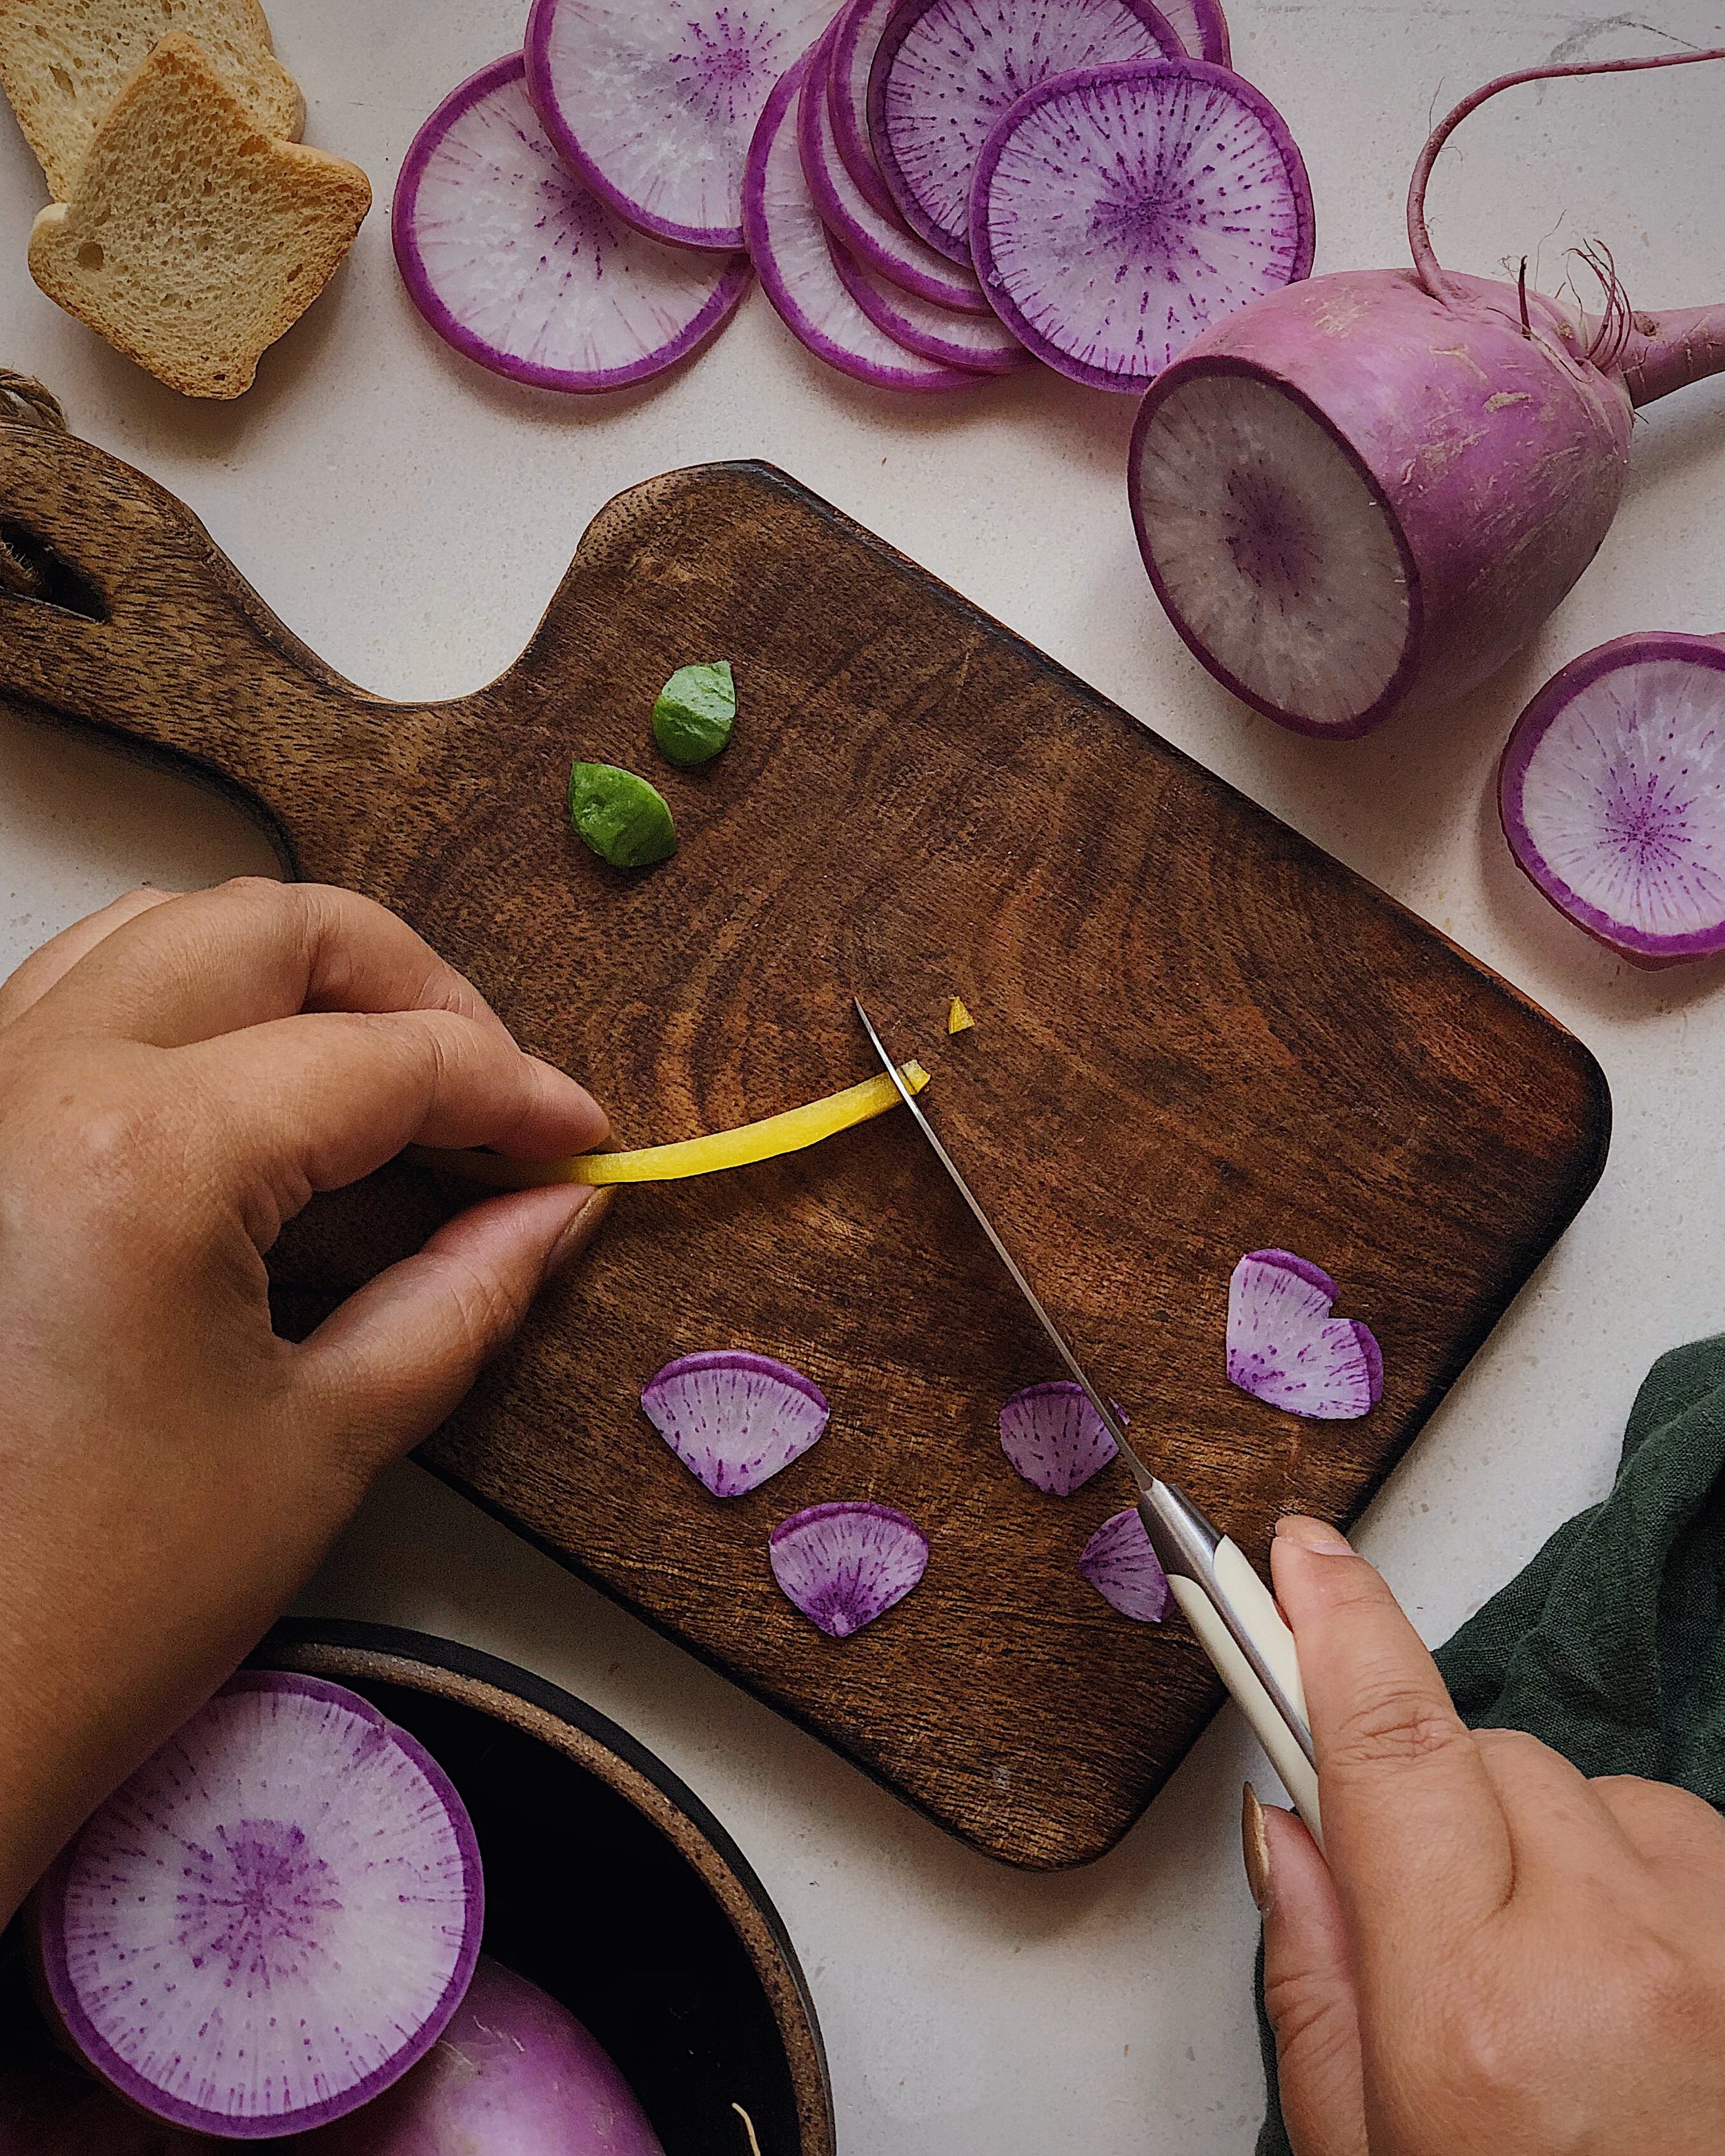
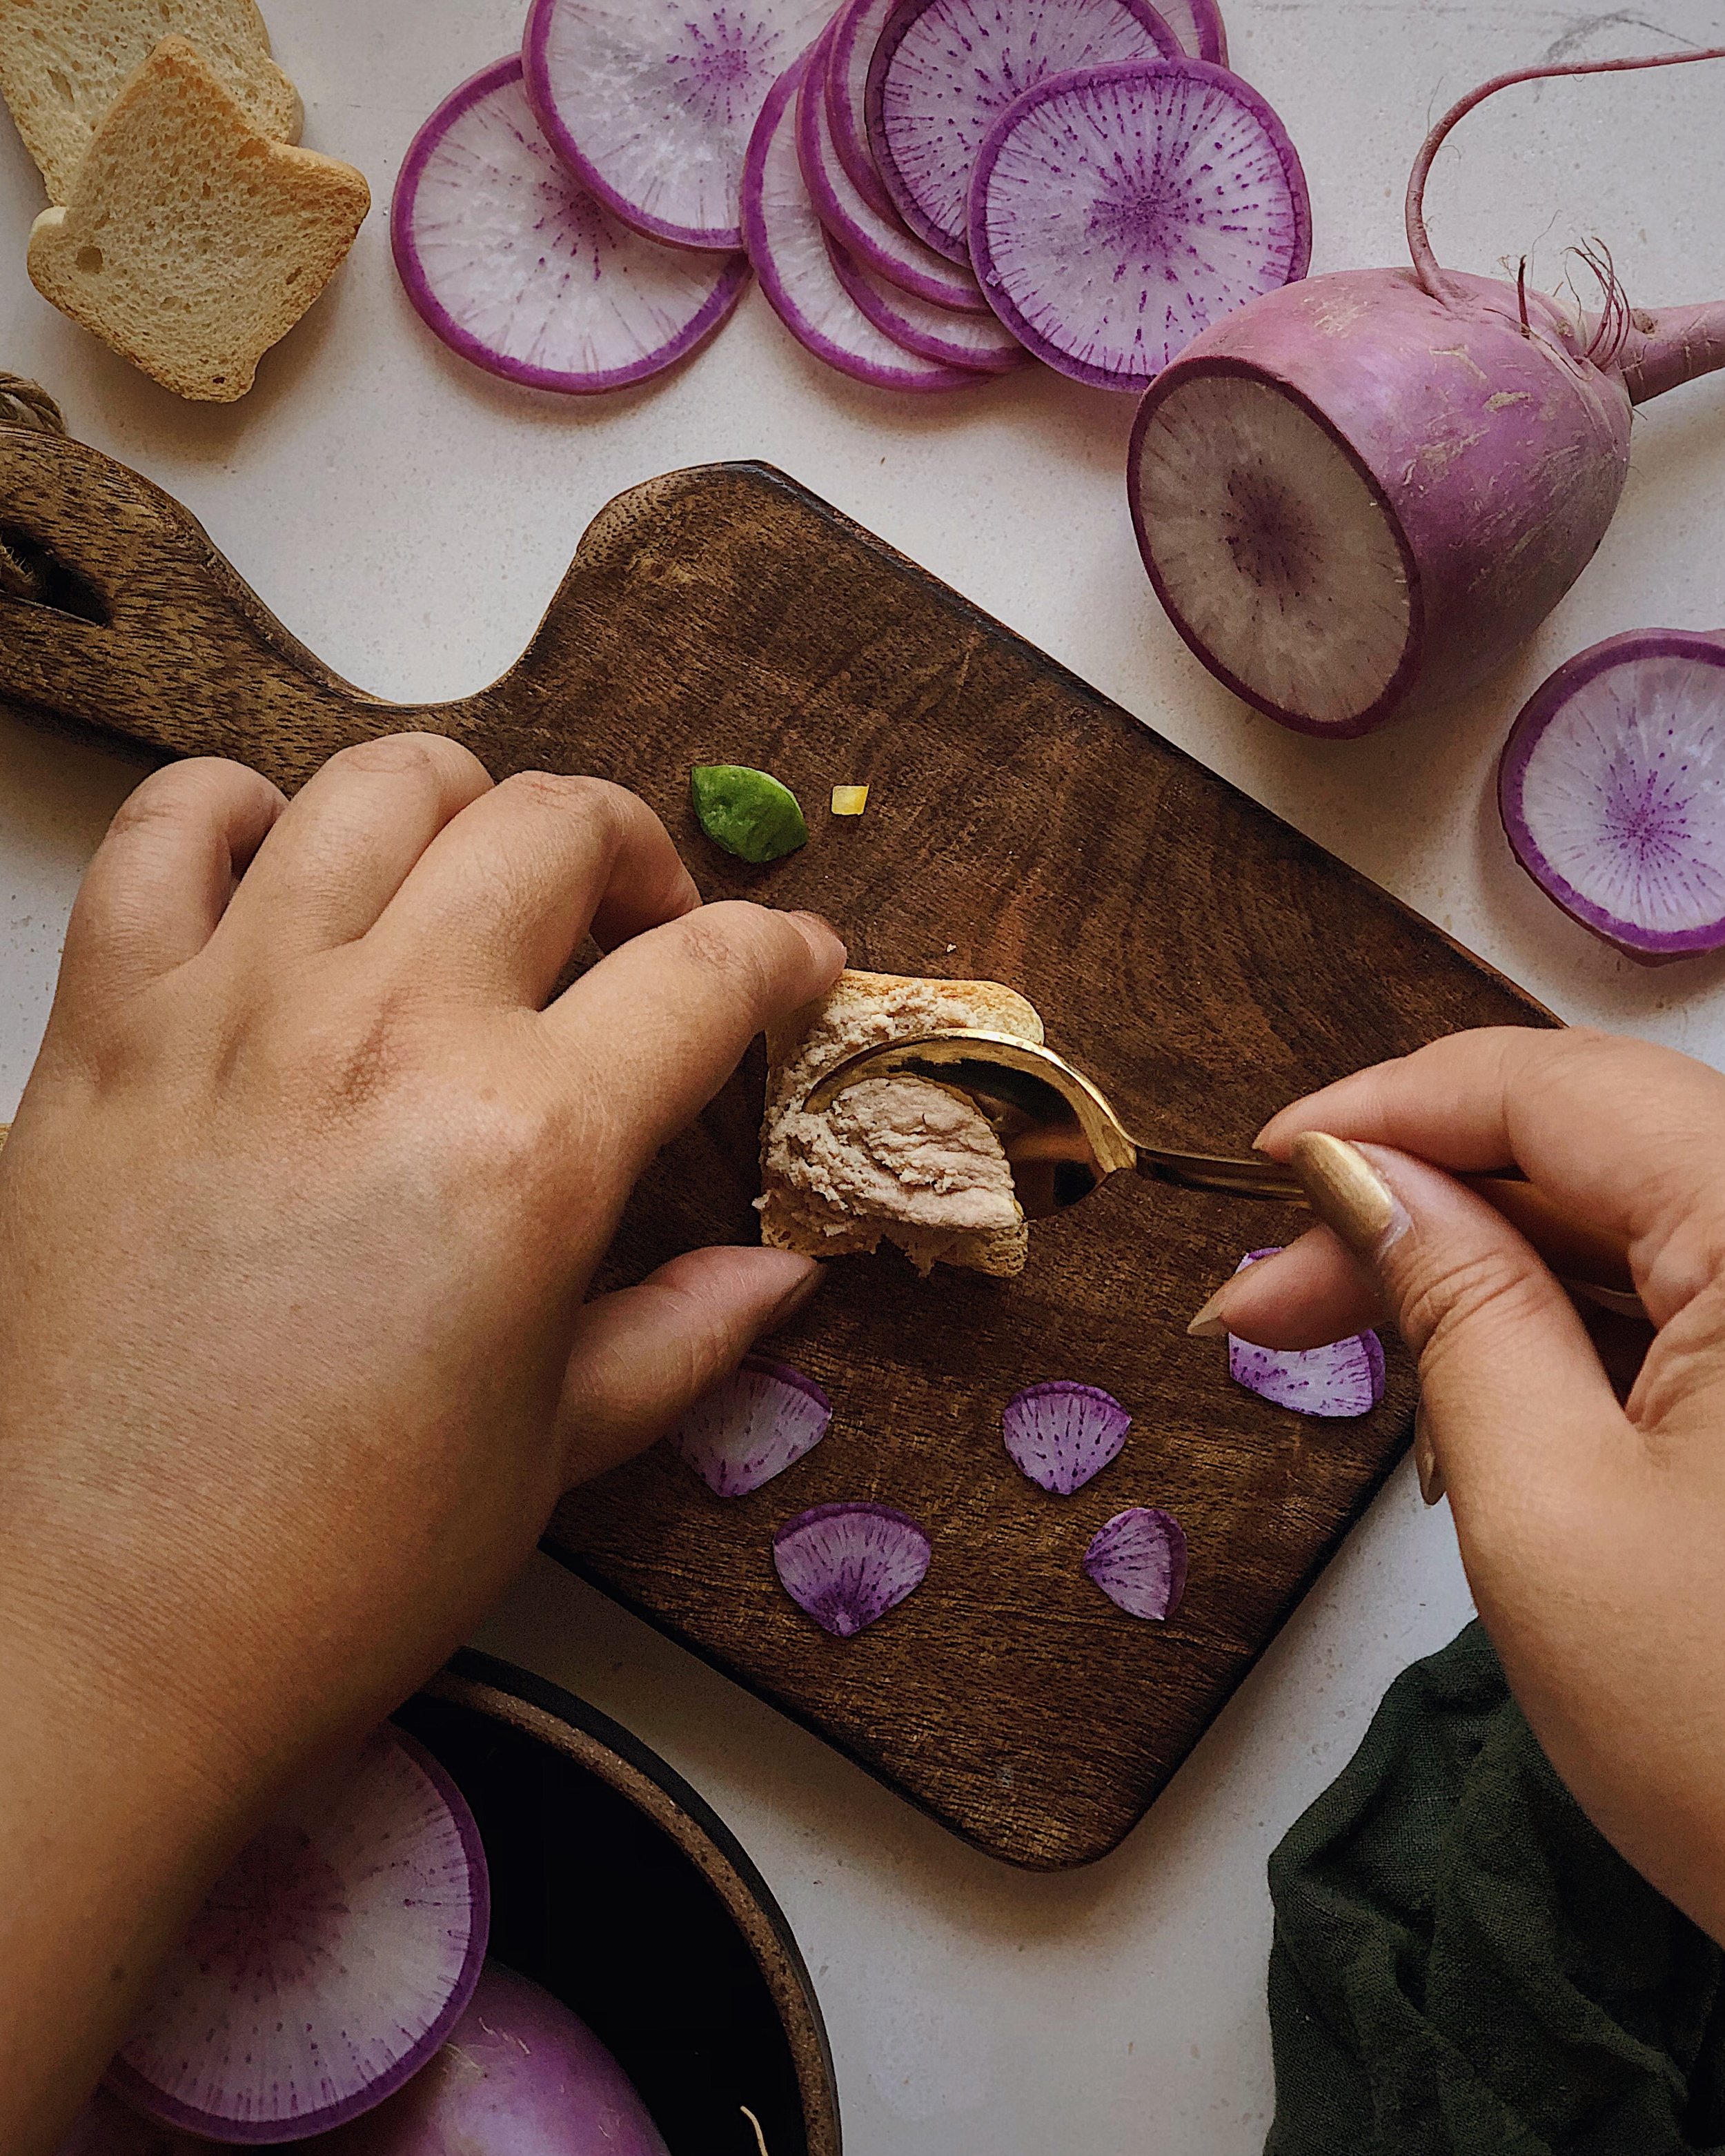
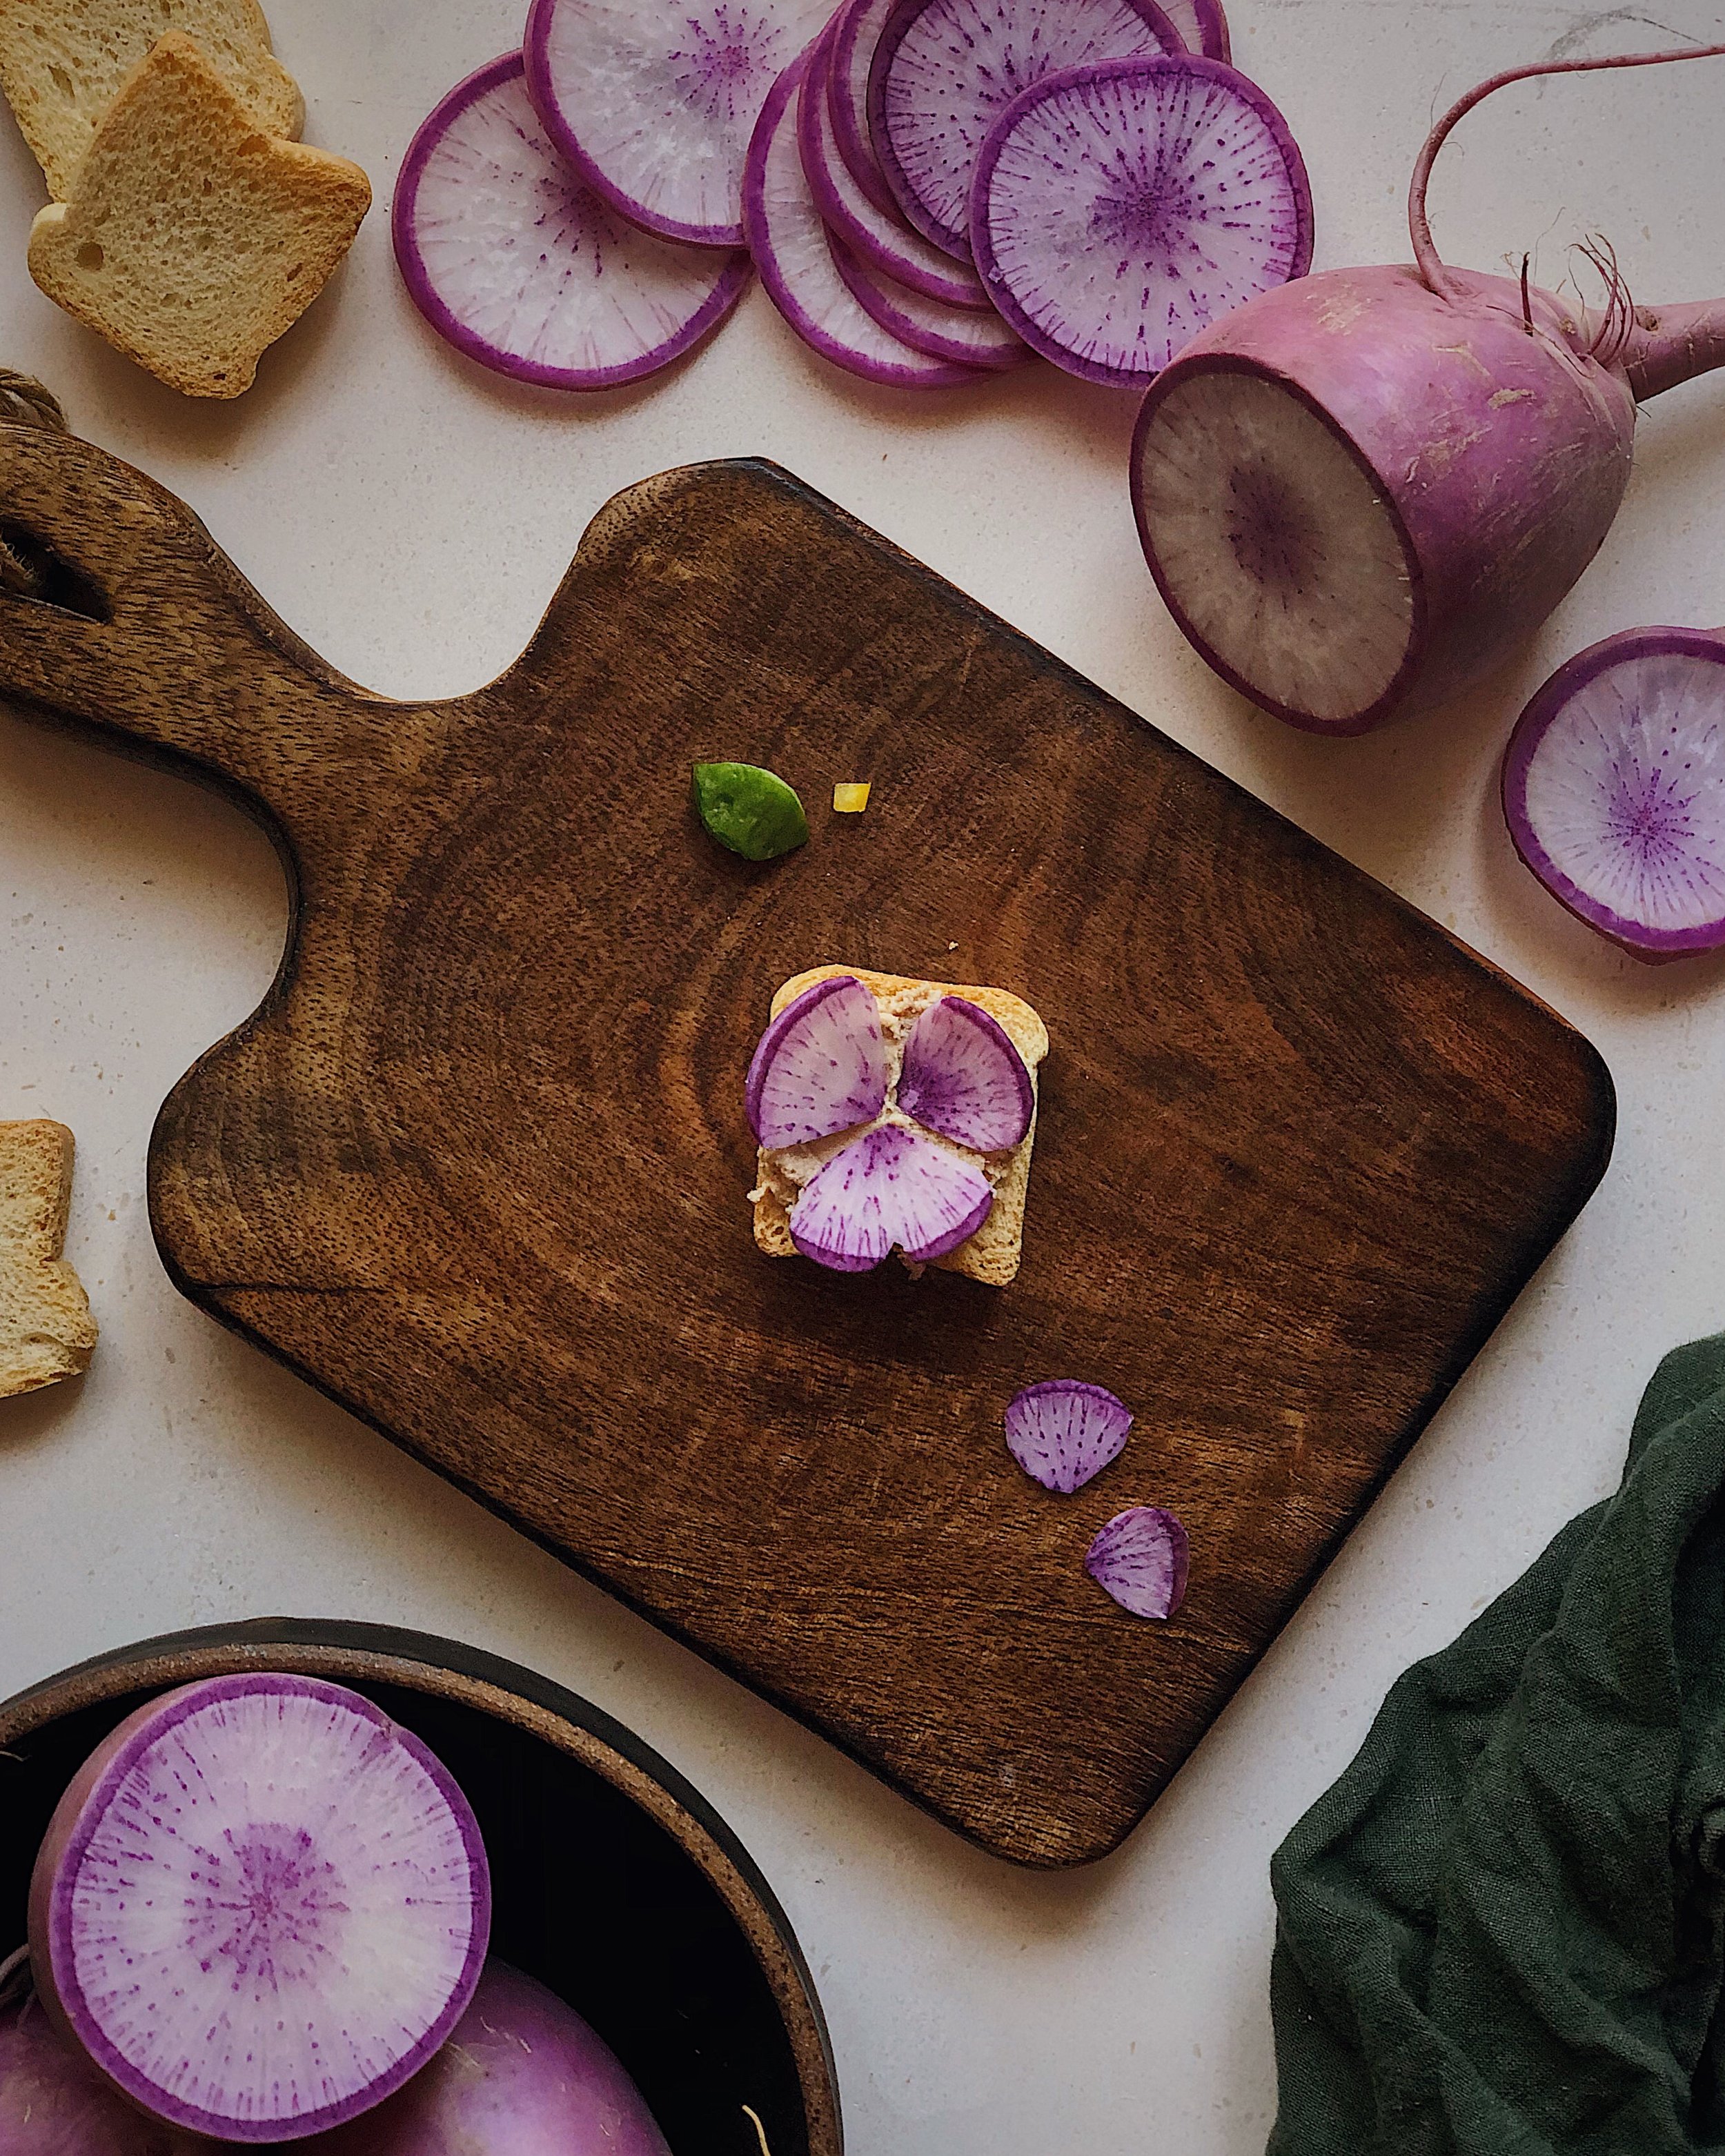
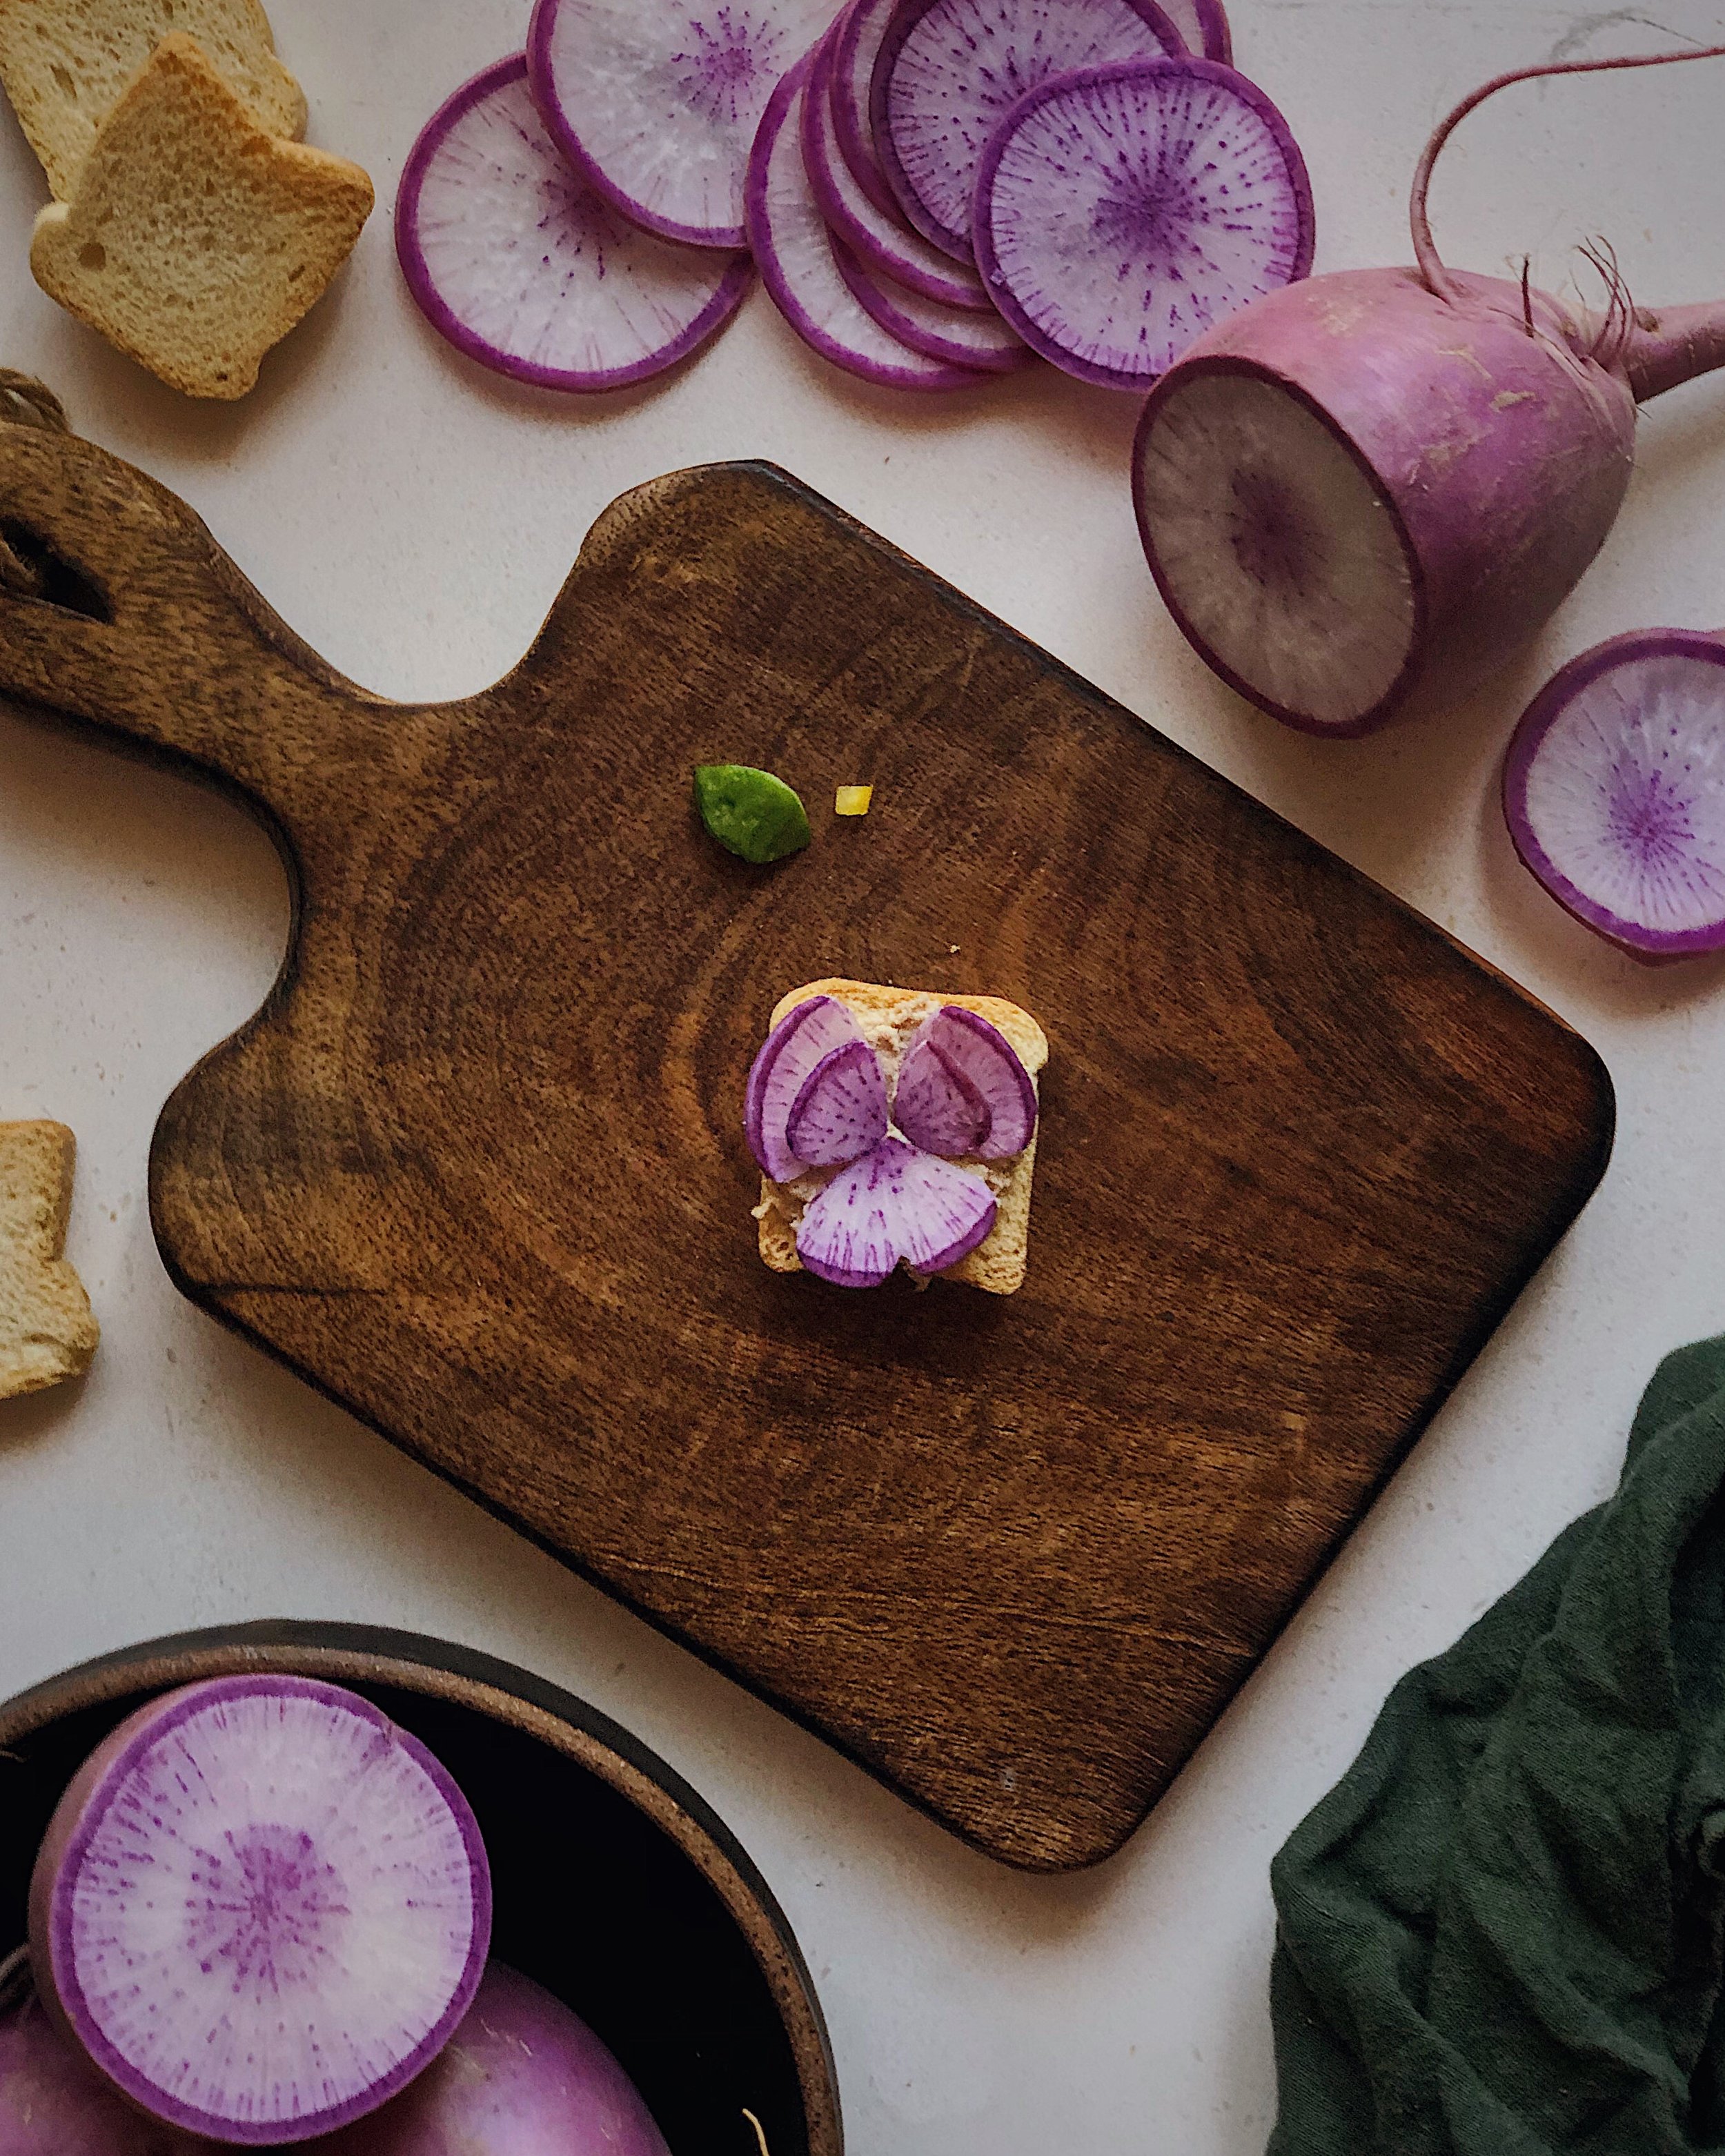
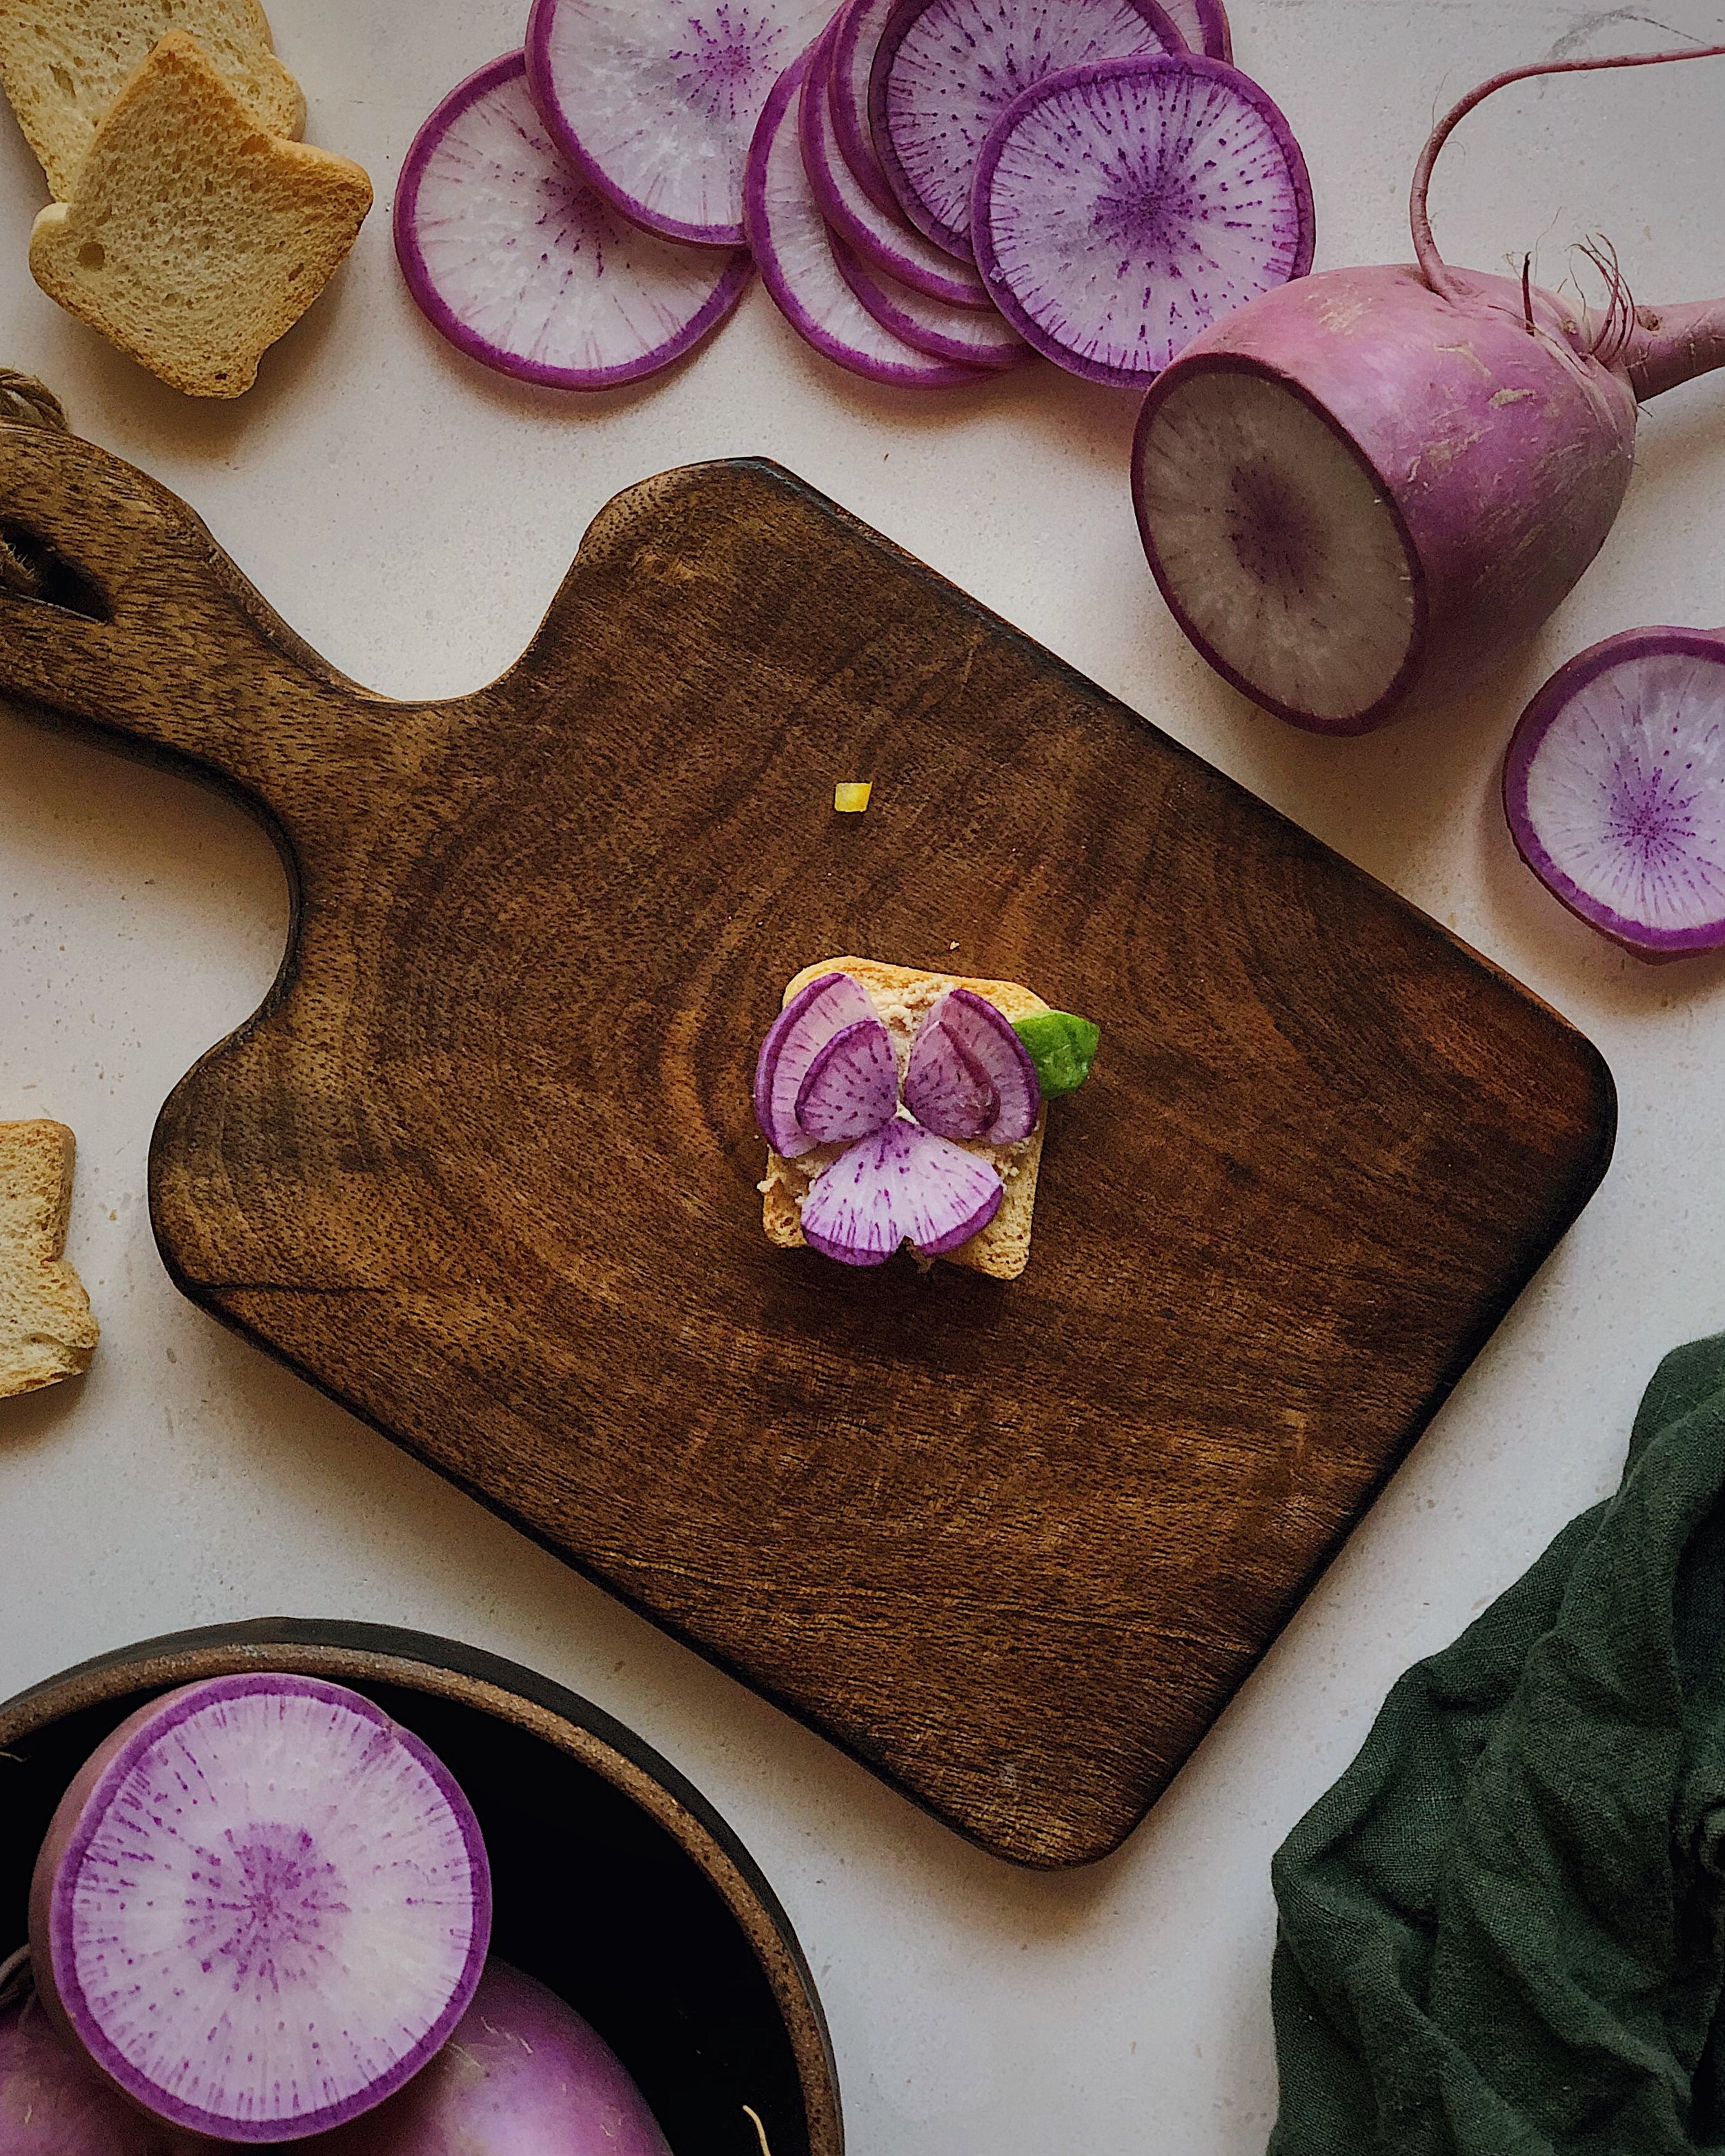
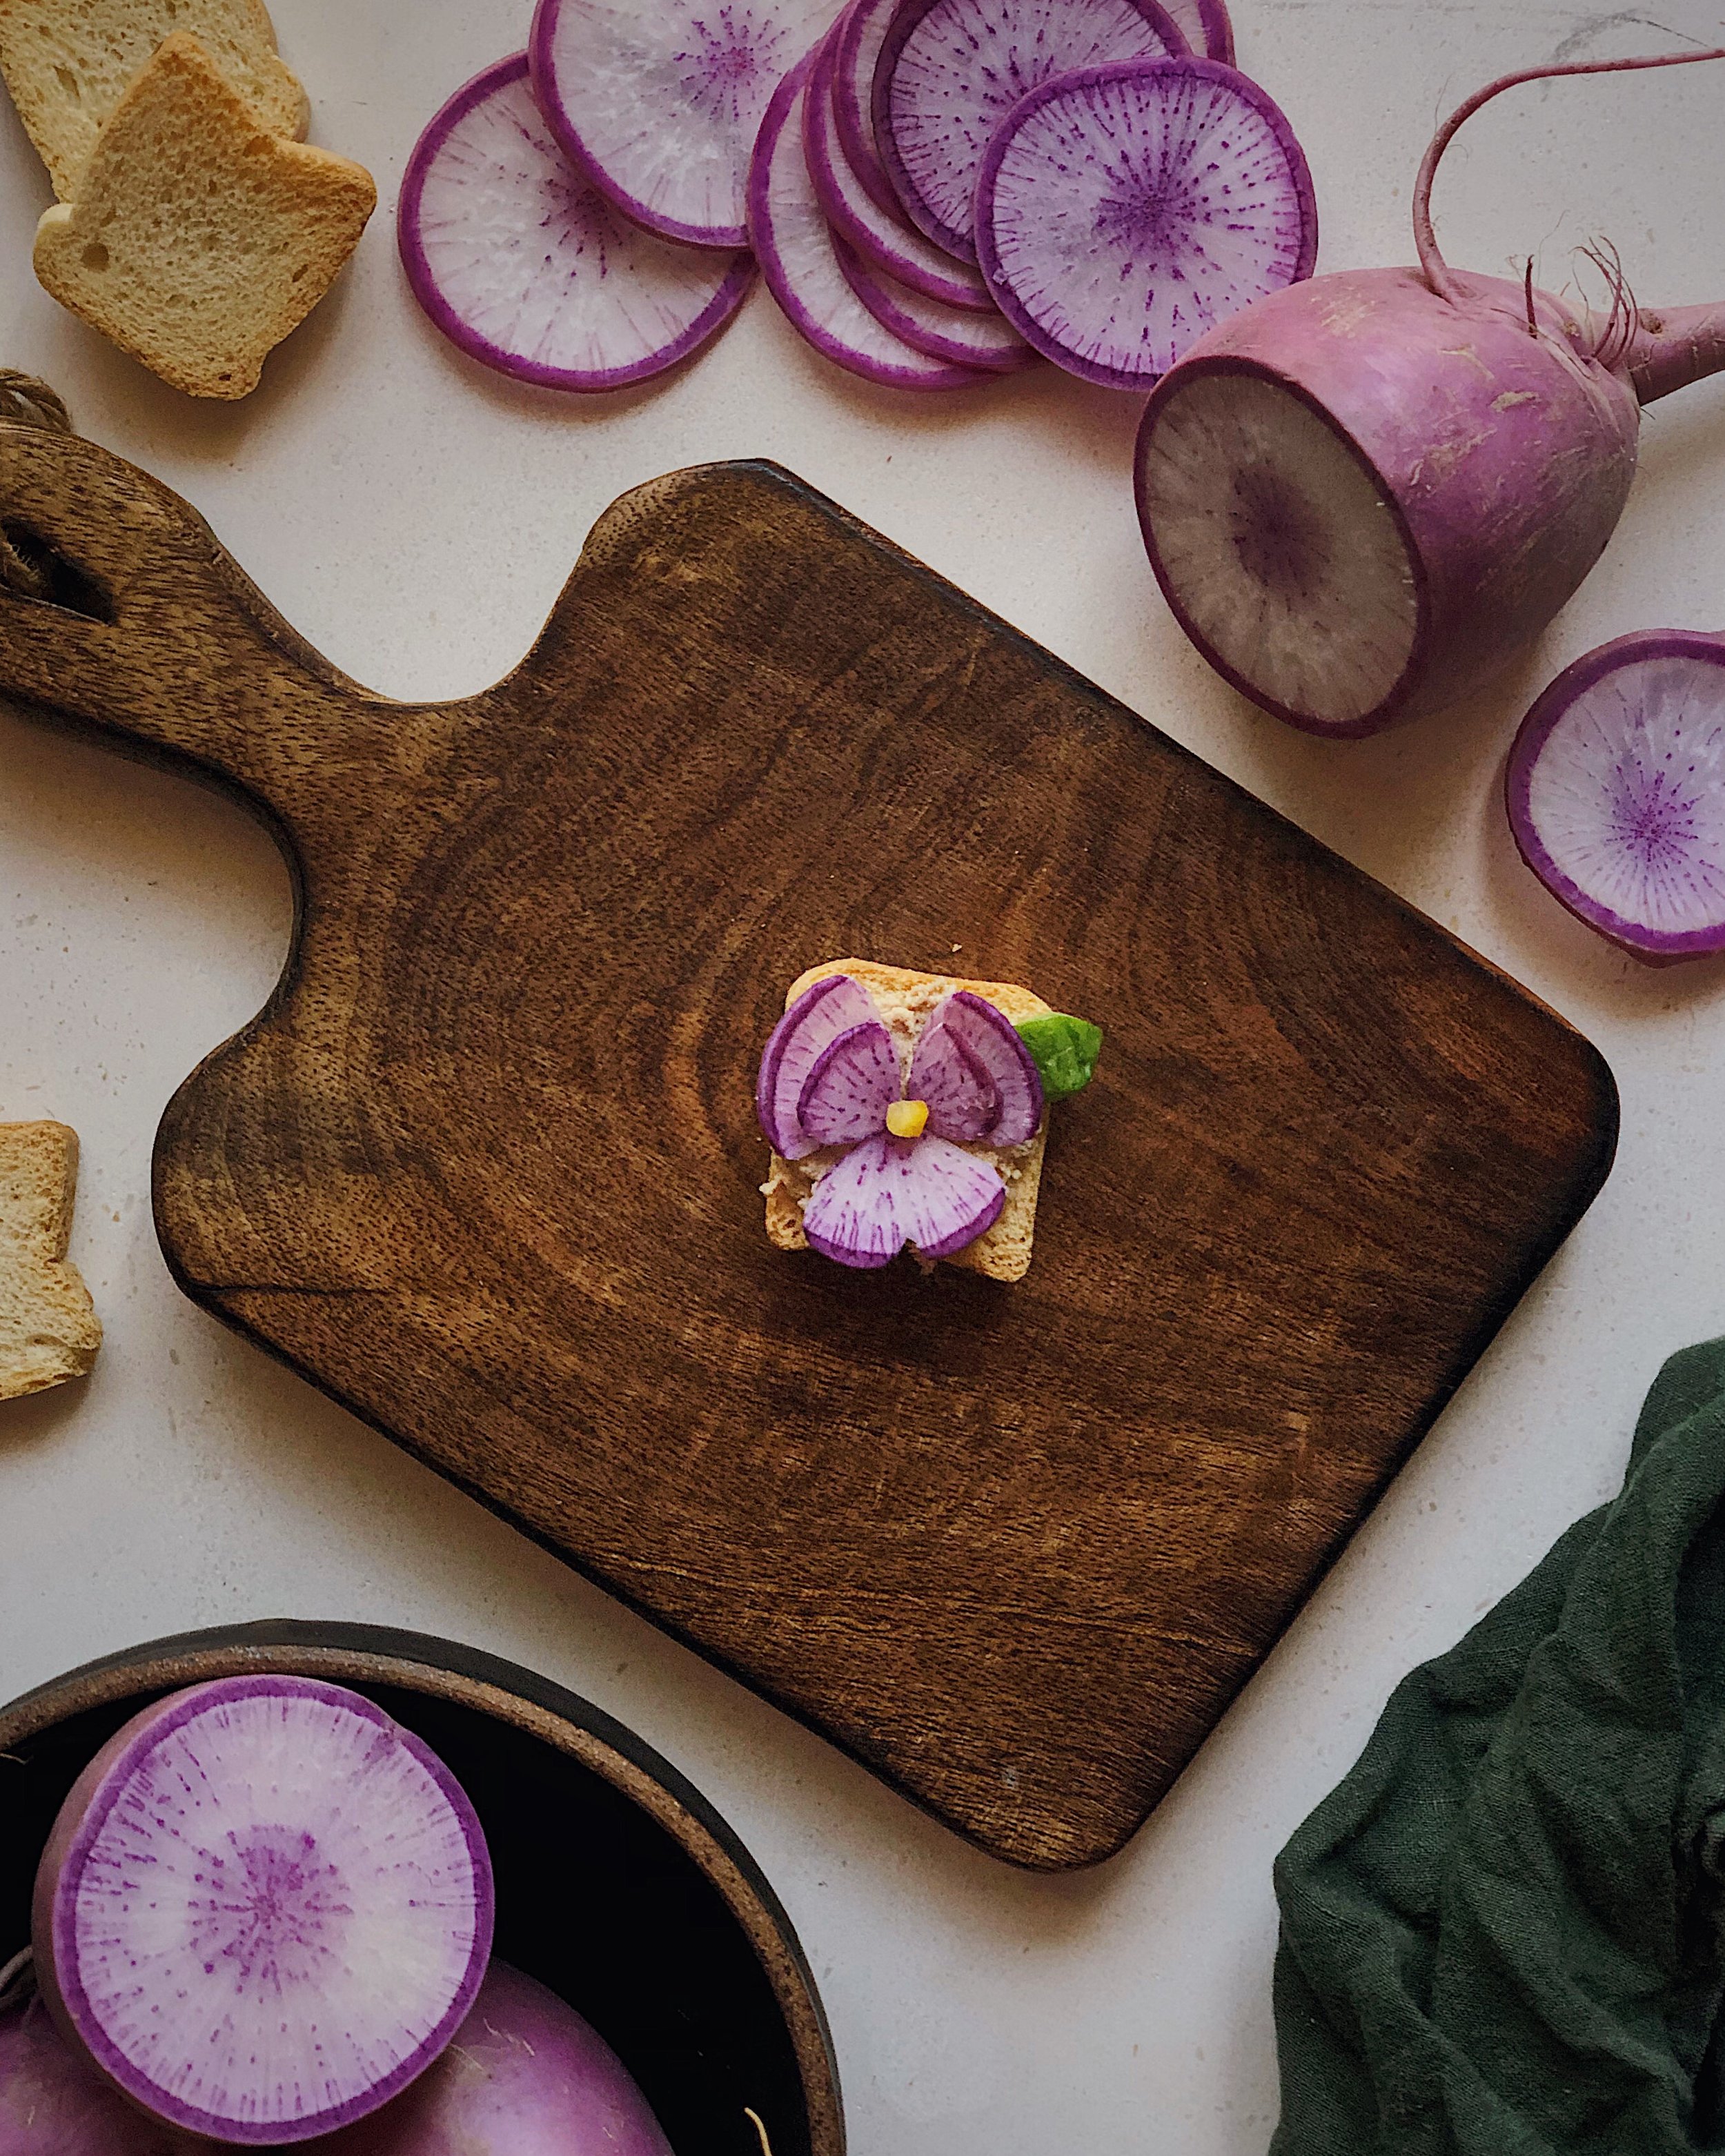
Dress up a simple toast with your favorite spread by adding these cute violas made out of purple daikon. Or make a whole bunch of crostini to snack on while having a romantic movie night at home.

Here are step-by-step photos that show how I made these. I used mini toasts for the base and pâté for the spread in the tutorial but you could use whatever spread as you want. You just need something that will hold the cut radish pieces in place.

For an alternative color option, soak the purple daikon slices in something acidic like lemon juice and they will turn hot pink! You could also use white daikon and soak them in some beet juice to make pink flowers if you can’t find purple daikon.

Sweet Potato Roses on Cheddar-Stuffed Focaccia

Unlike actual flowers, baking can often improve the appearance of flowers that are made out of veggies, curling their “petals’ and making them look more natural. I think that is very true when making roses out of sweet potato and baking them into the surface of an easy from-scratch focaccia. You can find the full recipe for this mushroom, sweet potato, and cheddar stuffed focaccia here on my blog.

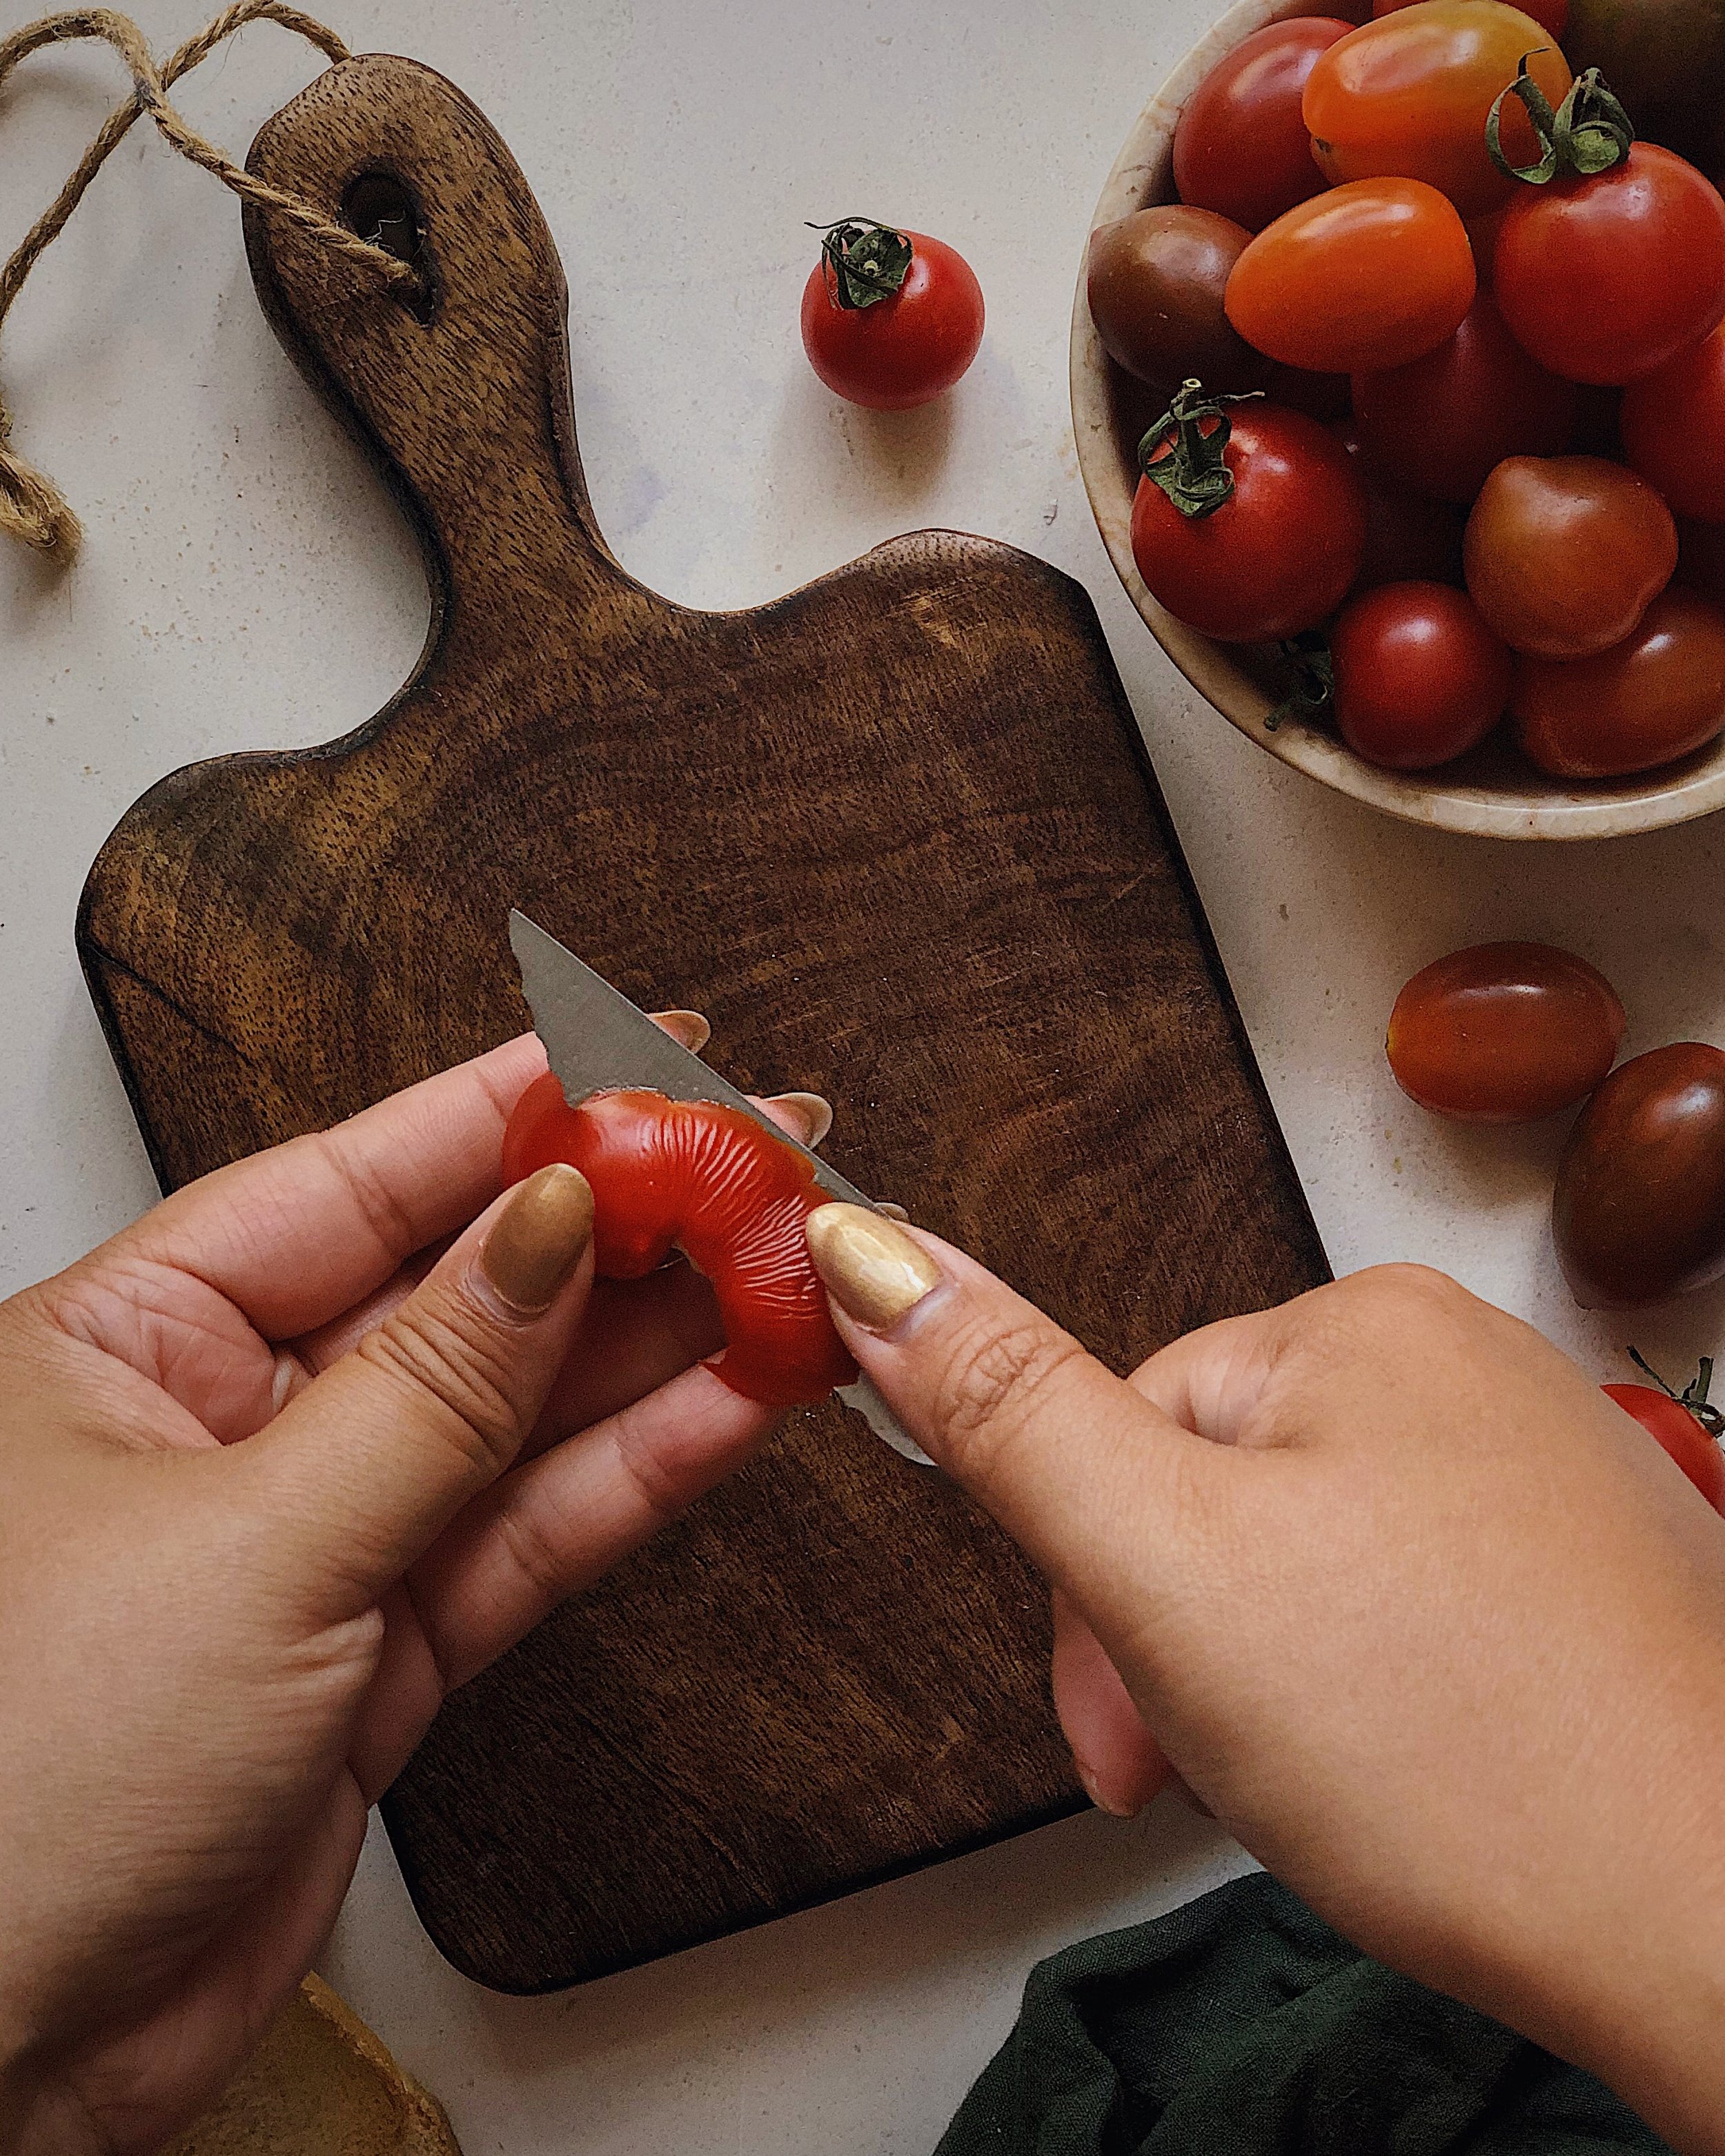
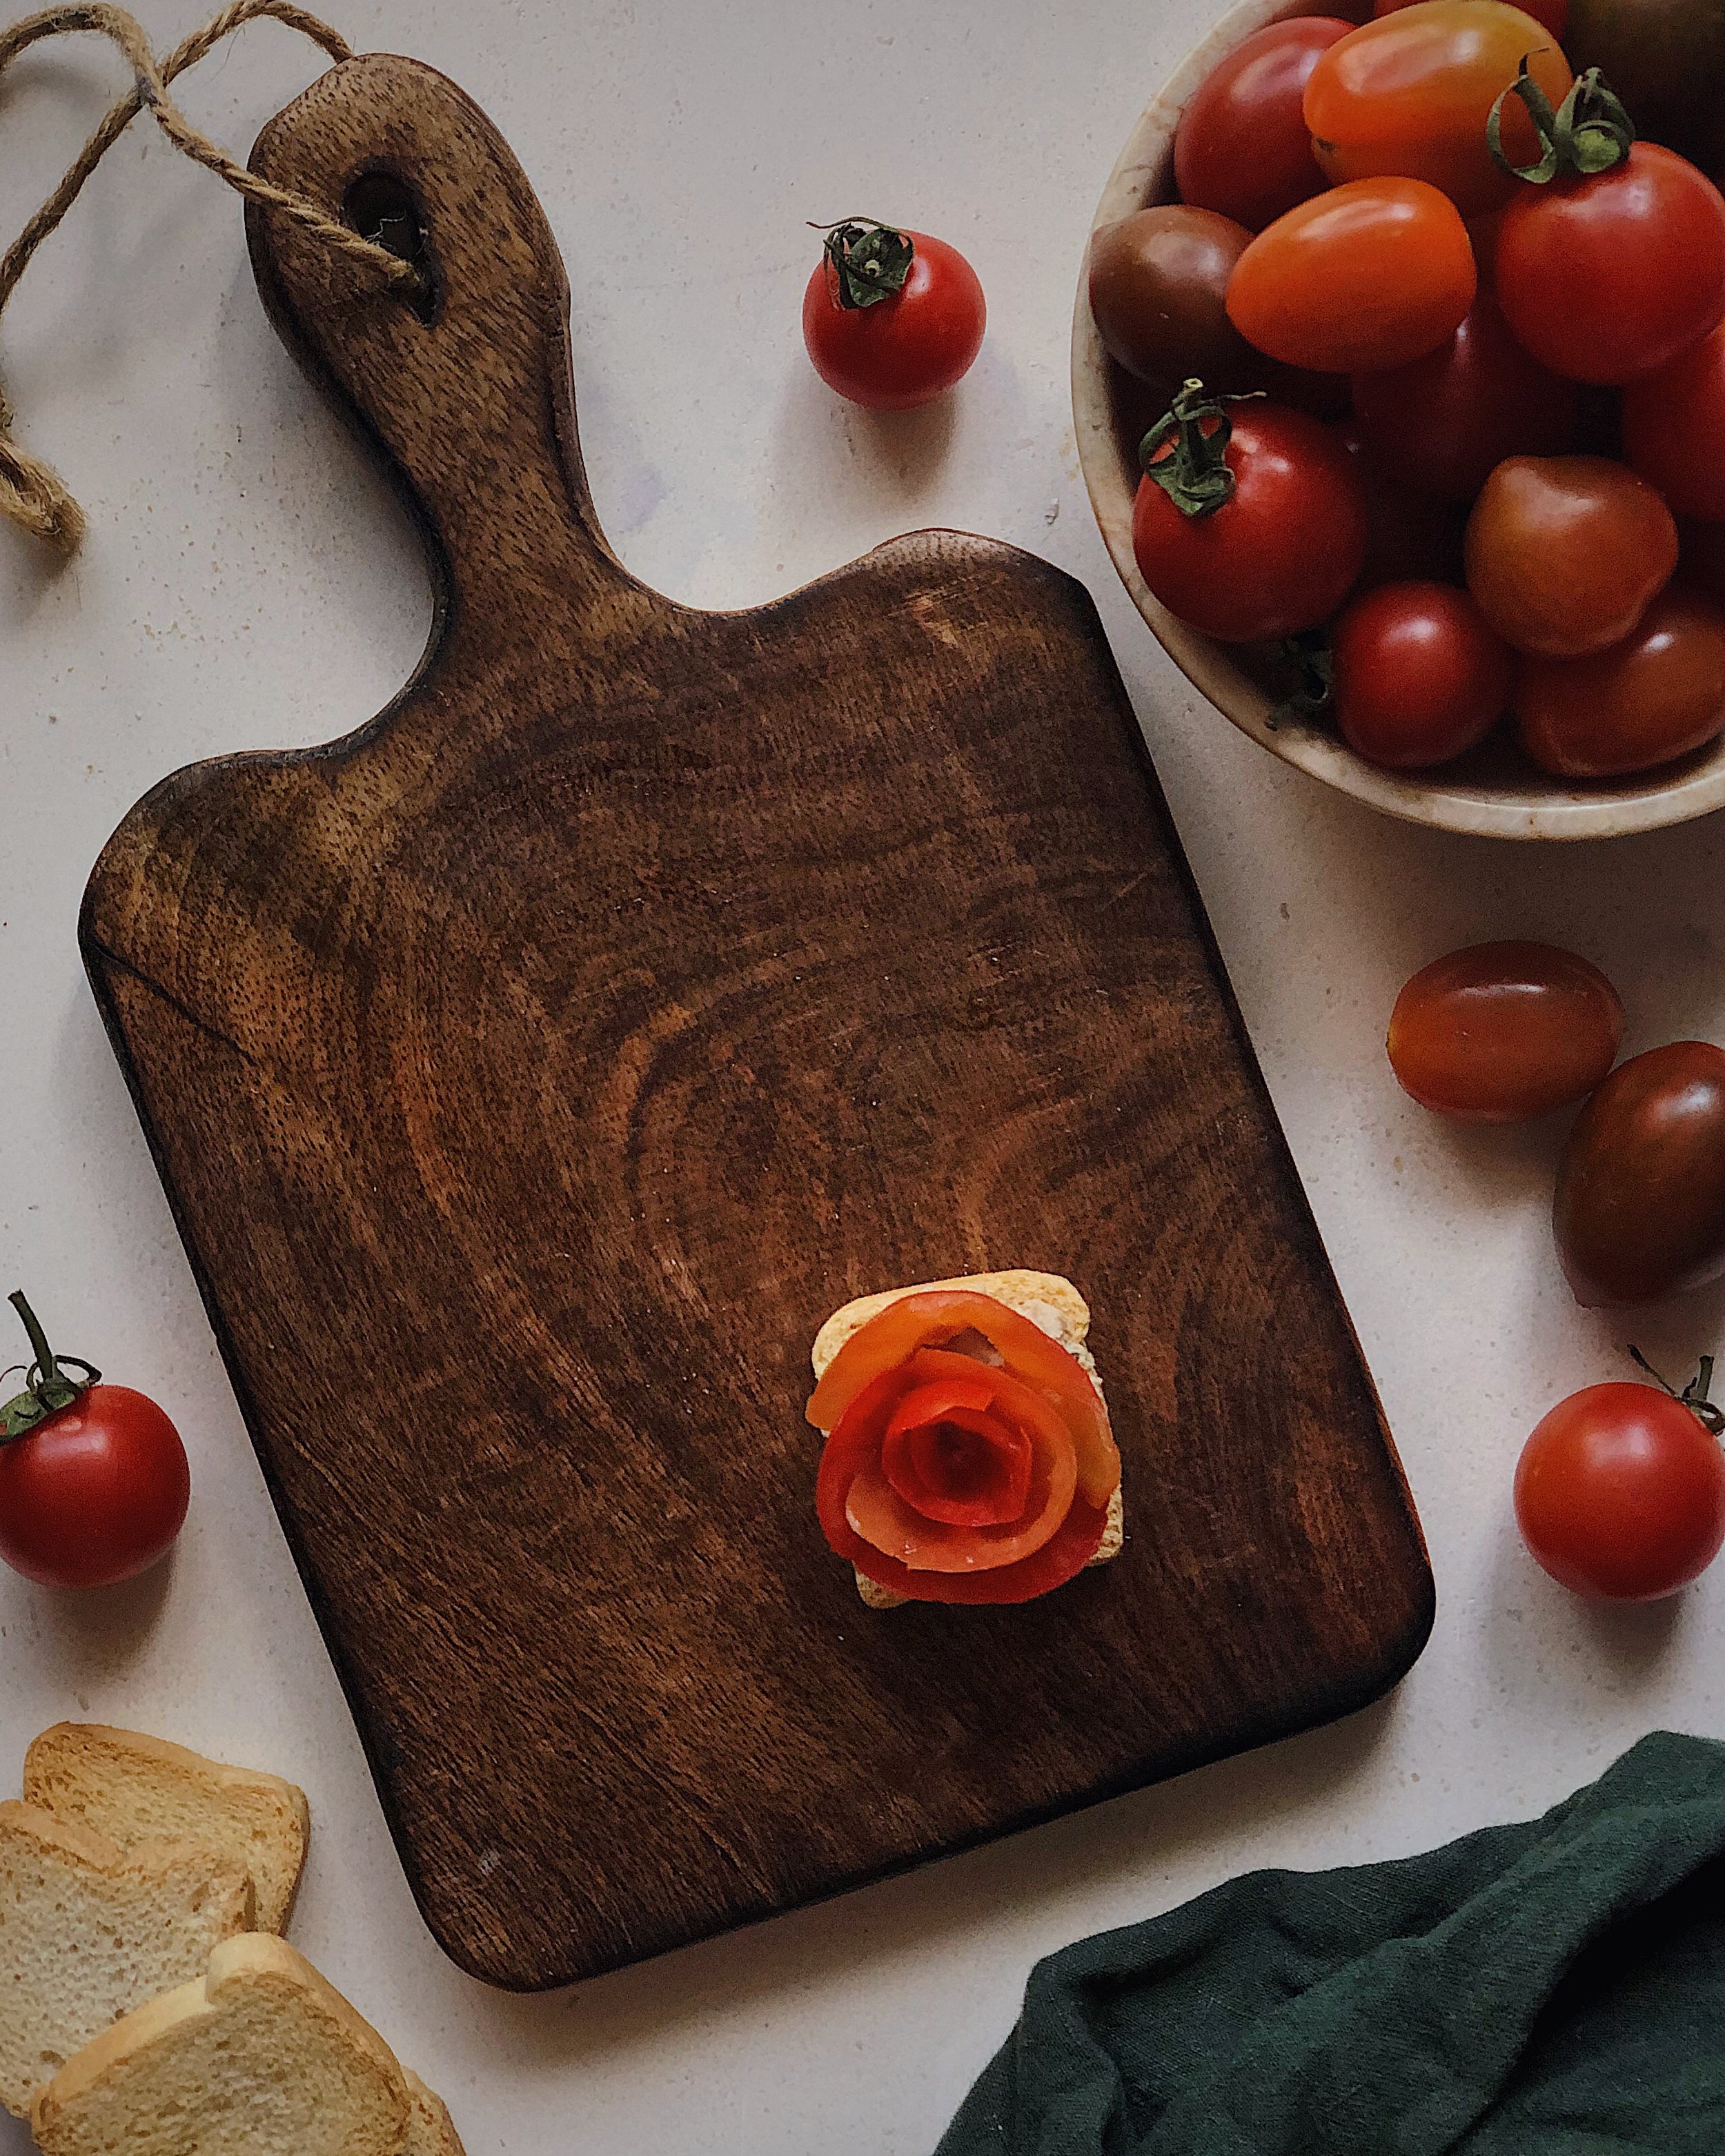
Tomato Rose Caprese

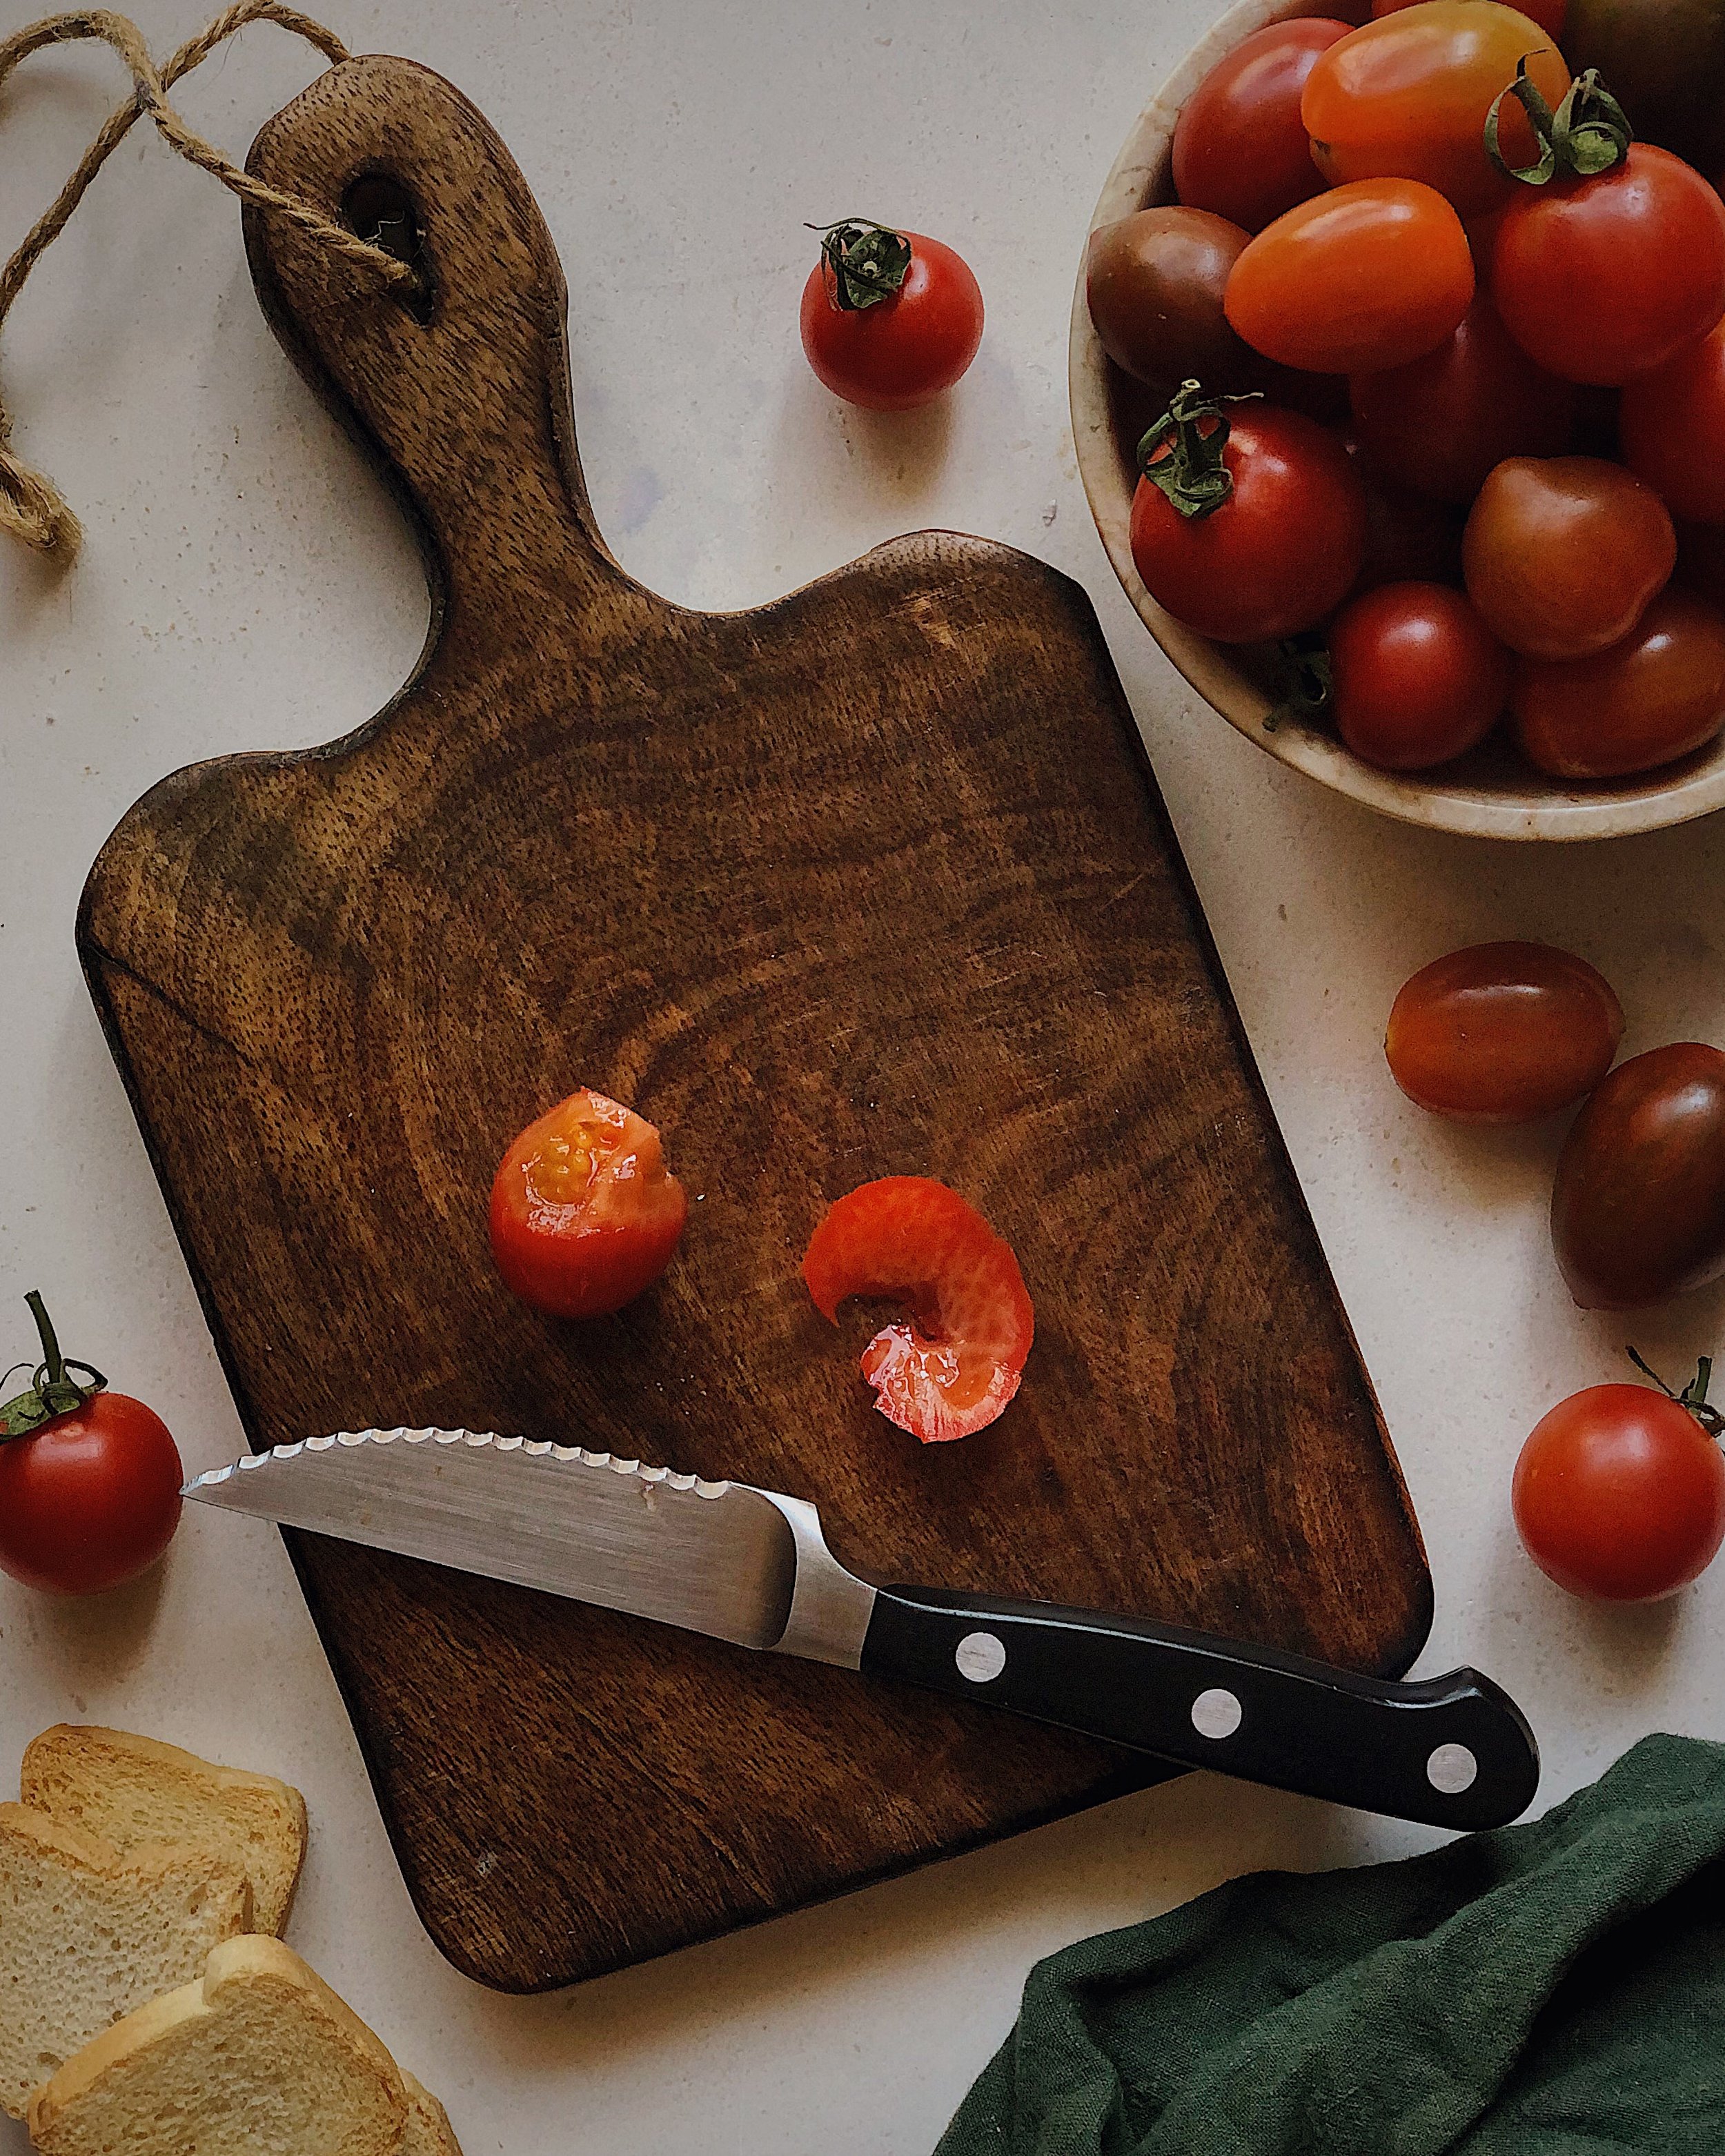
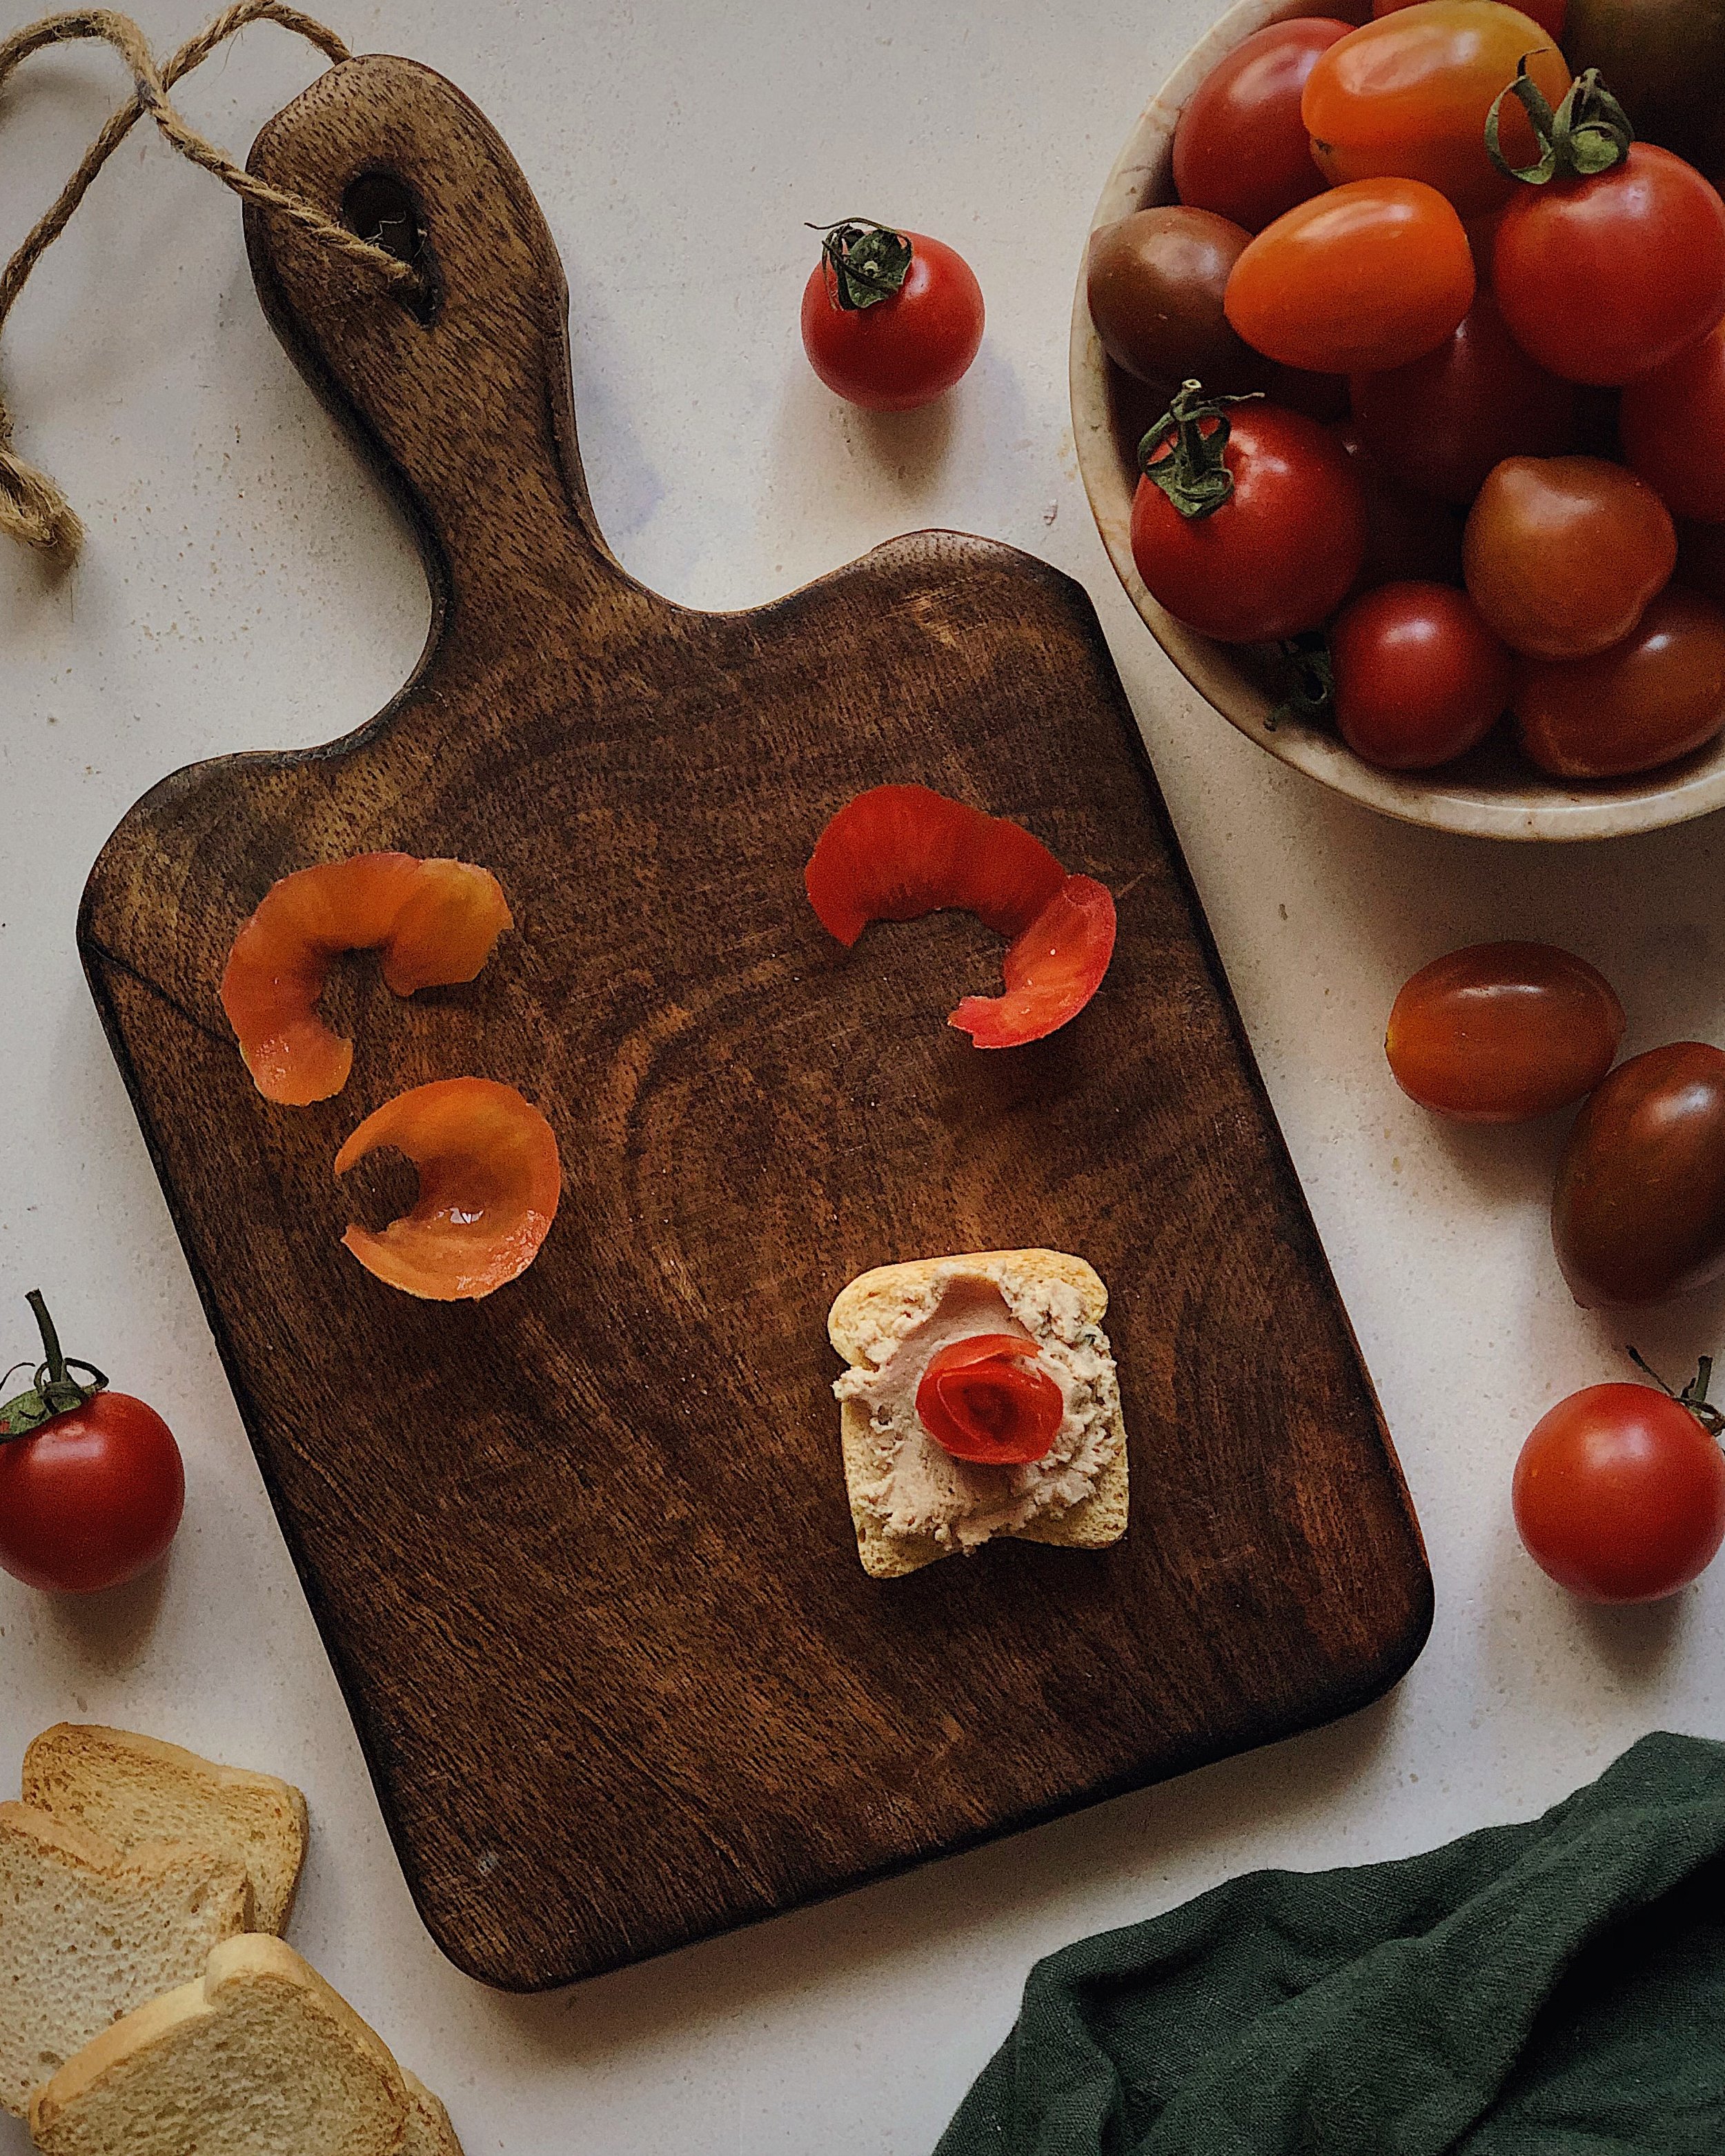
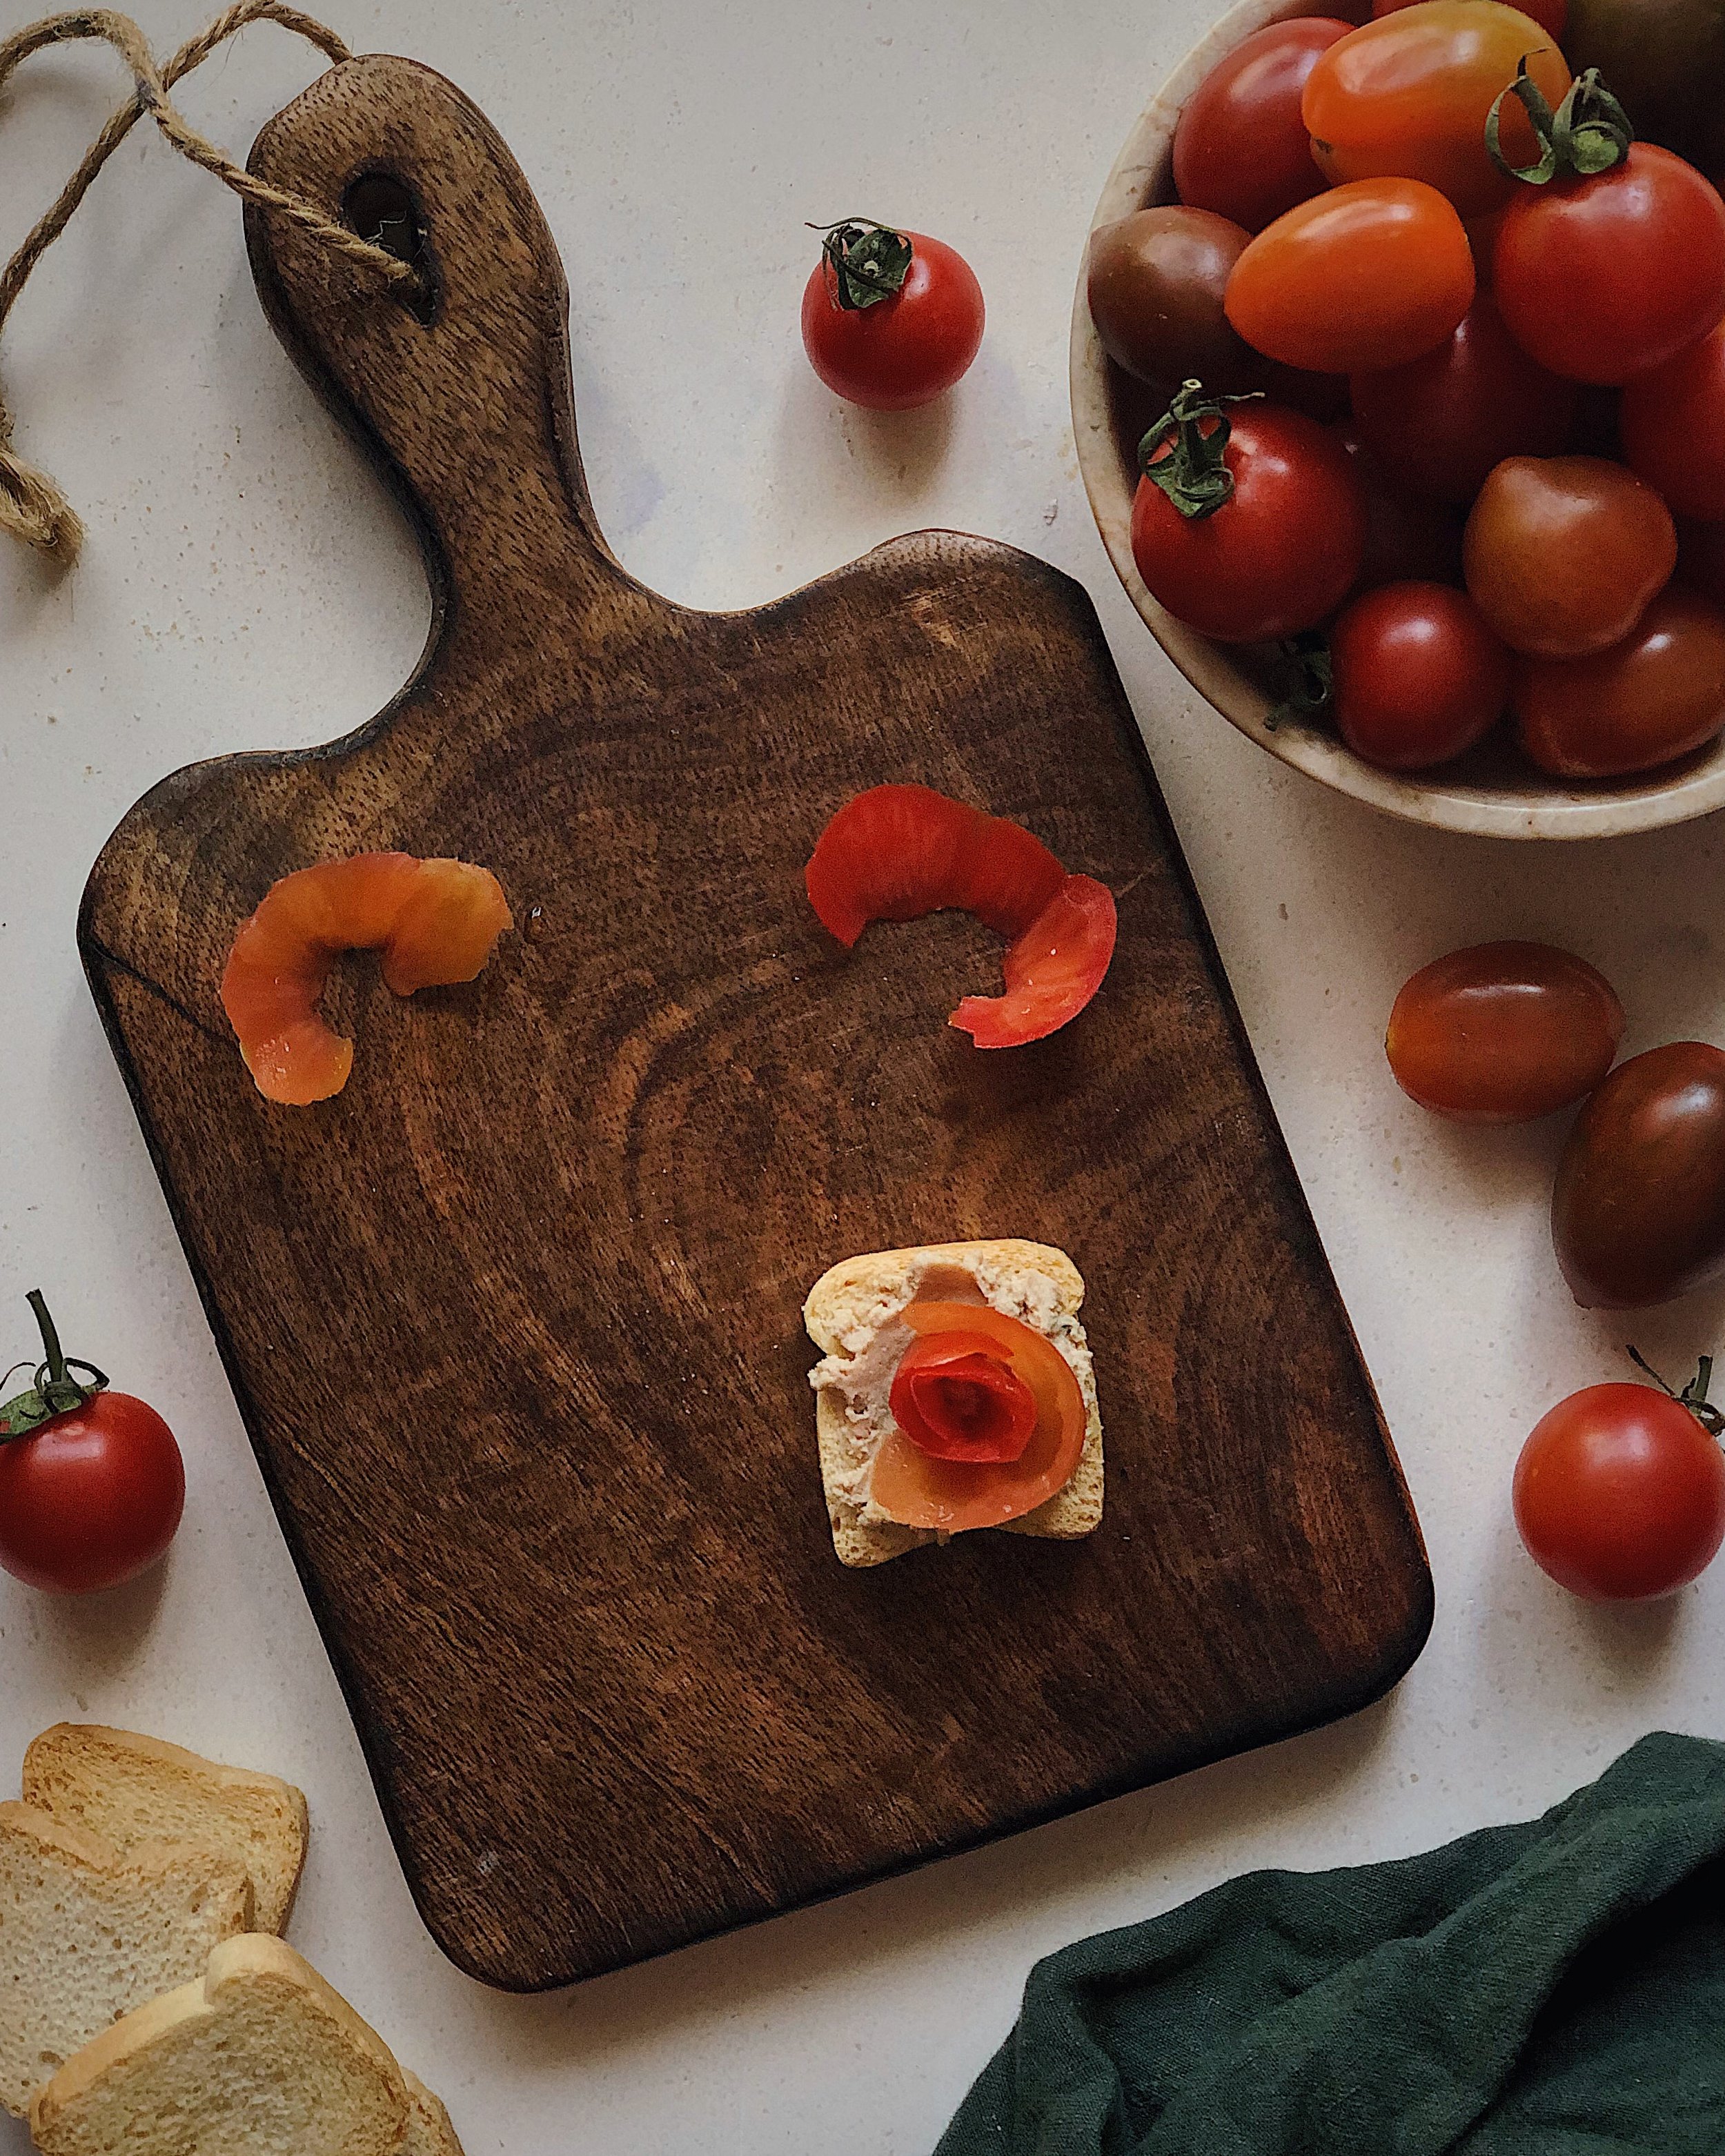
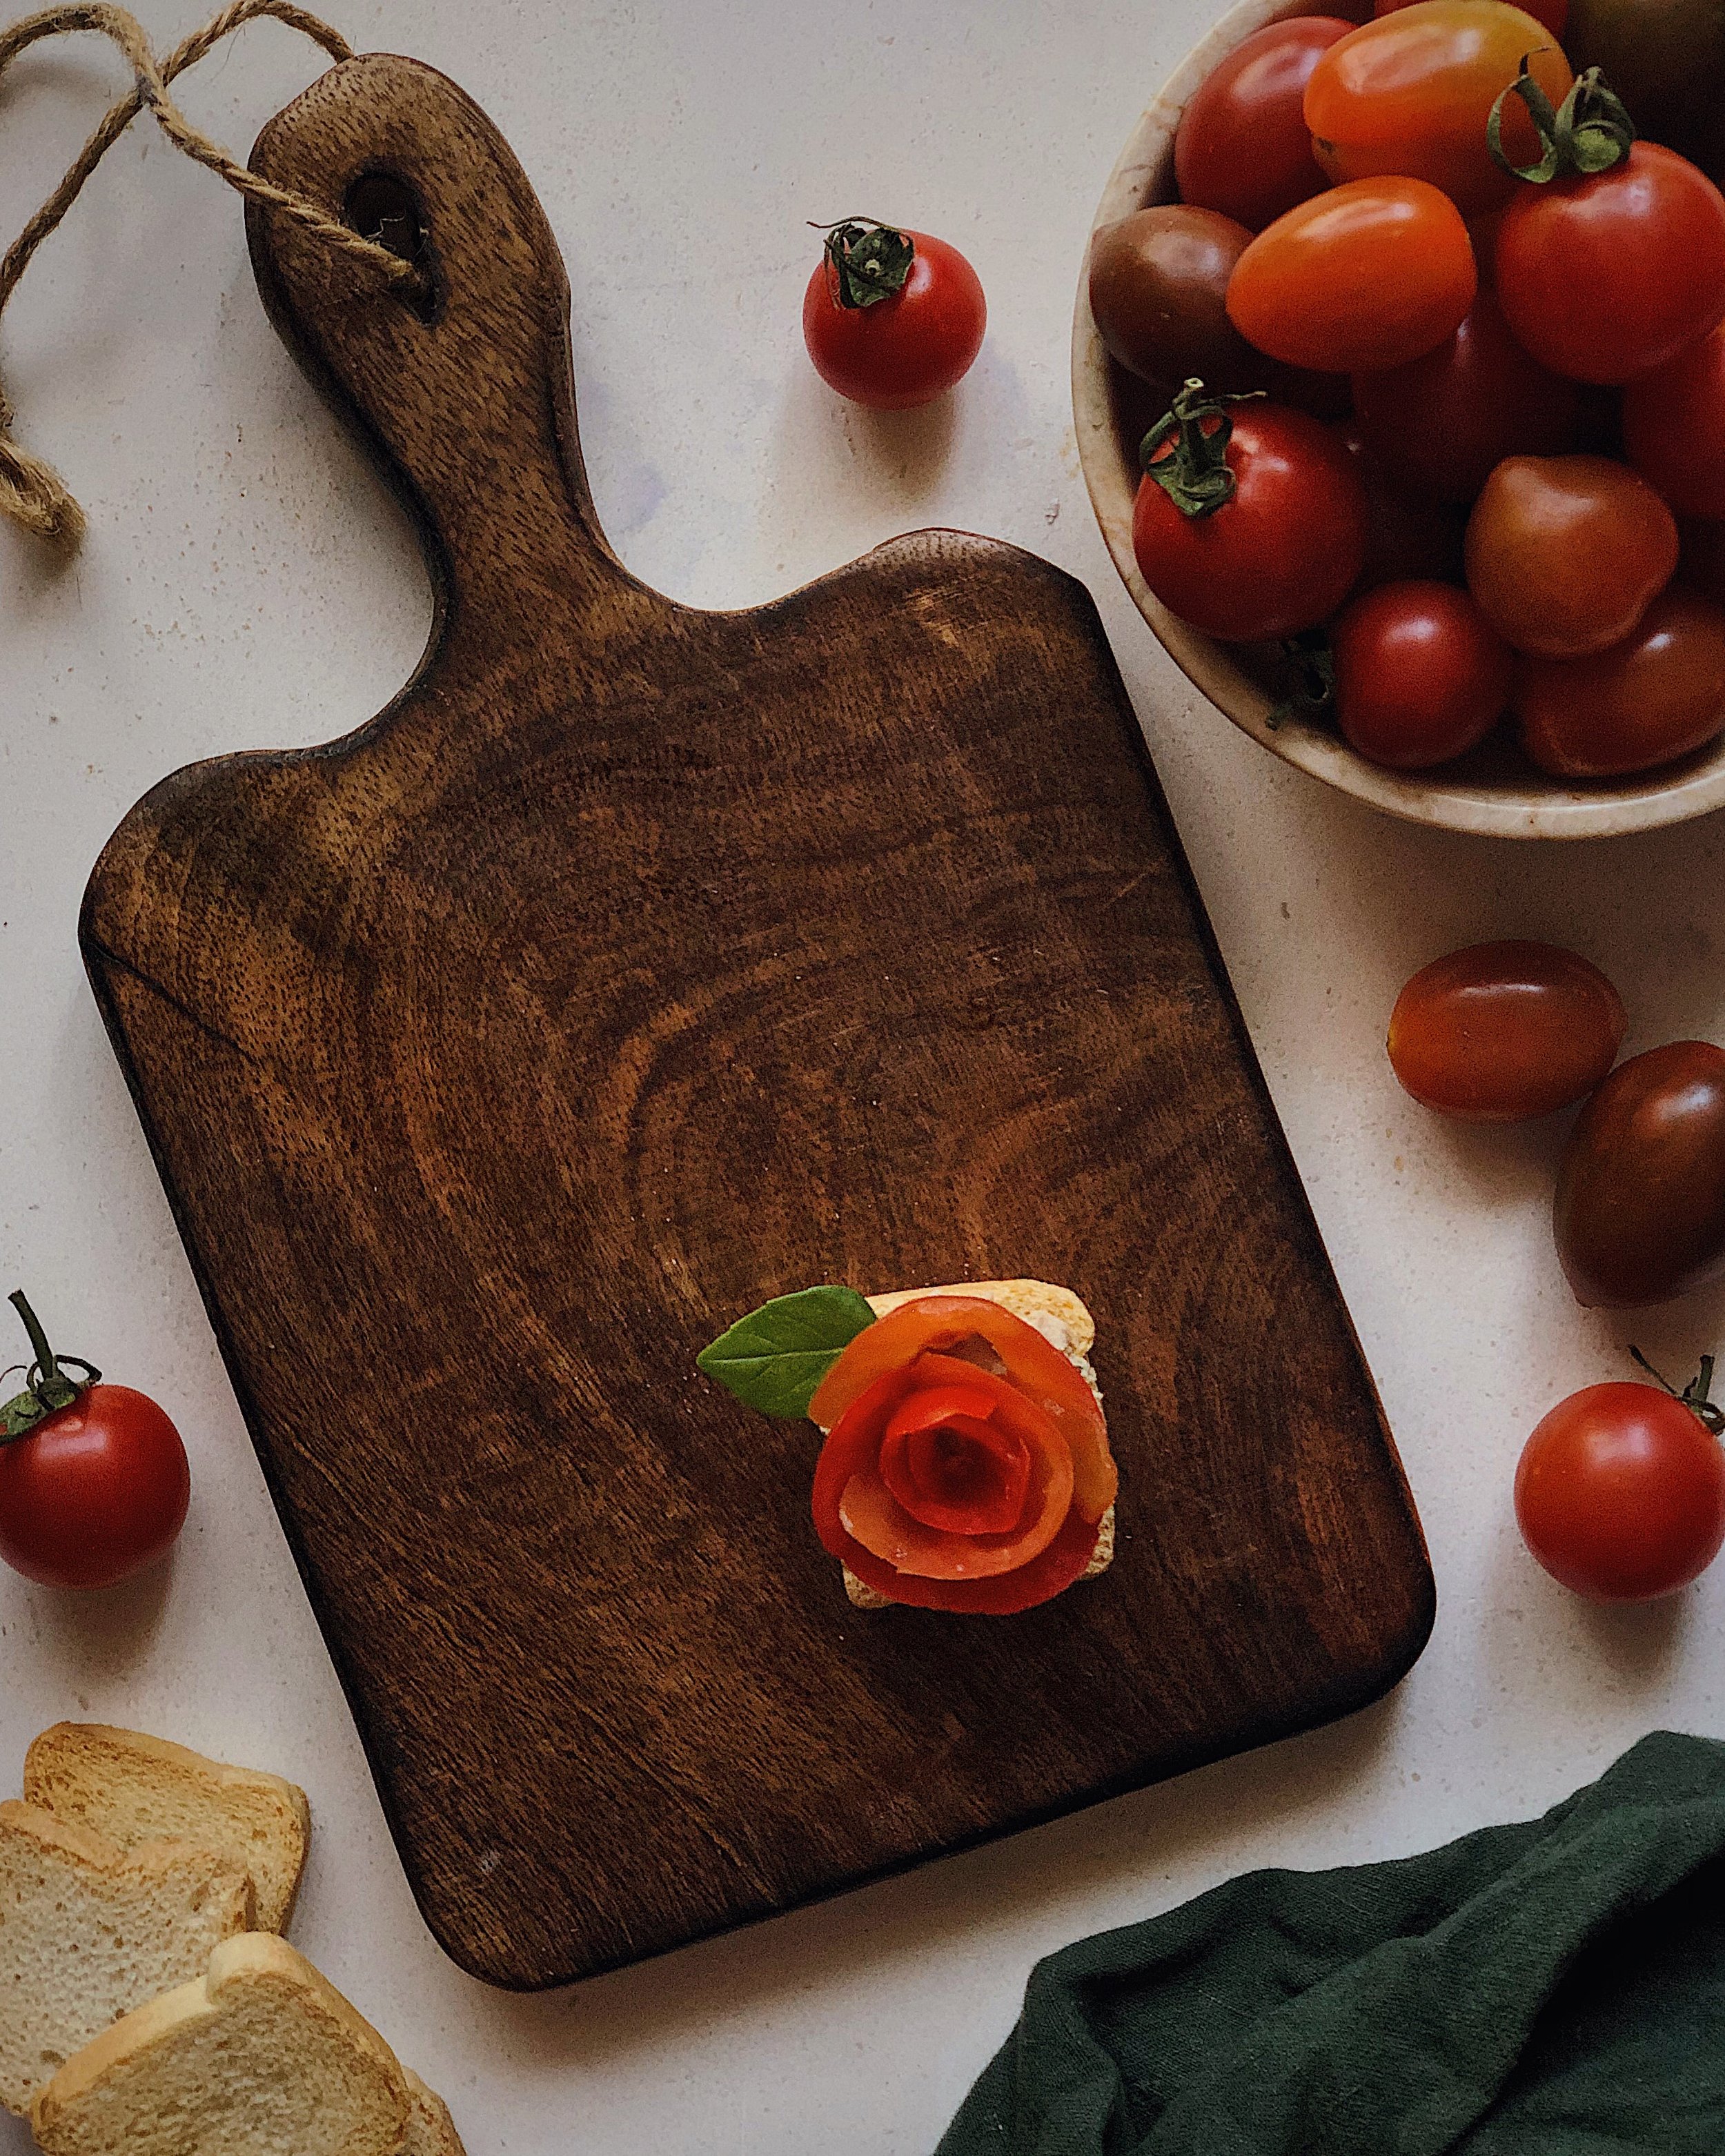
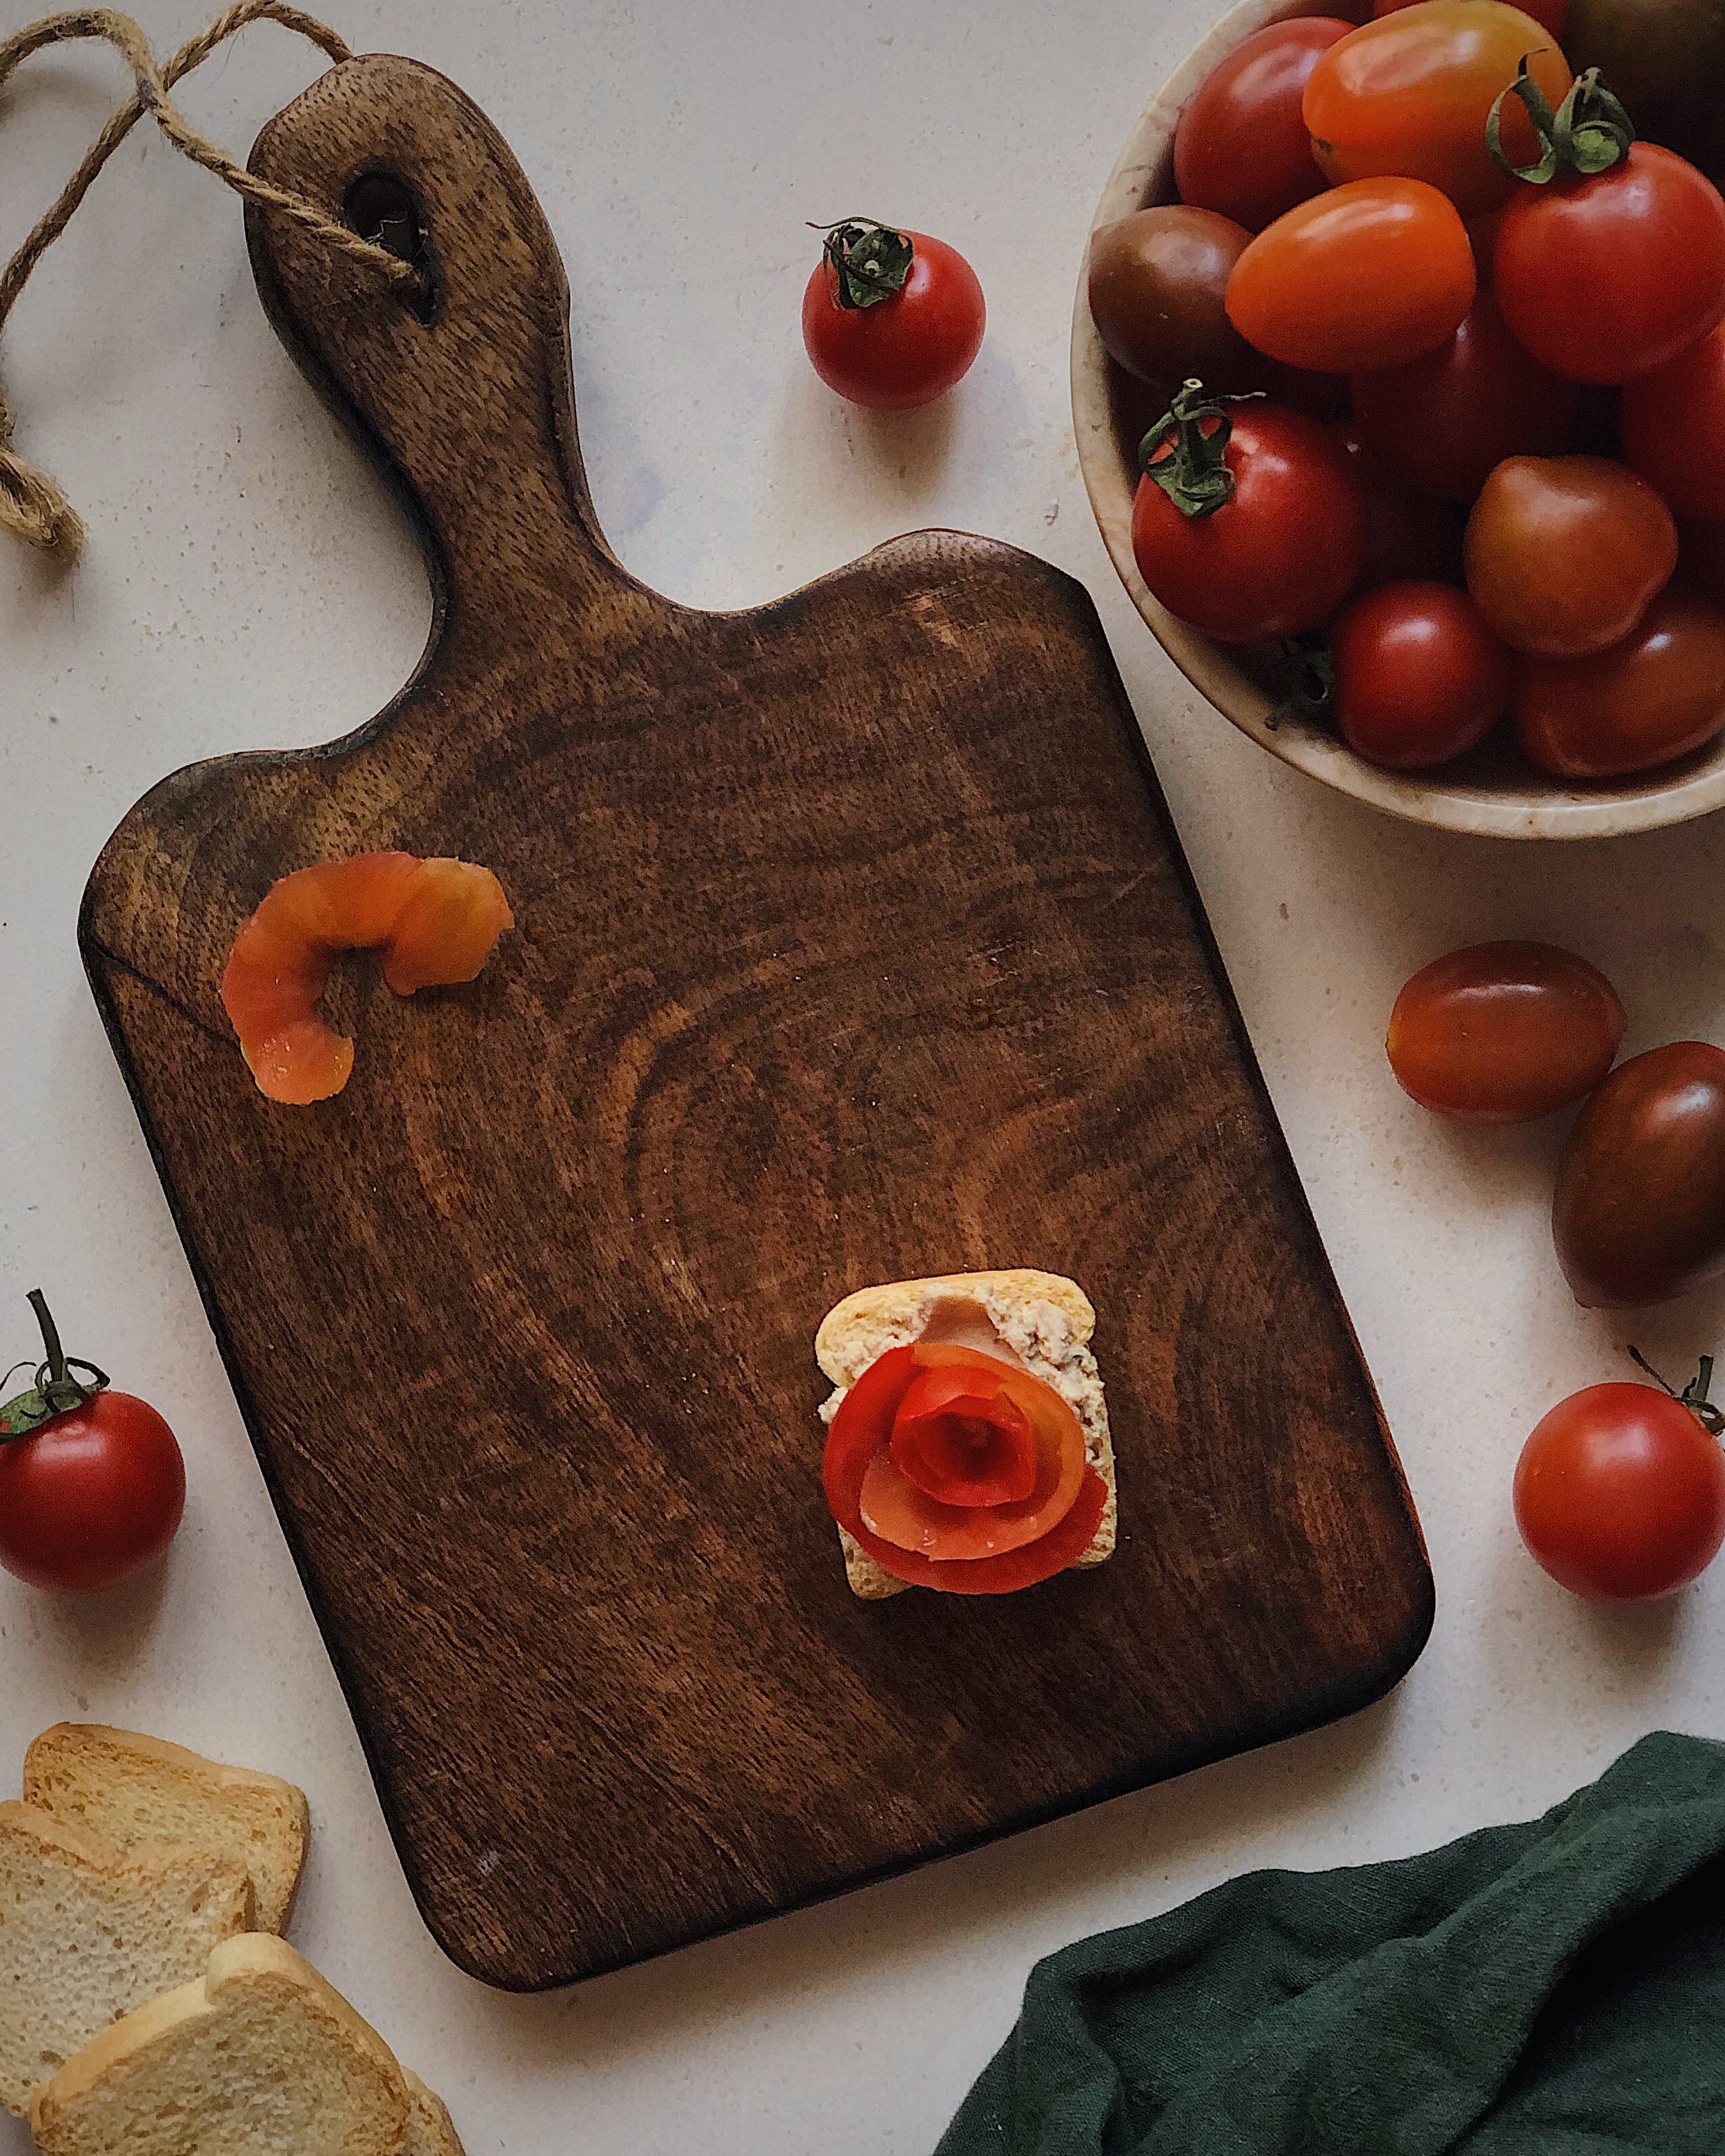
I love making these tomato roses in the summertime when I can get all sorts of fun varieties of cherry tomatoes from the farmers market. But you can still make them with regular ol’ store-bought cherry or grape tomatoes; I actually find that it is easier to work with tomatoes when they are firmer, and adding a little sprinkle of salt at the end can really help improve the flavor.

Here are photos that show how I made these.

Use these beautiful raw tomato roses to make caprese, serving them with mozzarella (or burrata) and basil or a drizzle of pesto. Or, make an easy caprese-inspired tart by baking up a store-bought puff pastry for the crust, topping with something mild and creamy for a spread, and filling your canvas with these tomato roses before finishing off with some fresh herbs.

Labneh Painted Toast

I always say that toast makes a wonderful edible canvas. And I have found that thick, creamy labneh works great as an edible paint when it is combined with any number of natural powers to make different colors. You can make your own powders by blending dried herbs and freeze-dried fruits in a spice blender until very fine, and then mix that in with the labneh to get your desired shade. Here are some colors I have successfully made:

  • red: chili powder, paprika

  • orange: paprika + curry powder

  • yellow: ground turmeric, curry powder

  • green: matcha, moringa powder, spirulina powder

  • blue: butterfly pea flower

  • purple: elderberry powder, beet powder + butterfly pea

  • pink: beet powder

  • peach: hibiscus powder

I like to use a mini offset spatula to spread my edible “paints” onto my toast. And I sometimes use bee pollen or sesame seeds as finishing touches.

Savory Custard Tart with Veggie Flowers

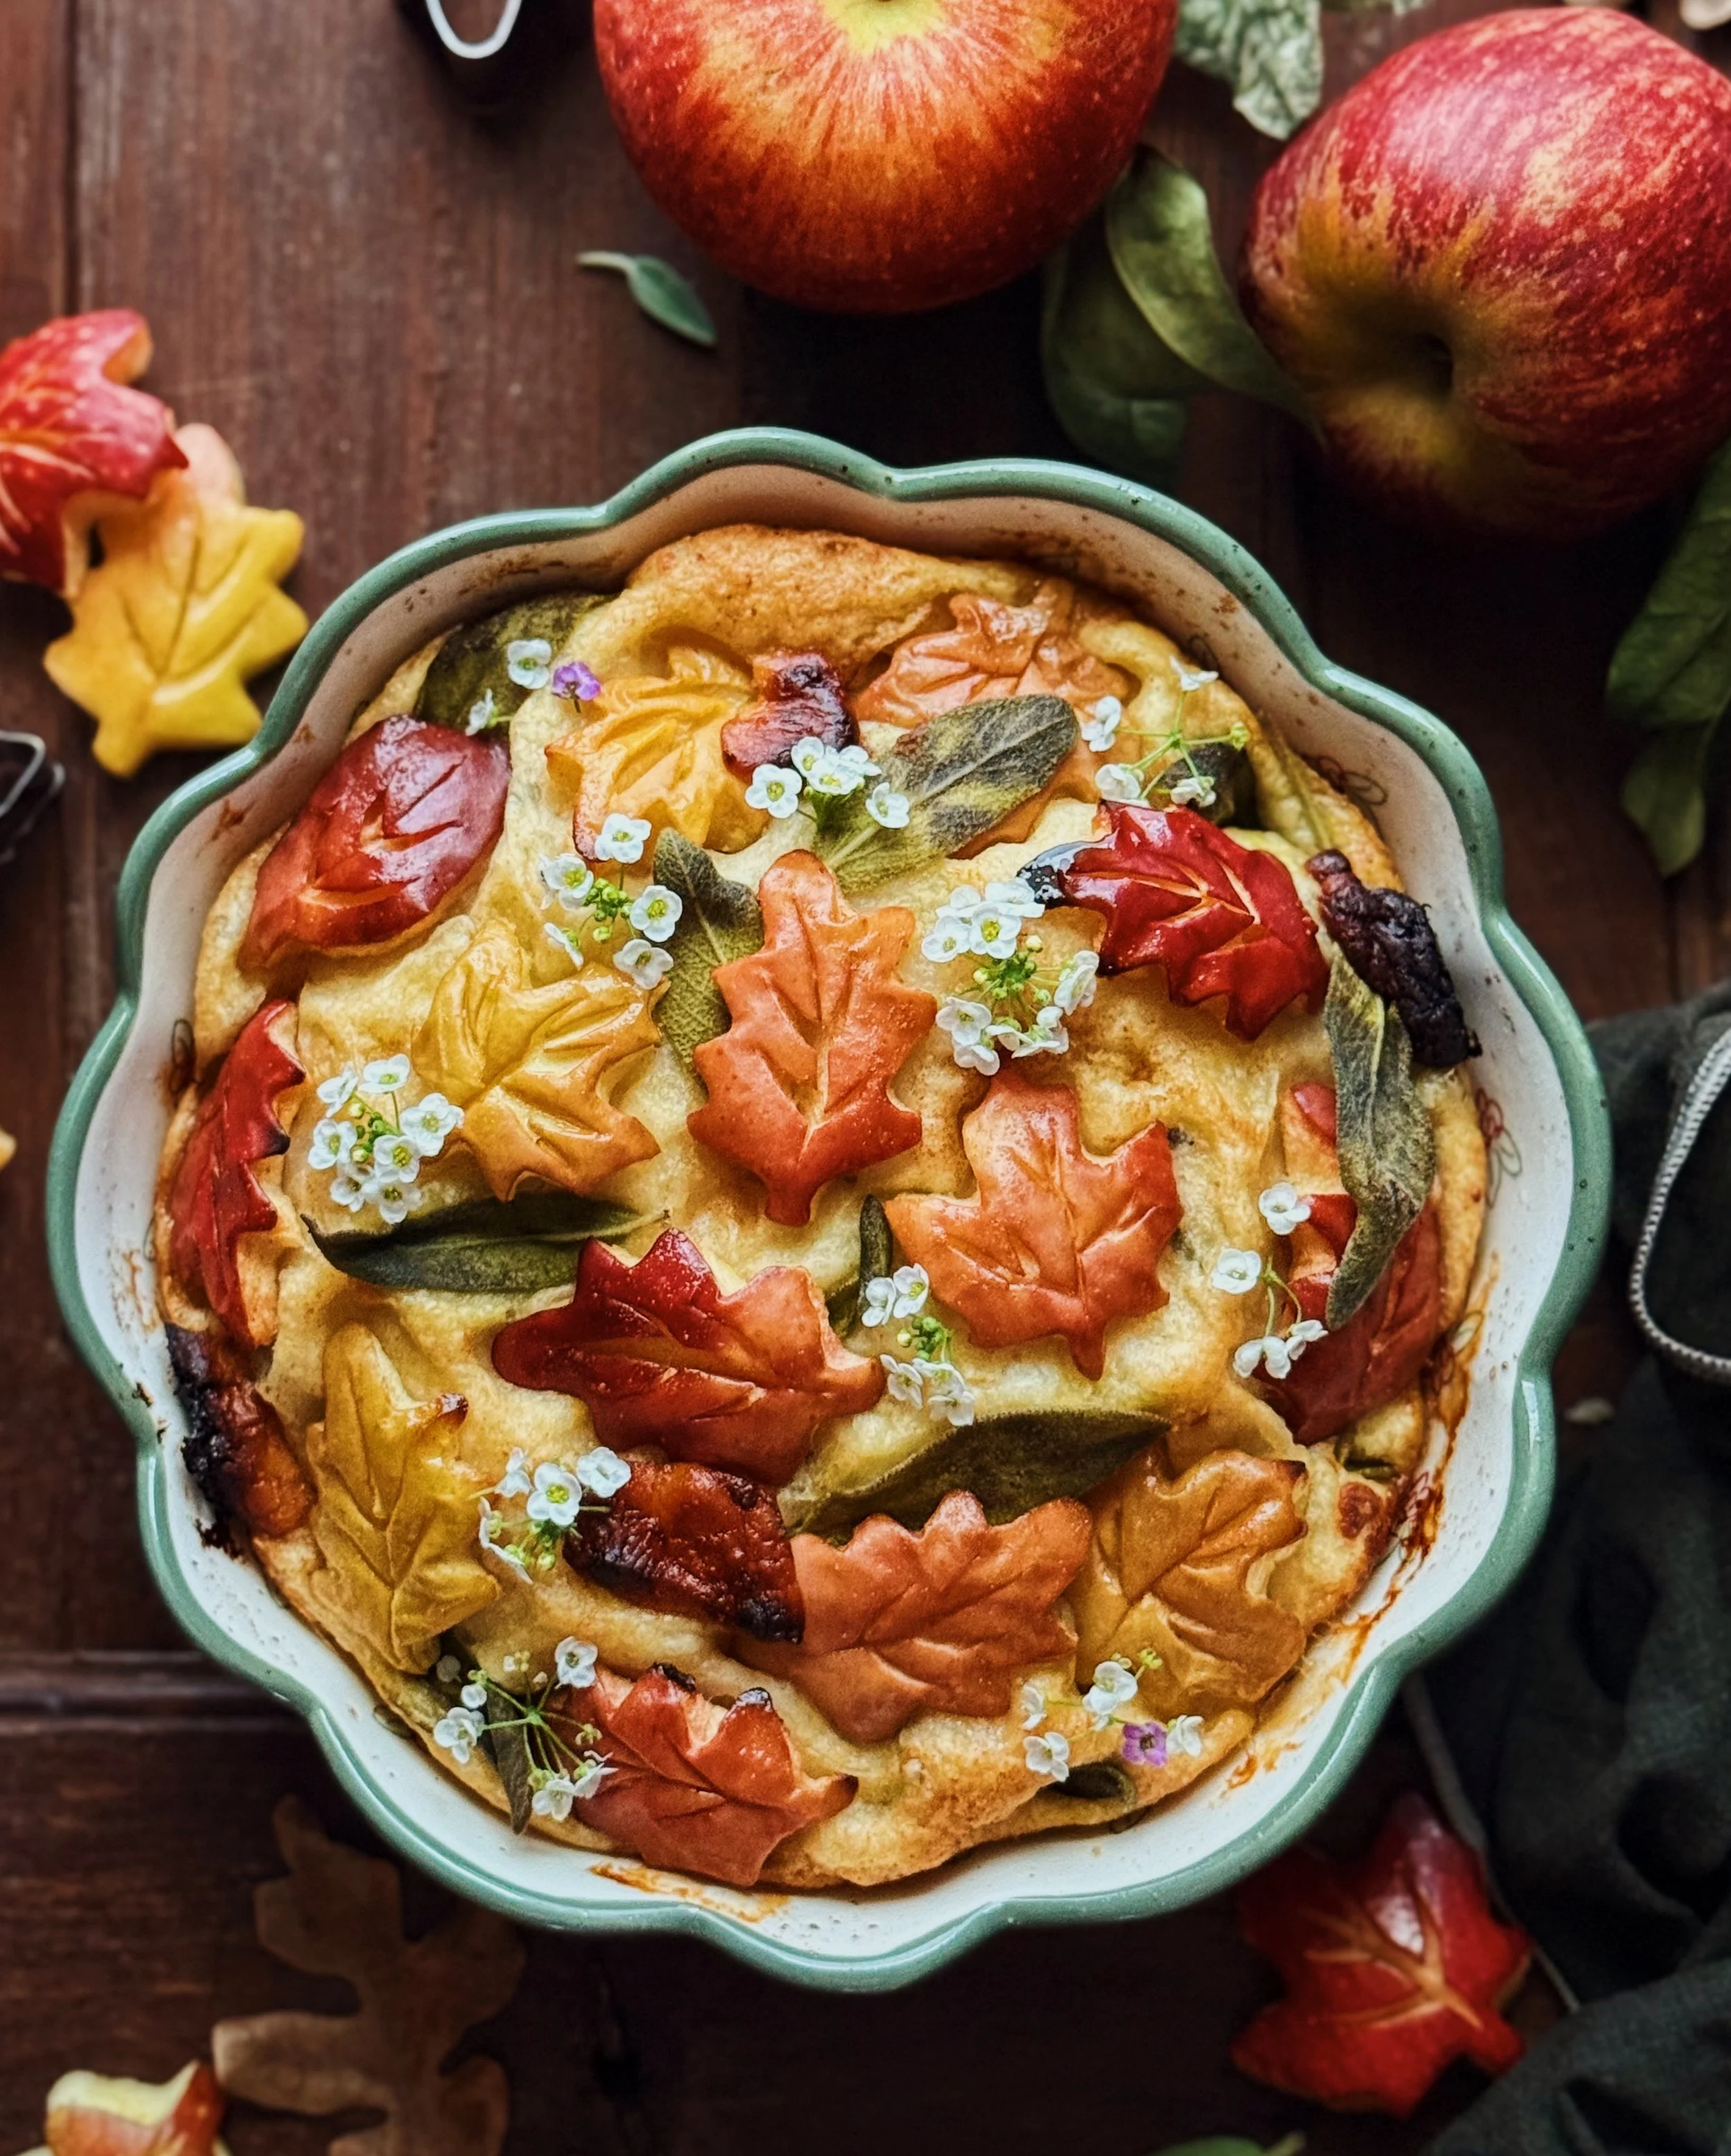
This savory cheesy tart is more custardy than a quiche or frittata, but any of these eggy tart options are a great vessel for holding together a veggie bouquet. Simply make your egg mixture as you normally would, arrange your vegetable pieces, and then bake according to your recipe. I made these roses out of orange bell peppers; I used a sharp knife to cut off the exterior, keeping it intact as one long strip. Then I rolled the strip into a spiral to form a rose. I cut leaves out of zucchini using the same method that I used for the cucumber in the sashimi bowls above.

Root Vegetable Rose Bouquet Tart

Pretty much any veggie ingredient that can be thinly-sliced and made soft can be turned into edible roses. I love making them with beets and fall squash because of the beautiful rich color that the beets bring to the edible bouquet.

My general formula that I have used for the many bouquet tarts I’ve made like this is to make a flavorful short crust and bake it all the way in the tart pan. Then, fill it with a cheesy spreadable filling that does not require baking. Then fill it up with a whole bunch of edible roses! For this specific version that I made a couple of autumns ago, you can find the full recipe here on my blog.

Pickled Pattypan Squash Toast

The cross-section of pattypan squash already looks like the shape of a flower to me so that’s how this idea came to be. Slicing the squash thin with a mandolin and then quick-pickling them allows the slices to become softer and more pliable for shaping them into flowers!

Bell Pepper Poppy Focaccia

I think I have saved the easiest idea for last! Inspired by the beautiful California poppies that grow in my neighborhood, I made this focaccia bouquet design using orange bell peppers to resemble poppies. I just cut the bottoms off of the bell peppers and did a tiny bit of shaping to define the petal shapes a little better. Any tender green stems and herbs would work great for leaves, including even the carrot fronds that I used here.

I hope this list will inspired to make your own edible bouquets at home! If you try one of these ideas and share it on Instagram, please tag me so I can admire how it turned out!

One-Pan Çılbır-Inspired Poached Eggs Yogurt Bowl with Burst Tomatoes and Chili Butter

poached eggs with burst tomatoes over yogurt

Here is my latest riff on my ongoing obsession with çilbir, which is known in English as Turkish eggs. Çilbir is a dish that, from what I’ve read, dates back to the Ottoman Empire, and it is a dish of garlicky yogurt topped with poached eggs and then drizzled with a chili butter made with a Turkish chili. This—and the various offshoots I’ve come up with—is my favorite type of breakfast.

In this lazier version, I opted to just use regular yogurt straight out of the refrigerated container to make things easier. But to make up for the lack of garlic in the base, instead, I top the poached eggs and yogurt bowl with blistered cherry tomatoes. While I eagerly await for tomatoes to be in season once summer rolls around, this recipe makes the best of even sub-par off-season cherry tomatoes by letting them burst in oil and melted chili butter so the flavors that are present get concentrated and complex. Be warned that it does cause a bit of splatter when you’re dealing with juicy tomatoes in a pan with hot oil but it is totally worth it.

This is one of those recipes that doesn’t need precise measurements. After all, it’s a lazy morning recipe, and to me that means not having to find or wash your measuring spoons. You can fill the bowl with Greek yogurt, or not. Go big on the chili powder, or don’t. Have a few extra springs of herbs left over from some other overly-precise recipe? Use them here. In the photos, I used dill, micro cilantro, and flowers from the three-cornered leek that I foraged near a creek. Chive flowers would be amazing here too, as the light onion-y flavor goes really well with the dish. But just use what you have and follow your heart with this one.

poached eggs with burst tomatoes over yogurt

This super easy idea only requires one little (8-inch) pan to do everything you need to make a luxurious breakfast that will surely impress others and more importantly, yourself. The use of this pan can be broken down into three phases.

The three phases of this One-Pan Breakfast:

  • Poaching the eggs: It might take a bit of practice to get it just right but poaching eggs in a shallow pan allows the egg whites to stay tidy and gives you a great looking poached egg. After the water is boiling, I add a splash of white vinegar and turn the heat down for a gentle simmer. Then I crack the eggs into small bowls, and gently tip them into the pan near opposite edges. After that, I turn the heat back up to medium-low for a more vigorous simmer and cook the eggs for 3 minutes before scooping them out onto a paper towel. (If you accidentally don’t fill the pan with enough water to fully submerge your eggs, you can just use a spoon to gently baste the tops with the boiling water.) If you are continuing on with the recipe and eating it right when it’s assembled, I find it is not necessary to plunge the eggs in an ice bath. If making multiple servings, you’ll obviously want a pan wide enough to keep some separation in between eggs.

  • Toasting the bread: This phase is actually optional but trust me, you’ll want bread to scoop and mop up all that rich egg yolk, yogurt, and wonderful melted chili butter. I like to put enough olive oil in the pan to coat the bottom and then essentially fry one side of the bread slices in it. I let one side get crisp and keep the other side untoasted so it stays more flexible for making a scooping motion with the contents of the breakfast bowl.

  • Making the tomatoes and chili oil topping: This phase involves cooking the cherry tomatoes in hot oil until the skins blister and they explode, releasing and concentrating their juices. Then the heat gets turned down and those juices get to mingle with sizzling butter and chili powder before the mixture gets poured over the yogurt and eggs. I use Korean gochugaru for the chili powder because it’s what I have in a huge shaker that I always keep out on the kitchen counter. Aleppo chili pepper powder would also be perfect for this, but you can use what you like.

poached eggs with burst tomatoes over yogurt

Awkwardly Vague instructions for One-Pan Cilbir-Inspired Poached Eggs with Burst Tomatoes and Chili Butter

Ingredients

Greek yogurt
white vinegar, for poaching eggs (optional)
2 eggs
extra virgin olive oil
2 small slices of bread (optional, but recommended)
a handful of cherry/grape tomatoes
a pinch of kosher salt
1–2 tbsp butter
1–2 tsp chili powder (gochugaru or another variety of your choice)
fresh herbs or microgreens (optional)

Procedure

Scoop some Greek yogurt into a shallow bowl, bowl plate, or blate. Use the back of the spoon to create swooshes where the chili butter will be able to pool.

Make the poached eggs: Fill the pan with water and bring to a boil. Add a small amount of vinegar. Turn the heat down to low. Crack each egg into a small bowl. Gently tip the eggs into the pan near opposite edges. Turn the heat up to medium-low and poach for 3 minutes. Remove immediately with a slotted spoon and place the eggs on paper towels to drain excess water. Then place them on top of the yogurt. Carefully pour away the water from the pan and allow any residue to evaporate.

Toast the bread: Add enough olive oil to coat the base of the pan and set the heat to medium-high. Add the bread slices and toast until the desired crispness. If desired, repeat with the other side of the toasts.

Cook the toppings: Add a generous splash of olive oil into the pan and heat it on high. Carefully add a handful of tomatoes and season with salt. Allow the skins to char and blister, occasionally tossing the tomatoes around in the pan. (Note: there will be oil splatter, so please be careful.) Once most of the tomatoes look like they have burst, turn the heat down to low and add the butter. Once the butter starts to foam, add the chili powder. Use a spatula to gently stir the contents of the pan and incorporate the chili powder with the butter. Continue stirring until all the butter is sizzling.

Pour the tomato and chili butter mixture over the eggs. Top with fresh herbs or microgreens, if using.

Enjoy with the toasts on the side for dipping and scooping.

Lastly, if you are as obsessed with çilbir as I am, you may also want to check out my other variations: poached eggs in burrata and sambal butter, and Turkish eggs with charred tomatoes and sweet peppers.

Recipe: Easy Tomato Soup

tomato soup with grilled cheese croutons

As much as I wish it did, soup season does not correspond with tomato season. But it turns out, that’s okay! Because my favorite recipe for tomato soup—one that tastes rich and velvety without any cream and is full of tomato flavor—uses canned tomatoes! Reliable and super-duper easy to make at any time of year, all you need is good canned tomatoes, a blender, and a few other basic ingredients to make that classic tomato soup that goes oh-so-well with a good grilled cheese sandwich (or topped with grilled cheese sandwich croutons)!

Blender soups are obviously my favorite soups to make because they are just so damn easy. And for this recipe, there is something about the onions and butter getting blended together that gives this tomato soup a great creamy texture without pushing the soup into bisque territory. And with a touch of my secret ingredient—fish sauce—to bring some extra umami, it will taste like this soup simmered in a grandma’s kitchen all day when it really takes hardly any time at all to make.

Here are the ingredients you’ll need to make my recipe for this easy tomato soup:

  • canned tomatoes: I’ve made this with various brands of canned tomatoes and I am always happy with the results but I will usually go for the San Marzano or San Marzano style tomatoes because they are more dense and have a better tomato flesh to seed ratio. Also note that tomatoes that are packed in puree or a thick puree-like tomato juice will obviously render a thicker, more flavorful soup that the ones where the tomatoes are packed in water. This means you will have to adjust the water-to-tomato ratio a bit as you make the soup, to get the consistency that is to your liking. (After watching this in-depth review of canned tomato brands by Ethan Chlebowski, I typically get the brand Cento.)

  • butter: Salted or unsalted is fine. Since canned tomatoes typically come with a considerable amount of salt, there’s not need to fuss over whether your butter has salt in it or not either. This is a recipe where you are going to want to taste for seasoning while you go.

  • onion: If I’m lucky enough to find sweet onions at the grocery store, I like to use them when making this soup. But I’ve also made this with regular red onions or yellow onions; any of these will do perfectly well here.

  • garlic: Gotta have a little garlic in tomato soup! I usually do about 6 cloves because I love garlic.

  • fish sauce: The (not so) secret ingredient! I add fish sauce to any tomato-based soup or sauce I make because I think it really adds an extra depth of flavor and brings out the tomato-y flavors. It will not taste fishy but it will taste delicious.

This soup may be amazingly easy to make but it’s also quite presentable with the help of some little finishing touches. Look at what a glorious blank, vibrant red canvas awaits you below! Some leaves of fresh basil, a drizzle of good olive oil, some cracks of black pepper, or even a little swirl of crème fraîche would make this soup as a much a treat for the eyes as the taste buds.

If you wanna get really crazy, make your favorite version of a grilled cheese and cut it up into little cubes to top your tomato soup with grilled cheese croutons. For the image at the top of this recipe, I made mine with sourdough, white cheddar, gruyere, and a drizzle of sriracha, and used herbed butter to toast/fry it up in the pan.

Note: This recipe makes 2 generous portions that are enough for meals in my household when paired with grilled cheese sandwiches.

easiest tomato soup

How to Make Easy Tomato Soup

Ingredients

4 tbsp (1/2 stick) butter
1 medium onion, peeled and cut into rough wedges
4–6 garlic cloves, smashed and peeled
28 oz can of whole peeled San Marzano tomatoes
water
1/2–2 tsp fish sauce (or to taste)

Optional Garnish Ideas

fresh basil leaves
cracked black pepper
chives
crème fraîche
extra virgin olive oil
parmesan cheese
grilled cheese croutons

Special Equipment

blender

Procedure

In a Dutch oven or study medium-sized pot, gently melt butter on medium-low heat. Add onions and sweat them until they start to become translucent. Add garlic and turn heat down to low, stirring regularly until it becomes fragrant and loses its raw bite but doesn’t brown. Transfer to a blender.

Add the can of tomatoes, including the liquid/puree. Fill the can a quarter of the way with water (about 7–8 ounces) and slosh around to incorporate any remaining tomato residue from the can; add this to the blender as well.

Set the blender to liquify all the ingredients together then return everything to the pot on low heat. If the soup seems too thick, add a small amount of water at a time to get the desired consistency.

Stir in 1/2 teaspoon of fish sauce and then taste for seasoning. There’s a possibility that if you had a lot of salt in your canned tomatoes and/or you used salted butter so you won’t need to season any further. If needed, continue to add fish sauce, a little bit at a time, until the seasoning is to your liking. You won’t need to cook down this soup much after it comes out of the blender, so be sure to taste it at that point and add seasoning to your preference.

Keep the soup on low heat, stirring occasionally, until it’s hot all the way through and starting to bubble or simmer. At this point, it’s ready to serve. Top with your desired toppings and enjoy!

Steak and Caprese Toasts

For when all you want to eat during the summer is caprese made from fresh garden grown tomatoes, but you need some protein too.

I don’t normally serve toast for dinner. I try to cook up a “real” meal for Spouse and I in the evenings but I must say that this toast recipe is definitely dinner status. Maybe it was a little overkill to use such a nice cut of steak for toast, but it tasted really good so I have no regrets. I also didn’t want the risk of us biting into the toasts, and having fatty bits dragging too much steak along with the bite because we couldn’t cut through cleanly with our teeth.

There are a few phases to making these but the good news is that it all gets done in the same cast iron pan. And in the end, you’ll have a world of flavor—tender steak with richness from the butter it was seared in, crunch and carbs from the toast, creaminess from burrata, fresh herbaceousness from basil, and brightness from burst tomatoes tossed in a quick vinaigrette. ⁣

How to Make Steak and Caprese Toast

Ingredients

8 oz tenderloin or filet mignon steak, at room temp
kosher salt
freshly ground black pepper
4 slices of good bread
lots of olive oil
1 tbsp salted butter
10 oz cherry tomatoes
1 clove garlic, thinly sliced
1/2 tsp honey
2 tsp white wine vinegar
8 oz burrata
fresh basil leaves

Procedure

Generously season steak with salt and pepper.

Heat a cast iron skillet on medium high. Generously drizzle olive oil. Fry bread in the olive oil on both sides until golden, then remove and set aside.

Add butter to the skillet and then add the steak. For medium rare, cook steak undisturbed for ~3 minutes on each side. Transfer steak to a grooved cutting board to rest for at least 10 minutes.

Reduce heat to medium. Add 2 tablespoons of olive oil, followed by the cherry tomatoes, 1/4 teaspoon salt, and garlic. Let tomatoes char on one side before turning. Cook tomatoes until they start to burst, about 4–5 minutes total. Shut off heat.

Combine honey and vinegar in a small bowl. Spoon in the charred tomatoes and mix gently to combine.

Slice the steak thinly.

Assemble the toasts. First, divide the burrata among them, then the steak. Then spoon some of the tomato mixture over each. Garnish with the basil leaves.

For more toast inspiration, check out all the posts with the “toast post” tag here.

Recipe: Mala Marinated Tomato Salad (with Burrata)

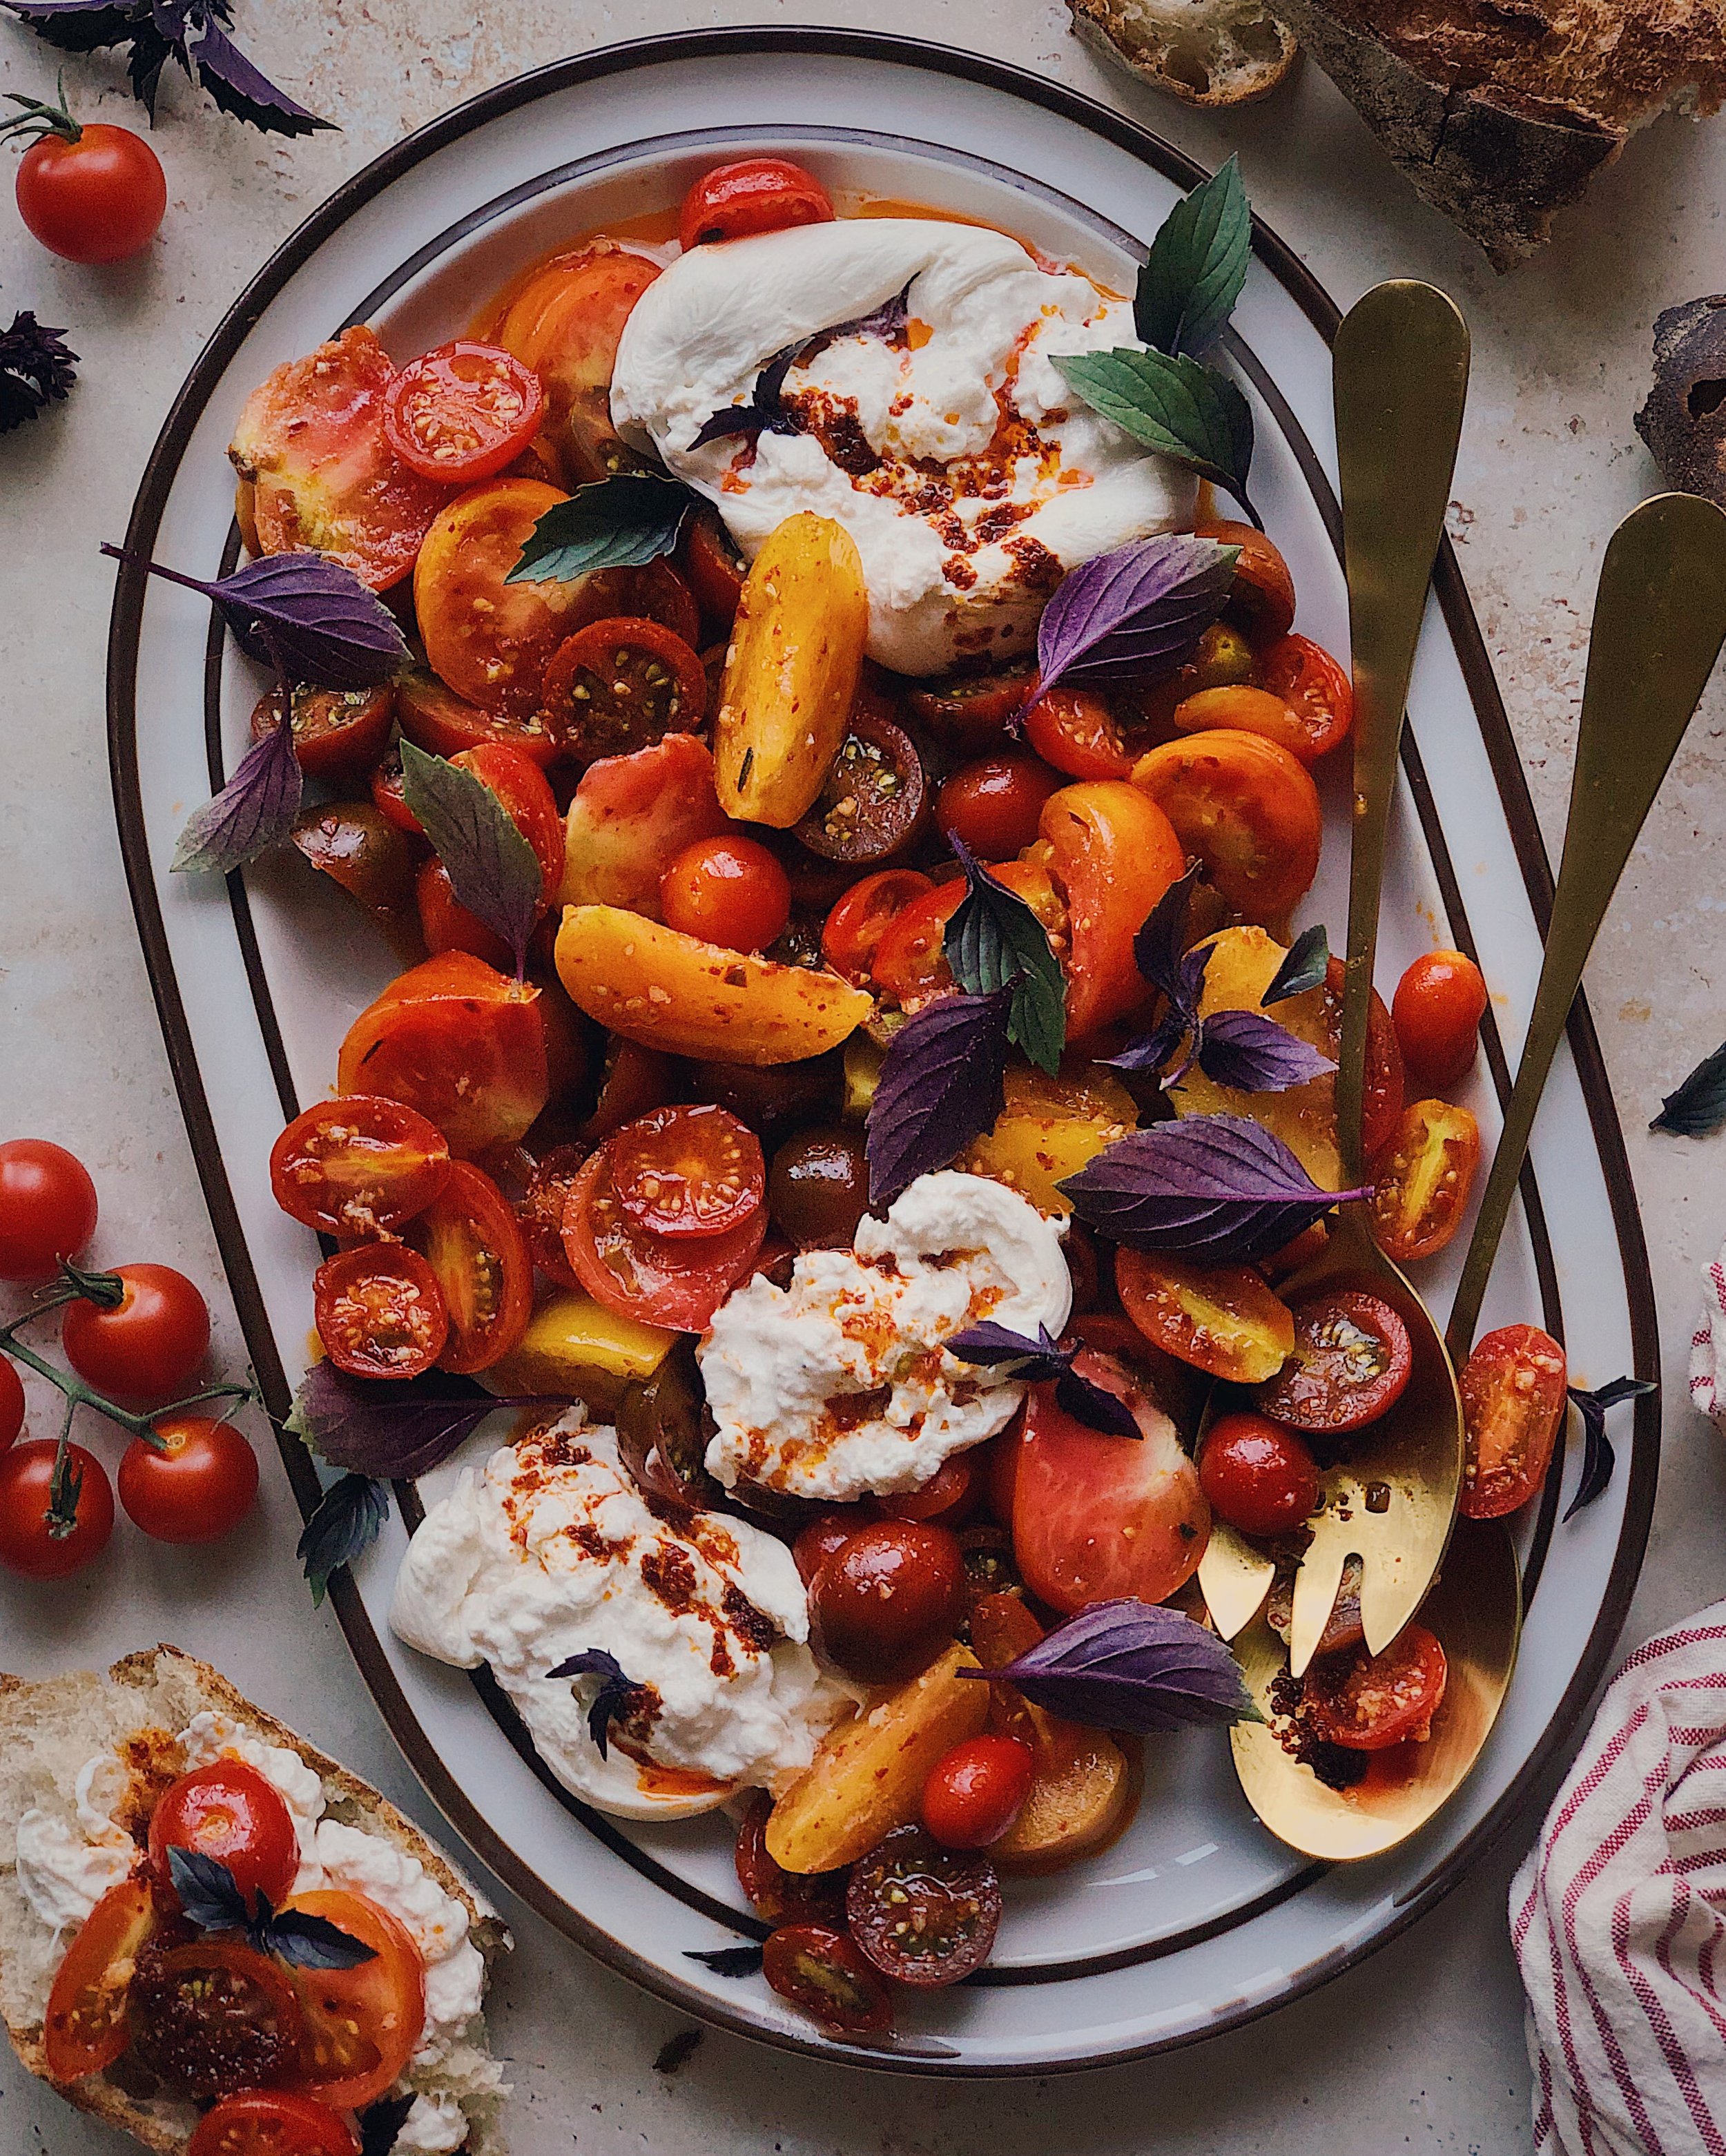
This is this one of those recipes that is meant to help off-season tomatoes reach a higher potential but that would also be so good with ripe tomatoes in season. The background for this idea is really not all that complicated: I love the classic Sichuan mala smashed cucumber salad and I also love salads that revolve around tomatoes. So, why not use that same Sichuan-inspired, numbing-spicy dressing for tomatoes instead of cucumbers?

Sichuan cucumber salad is really the only raw Chinese salad I can think of. The cucumbers are typically smashed first, but lately I have been seeing a lot of recipes on the ‘gram where the cucumbers are cut in a special way to make a cool spiraled effect. The dressing typically leans on the classic Chinese vinegars (rice vinegar and black vinegar), garlic, and soy sauce; and my favorite versions are the ones that also include mala, or numbing-spicy, chili oil made with Sichuan pink peppercorns. It is crisp, cold, and refreshing. It appears as an appetizer on Chinese restaurant menus among other cold dishes like couple’s delight but I love making my own version at home as a side dish (I guess like Korean banchan) when I cook up a really heavy and hearty Asian meal of any sort. The tangy, tingly, crunchy cucumbers are a perfect balance to braised or grilled meats.

While cucumbers will always be a sidekick in my mind, tomatoes can definitely be a main character. In adapting my Sichuan-inspired salad dressing for tomatoes, what I ended up with was, I guess, a Chinese fusion version of a caprese salad. I ended up serving it with burrata and basil (yes, the crazy purple leaves you see are a type of basil called “wild magic”!), and Spouse and I thoroughly enjoyed it as a main course, spooning the tomatoes onto crusty bread. But you can definitely skip out on the burrata and herbs, and serve this marinated tomato salad as an appetizer or side dish.

This recipe involves three different stages of flavor building.

  • Salting the tomatoes. This is a good practice regardless of the time of year, whenever raw tomatoes make an appearance because the salt really helps bring out the best flavor that your tomato has to offer. Because I tested this recipe when tomatoes were not yet in season, I used more salt than would be needed for really amazing tasting ripe tomatoes. Keep this in mind when you are at this stage of making the recipe. You can use whatever tomatoes you’d like; I recommend a medley of heirloom tomatoes and cherry tomatoes to keep things looking interesting. Just cut them into bite-sized chunks with plenty of open surface area to absorb all the flavors of the marinade.

  • Marinating the tomatoes in the dressing. I like to allow the raw garlic and the tomatoes to sit for a bit in a more concentrated vinegar mixture so the garlic has the opportunity to pass on some of its punchy flavor to everything else in the mix.

  • Adding the chili oil. This recipe uses my easy mala chili oil recipe, which you can find here; note that my recipe is a lot less salty than many commercial chili oils, so you may want to keep that in mind if you are opting to use a storebought one. This step is very much to-taste, depending on how tingly you want your tomato salad to be. I recommend adding a tablespoon at a time and tasting along the way. If you do opt to make the caprese-esque version shown in the photos, I recommend not going full-blast with the chili oil in the tomato mixture and reserving some to drizzle over the burrata as a finishing touch.

How I Make Mala Marinated Tomato Salad

Ingredients

2 lbs tomatoes, cut into bite-sized chunks*
1/2–3/4 tsp kosher salt
2–3 cloves garlic, minced
1 tbsp Chinese black vinegar
3 tbsp rice vinegar
1 1/2 tsp sugar
1/2 tsp fish sauce
2–4 tbsp mala chili oil
8 oz burrata (optional)
basil leaves (optional)

*If using cherry tomatoes, cut them in half so they can absorb the flavors from the dressing.

Procedure

In a large bowl, add tomatoes and salt and toss to combine.

In a separate small bowl, whisk together garlic, both vinegars, sugar, and fish sauce. If you are very impatient, microwave the mixture for 10 seconds to help dissolve the sugar. Once the sugar is dissolved, add the dressing to the tomatoes and mix gently but thoroughly to coat. Allow to marinate for at least 10 minutes. (I recommend 20–30 minutes for off-season tomatoes.)

Add chili oil to your taste and mix gently to combine.

For optional “caprese” version: Spoon tomatoes and some dressing into a serving dish. Tear burrata into large globs and distribute amongst the tomatoes. Drizzle additional chili oil over the burrata. Garnish with basil. Serve with toasts or crusty bread.

Baguette au Brie with Roasted Tomatoes

In Berkeley, California, my college town, there is the cutest little Provençal restaurant called La Note where baguette au brie is on the menu. I have many fond memories of eating at La Note, one of those places choc-a-bloc with mismatched wood chairs and vintage French mixing bowls, mugs, and salt and pepper shakers that you would expect to find in some grandma’s country cottage. It was too expensive for us to eat there as poor college students so I never went while I was in school at UC Berkeley. And it is one of those places that draws crowds and over an hour’s long waitlist for their weekend brunch. So, there was only a very specific window of my life when I could have eaten at La Note—one where I was old enough to afford a cute brunch treat but young enough to have the patience to wait that long for a table—and sadly, that window has now passed, in favor of my current curmudgeonly state.

But when I did eat there for brunch, my go-to choice was the baguette au brie and I would never skimp on the buy-up to add roasted tomatoes. I remember the tomatoes being very simply done, maybe not even the most flavorful and just a quick blister with a little sprinkle of herbes de provence. But somehow that combo of the crusty baguette, that rich creamy brie, and the juicy tomatoes translated to perfection in its simplicity when all chewed together in my mouth.

A sad early attempt at food photography, circa late 2013.

What’s nice about such a simple yet perfect combination is that it can easily be replicated at home! I’ve been doing as much for years but now I finally have some nice photos to show for it. I’m also sharing one of my earliest attempts at taking food photography seriously, above, and I hope you can see some improvement has been made since then. Incidentally, that old photo from 2013 was taken with a real DSLR camera, whereas the hero photo on this post was taken with my iPhone (as is my modus operandi these days)—proof, I hope, that it’s not about the equipment when it comes to taking a good food photo. (If you are interested in hearing more about how I shoot professionally on an iPhone now, check out my interview on the My Food Lens podcast here.)

Anyway, about this recipe. Obviously not a “recipe” recipe because toasty bread based meals like these are, I believe, so much more about what feels like the right amounts (or the amounts that fit) verses exact measurements. Just use a good French baguette, the creamiest European style butter, and your favorite brie. For the roasted tomatoes, mine are probably much more time consuming that what they did at La Note, but it shows in the amount of flavor that they will bring if you use my technique—found here.

How to Make Baguette au Brie with Roasted Tomatoes

Ingredients

1 French baguette, halved lengthwise
brie, sliced somewhat thinly
European style salted butter, softened
roasted tomatoes (see recipe here)
fresh herbs, such as thyme or oregano (optional)
cracked black pepper (optional)

Procedure

Slice baguette halves into desired lengths. Generously spread butter over the cut surfaces. Arrange an even layer of brie slices on top. Place on a baking sheet and put under the broiler; watch carefully and broil until the brie just begins to melt.

Immediately place slices of roasted tomato on top of the melted brie. If desired, garnish with fresh herbs and finish off with pepper.

For more toast inspiration, check out all the posts with the “toast post” tag here.

How I Make Roasted Tomatoes (in the Winter)

I miss tomato season. Seeing piles of heirloom tomatoes at the store and being able to pop down to my backyard to pull off ripe cherry tomatoes from the vine brings me unparalleled joy. But when we’re in the dregs of winter and the piles of (albeit pretty) citrus and root veg are just not cutting it for me, I get my tomato fix by roasting them to concentrate what flavors those crummy winter tomatoes grown who-knows-where have to offer. I go to Costco and get a few big containers of them so I can make a big batch; in past years they’ve been roma tomatoes but this year they had camparis, which looked surprisingly red and vibrant.

The purpose of this post is to share with you how I roast tomatoes in the winter. I am sure there are other ways to do it but I started doing this years and years ago and I have always been thrilled with the results so I haven’t bothered to experiment with other processes. My way—and here’s your warning—takes a bit of time and can get pretty messy. But think of it as a metamorphosis because this process will take your sad, bland, mealy off-season tomatoes and transform them into delicate morsels of concentrated tomato flavor, a little sweet and tangy like the best ripe tomato and with a silky, rich mouthfeel from mingling with all that good extra virgin olive oil. Their flavor is very similar to sun-dried tomatoes but of course they are soft and juicy instead of hard and wrinkly.

There are no measurements for this recipe because it’s the technique that’s important. Season things conservatively to your taste and let the concentrated tomato flavor be the star. Keep in mind that the tomatoes will really shrink down as they get rid of their excess moisture; about 4–6 pounds of tomatoes ends up being only one pint jar full of these glorious bursts of flavor.

The key to my method (and what makes it messy) is having the tomato slices spend some time on a hot griddle before they go into the oven. There will be oil splatter. But not only does this allow them to get a bit of sear right away but more critically, it causes the tomatoes to release their excess water, which you can then drain away (and use in pasta sauce) before placing the slices on a baking tray for roasting. Otherwise, you would end up with tomato slices poaching or simmering in their own juices instead of allowing their flavors to get concentrated by way of roasting.

I like to line my largest metal baking trays with foil for easy clean-up before I add the tomatoes. I’ve read that you are not supposed to cook tomatoes or other acidic things on aluminum foil but I have also read that the reaction is not enough to cause any concern. (I’m still alive!) You are welcomed to try your own large, flat baking vessel and an alternative form of protection like parchment paper, but I have not tried these methods and cannot guarantee the same results!

Here is some visual inspiration for how to use the literal fruits of your labor:

How I Make Roasted Tomatoes

Ingredients

4 lbs (or more!) of firm, off-season tomatoes
extra virgin olive oil
kosher salt
a few garlic cloves, thinly sliced
fresh thyme, rosemary, and/or oregano

Procedure

Cut tomatoes lengthwise into 1/2-inch pieces. Drain off any excess juices and seeds.

Preheat oven to 400°F. Line large rimmed baking trays with foil for easier clean-up.

Heat a large, flat, non-stick griddle pan on high heat. Drizzle some olive oil across the cooking surface, then add as many tomato slices as will fit in a single layer. Drizzle more olive oil over the tomatoes, and season with a light, even sprinkle of kosher salt. (Note: There will be splatter as the tomatoes release juices that get incorporated with the hot oil.)

After 1–2 minutes, regularly check the tomato slices that are on the hottest part of the pan. When some searing is visible, start carefully flipping the tomato slices. When the other sides begin to sear, transfer tomatoes to lined baking trays. Pour away any excess oil and tomato juices/seeds (but save all this to incorporate into a future pasta dish!). Repeat the griddle process as needed until all the tomato slices have been seared.

Lightly drizzle more olive oil over the tomatoes. Place trays of tomato slices in the preheated oven. Set the oven temperature down to 325°F. Bake for 20 minutes.

Remove the trays from the oven and scatter garlic slices and herbs over the tomatoes. Return trays to the oven for another 30 minutes of baking.

Allow roasted tomato slices to cool and set before transferring to a jar. I like to cover them in olive oil before storing them in the fridge.

Recipe: Whipped Feta Dip and Chili Butter Burst Tomatoes

whippedfeta_tomatoes.JPG

I have been lucky to have a fantastic crop of cherry tomatoes in my backyard garden this year. Even as the weather is beginning to cool here, there are still tons of little tomatoes on the vine! And I think the best way to enjoy sun-ripened, homegrown tomatoes is to keep things simple, so I have been using them raw in caprese-ish salads or giving them just a little bit of time in the skillet, just until they char or burst and turn into something jammy and wonderful.

tomato_flatlay.JPG

In my household, a big bowl of tomatoes, something creamy, and some flatbread to scoop it all up is perfectly acceptable as a meal. This recipe pulls from a couple of my existing recipes to make this garden-grown celebration:

  • If you are coming to this recipe in the winter, check out my recipe for Garlicky Whipped Feta with a Citrus Fennel Salad. It’s my original blog post for this same whipped feta dip but at the time I paired it with the more wintery flavors of bright juicy citrus segments and earthy, spice-like fennel.

  • If you love tomatoes and want to make a more substantial meal with this idea, check out my recipe for Turkish Eggs with Charred Tomatoes and Sweet Pepper. This was originally where I developed this idea for combining burst tomatoes and chili butter, inspired by a Turkish egg dish called çılbır. I use Maras chili flakes from Spice Tribe for the chili butter (the original recipe was sponsored by them but this one is not).

How to Make Whipped Feta Dip and Chili Butter Burst Tomatoes

Ingredients for the feta dip

8 oz feta (domestic is fine)
2–4 garlic cloves
1 tsp extra virgin olive oil
1/2 cup 2% Greek yogurt

Ingredients for the Burst Tomatoes

about 1 pint of cherry tomatoes
1/4 cup salted butter, divided in half
2 tsp Maras Chile Flakes*
salt to taste

For Serving

herb oil, pesto, or chimichurri (optional)
fresh herbs, such as thyme and basil
toasts, crostini, or flatbread

*This is one of my favorite products from my friends at Spice Tribe but if you are looking for an alternative I have found that harissa chili blend works well.

Procedure

To make the feta dip, break the feta into chunks and add to the bowl of a food processor. Add garlic and olive oil. Process until a homogenous paste forms. Add the yogurt and process until smooth.

In a skillet, melt half of the butter on medium-high. Add the tomatoes and season with a bit of salt. Reduce the heat to medium if the butter starts to brown. Cook the tomatoes until about half of them have burst.

Reduce the heat to medium-low, and add the rest of the butter. As the butter starts to bubble along the edges, add the chile flakes. Stir the contents of the skillet gently. Cook until the butter starts to foam and the chili becomes fragrant

Scoop the feta dip into a serving bowl, using the back of a spoon to create some areas for the chili butter to pool. Pour the tomatoes and chili butter on top.

Add a drizzle of herby oil, if desired. Top with fresh herbs and serve with toasts, crostini, or flatbread.

Recipe: BLT Salad with Crispy Smashed Potatoes

BLTPotatoSalad_1.JPG

BLT sandwiches seem to be having a moment right now—I recently saw Kenji post one on Instagram and Munchies did a short video on Youtube. I mean, it makes sense for everyone to be wanting a BLT at this time because it is after all peak tomato season, a.k.a. THE MOST WONDERFUL TIME OF THE YEAR! But for me, a little BLT sandwich is still not enough tomato. My obsession with the produce bounty of late summer is so strong, that it can only be satiated with an entire platter of tomatoes! And that, dear reader, is where the BLT Salad comes in.

Imagine a scenario where, instead of biting into your favorite ingredients of a BLT and having those precious sweet peak-season tomato juices running down your hands, a civilized fork allows you to assemble the perfect bite without the sticky mess. That is the beauty of the BLT Salad. I thought of doing this as a panzanella with nicely seasoned croutons to continue to honor the sandwich origins of this flavor combo, but I realized I was too proud of my smashed potatoes recipe to not want to share it with you all. And there is something about the creamy fluffiness of those potatoes that goes so well with the juicy tomatoes and the salty bacon. Hence, I now present to you my BLT salad with crispy smashed potatoes and, of course, burrata.

LilyMorello_BLTSaladPotatoes_4.JPG

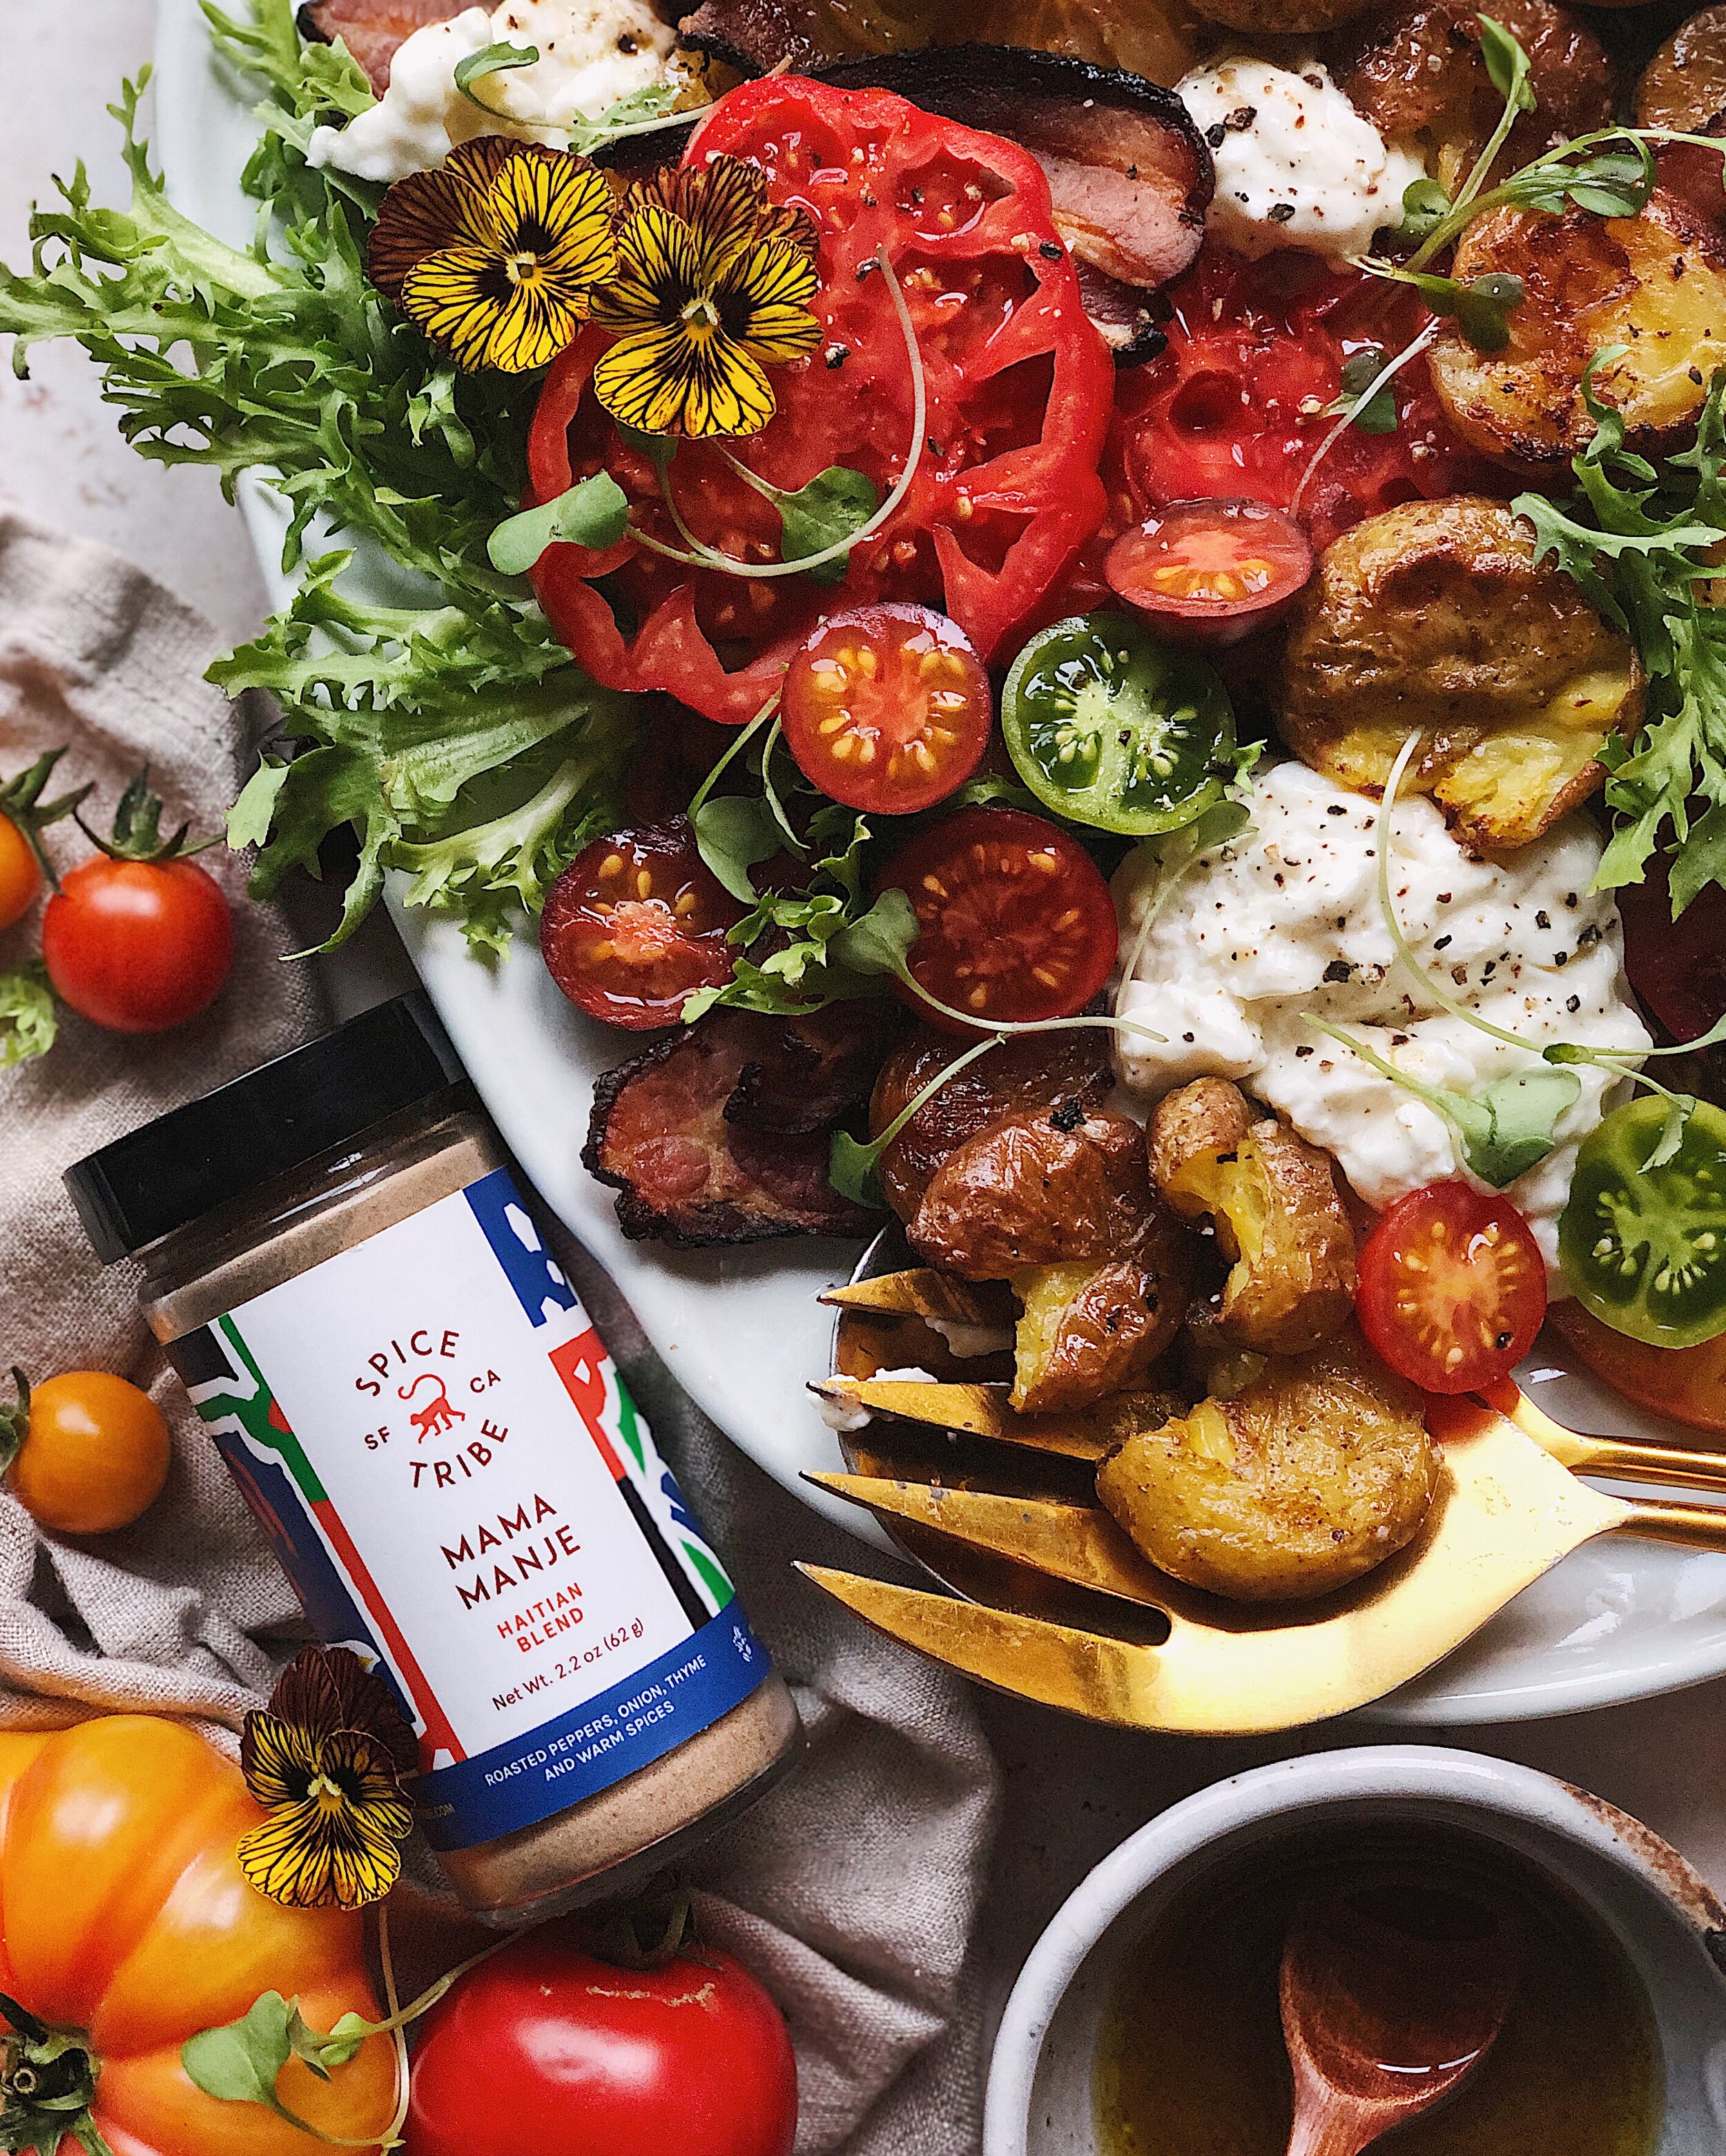
These crispy smashed potatoes are so good as part of a breakfast platter, as a side dish with whipped feta and herbs, and—obviously—as a way to bring heartiness to a salad. I use Spice Tribe’s Mama Manje Haitian-inspired seasoning blend whenever I make them, and these seasonings blooming in the oven as the potatoes roast makes my whole house smell so, so good. The blend was inspired by Spice Tribe founder Trent’s visit to Haiti with the non-profit Every Mother Counts, and is meant to capture a combination of the ingredients in epis, a foundational seasoning blend for Haitian cuisine, and the tea that is commonly drank by Haitians. To me, the combination of green bell pepper, onion, thyme, cinnamon, garlic, ginger, habanero, and star anise works so well as an all-purpose seasoning, and in addition to this smashed potatoes recipe, I have been using it whenever I want to imbue a dish with a complex blend of flavors and not have to think too much about it.

You can read more on the story behind Spice Tribe’s Mama Manje Haitian blend from Trent here. While working on this recipe, the recent devastating earthquake in Haiti was on my mind, as well as how much of a privilege it is for me to do things like recipe testing for my job. If I was going to be earning income from a product inspired by a humanitarian visit to Haiti, it felt important to me to pay it forward. I decided to donate 5% or my rate from this sponsored recipe to World Central Kitchen and Spice Tribe has kindly agreed to match my donation too. I chose this charity because it was founded by José Andrés—a chef that I respect and admire—in response to sending aid for the 2010 earthquake in Haiti, but they have since expanded their relief efforts globally. They are currently working to provide food to those experiencing homelessness as a result of Hurricane Ida, facilitate hot meals for refugee families fleeing Afghanistan, and mobilizing their already-well-established teams in Haiti to provide assistance in response to the recent earthquake. You can join me in donating to these efforts and read more about World Central Kitchen here.

BLTSalad_4.JPG

Going back to the recipe, here is a bit about what you’ll need to bring it all together:

  • bacon (the B): I used a center cut, thick cut bacon that was nice and meaty by bacon standards. The bacon gets crisped in the oven on the same tray as the smashed potatoes, so that rendered bacon fat is surely not going to waste as it spreads across the pan. I kept the bacon in big chunks because this is a big chunky salad! No gum stabbing bacon bits here.

  • frisée “lettuce” (the L): I took some creative liberties here in representing the L in BLT by using frisée, which is technically not a lettuce but a type of chicory. Frisée (also known as curly endive) and other chicories work well in this salad because they are sturdy enough to not get sogged down by the juicy tomatoes or the warmth of the roasted smashed potatoes, and their slight bitterness is a nice contrast to the salty fatty bacon. But you could also use your choice of baby lettuce leaves.

  • tomatoes (the T): I used a combination of heirloom tomatoes from the store and cherry tomatoes I grew myself in the backyard. Try to use the most flavorful tomatoes you can get your hands on because the whole point of the dish is to celebrate their gorgeous natural flavor. In the recipe, I suggest drizzling a little dressing over the salad platter and then adding more to taste, because you may or may not need more dressing depending on how flavorful your tomatoes are.

  • mini potatoes: Instead of croutons, I opted to make crispy smashed potatoes to bring some heft and heartiness to this late summertime salad. I have found that creamer potatoes with thin skins and a waxy consistency work best for this. First I boil the little potatoes until they are almost breaking apart, then I gently smash them down on a baking pan with a fork to expose some of the soft, fluffy interior and create lots of craggy edges to crisp, then I roast them until the house smells amazing and those edges turn golden. Though there’s a multi-step process to making these, it’s well worth it.

  • burrata: I couldn’t resist bringing a lusciously creamy element to this salad, much like how a BLT would not be complete without mayo. I opted for burrata because I am obsessed with how this softest of cheeses pairs with the tomatoes. But if you can’t find burrata, some fresh mozzarella would work great here too.

BLTPotatoSalad_3.JPG

How to Make a BLT Salad with Crispy Smashed Potatoes

For the Smashed Potatoes

1 pound mini creamer potatoes
1 1/4 tsp kosher salt, divided
2 tbsp extra virgin olive oil, divided
1/2 tsp Spice Tribe Mama Manje blend
4–6 strips center cut thick bacon

For the Dressing

2 tbsp fresh orange juice
4 tsp white wine vinegar
1 tbsp honey
1/4 tsp Spice Tribe Mama Manje blend
1/4 tsp kosher salt
2 tbsp extra virgin olive oil

For the Salad

3–4 heirloom tomatoes, sliced
1 cup frisée or baby lettuce leaves
4 oz burrata or fresh mozzarella
cherry tomatoes (optional)
microgreens (optional)
kosher salt and pepper, to taste

Procedure

In a medium pot, combine potatoes with 6 cups of water,  or enough to completely cover the potatoes in 2 inches of water. Bring to a boil and add 1 teaspoon of salt. Continue boiling potatoes until very soft and a fork pokes through with no resistance, about 20–25 minutes.

In the meantime, preheat oven to 450°F and make the dressing. Combine all dressing ingredients except olive oil in a bowl and whisk together until the honey dissolves. (Microwave for 10 seconds if needed to soften the honey.) Then, slowly whisk in the olive oil. Set dressing aside.

Drain boiled potatoes well and allow to cool slightly. Add to a large mixing bowl along with 1 tablespoon olive oil, 1/4 teaspoon salt, and Spice Tribe Mama Manje blend. Toss until potatoes are evenly coated, then dump everything onto a large baking sheet. 

Move potatoes to the sides, then press each one gently with a fork until it cracks open and flattens sightly. Drizzle another 1 tablespoon olive oil over smashed potatoes. Place strips of bacon in the middle of the same baking sheet, in a single layer. 

Place baking sheet on the middle rack of the oven. Bake for about 8 minutes, flip the bacon, then continue baking until the bacon is crisp, an additional 7–12 minutes (for 15–20 minutes total). Transfer bacon onto a plate to cool slightly (bacon will become a bit more crispy while cooling). Continue baking potatoes until the fluffy edges begin to turn golden brown, about 5–7 minutes more.

Break up bacon into bite-sized pieces. Arrange frisee or lettuce leaves, tomato slices, bacon, and crispy smashed potatoes on a serving platter as desired. Season tomatoes with salt and pepper to taste. Top with torn up pieces of burrata or mozzarella, and additional cherry tomatoes and microgreens (if using). Lightly drizzle some dressing over everything and serve the rest of the dressing on the side.
Thank you so much to Spice Tribe for sponsoring this recipe! Check them out on Instagram here or visit their website to purchase high quality spices and unique small-batch spice blends.

Toasts with Labneh and Burst Tomatoes in Paprika Butter

tomatotoast.JPG

Making these quick burst tomatoes in some sort of flavored butter is one of my favorite things to do with my homegrown cherry tomatoes at this time of year. There is no denying that a tomato grown at home tastes better than one from the store, so there is no need to do much to them in terms of cooking; I prefer to enjoy that natural sweet flavor without much fuss or distraction. So I throw them in hot melted butter and just wait for them to barely blister and burst and that is pretty much good to go for me.
Lately, though, I have been loving mixing summer fruit with smoked paprika; the sweetness of the fruit seems to go so well with it. I have been using the smoked Spanish paprika that I received from Spice Tribe and it is so so good—while I do other sponsored content in partnership with them, this post is not sponsored and this is truly one of my favorite products of theirs that I use in regular life. Allowing the spice to bloom just a little bit in the hot butter adds an incredible depth of flavor to this otherwise simple and simple to make toast combo.
How to Make Toasts with Labneh and Burst Tomatoes in Paprika Butter

Ingredients

1 cup cherry tomatoes
2 tbsp salted butter
1/2 tsp smoked paprika (or to taste)
2–3 slices of toast
labneh
fresh basil leaves (I used Thai basil)
flaky salt

Procedure

In a skillet on medium high heat, add the butter. Once melted, add the cherry tomatoes and allow them to sit in the skillet until they start to burst (could get a bit messy). Roll them around a bit to heat through, then put them to the side of the pan and add the paprika to the excess melted butter. Once the paprika and butter become very fragrant, gently fold everything together and turn off the heat.

Swirl labneh on top of the toast, forming areas for the melted butter to pool. Spoon the tomatoes and melted butter on top. Finish with a few fresh basil leaves and some flaky salt.

For more toast inspiration, check out all the posts with the “toast post” tag here.