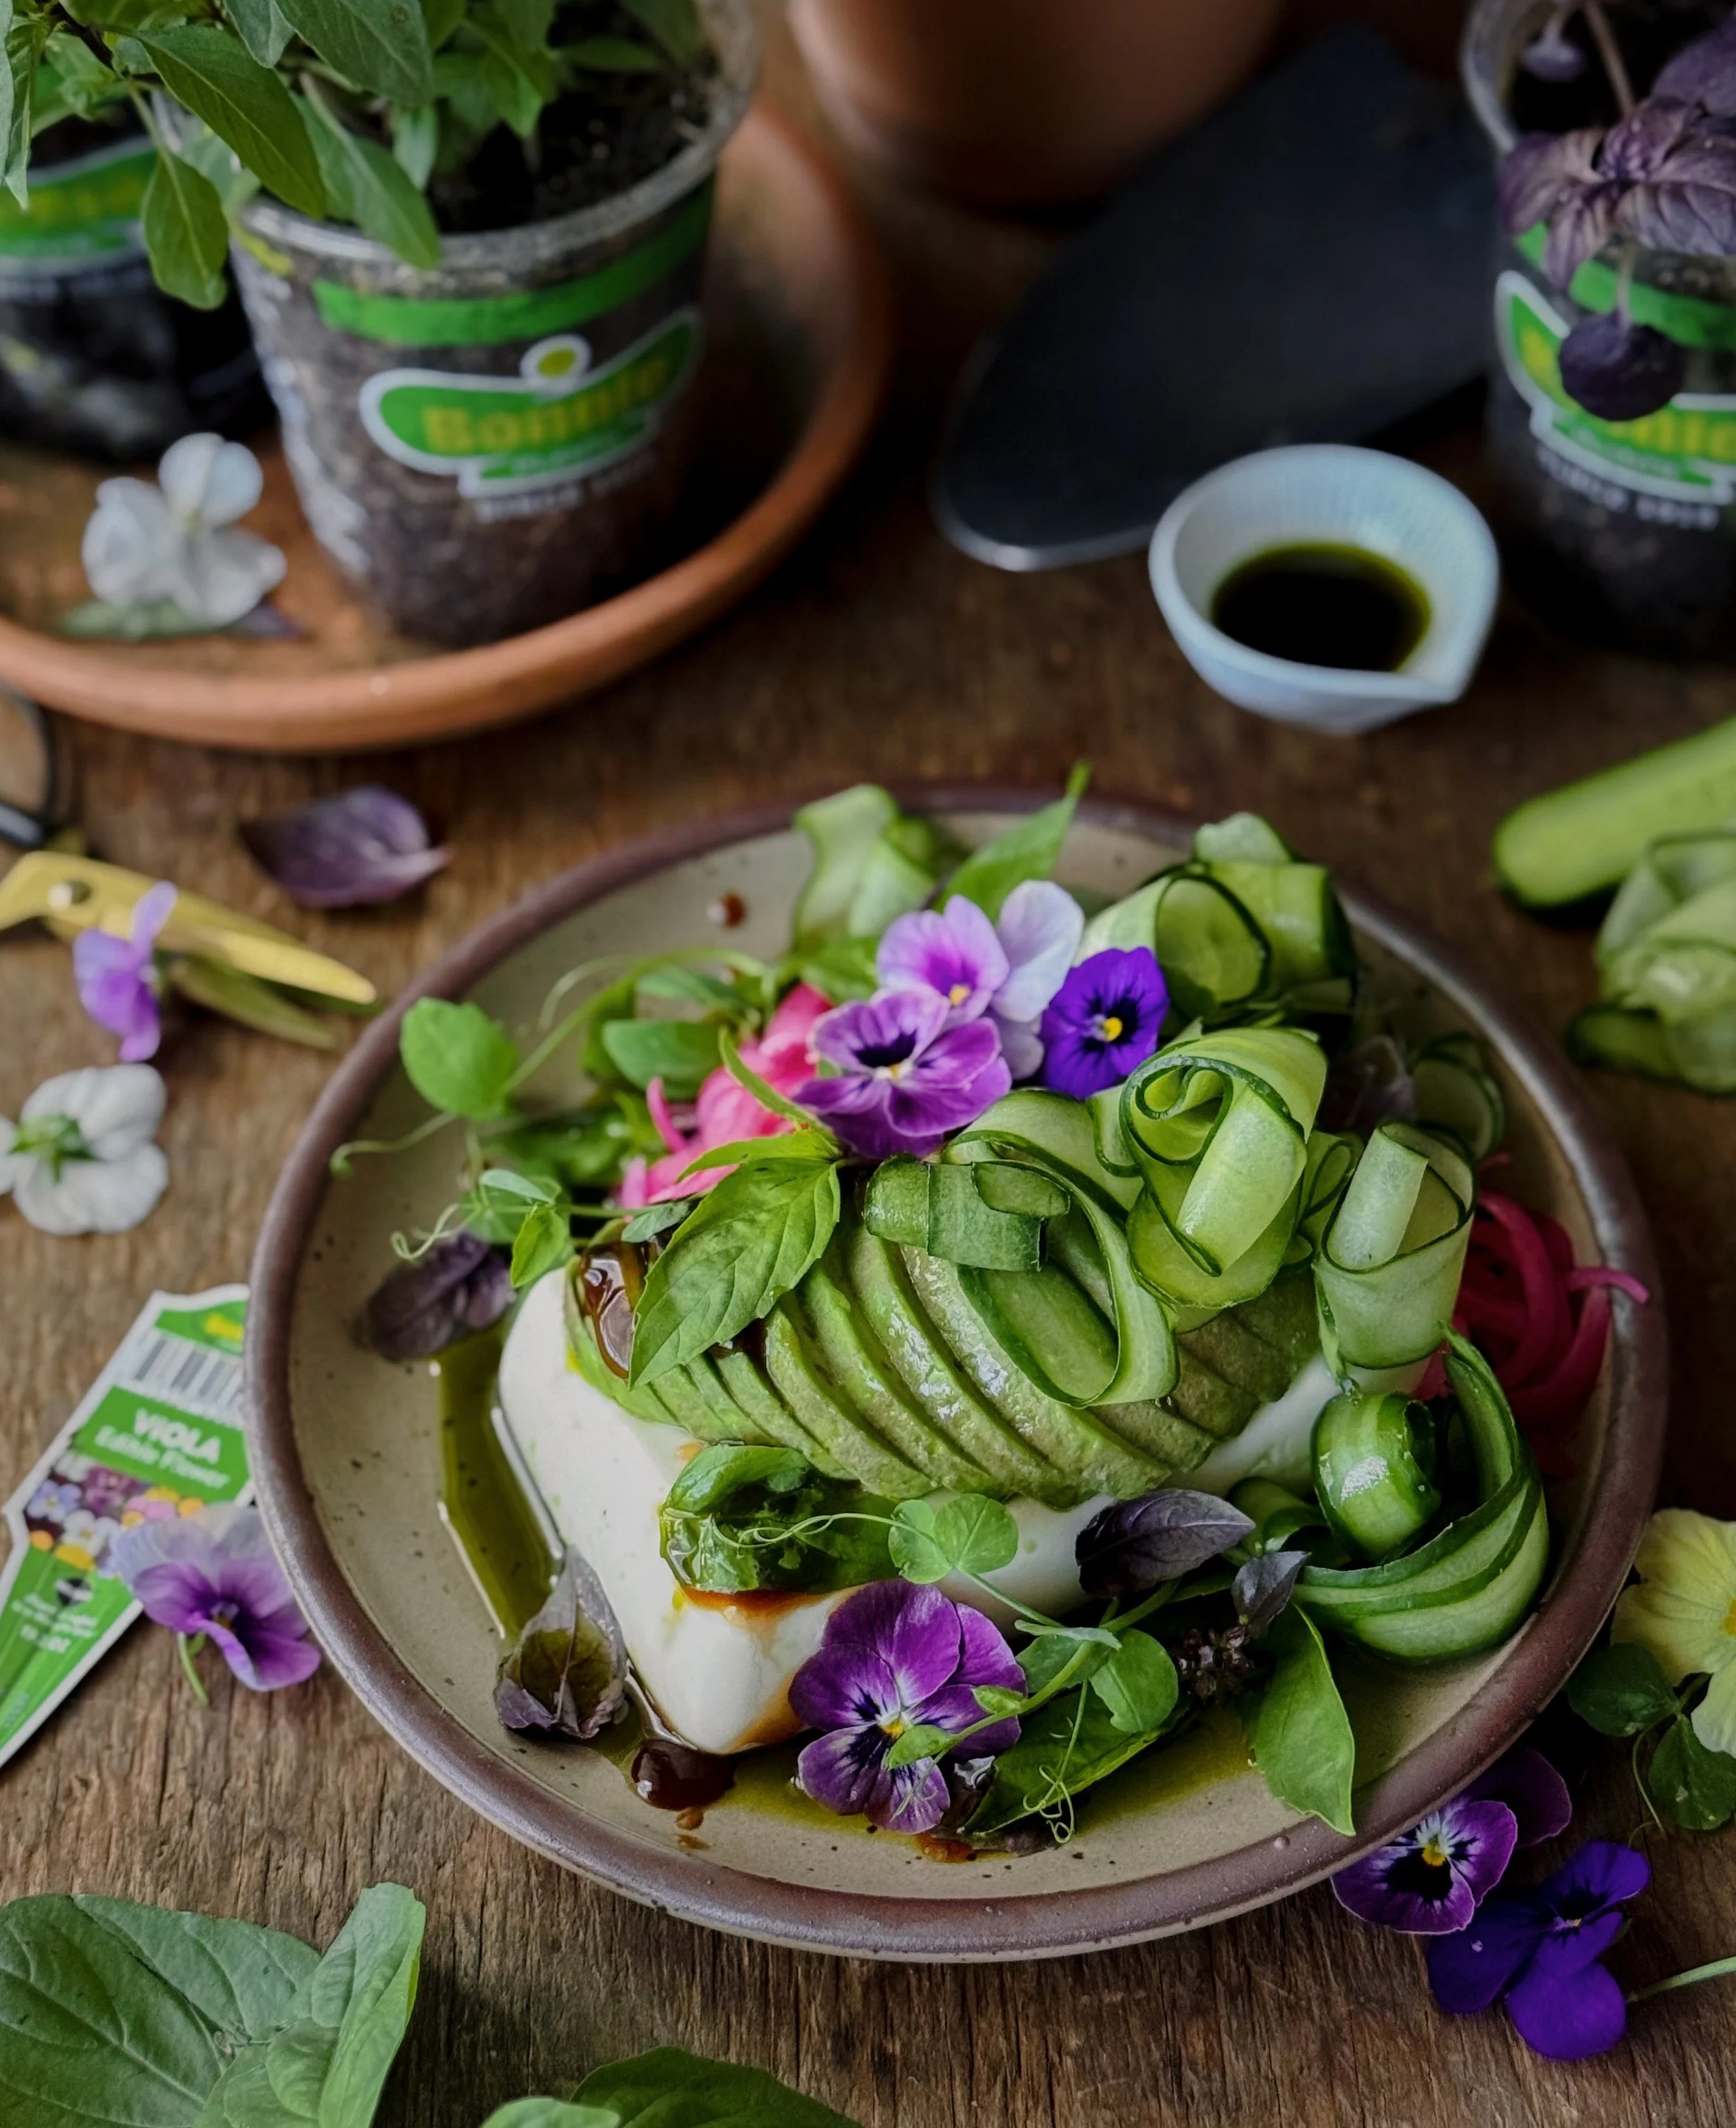
Recipe: Tofu and Avocado Salad with Toasted Thai Basil Oil
/This tofu and avocado salad features a base of refreshing silken tofu and creamy avocado topped with ribbons of Japanese cucumber, quick-pickled onions, Thai basil, purple basil, and pea tendrils. It’s then dressed with oyster sauce and a drizzle of homemade toasted Thai basil oil, and for a pretty finishing touch, I added edible violas. There is so much going on here from the soothing texture of the silken tofu, decadence of the avocado, the freshness of the cucumber, the bright tang from the quick-pickled onions, the blast of umami from the oyster sauce, and herbaceousness from the basil oil and fresh basil—and yet the salad is so low-effort to come together. Make a batch of this toasted Thai basil oil ahead (it stays that beautiful vibrant green for at least a week in the fridge) and the rest of this super easy, no-cook dish comes together so quickly, making it perfect for a girl dinner, an easy side for a homey Chinese meal, or a satisfying protein-rich lunch.
The idea for this dish came from something I remember my parents making when I was a kid. To whip up a quick side dish they would slice up a block of silken tofu and combine it with oyster sauce and toasted sesame oil, with some scallions as a fresh garnish. I remember being surprised by how much I liked it, even during that time in my life when I was so bored and resentful of eating humble Chinese food at home. There was something about the custardy tofu and the rich umami flavors that made it comforting and exciting at the same time. This version builds on that dish with avocado to make it a little more substantial, and a homemade toasted Thai basil oil in place of the sesame oil for a fresh, spring-leaning flavor and color.
This recipe was developed in partnership with Bonnie Plants. I’ve been using Bonnie Plants plant starts since I first started gardening, all the way back when I moved into my house over a decade ago. They offer such a wide selection in their lush, eye-catching displays in front of garden centers nationwide and I like that they even have some more obscure Asian veggie varieties like Japanese cucumber and tat soi. Bonnie Plants made it really easy to get started back when I was completely new to gardening, and I’ve since been hooked on that feeling of satisfaction I get from growing stuff I can eat in my own backyard. And to make it even more worthwhile, by the way, homegrown produce tastes incredible compared to produce from a store!
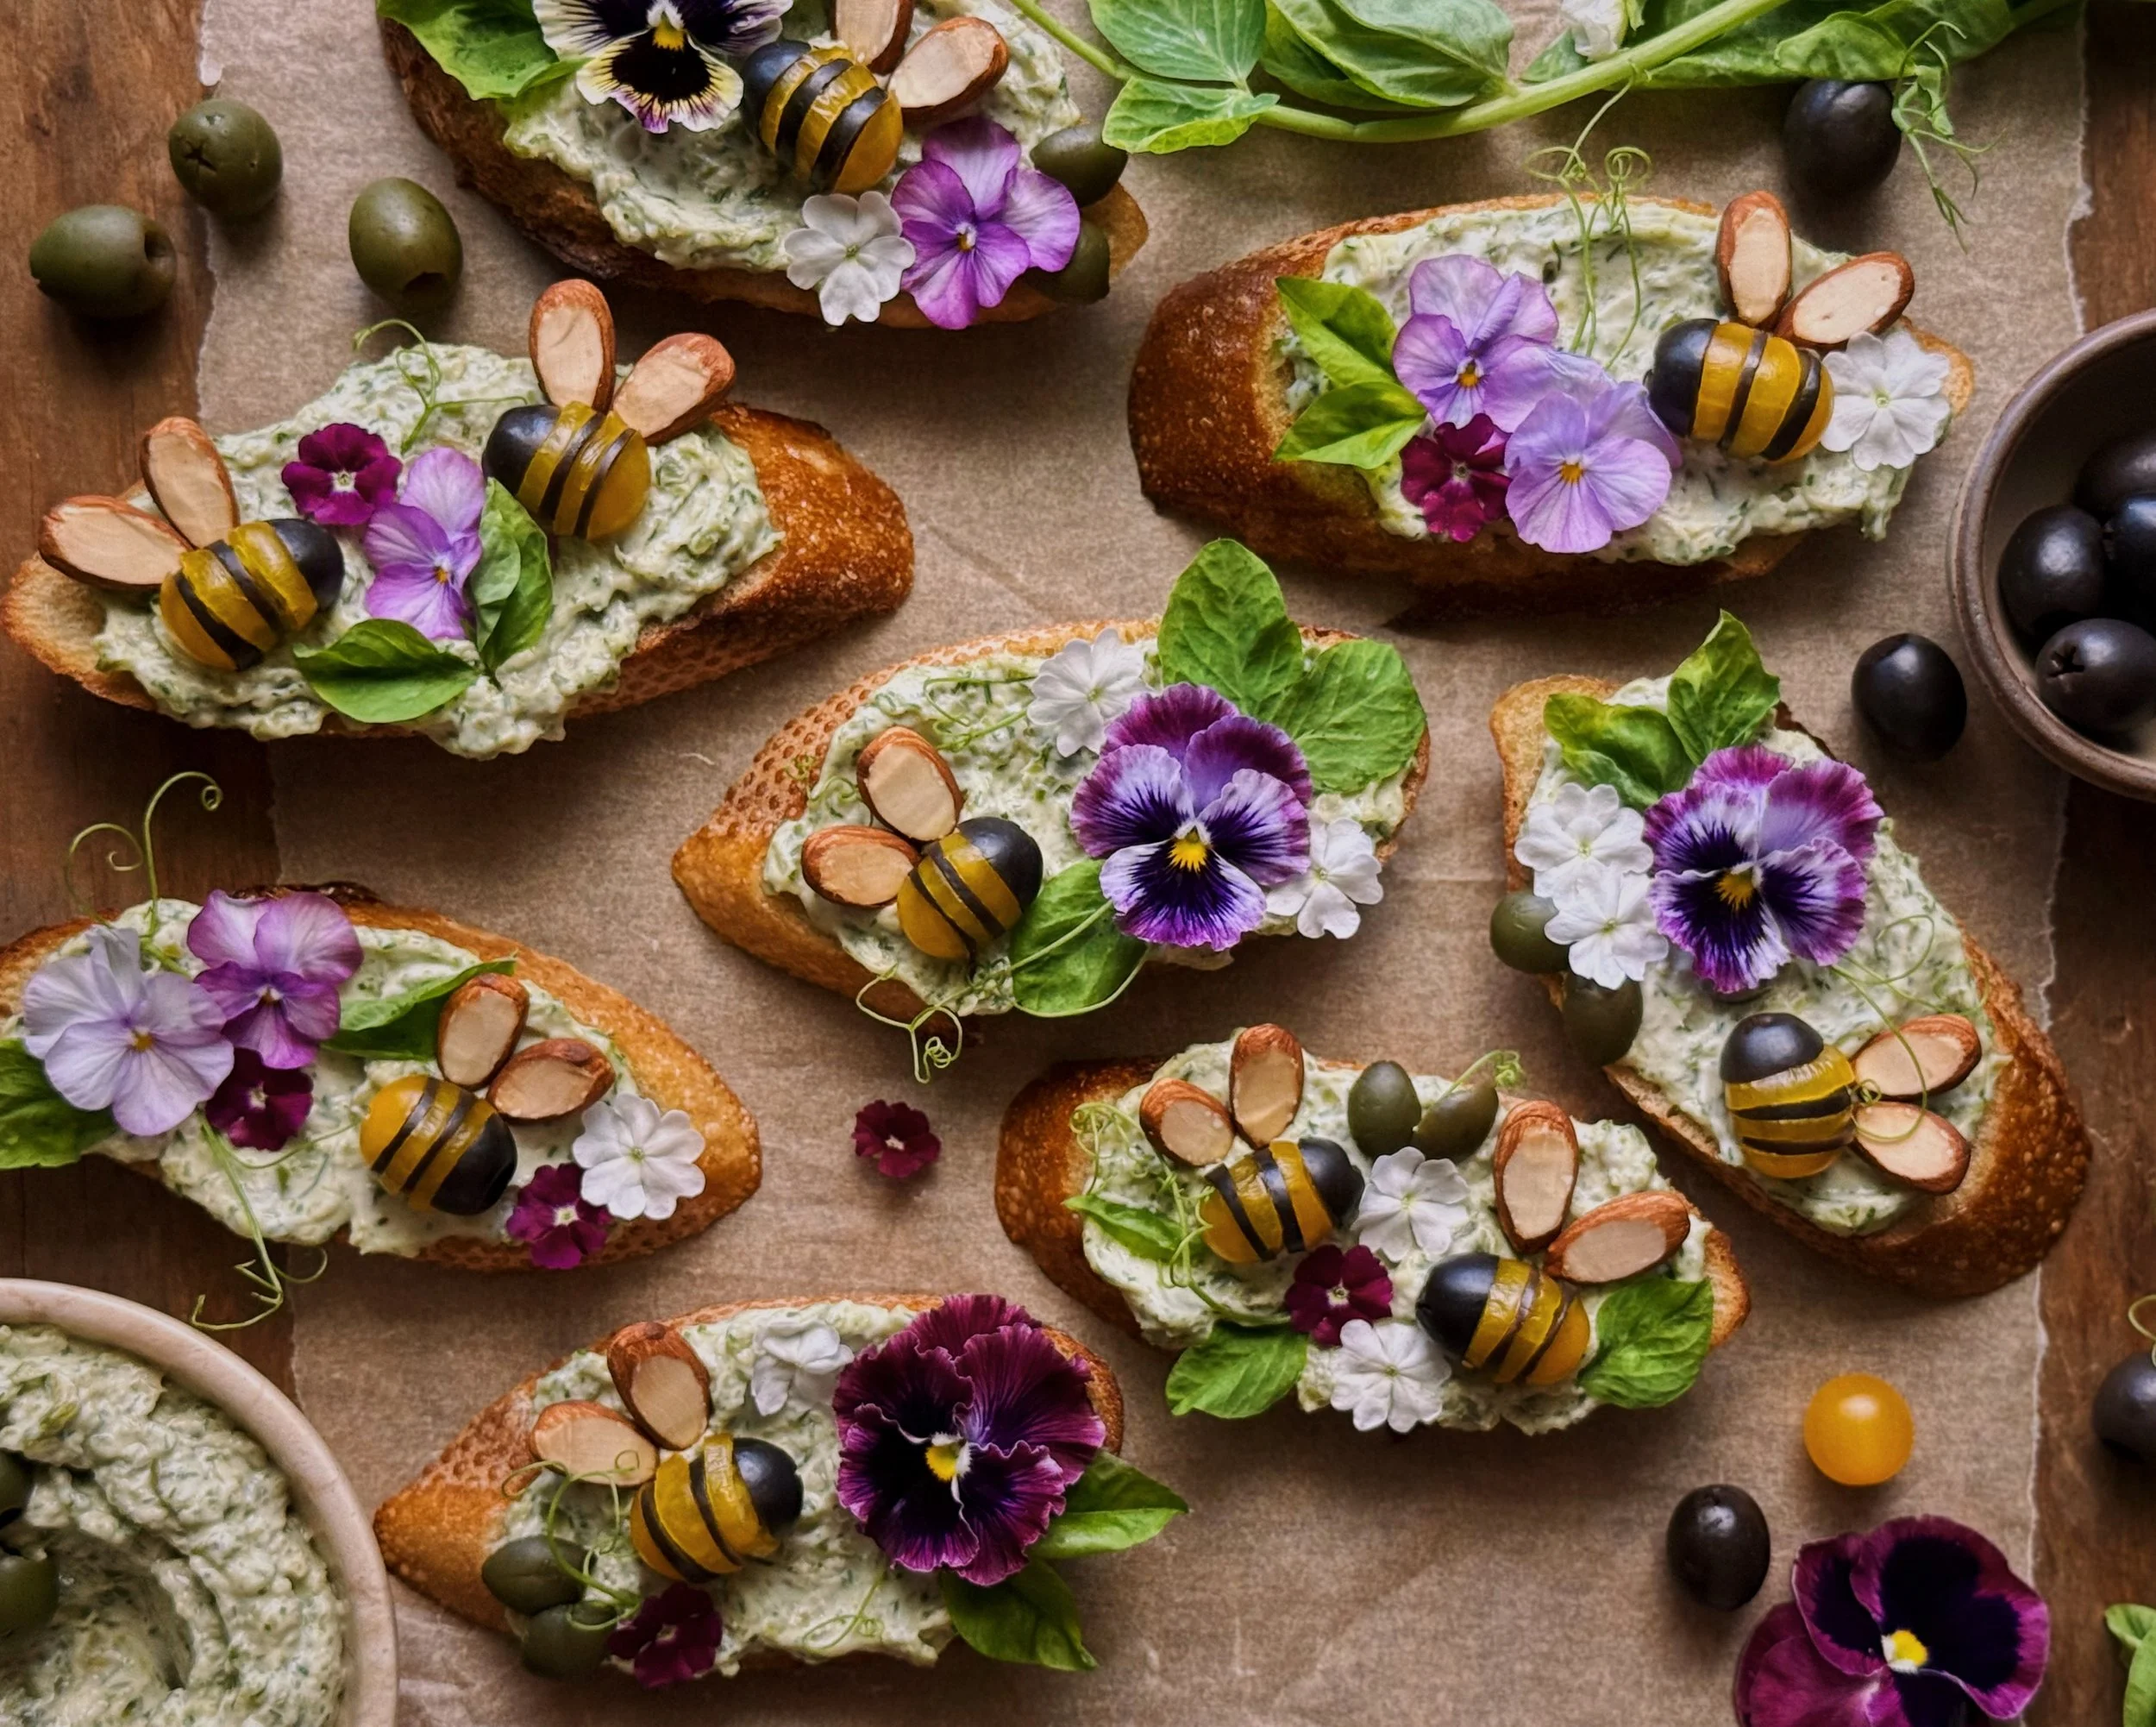
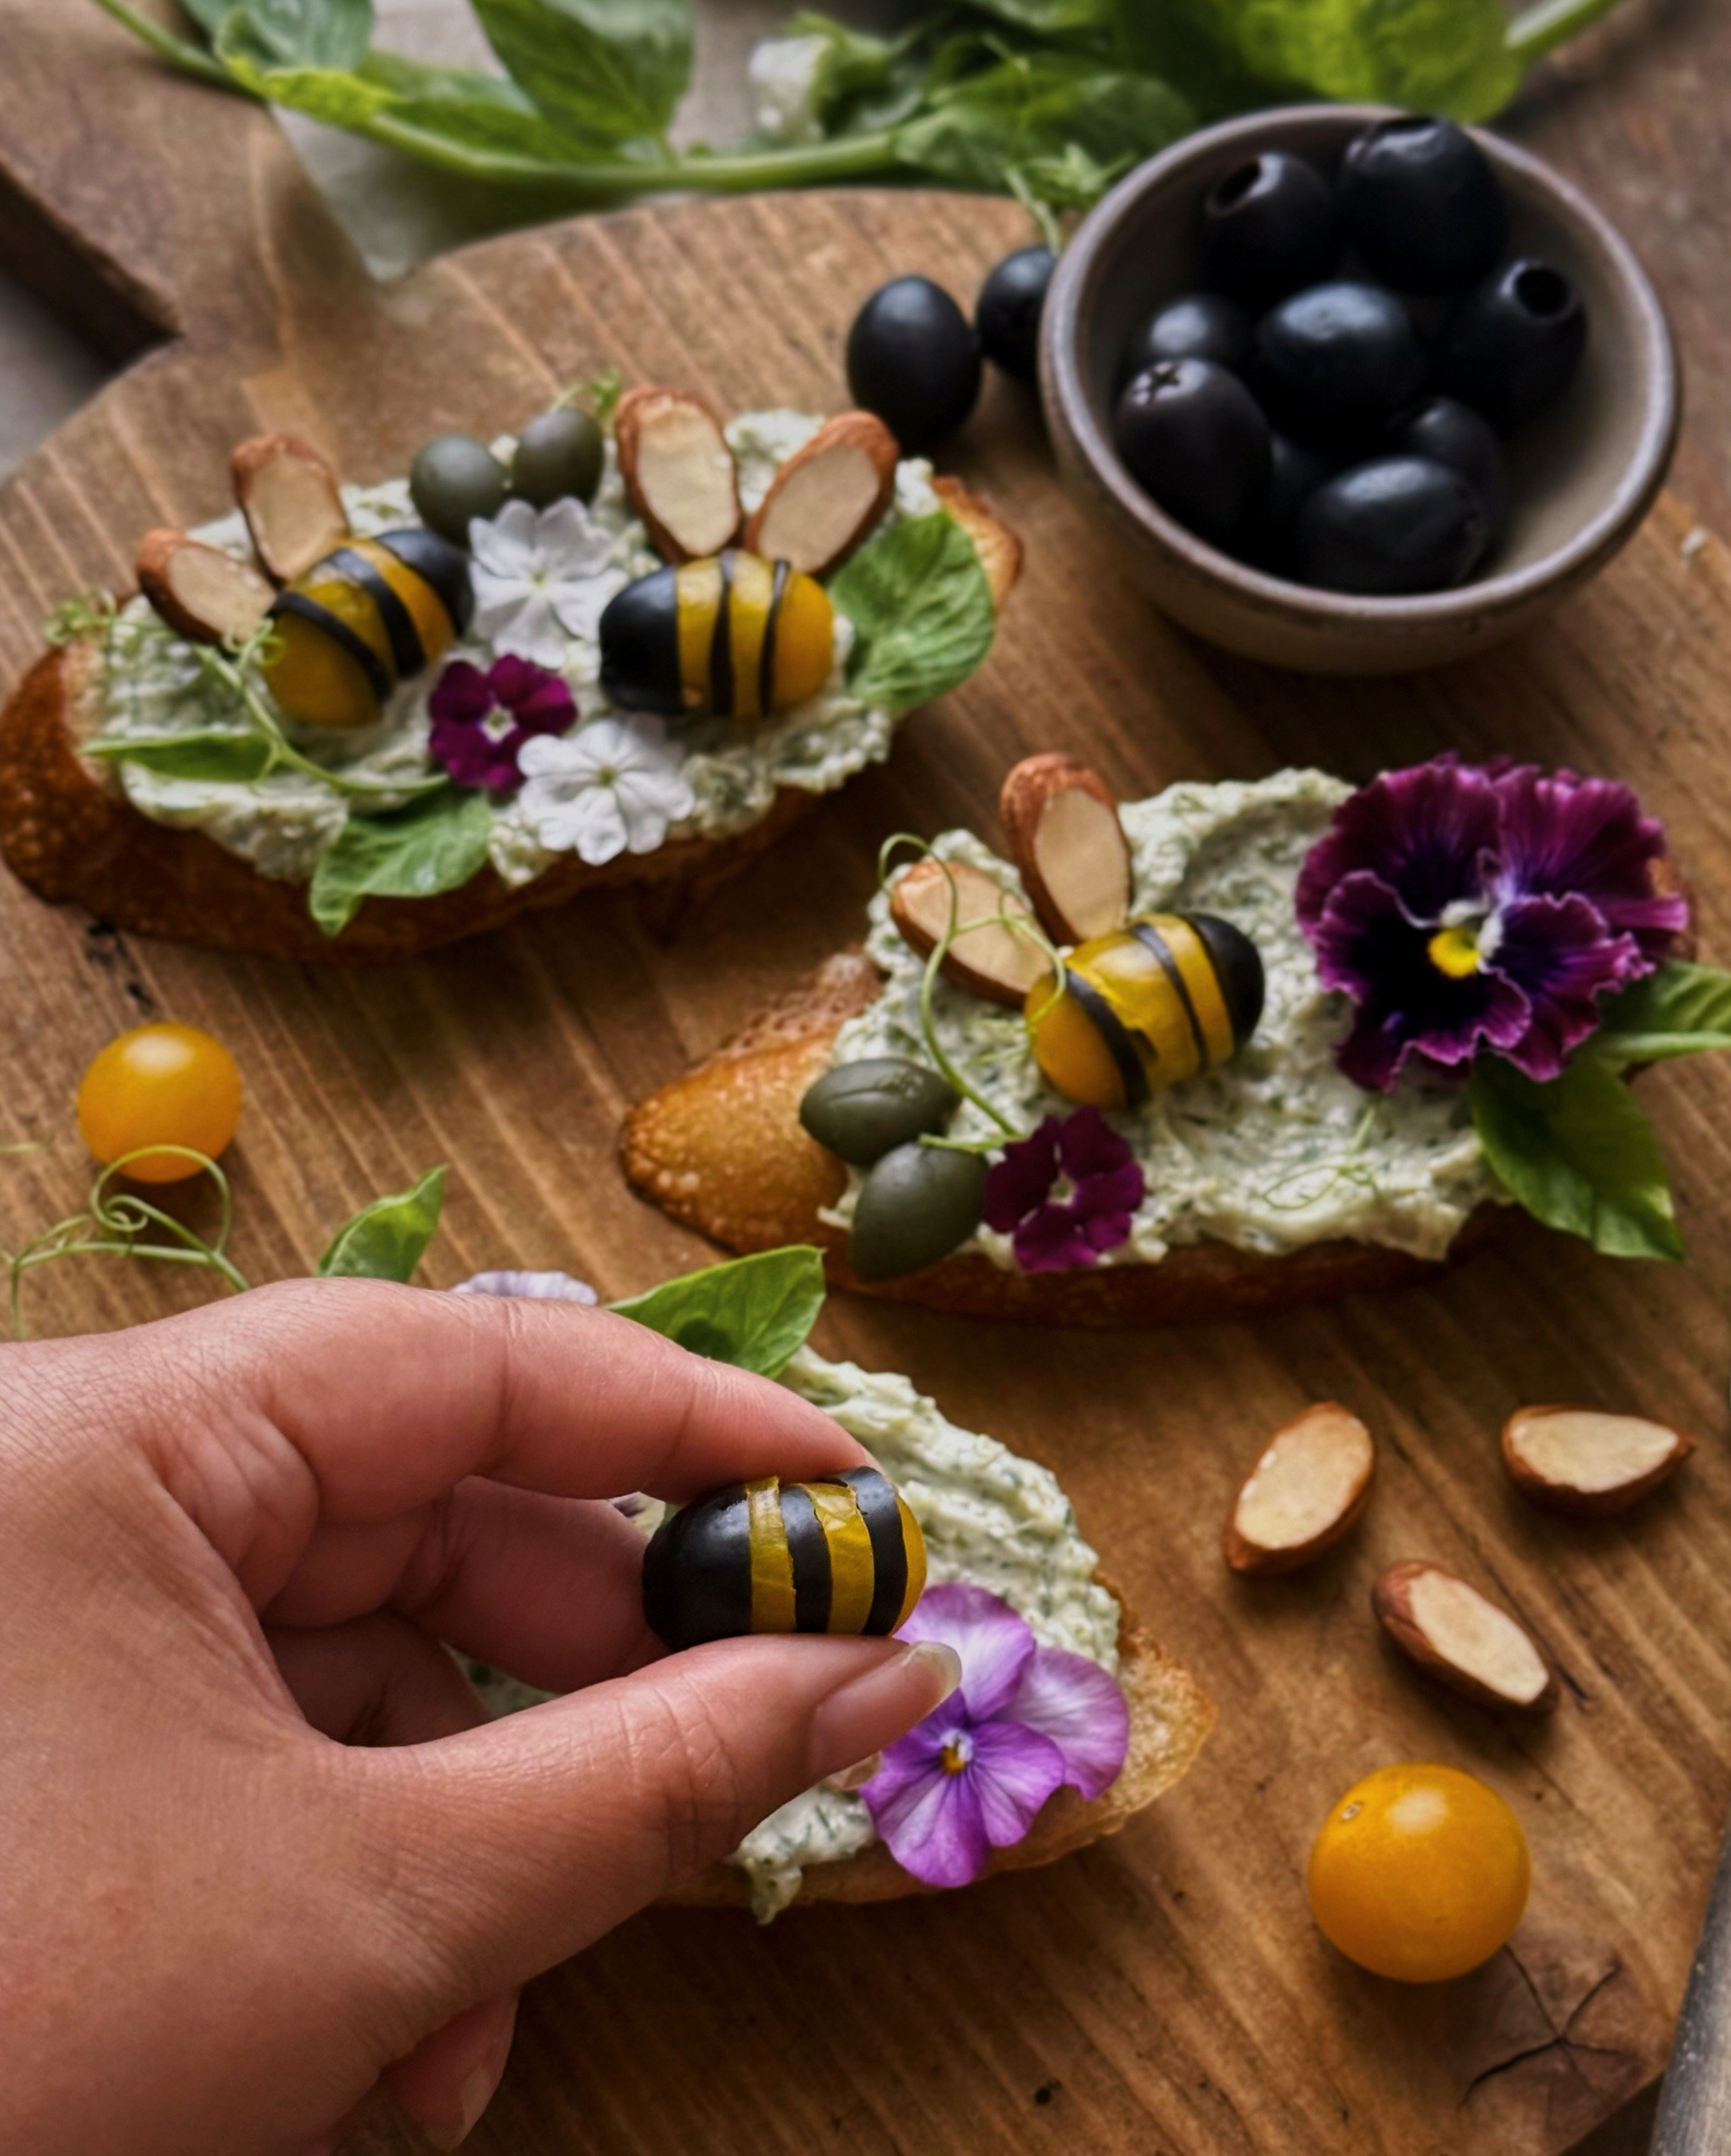
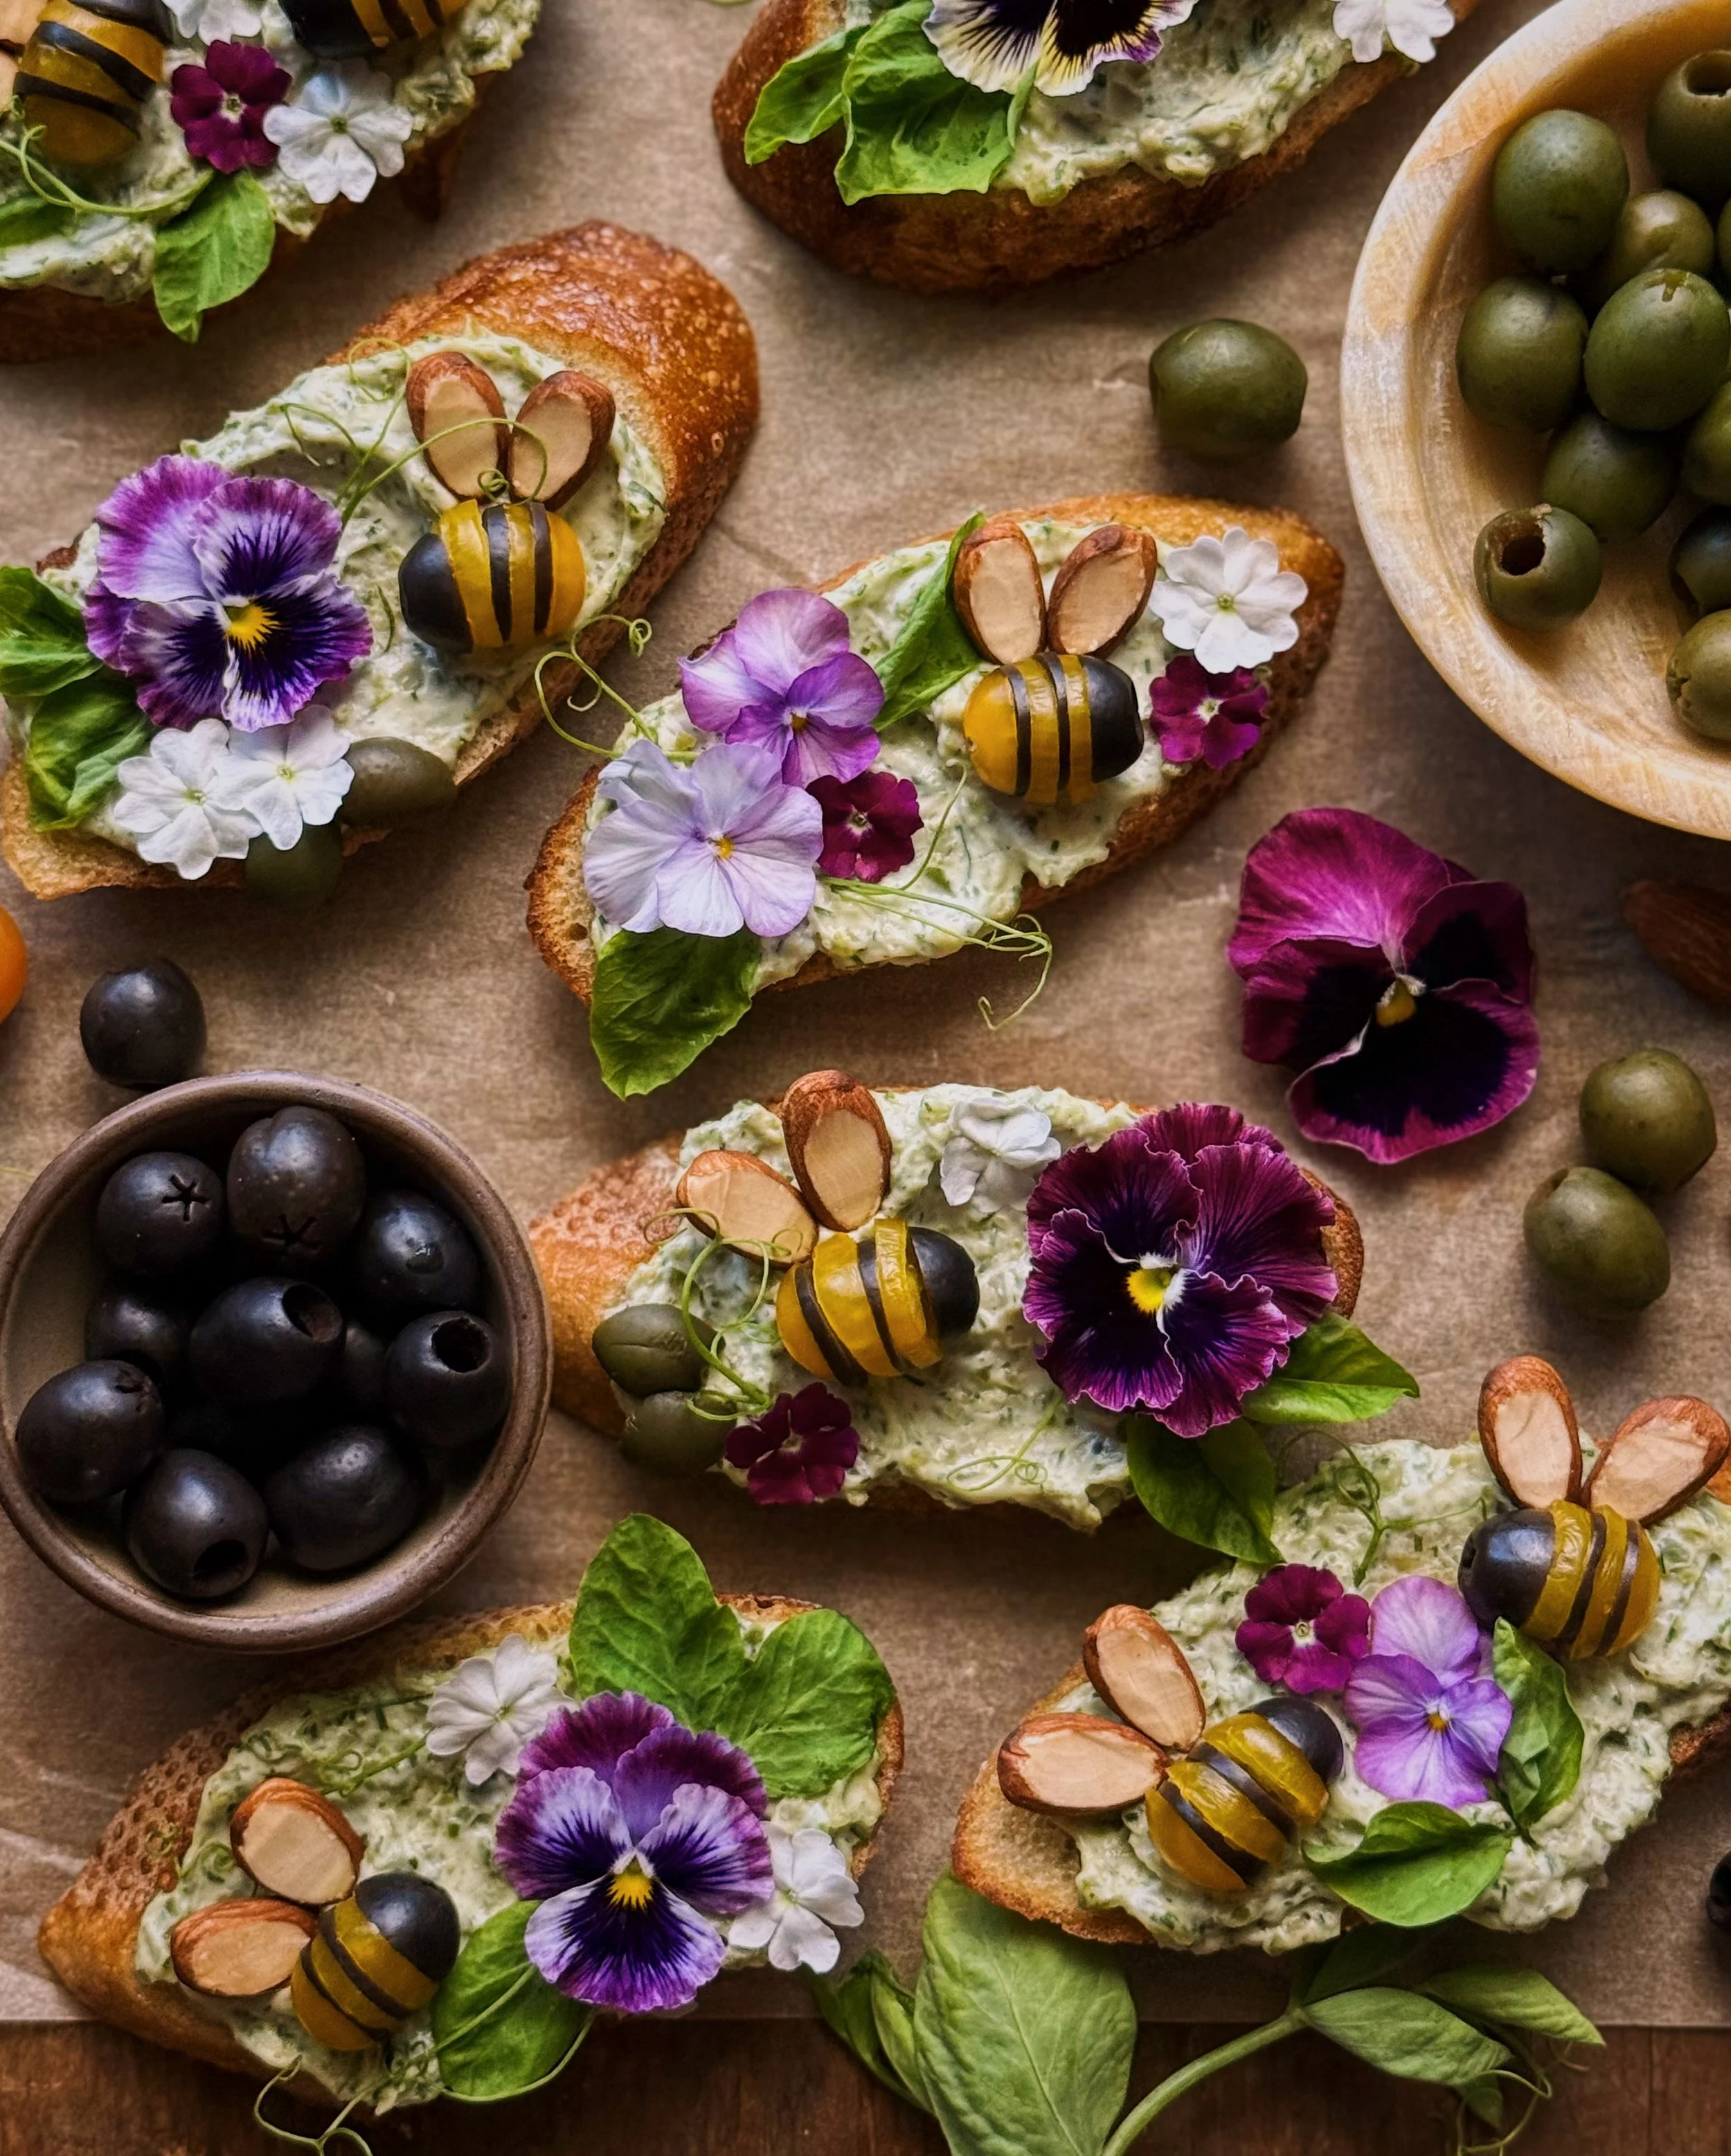
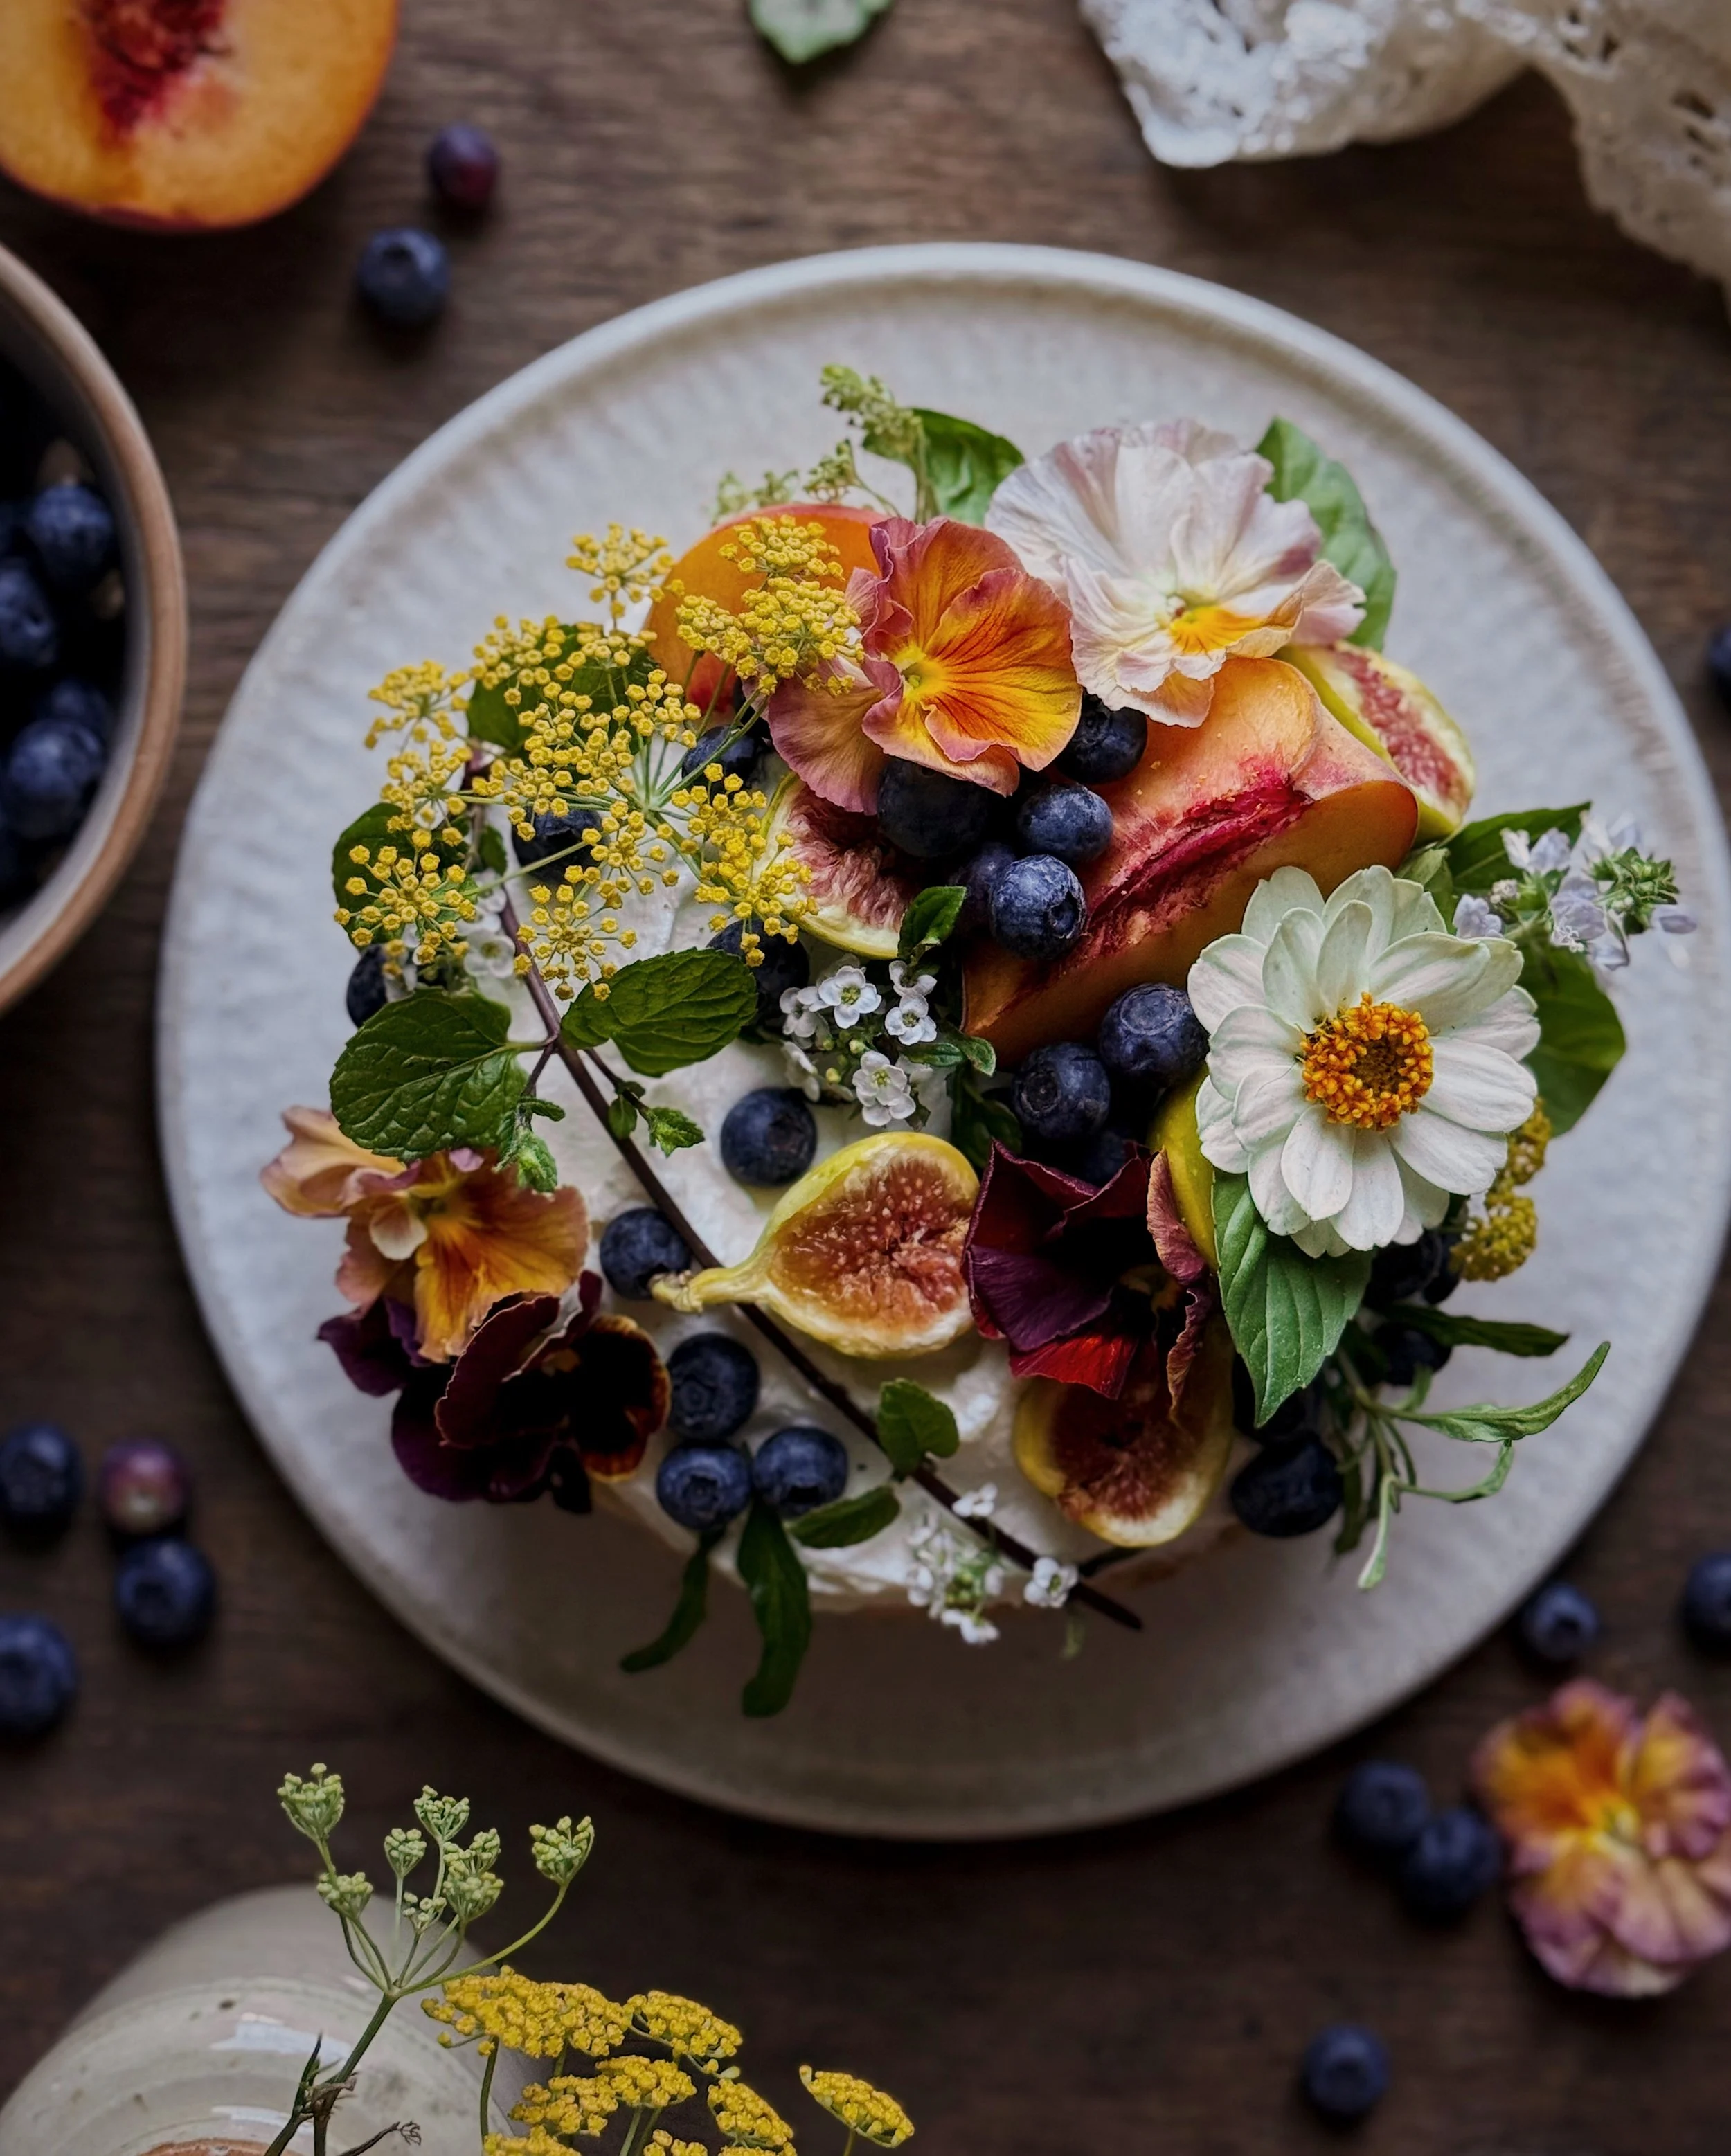
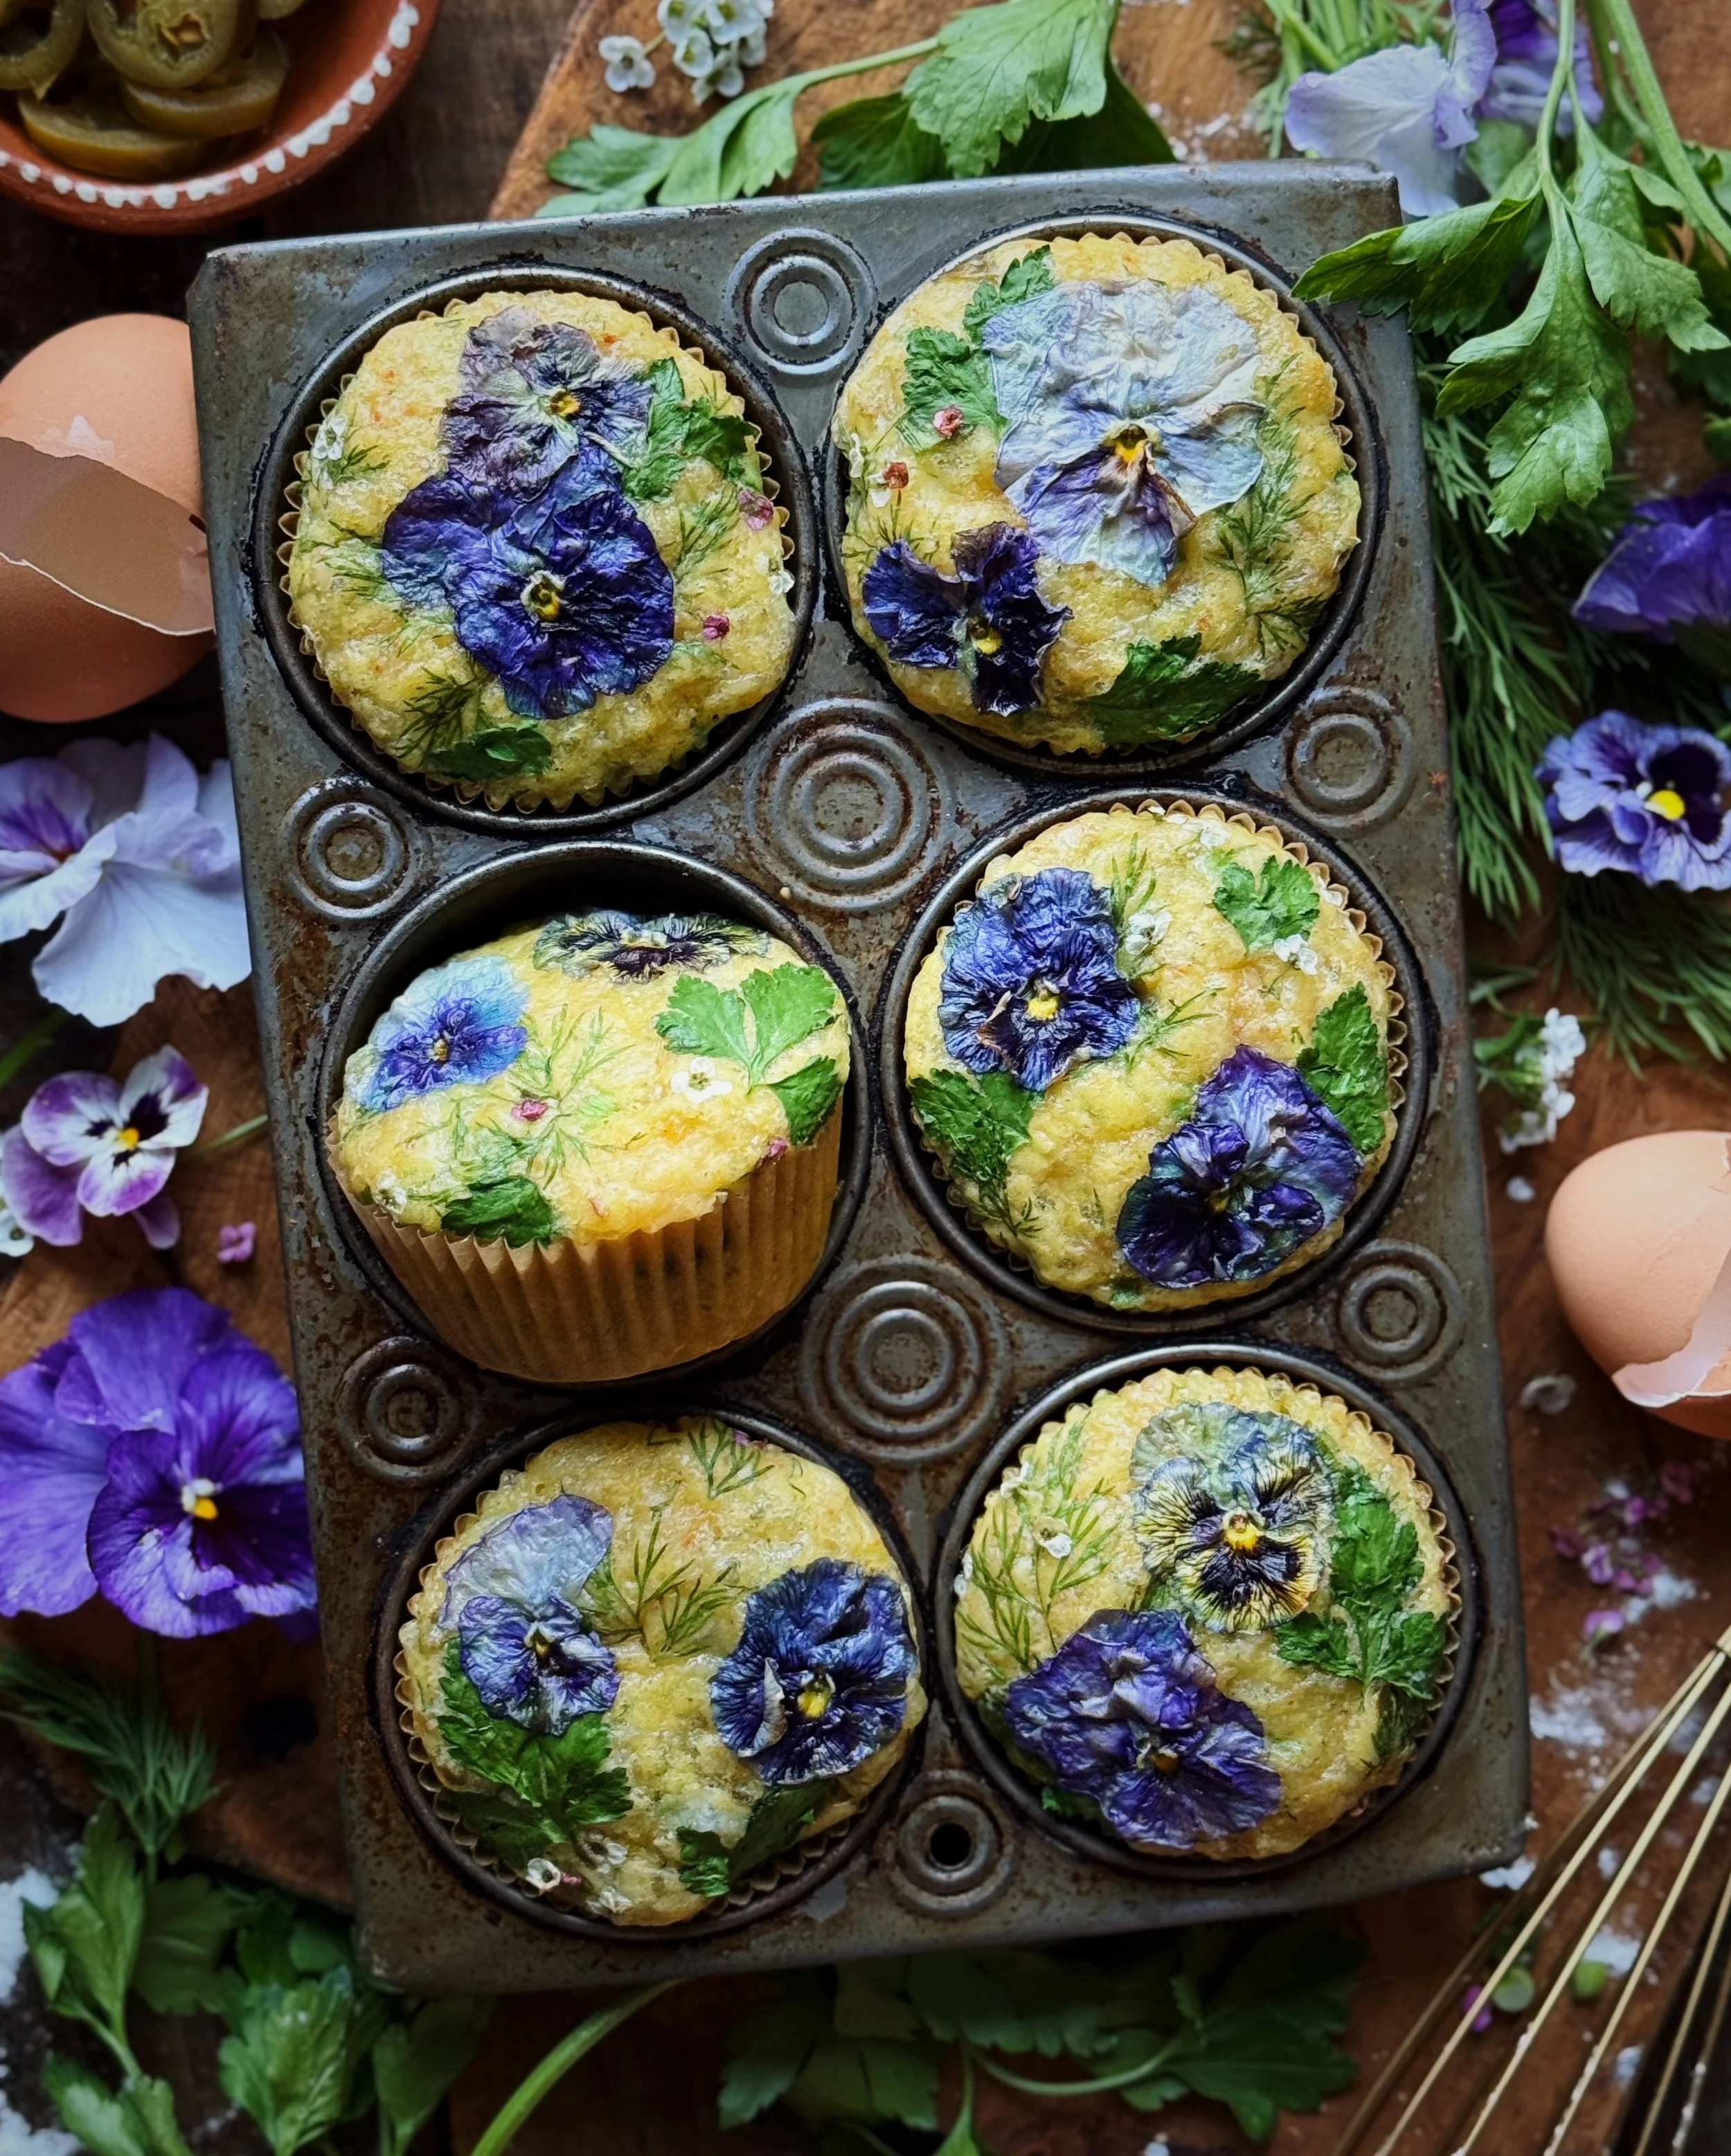
The most frequent question I get on Instagram about my work is where I get my edible flowers. While I am continuing to learn more about foraging, a massive majority of the flowers I use in my photos are ones that I grew myself in my backyard! This is why I was so excited to partner with Bonnie Plants. They have totally taken the guesswork out of knowing what flowers are safe to use in your food art by selling two beautiful products, edible pansies and edible violas, which I used to decorate my tofu salad for these photos. If you’ve been inspired by my dishes, I recommend growing your own flower garnishes so you can snip off a few blooms whenever you want to turn anything from weeknight salads to weekend brunch gatherings into edible bouquets.
Notes About Making the Toasted Thai Basil Oil
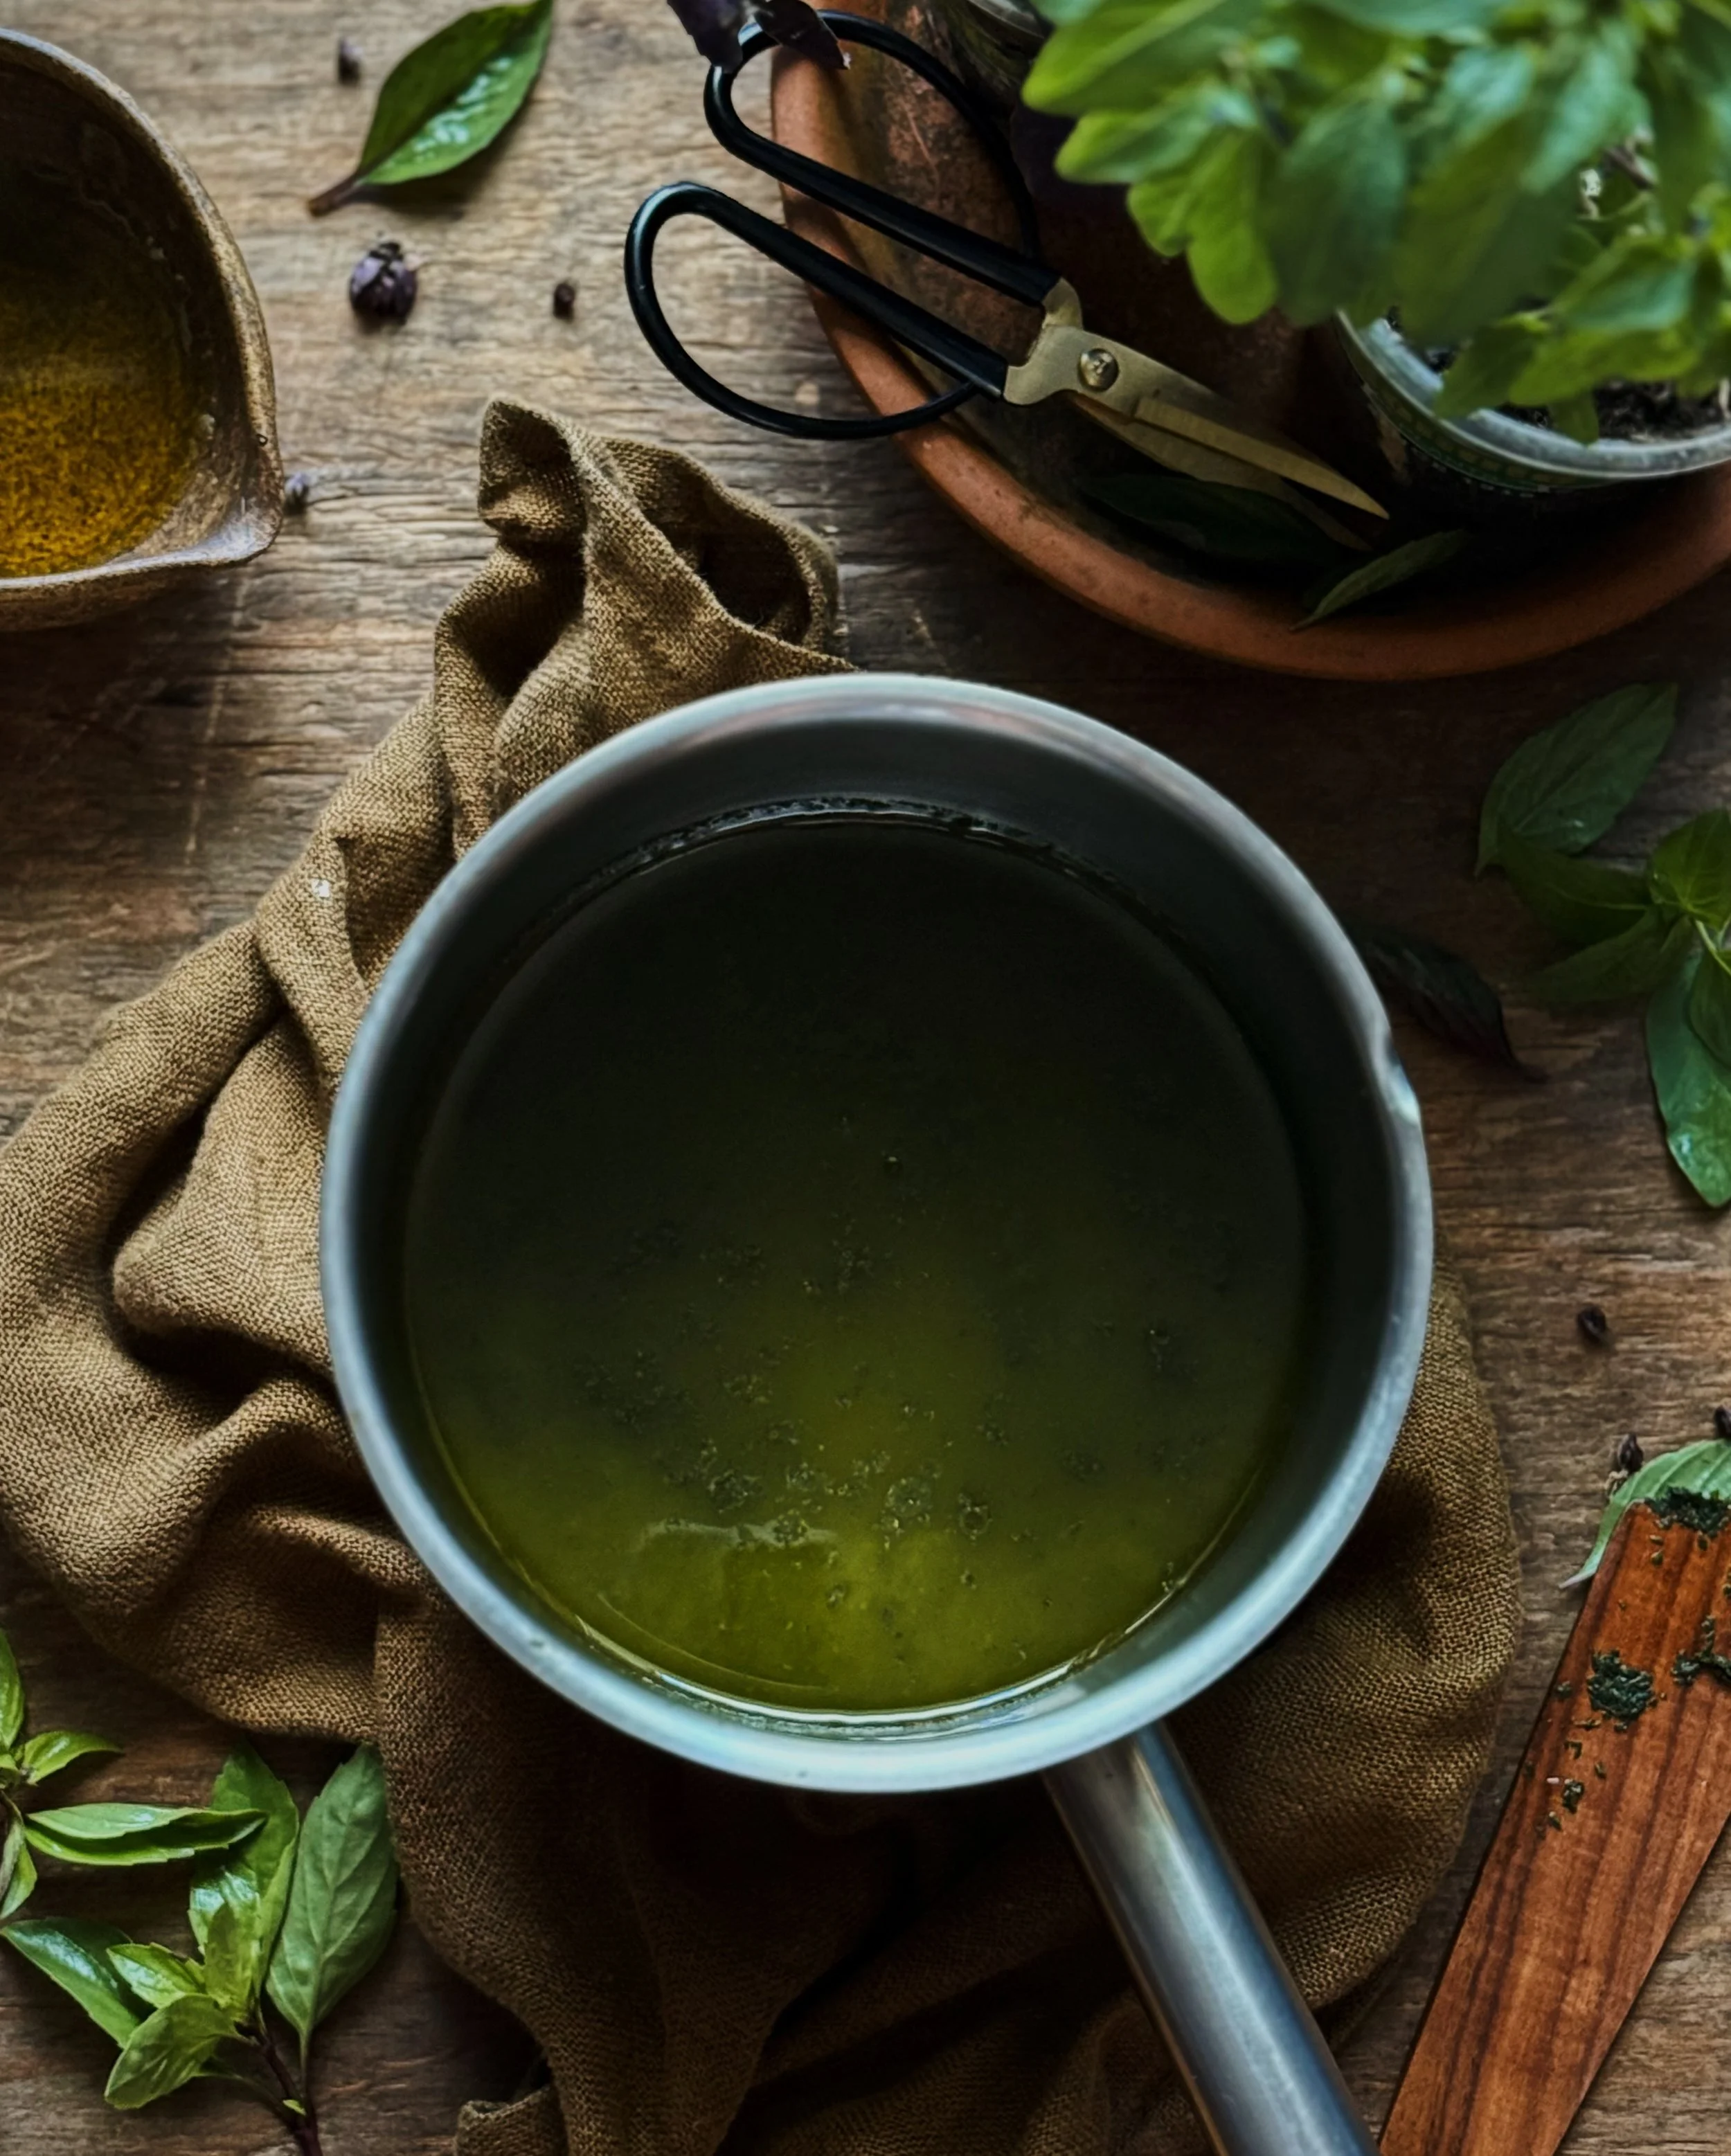
The bulk of the effort for putting this dish together is with making this unique, herbaceous oil, but the good news is that it can be done ahead. The ingredients are super simple but the end result tastes completely different, with a rich, nutty umami flavor that you might not expect from fresh herbs. Thai basil is different from other forms of basil like the ones associated with Italian cooking; it is sturdier, with a slight anise flavor, and holds up well when frying. That fried basil flavor from Asian stirfries and street foods is what I’ve captured with this savory oil. As a bonus, the color is this gorgeous deep shade of green that is so beautiful for spring dishes!
To make this, you will need a lot of Thai basil! Growing your own herbs means being able to harvest the exact amount you need, nice and fresh when you need it, whether it’s a whole pile of Thai basil for this toasted Thai basil oil or just a couple of snips for a fresh garnish. The recipe below makes way more Thai basil oil than you will need for the actual dish; this is because for most blenders or food processors, you will need enough volume to give the blades something to work with. I got almost 1 cup of basil oil following the written recipe below but your results may vary depending on your patience with the two rounds of straining. Make this oil ahead of time to pull it out for this easy tofu dish when you need it; when I was recipe testing, I kept the oil in the fridge for over a week and it still retained its lovely color and flavor.

To make the toasted Thai basil oil:
Be sure to pack your measuring cup full of the green leaves from your Thai basil plant, avoiding the firm purple stems or flower buds. You can still use leaves that are a little wilted but avoid leaves that are bruised or mushy. Be sure the leaves are nice and dry.
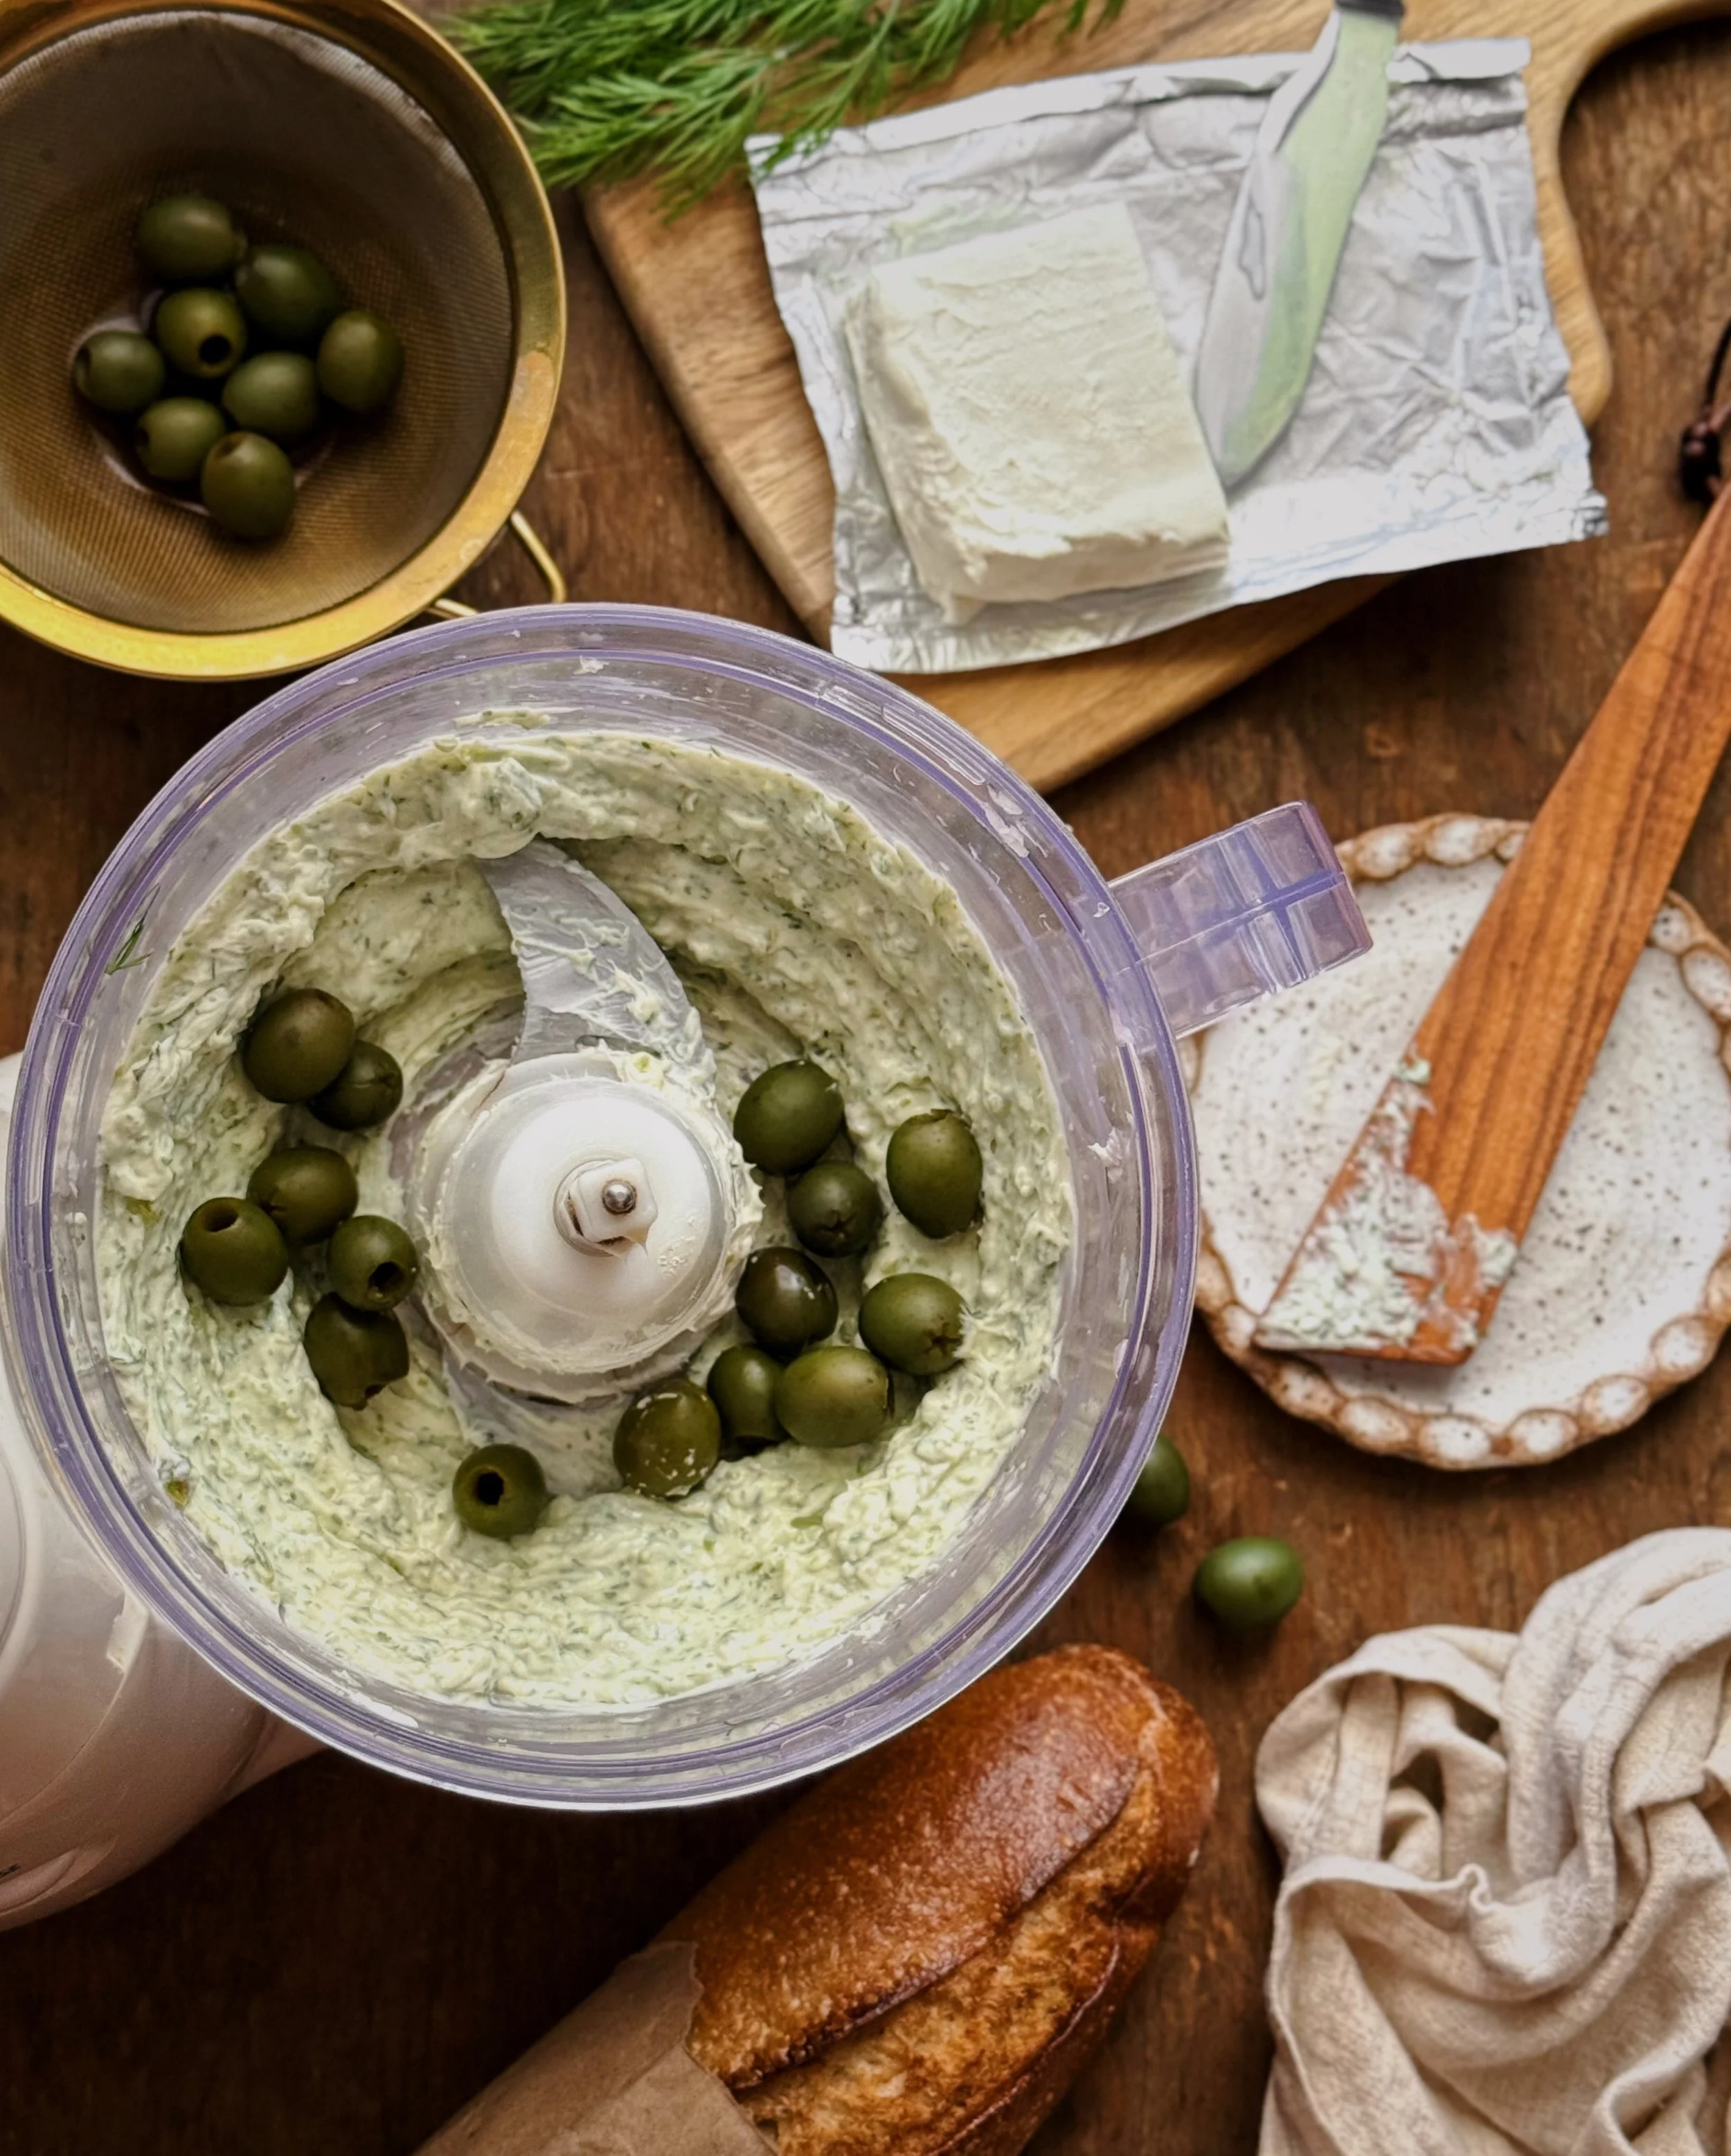
Combine the basil and oils in a blender or food processor. A high-powered blender is going to be the best option for this, but my subpar food processor was also sufficient.
Strain the mixture through a fine-mesh sieve into a small saucepot. This round of straining will get rid of the bulk of the basil pulp. Feel free to really press down with a spatula to get as much of that infused oil out of the pulp.
Cook out the excess moisture by heating the strained contents over medium-low heat, and don’t walk away for this step! If you are familiar with the process for making browned butter, this is the same idea—you are using heat to allow the water to evaporate away from the fat, while toasting the solids to produce a nutty flavor. But if you aren’t careful, those solids can burn quickly, and in this case the oil will go from that rich grassy green shade to a dull yellow-olive. Use both your eyes and ears here. Big, loud, simmering bubbles indicate the presence of too much water but when this sound quiets and the surface becomes a fine foam, you’ve successfully removed the water from your beautiful basil oil.
Prepare an ice bath in a large bowl and place a wide-mouthed receptacle for your oil inside it. Place a paper coffee filter or a few layers of cheesecloth into a strainer and place the strainer over your receptacle. Carefully pour the oil into the filter. This will strain out all the toasted bits of basil and leave you with a perfectly clean green oil. Let the filter setup do its thing, then store the oil in a sealed container in the fridge until you are ready to make your tofu salad!
Notes About the Ingredients for the Tofu and Avocado Salad
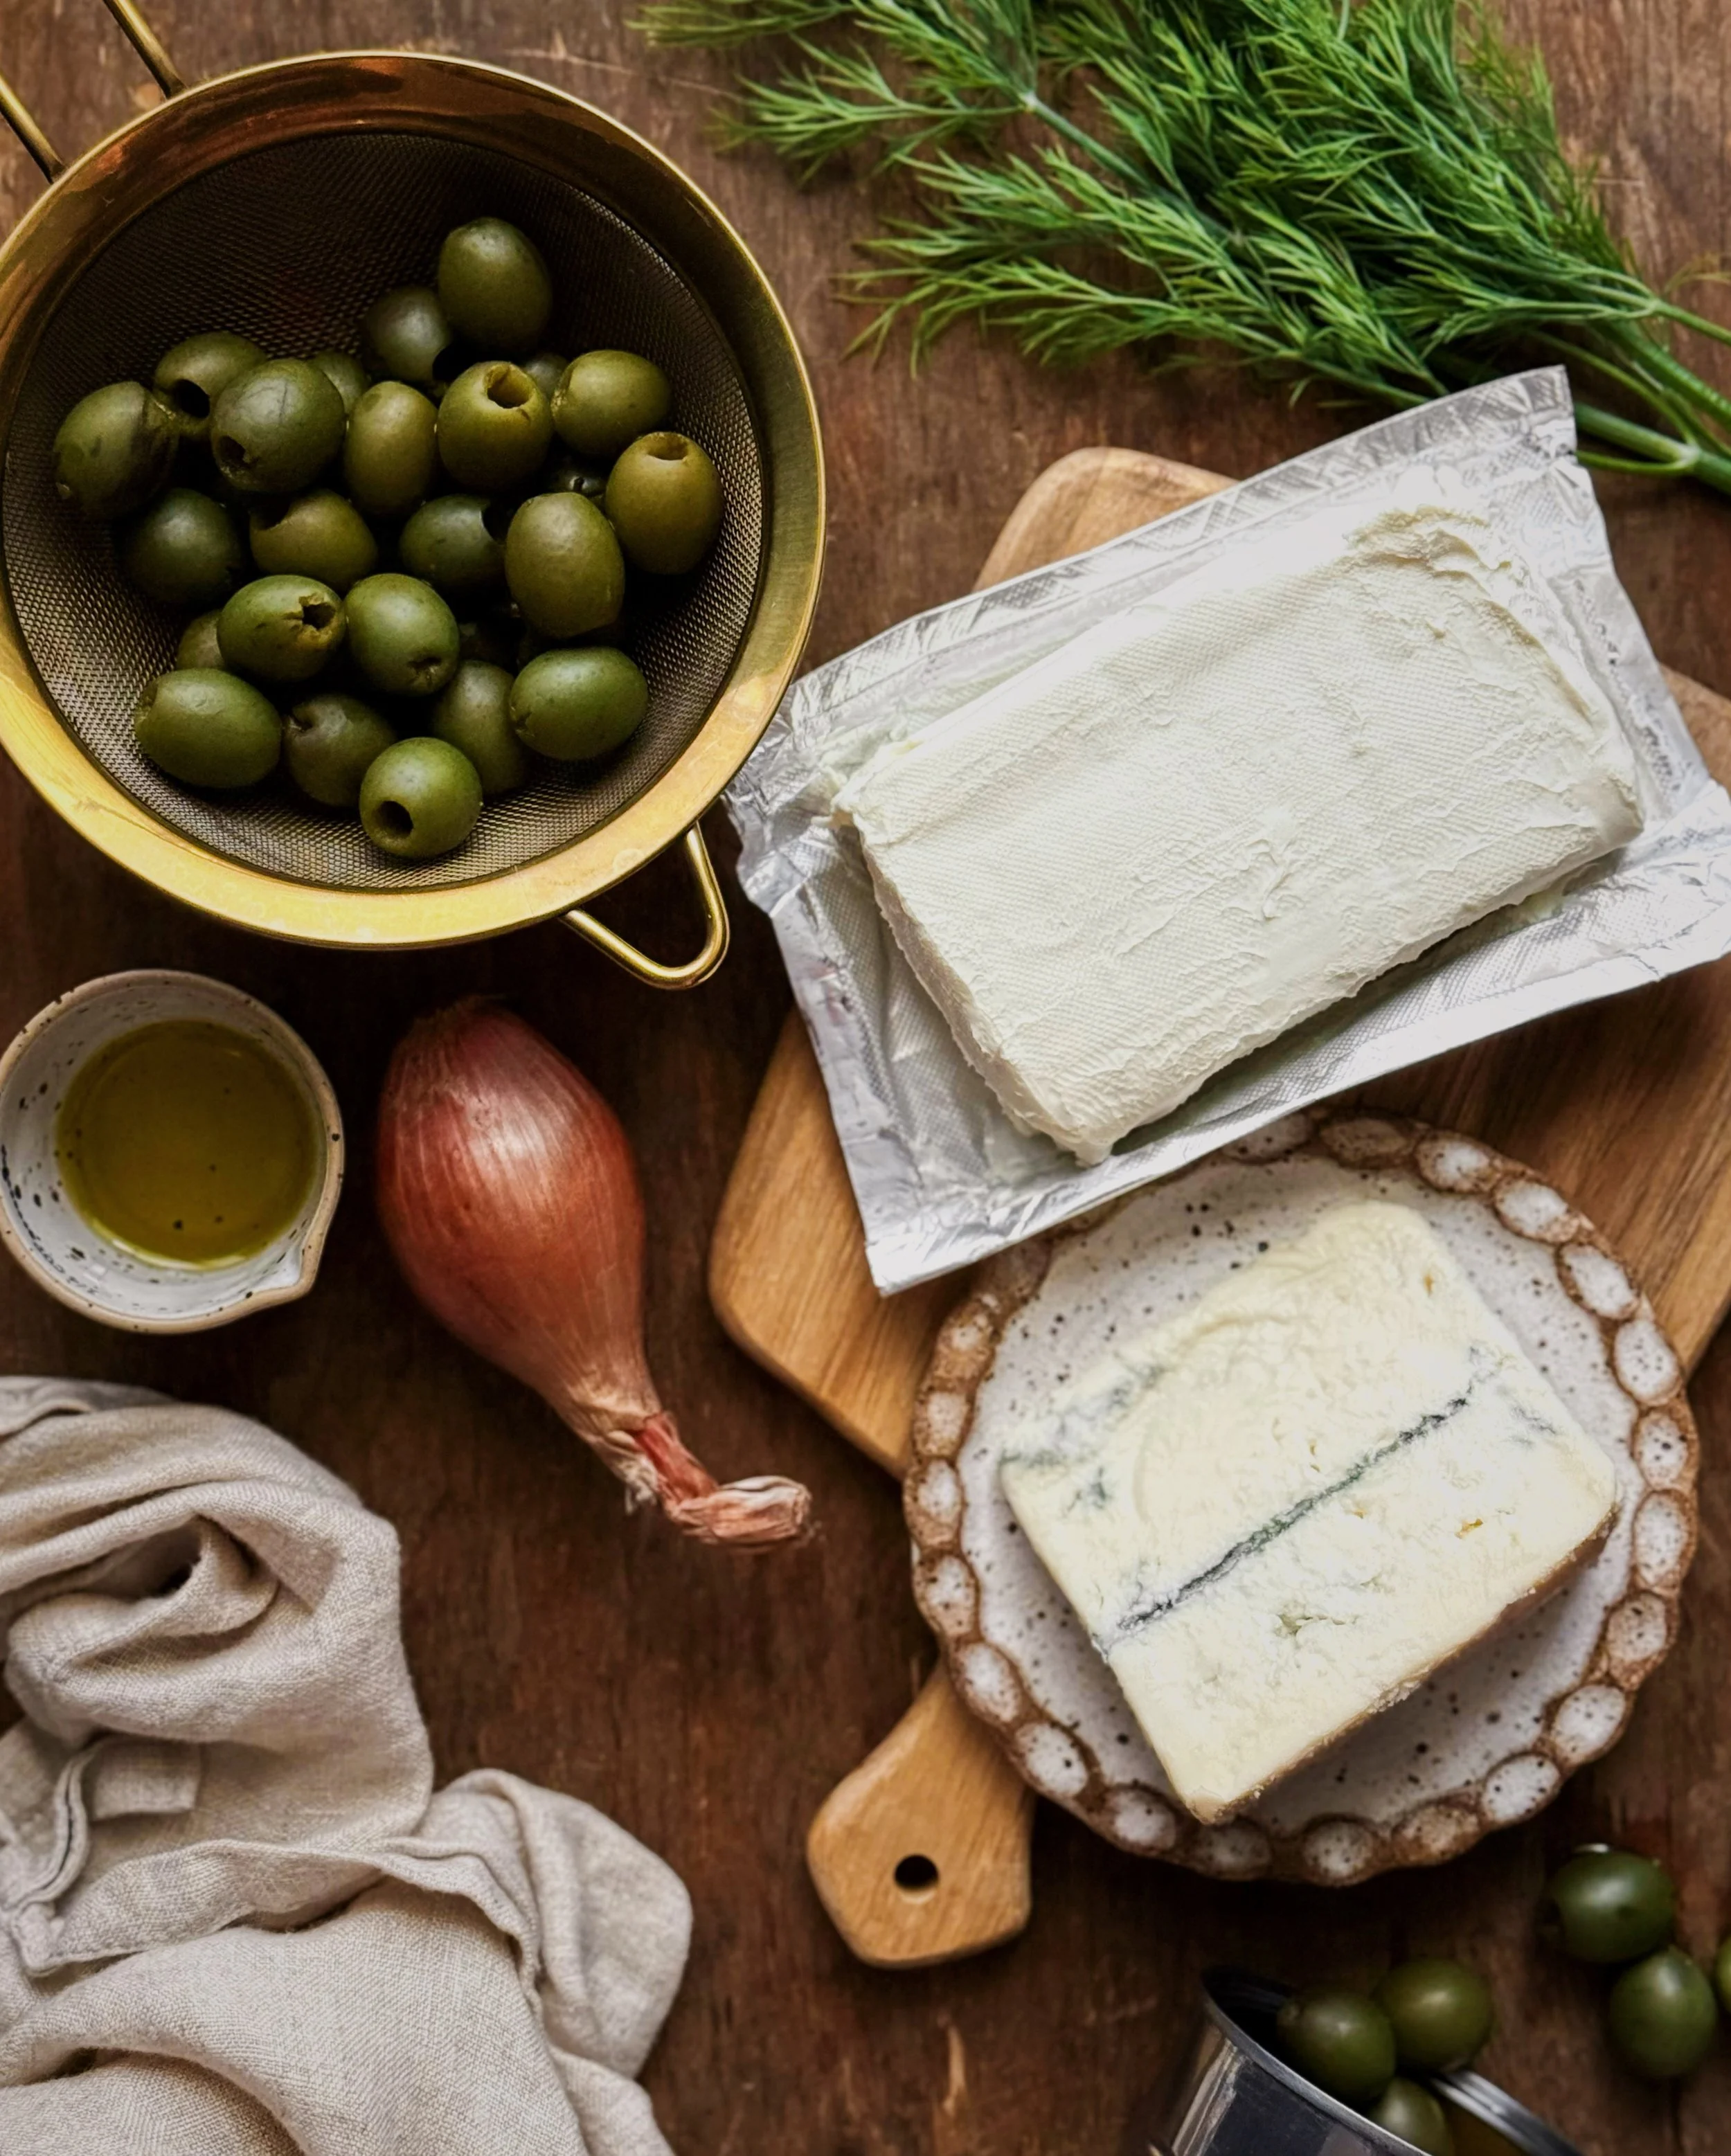
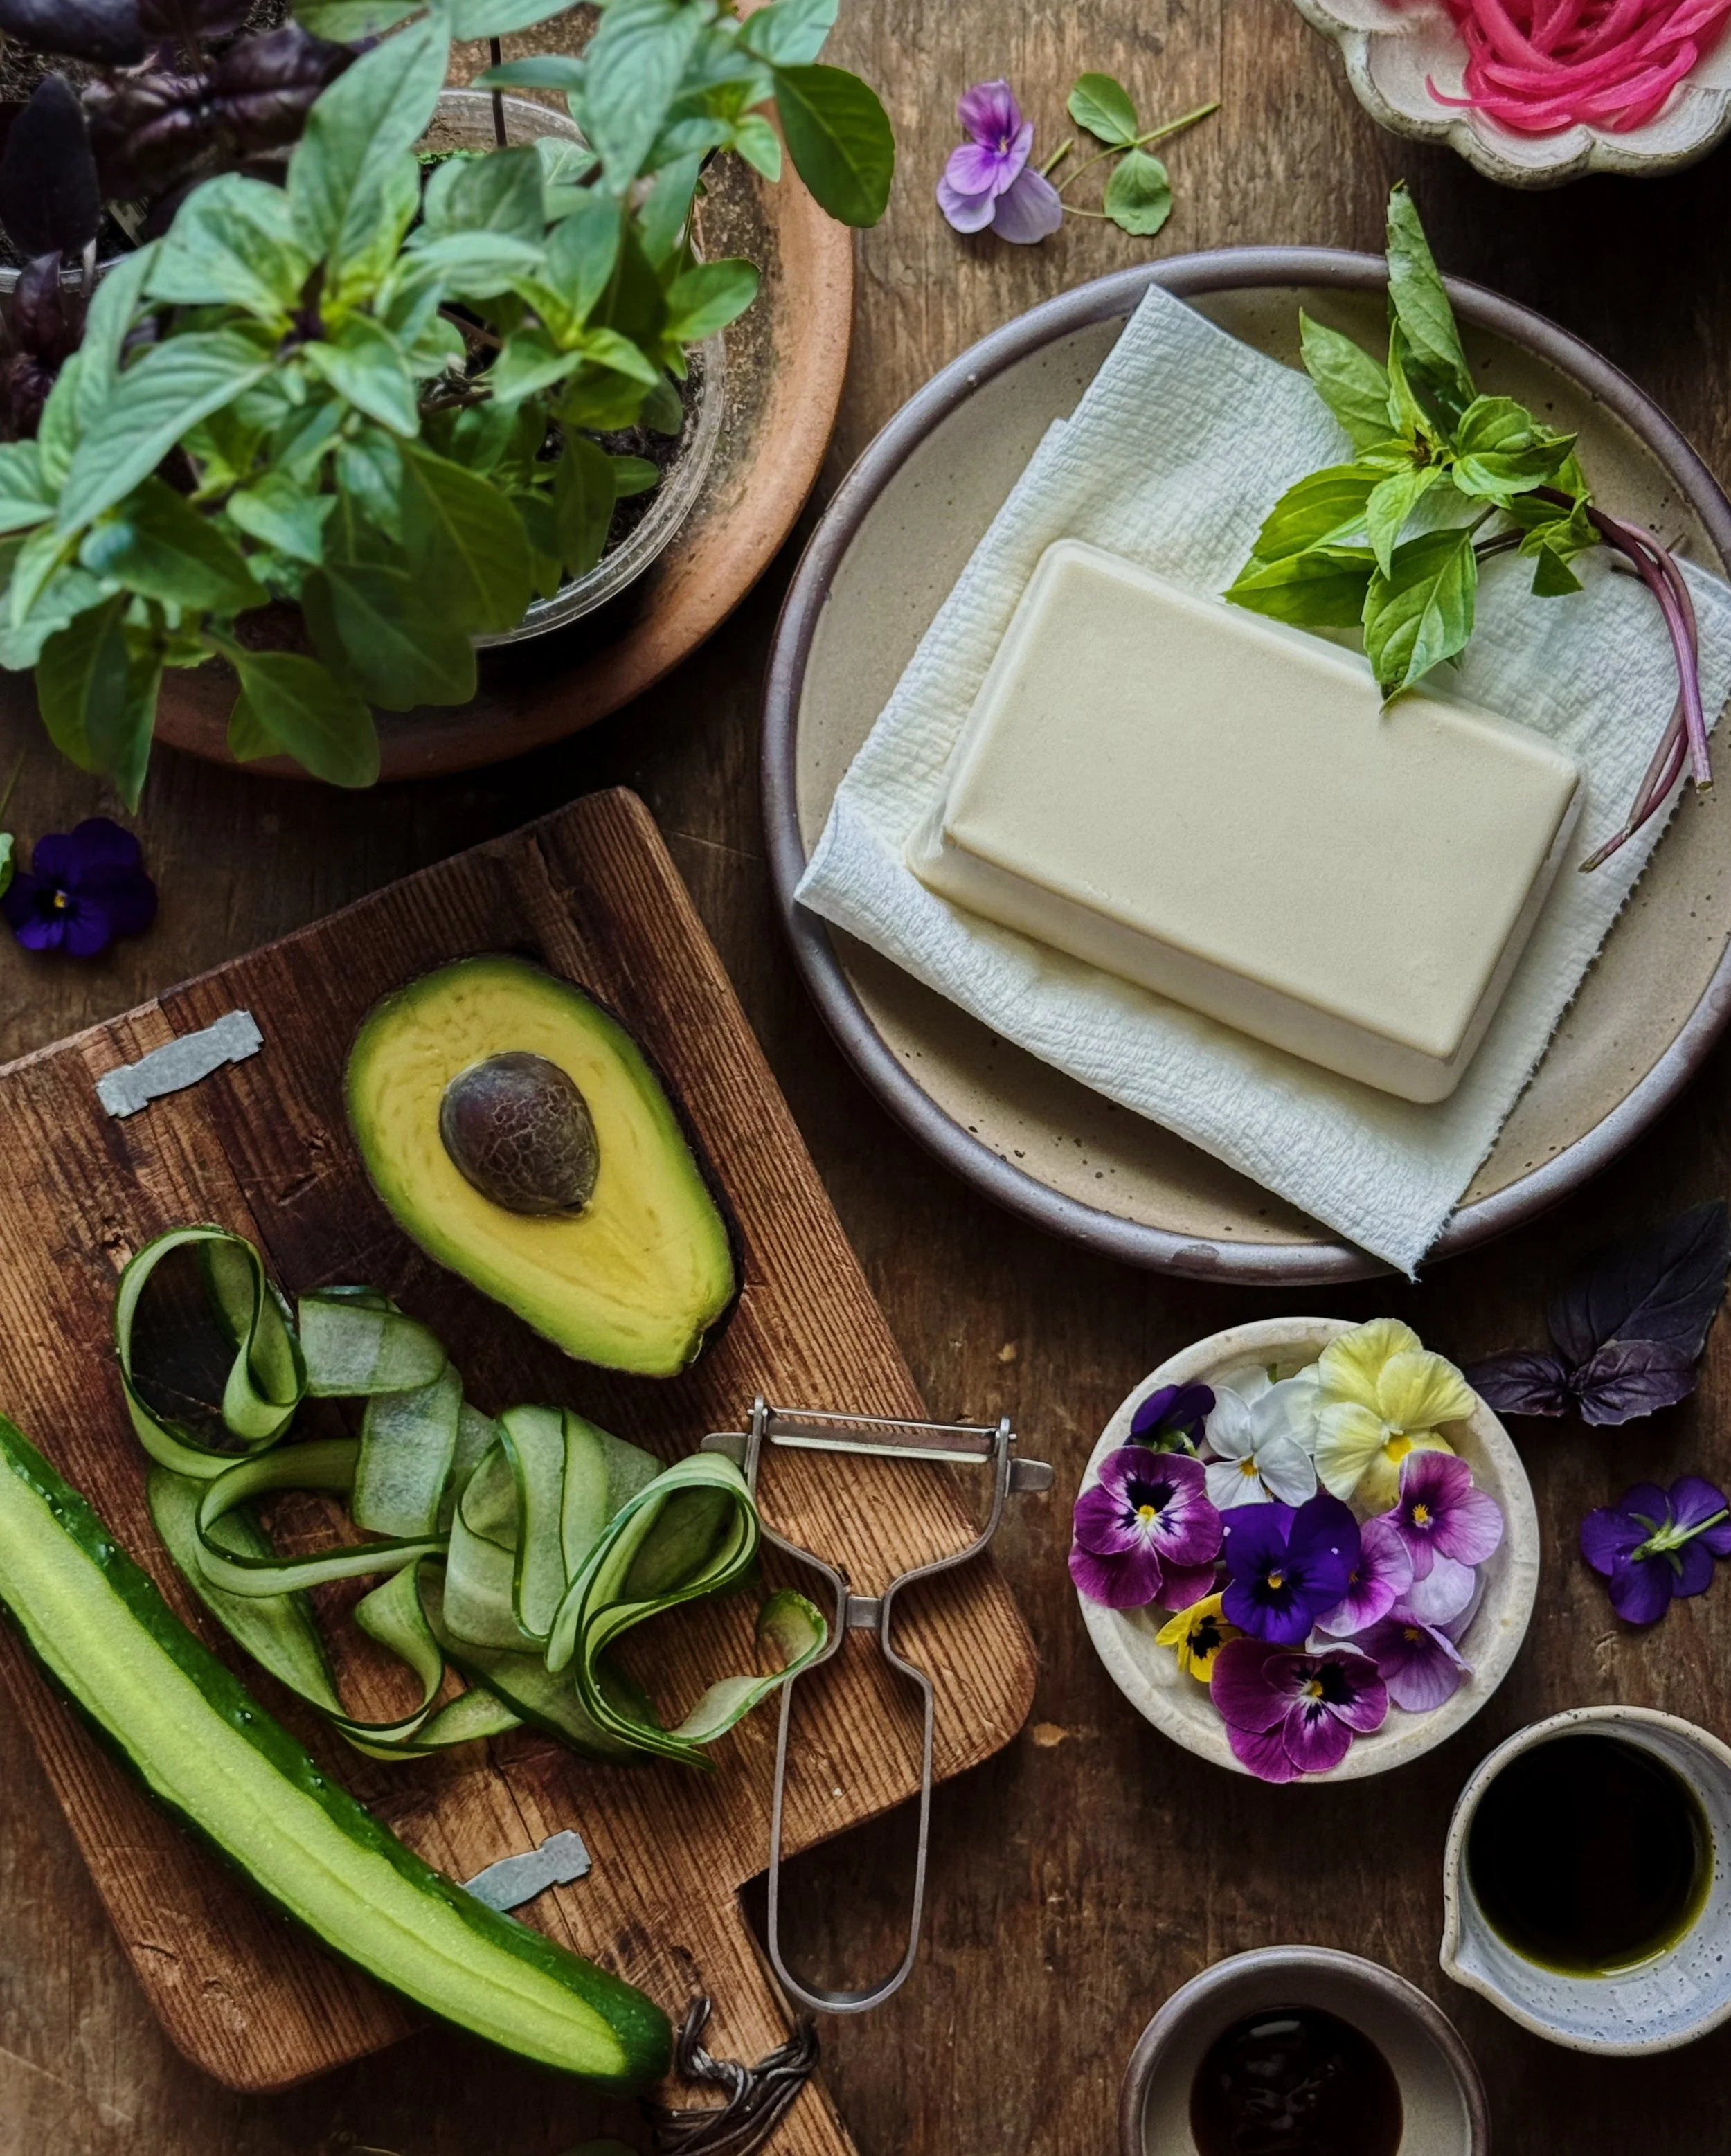
Silken Tofu: Like the name says, this tofu has a smooth, silky, texture making it the only style of tofu that I enjoy eating cold, straight out of the package. Silken tofu can either be found packed with water in the refrigerated tofu section, or in shelf-stable cartons with different levels of firmness. Any type of silken tofu will work for this recipe (as long as it’s not specifically labeled as a dessert packed with syrup). Make sure to unmold the tofu and allow the excess water to drain away when preparing this dish; I like to set it on top of a few layers of paper towels while I am prepping the other ingredients.
Avocado: This adds a creamy and fulfilling component that makes this dish work so well for a light meal. I use half an avocado for one small block of silken tofu.
Quick-Pickled Onions: This adds a bright burst of color to the look of the dish, and a bright acidity that acts to balance out the soft, creamy tofu and avocado. To make these, soak thinly-sliced red onion in cold water for 5 minutes to remove the strong astringency. Drain and toss together with lemon juice and sugar. I like to add a sprinkle of tingling Sichuan pepper for extra complexity, but you can substitute with ground white pepper or skip this if you don’t have it. You can make these right when you need them for a more prominent onion flavor, or make them a couple days ahead for a more mellow flavor but brighter color.
Japanese cucumber: Use a vegetable peeler to make lovely ribbons of cucumber to adorn your tofu and avocado salad. For this recipe, you will be using the fleshy part of the cucumber and can eat the center with the tender seeds as a separate snack.
Oyster Sauce: Chinese oyster sauce is a pantry staple packed with savory umami, transforming this combo of ingredients from a simple salad into a flavor-loaded dish. If you wish to keep your dish vegetarian, there is “vegetarian oyster sauce” made from mushrooms instead of oysters, and it works as a great substitute. You can find oyster sauce at any Asian grocery store, and I also see it readily available in the International/Asian aisle of mainstream supermarkets.
Homemade Toasted Thai Basil Oil: This Thai basil oil is what gives this tofu dish a unique touch, making it feel a little fancier than the side dish my parents used to make. Make this ingredient ahead so it is ready for when you want to throw together this easy tofu dish!
Purple Basil, Thai Basil, and Pea Tendrils: Snip these pretty garnishes right off your Bonnie Plants to add some fresh finishing touches to your tofu dish. You may not realize that growing your own peas means being able to eat the pea greens too! I love using pea tendrils as a garnish in spring dishes because they are iconic for the season and they create this delicate sense of movement for the final look of the dish.
Edible Violas: Obviously these are mainly here for the aesthetics but violas do have a mild vegetal flavor to them. I love that Bonnie Plants offers a safe-to-eat flowering plant like this so anyone can grow their own violas to make their homemade creations look extra special. I hope you try growing your own violas at home so you can use them to turn your kitchen creations into visual moments of joy like I do!
How to Make Tofu and Avocado Salad with Toasted Thai Basil Oil
Ingredients for Basil Oil
2 packed cups Thai basil leaves
1 cup neutral oil, like avocado or grape seed
1/4 cup extra virgin olive oil
Ingredients for Pickled Onions
1/2 red onion, thinly sliced
1 large lemon, juiced
1/2 tsp sugar
1/8 tsp table salt
1/4 tsp ground Sichuan pepper (optional)
Ingredients for Salad
1 small block (11–14 oz) silken tofu, drained thoroughly
1/2 avocado, pitted and peeled
1 small Japanese cucumber
1/4 cup pickled onions (or to taste)
2 tbsp oyster sauce (or to taste)
2 tbsp Toasted Thai Basil Oil (or to taste)
purple basil, Thai basil, pea tendrils (for garnishing)
edible violas (for garnishing)
Procedure
To make the basil oil:
Combine basil leaves and oils in a food processor or high-powered blender (see notes above). Process thoroughly. Strain mixture through a fine-mesh sieve into a small saucepot, using a spatula to squeeze out as much liquid as possible.
Prepare a large bowl with an ice bath. Place a wide-mouthed receptacle inside, and nest a strainer or sieve over the top. Nest a paper coffee filter or a few layers of cheesecloth in the strainer.
Heat the saucepot contents on medium-low heat. When the liquid starts to bubble, stir occasionally with a spatula and watch/listen carefully. When the loud, large bubbles subside, stir gently and continuously until there are quieter, fine bubbles (about 10–15 minutes). Turn the heat down to low. The moment the surface resembles a foam and no new bubbles are forming, remove from heat and pour carefully through the filter. Allow contents to drip through the filter. Store the filtered basil oil in a sealed container in the fridge for up to a week.
To make the quick-pickled onions:
Soak the sliced onions in cold water for 5–10 minutes. In the meantime, combine lemon juice, sugar, and salt until dissolved. Drain onions and combine with the liquid. Season with Sichuan pepper if desired. Marinate for 10 minutes or in the fridge for up to 3 days.
To make the salad:
Place the drained tofu on a serving dish. Slice the avocado and fan out the slices slightly; place on top of the tofu. Drizzle oyster sauce over the top.
Use a vegetable peeler to create thin ribbons of cucumber from the flesh of the cucumber. Omit the core.
Arrange the cucumber ribbons and pickled onions over the tofu and avocado. Top with basil leaves and pea tendrils as desired. Drizzle the basil oil over everything and finish with a few violas.
Thank you so much to Bonnie Plants for sponsoring this recipe! Start your garden by looking for their plants online and in stores nationwide.