


Recipe: Thanksgiving Leftovers Cake with Stuffing-Flavored Cornbread
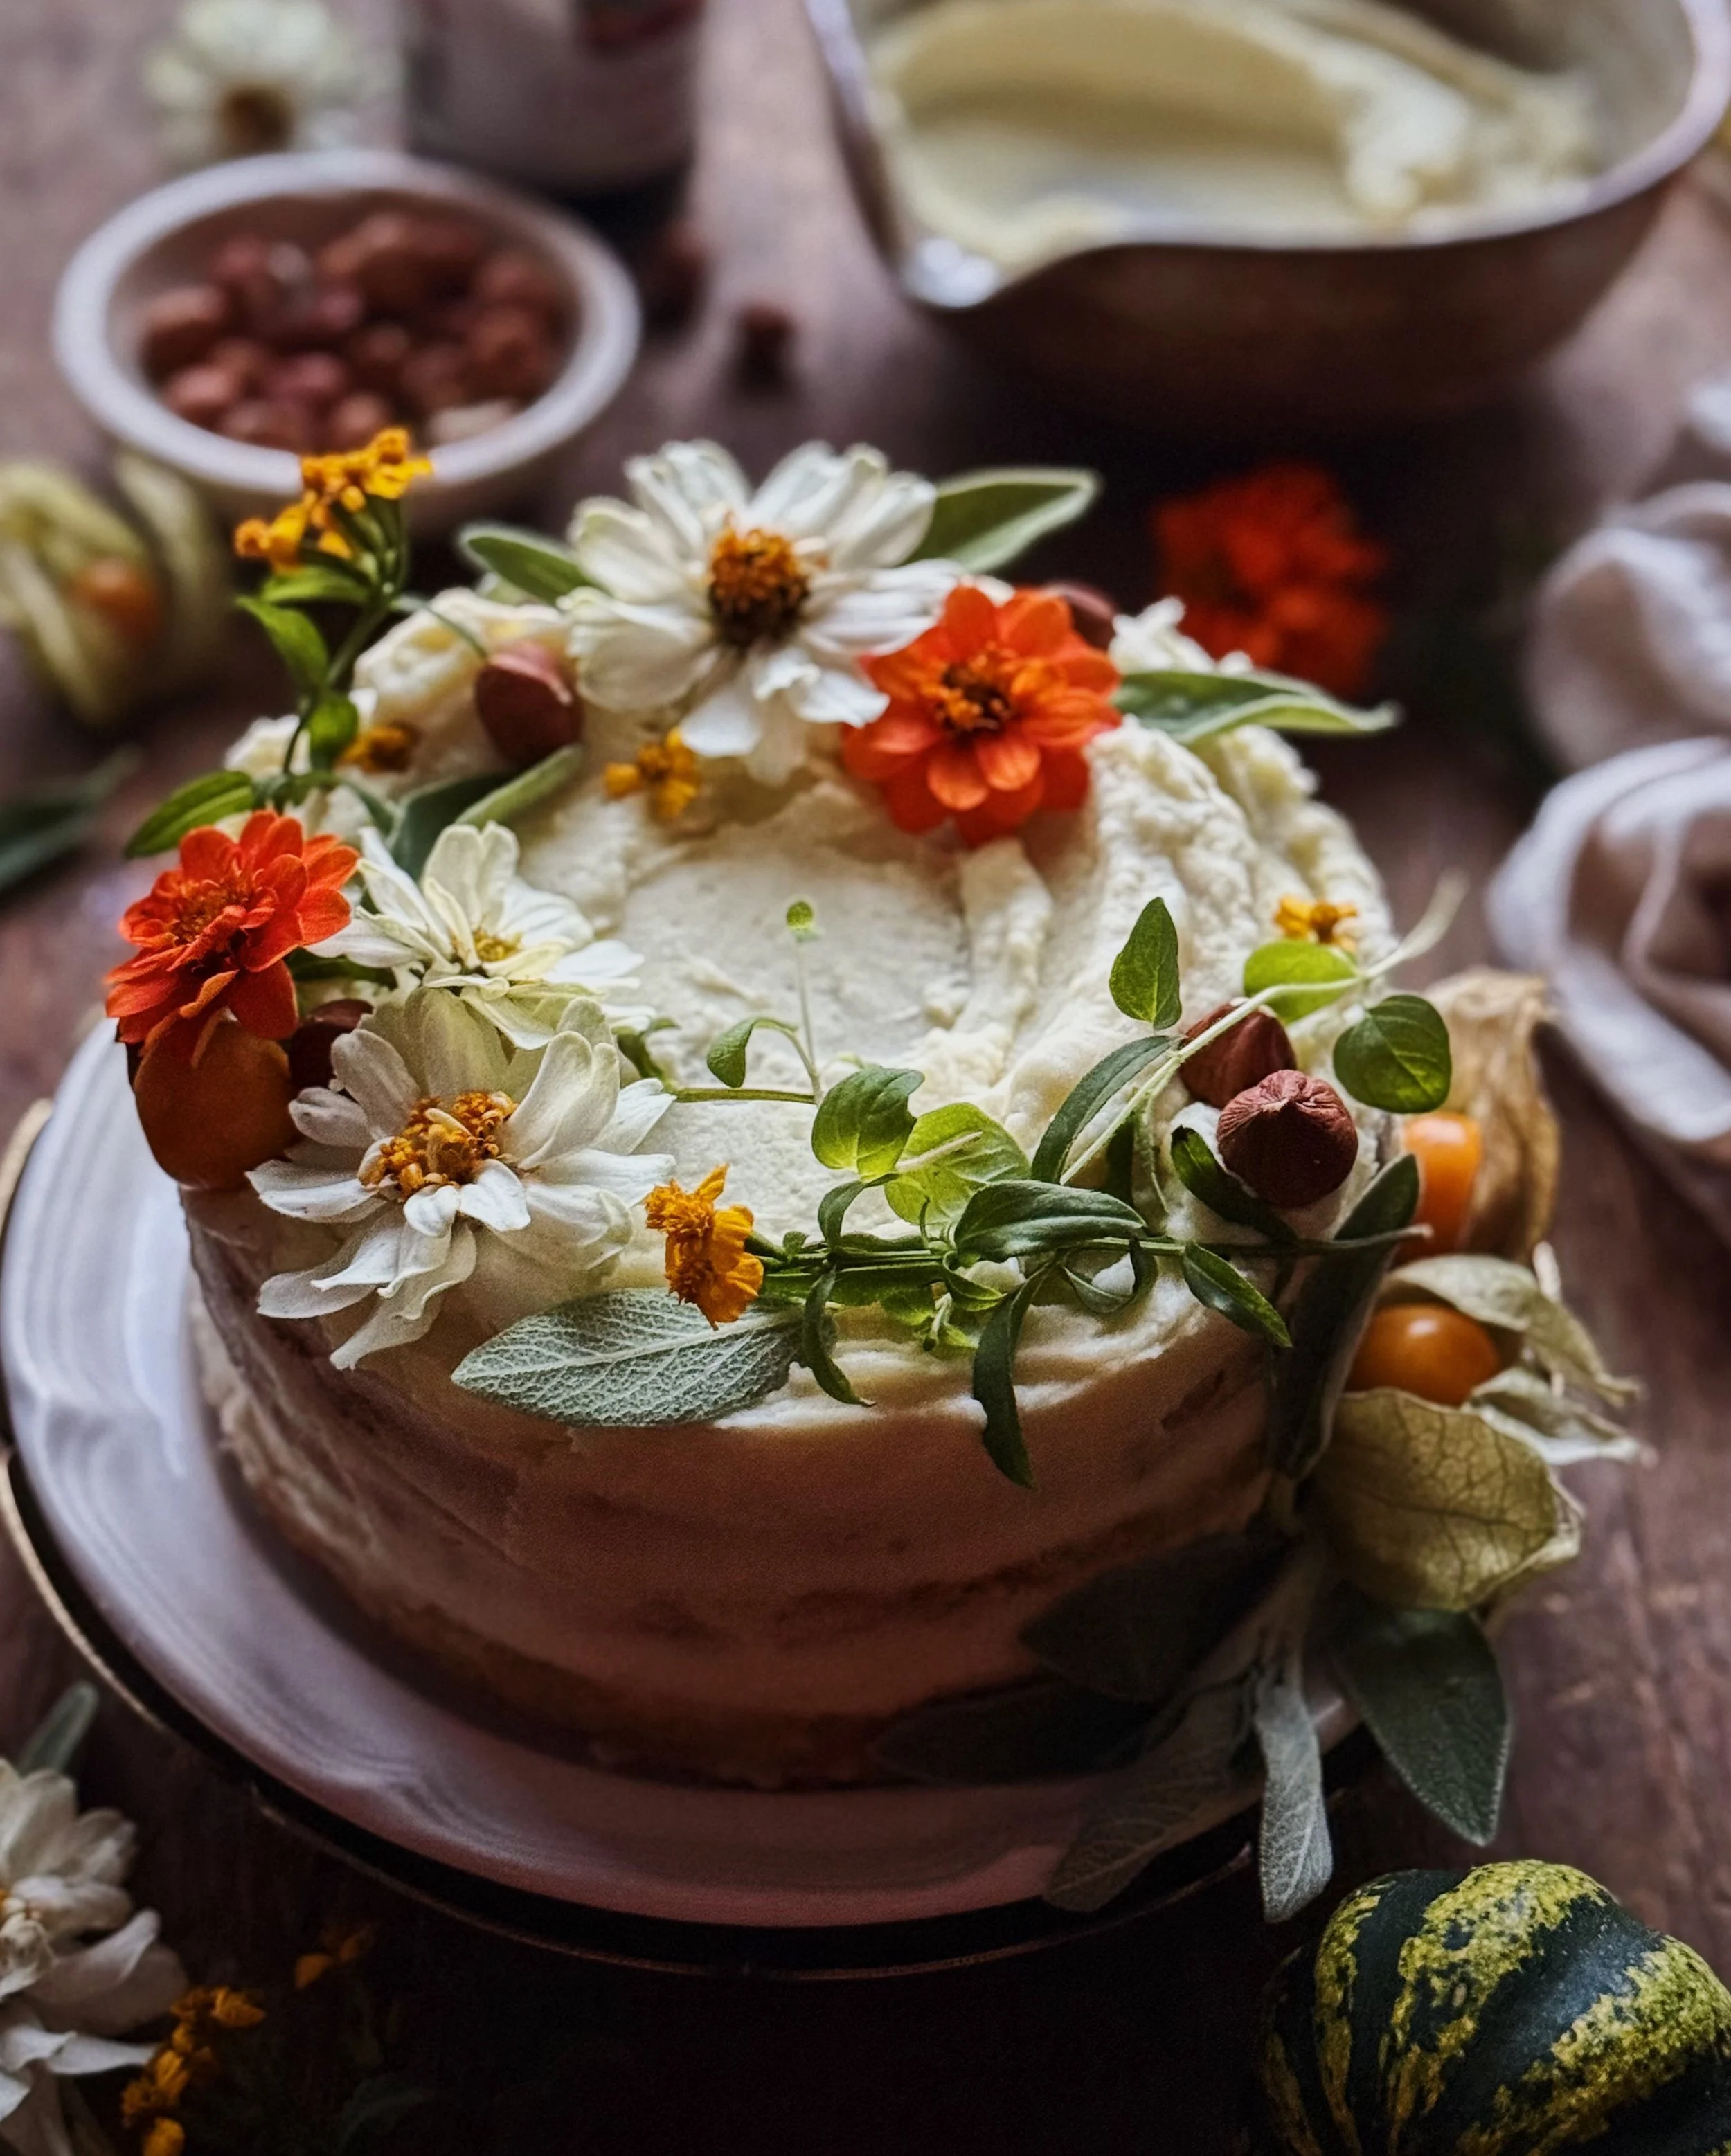
/Would you have guessed from looking at these photos that the frosting on this cake is actually mashed potatoes?
My favorite part about Thanksgiving dinner is honestly the leftovers. I have been dreaming of this idea for a Thanksgiving leftovers sandwich cake for a while now, and I am so happy that it is finally the right time of year to share it with the world.
The concept of a savory sandwich cake in general comes from Scandinavia. A Swedish smörgåstårta utilizes sliced bread in place of cake layers, and has Scandanavian sandwich fillings like smoked salmon, creamy mayo-based “salads” like egg or shrimp, or sliced veggies; it’s then frosted with savory cream cheese or sour cream and decorated with the same ingredients that are inside. You can see another version of a sandwich cake I made here, which is a little more similar to the concept of a Swedish smörgåstårta, but with an English tea party twist.
For this sandwich cake, I took the idea of the Thanksgiving leftovers sandwich and brought it to another level.
Notes on the key ingredients for Making a Thanksgiving Leftovers Cake
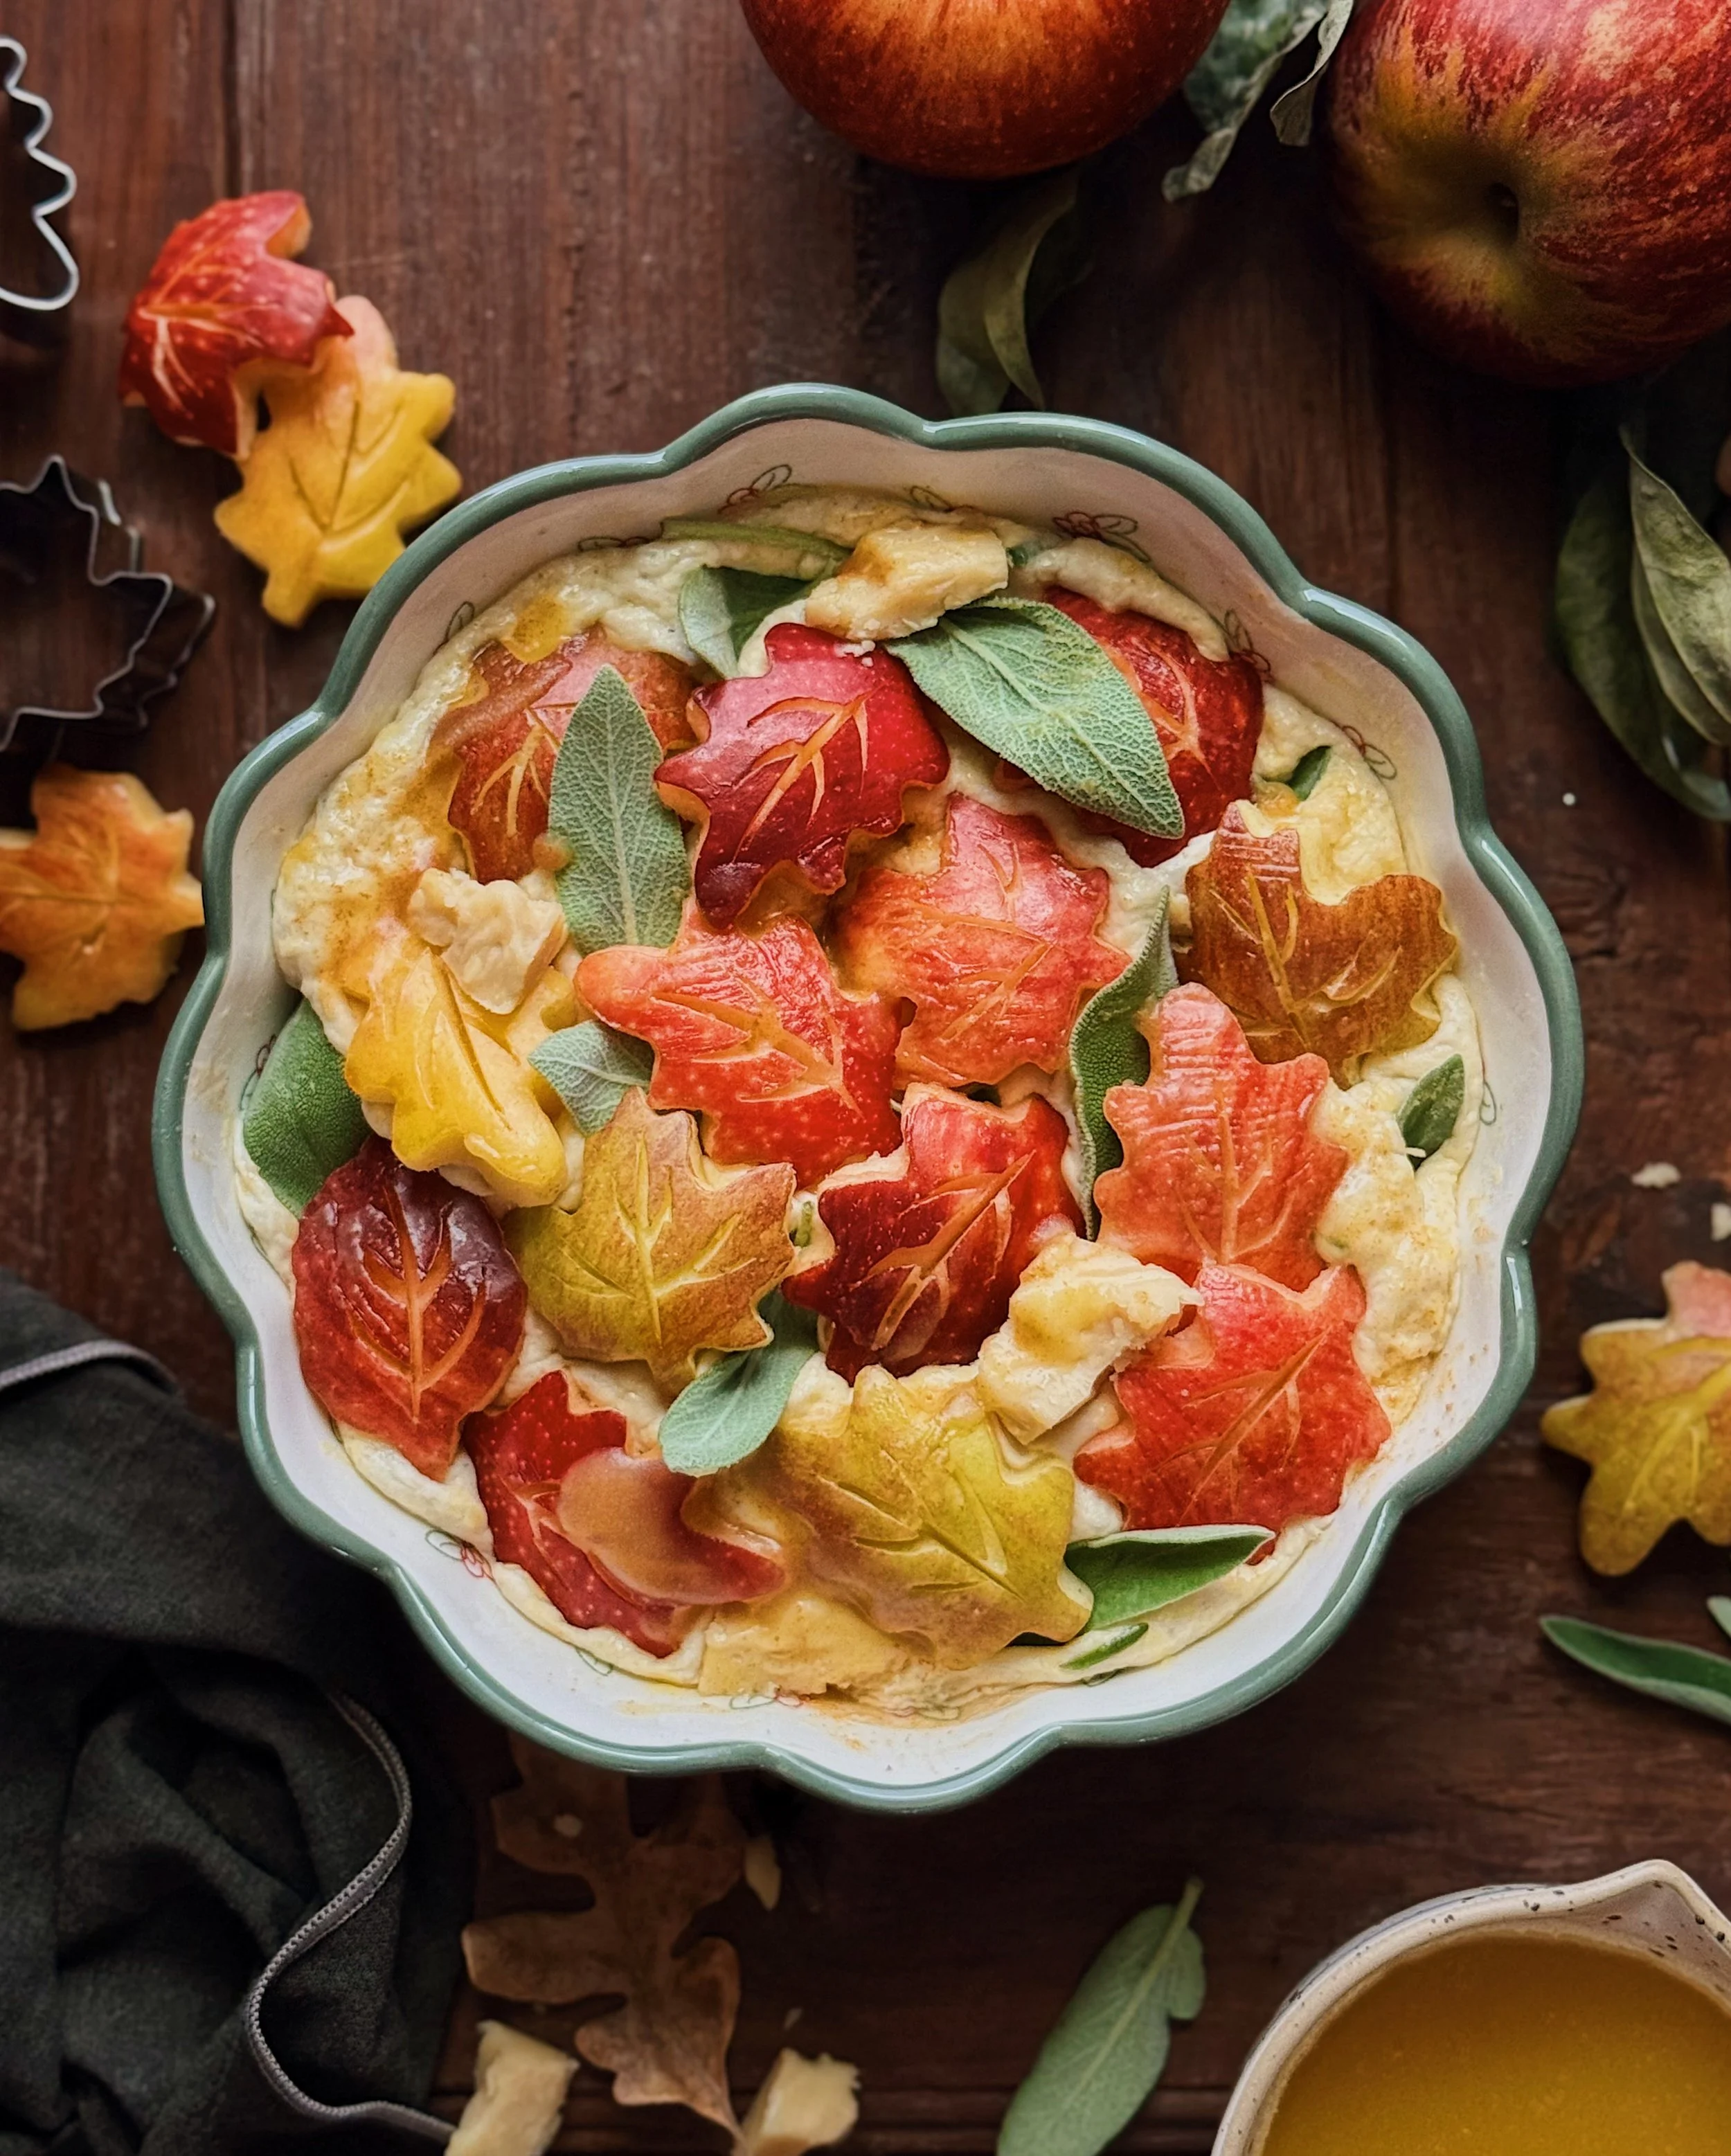
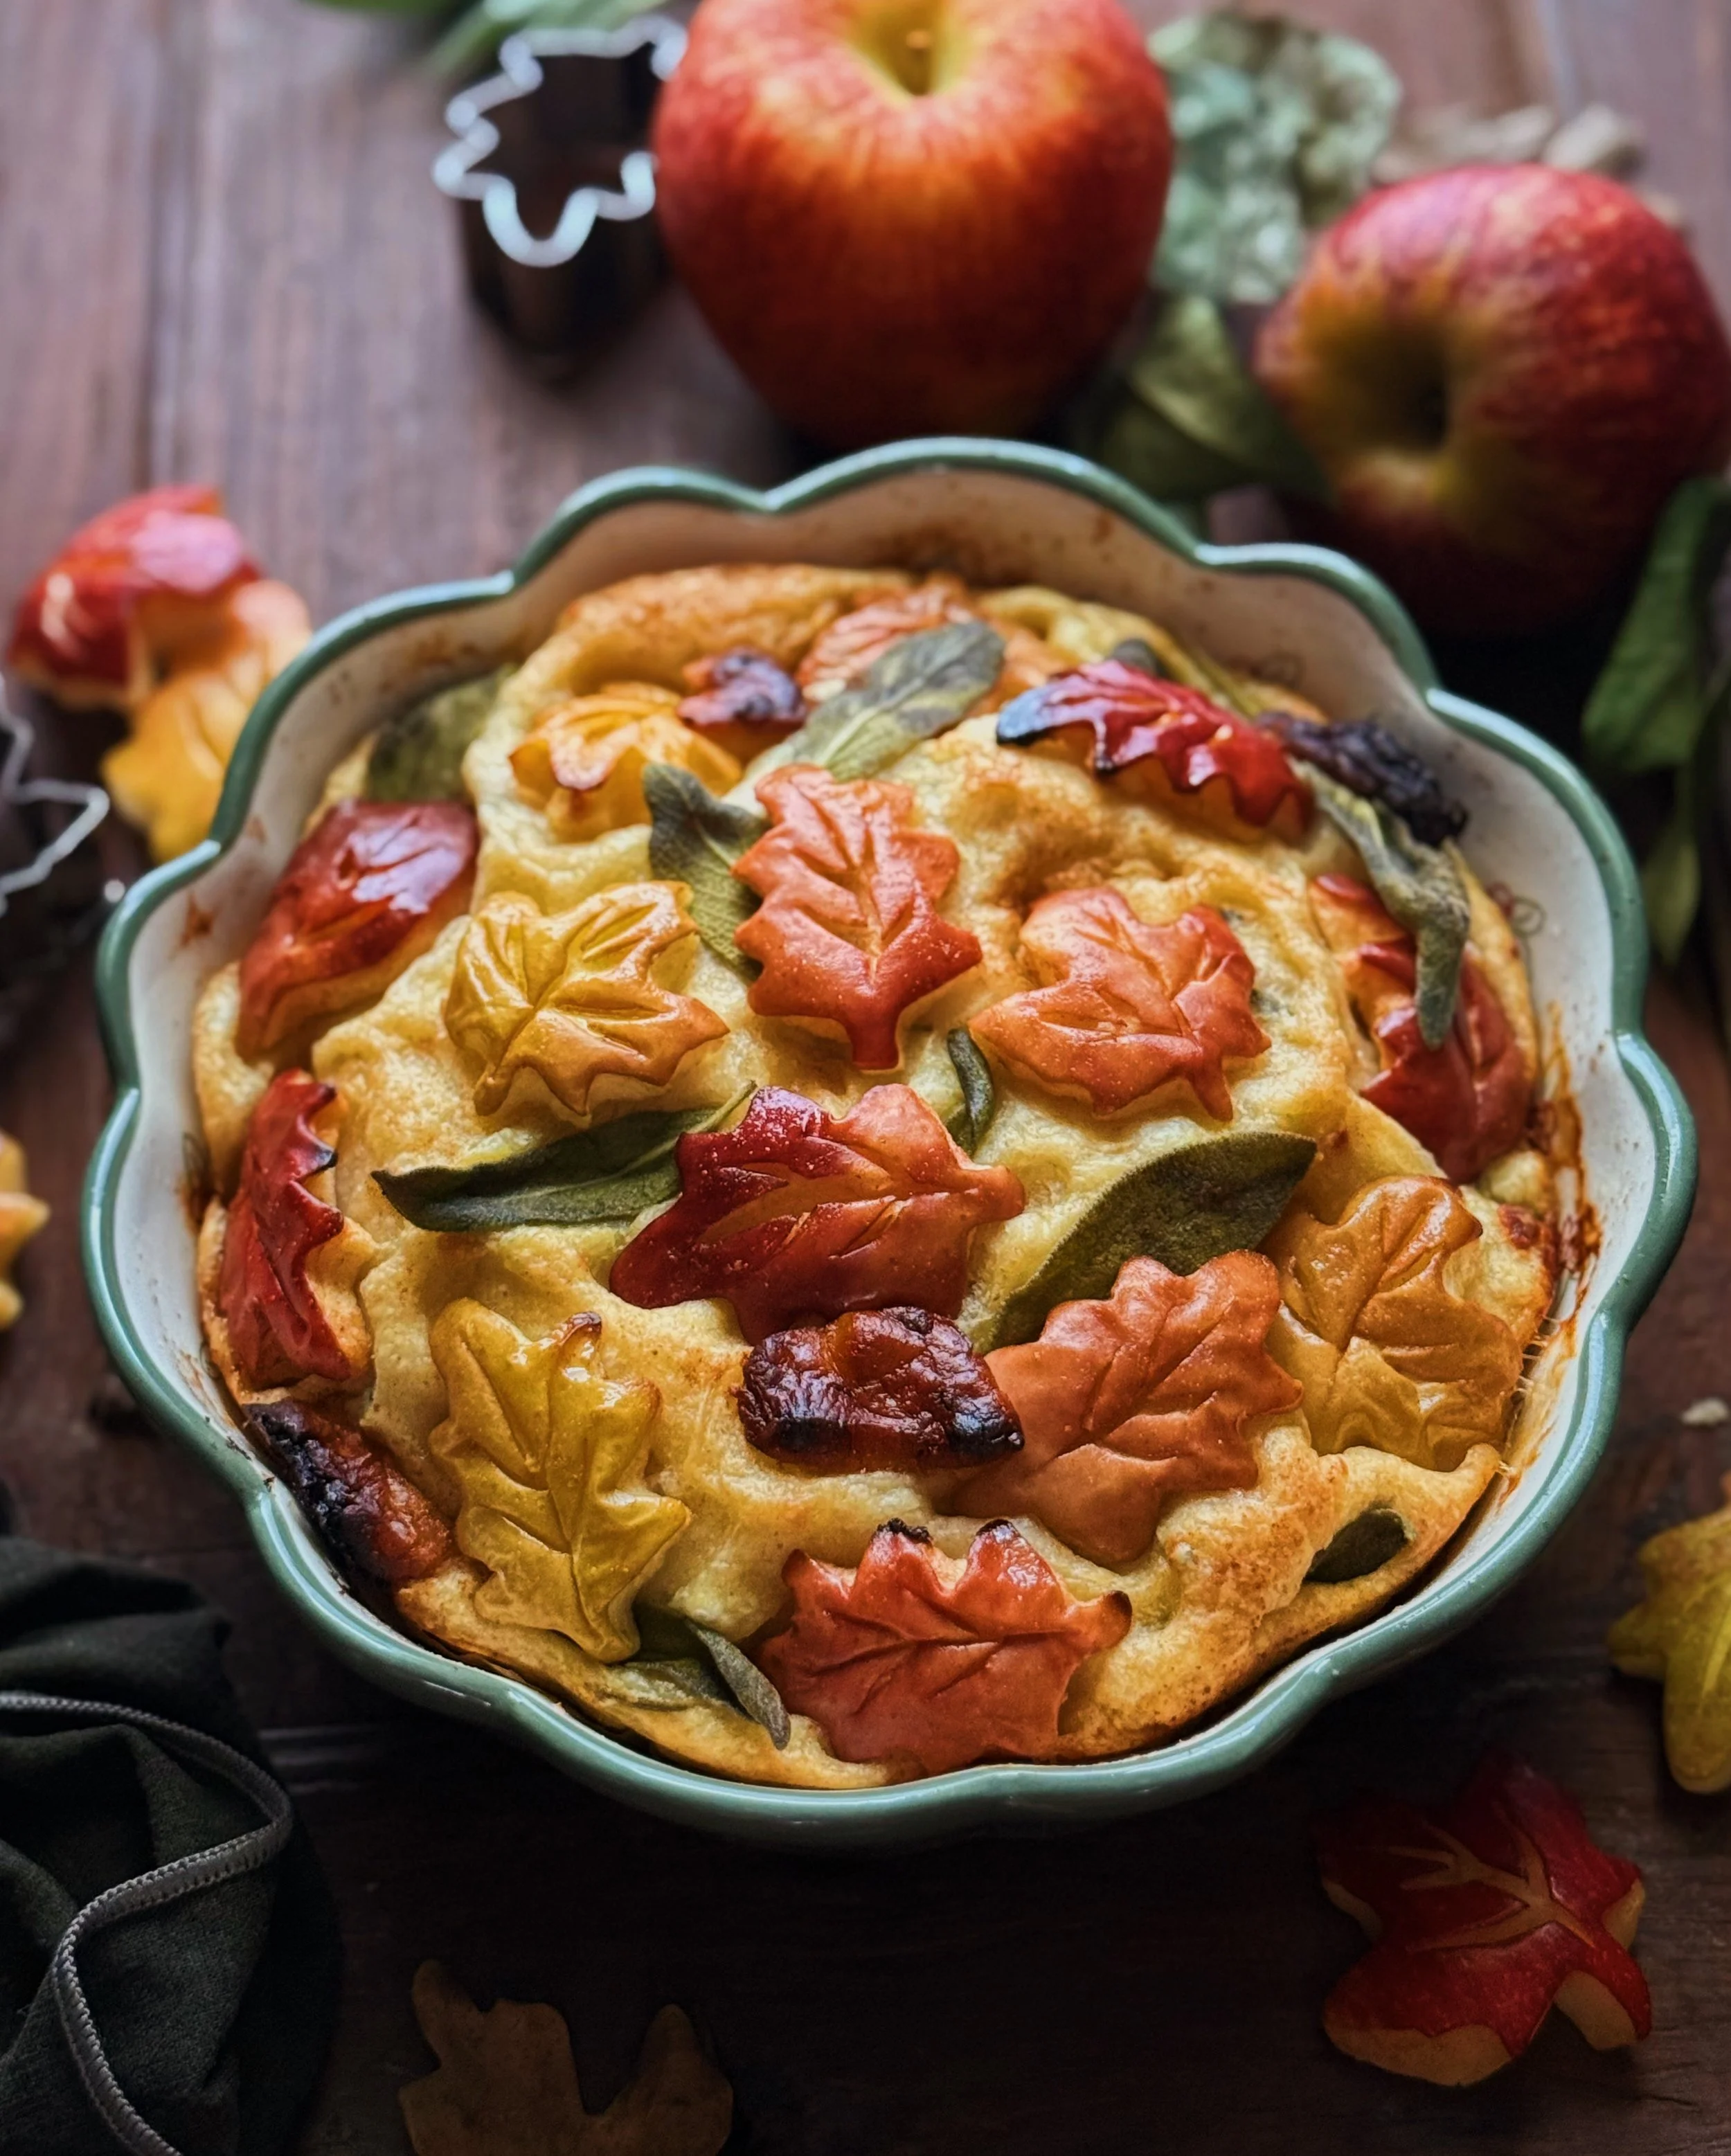
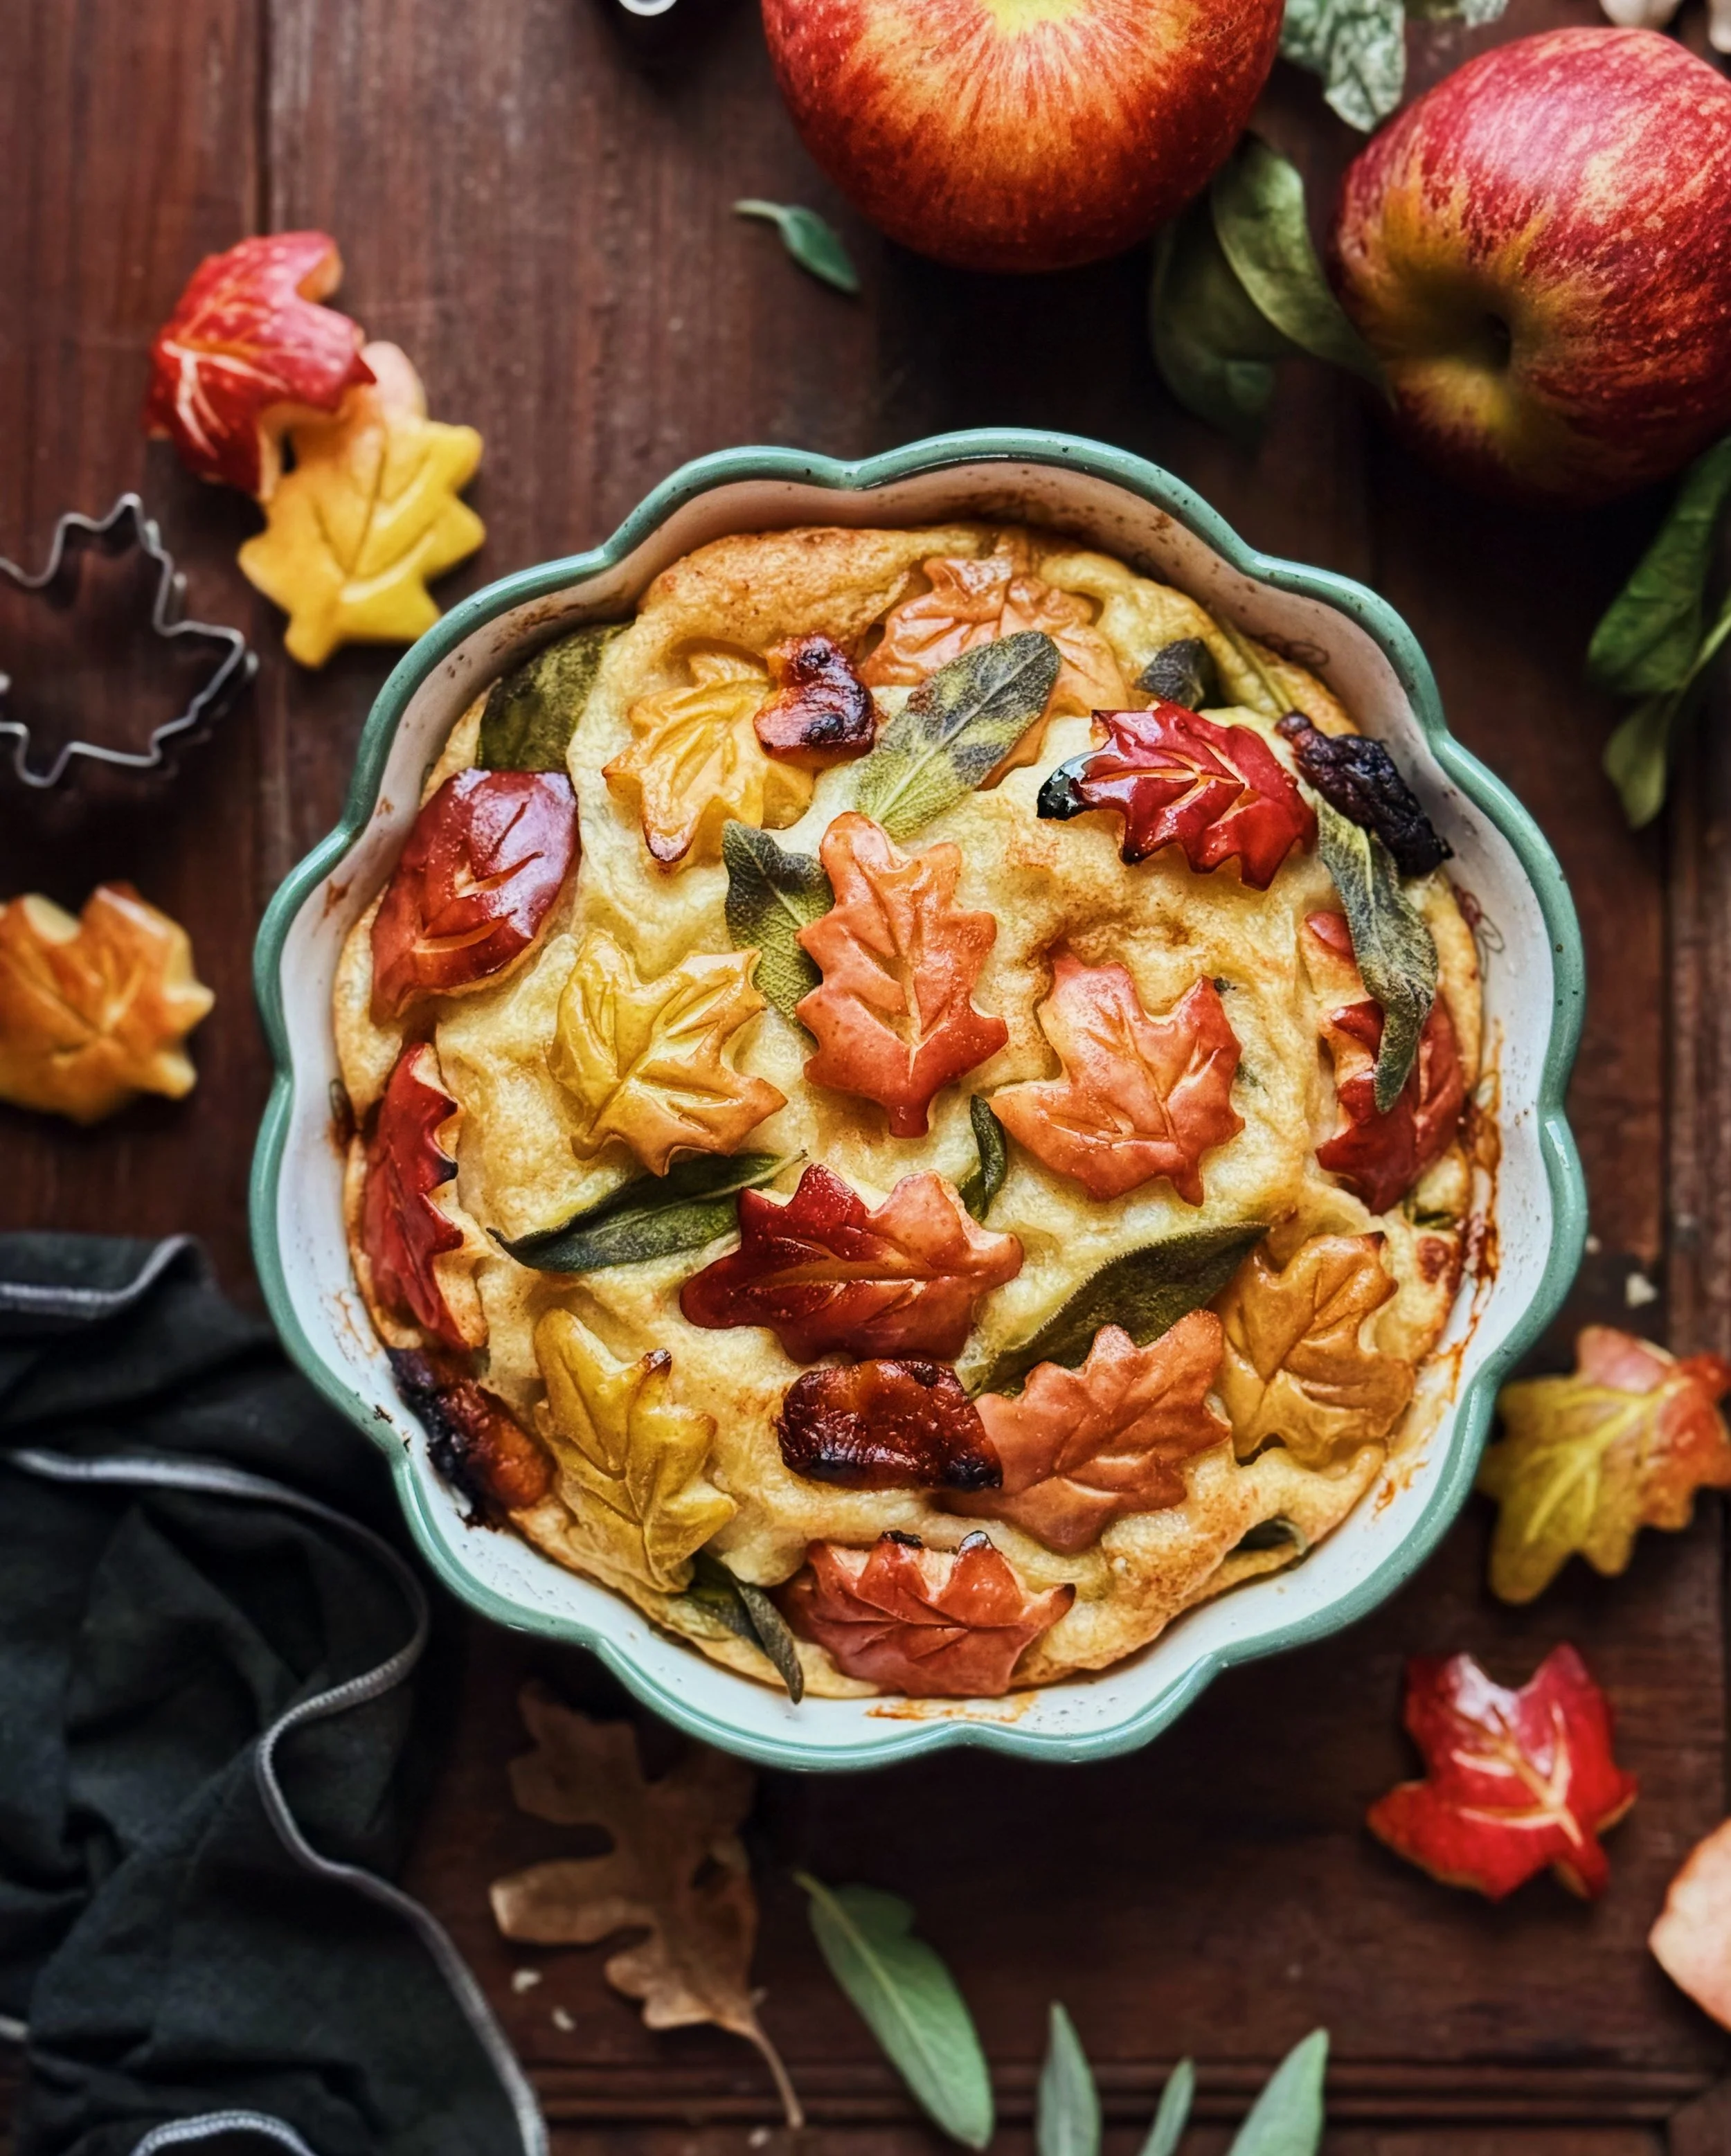
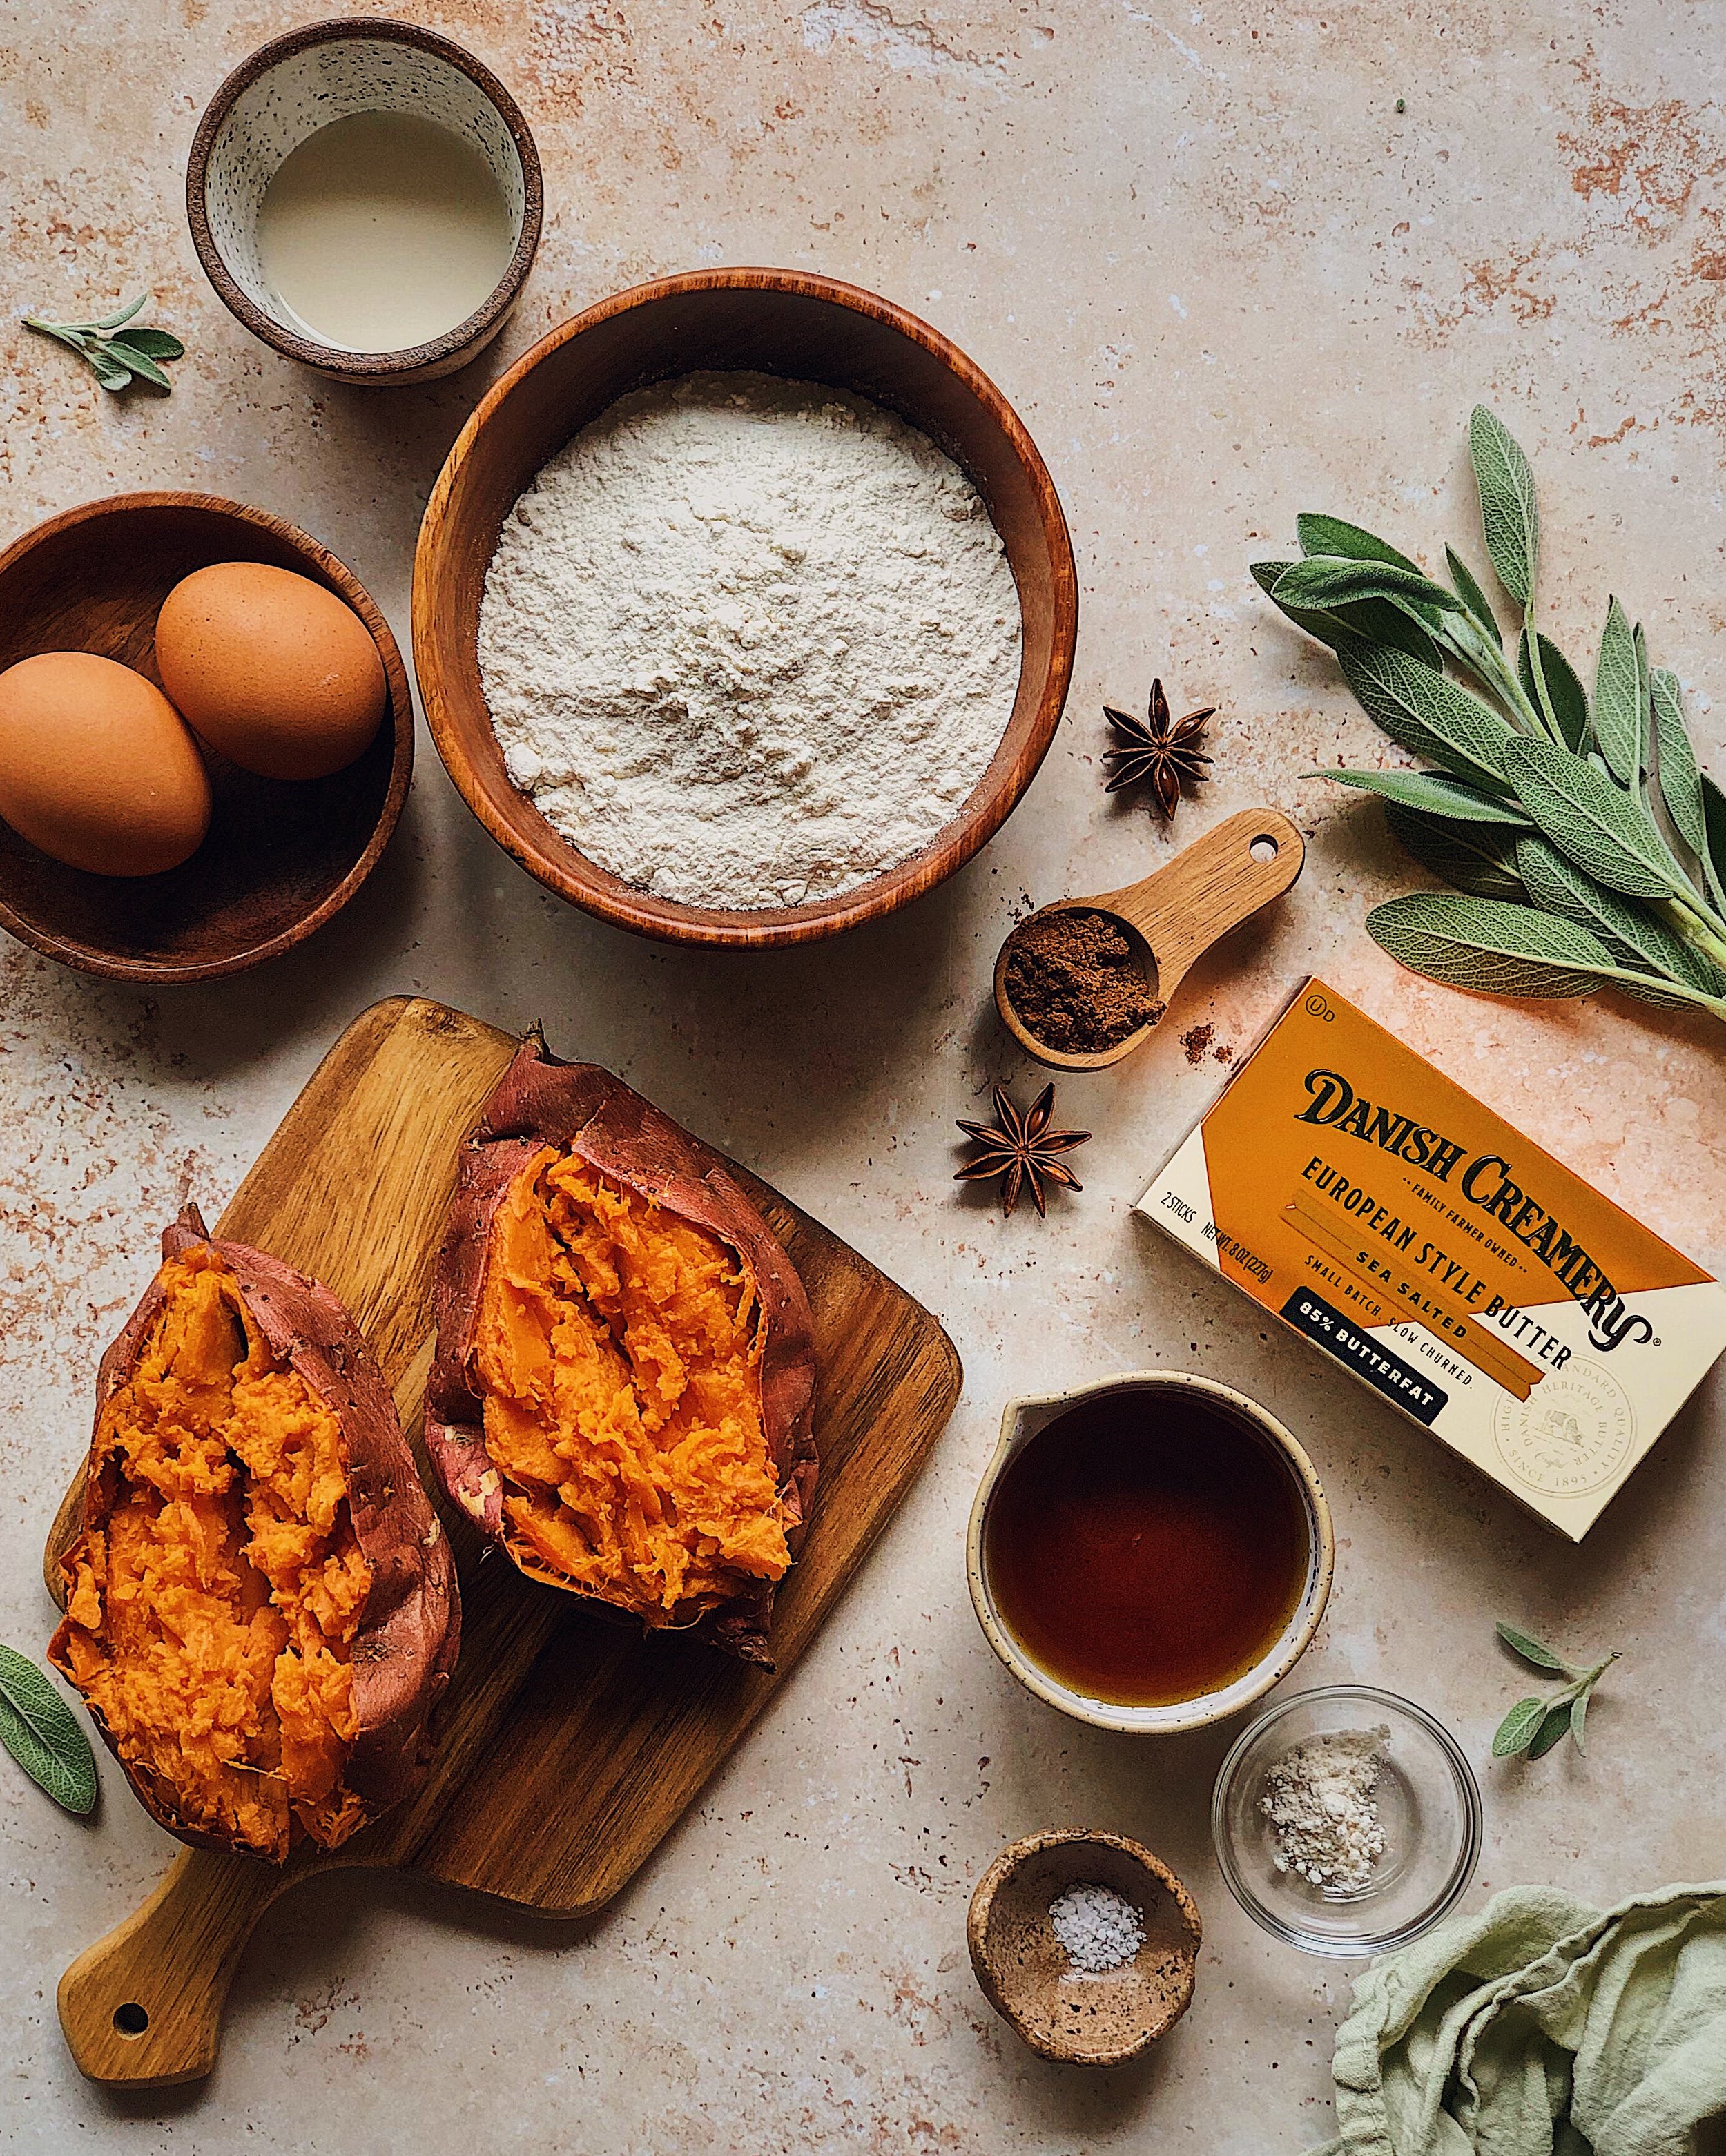
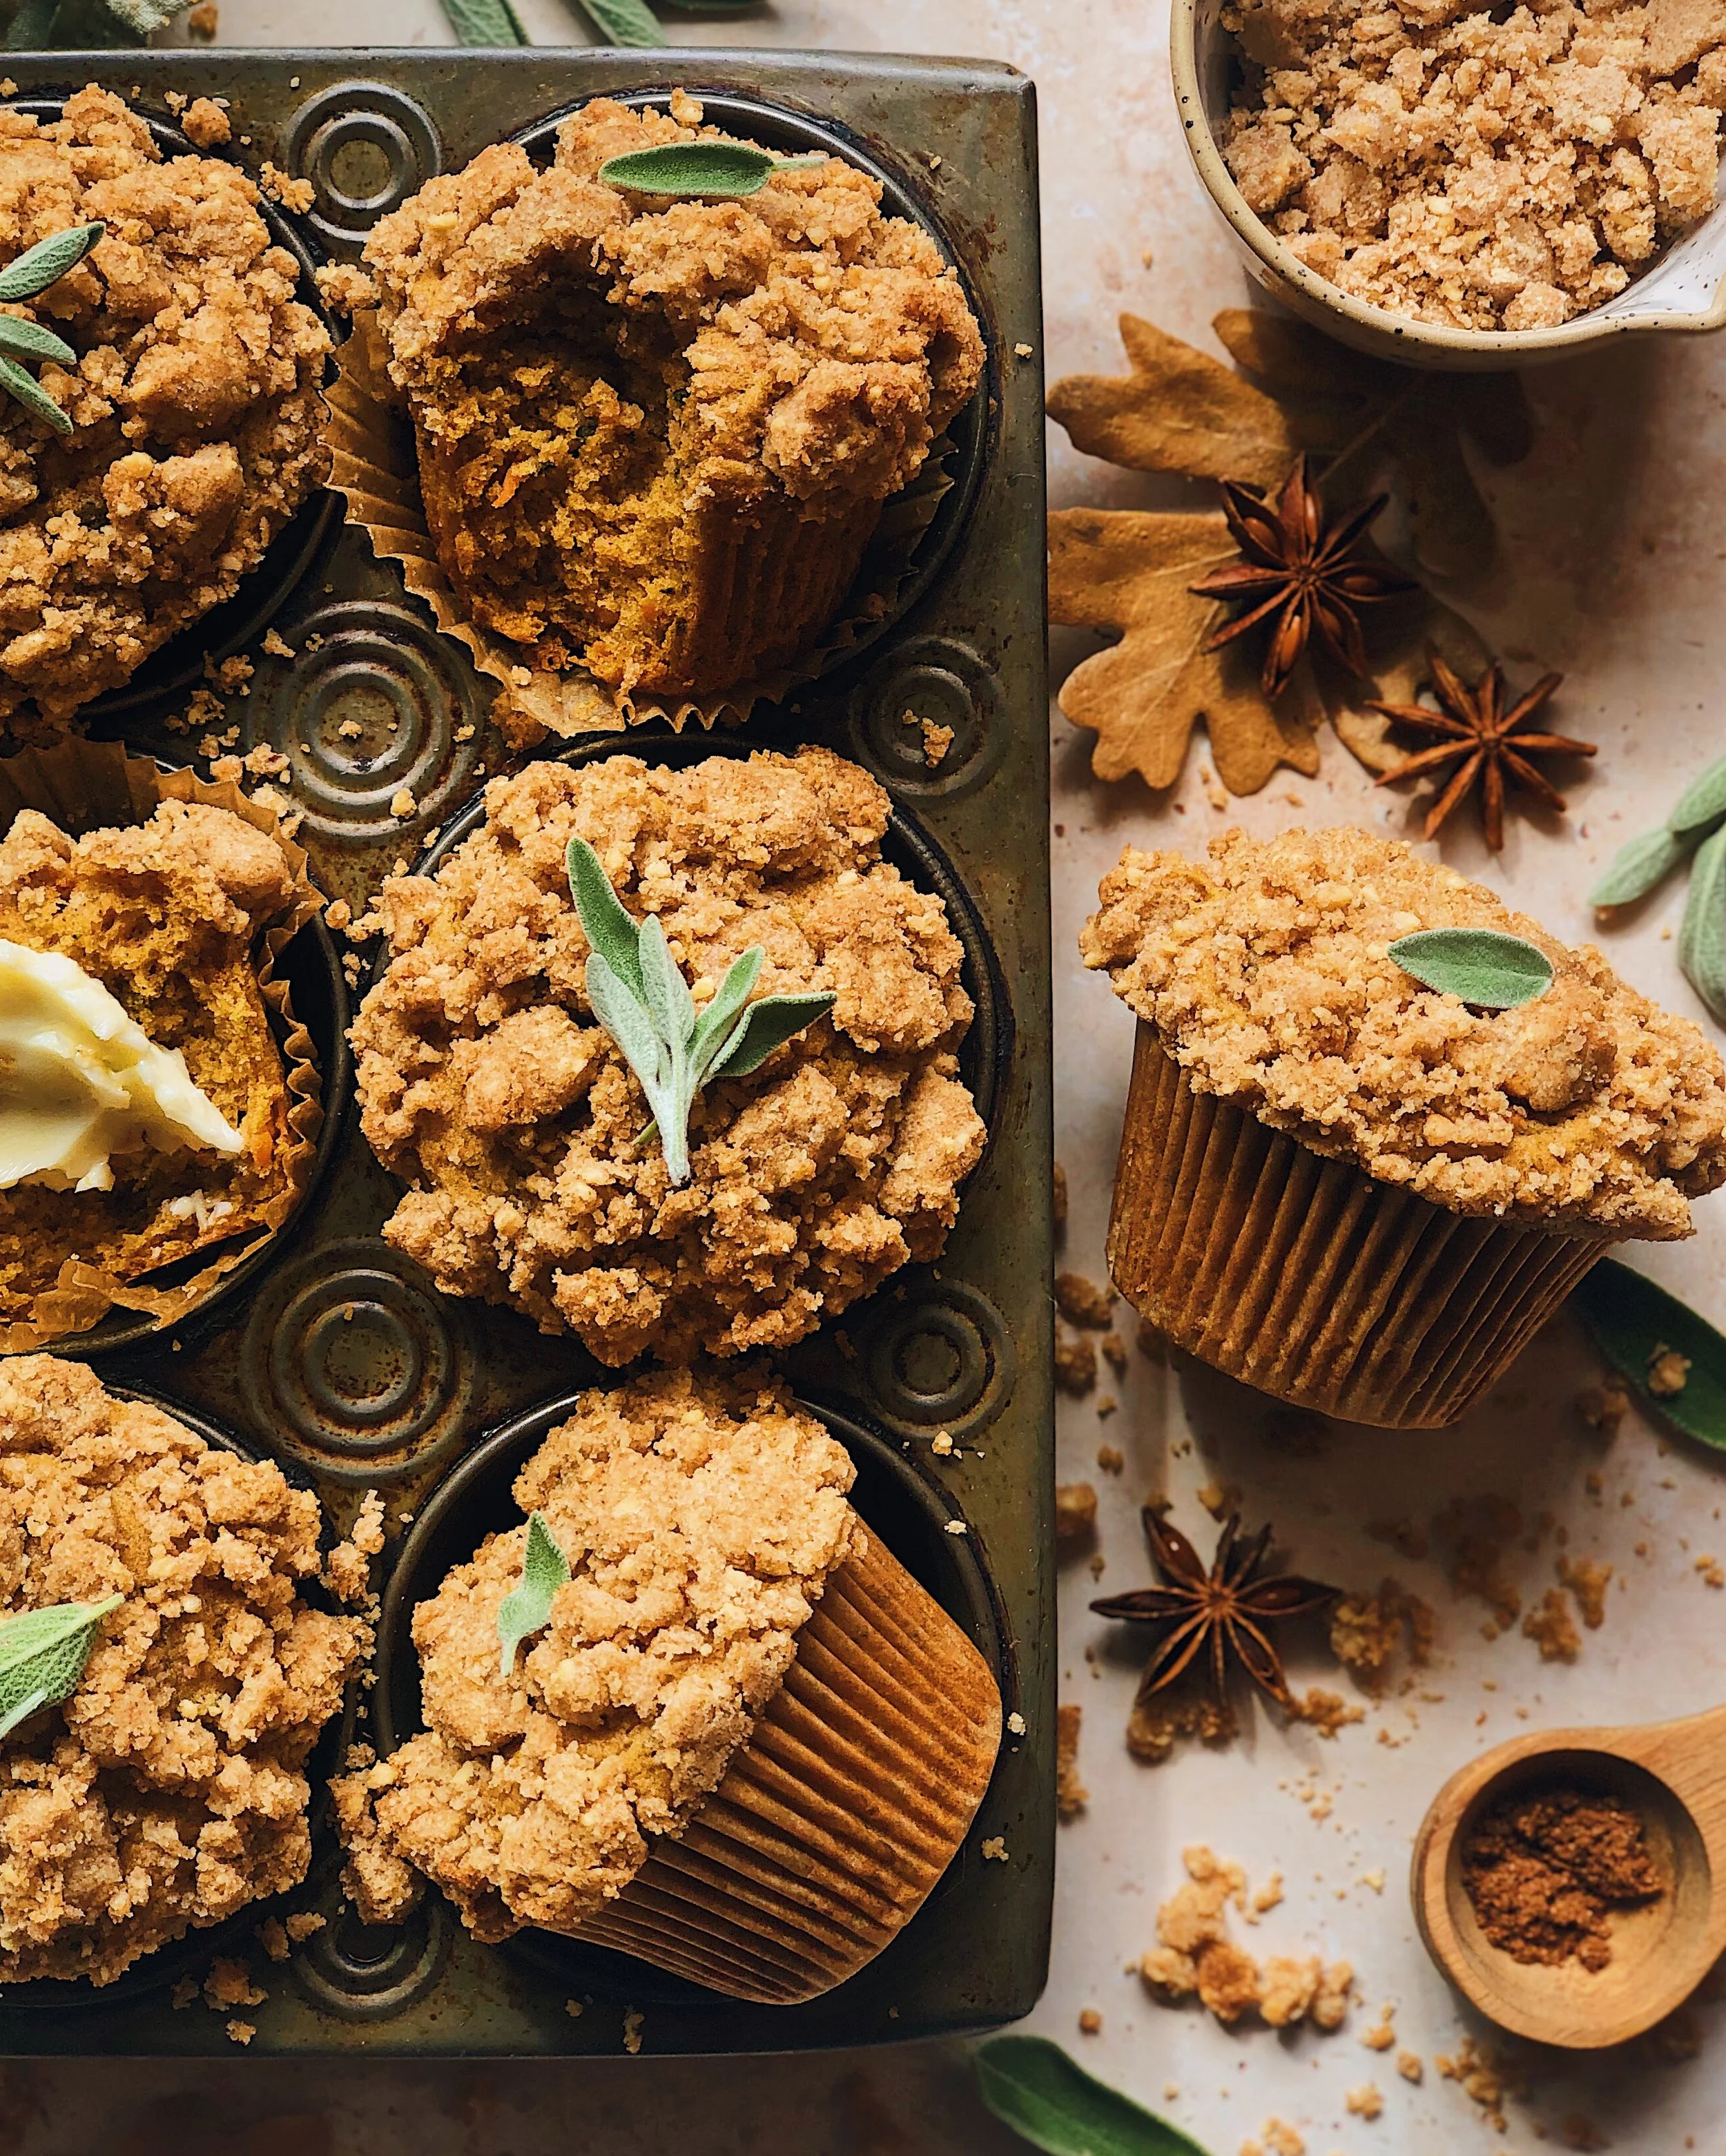
The written recipe below goes into detail about exactly how the make the stuffing-flavored cornbread that will serve as the cake base for this savory layered sandwich cake. The measurements are for a 6-inch cake pan, which produces a very adorable mini cake!
I didn’t provide exact measurements for the other elements in the cake, since the whole point is to use up the leftovers that you have and even if those amounts may vary, the cake will still turn out as a delicious way to turn those leftovers into something completely new and beautiful. But here is what you can utilize to make this cake come together.
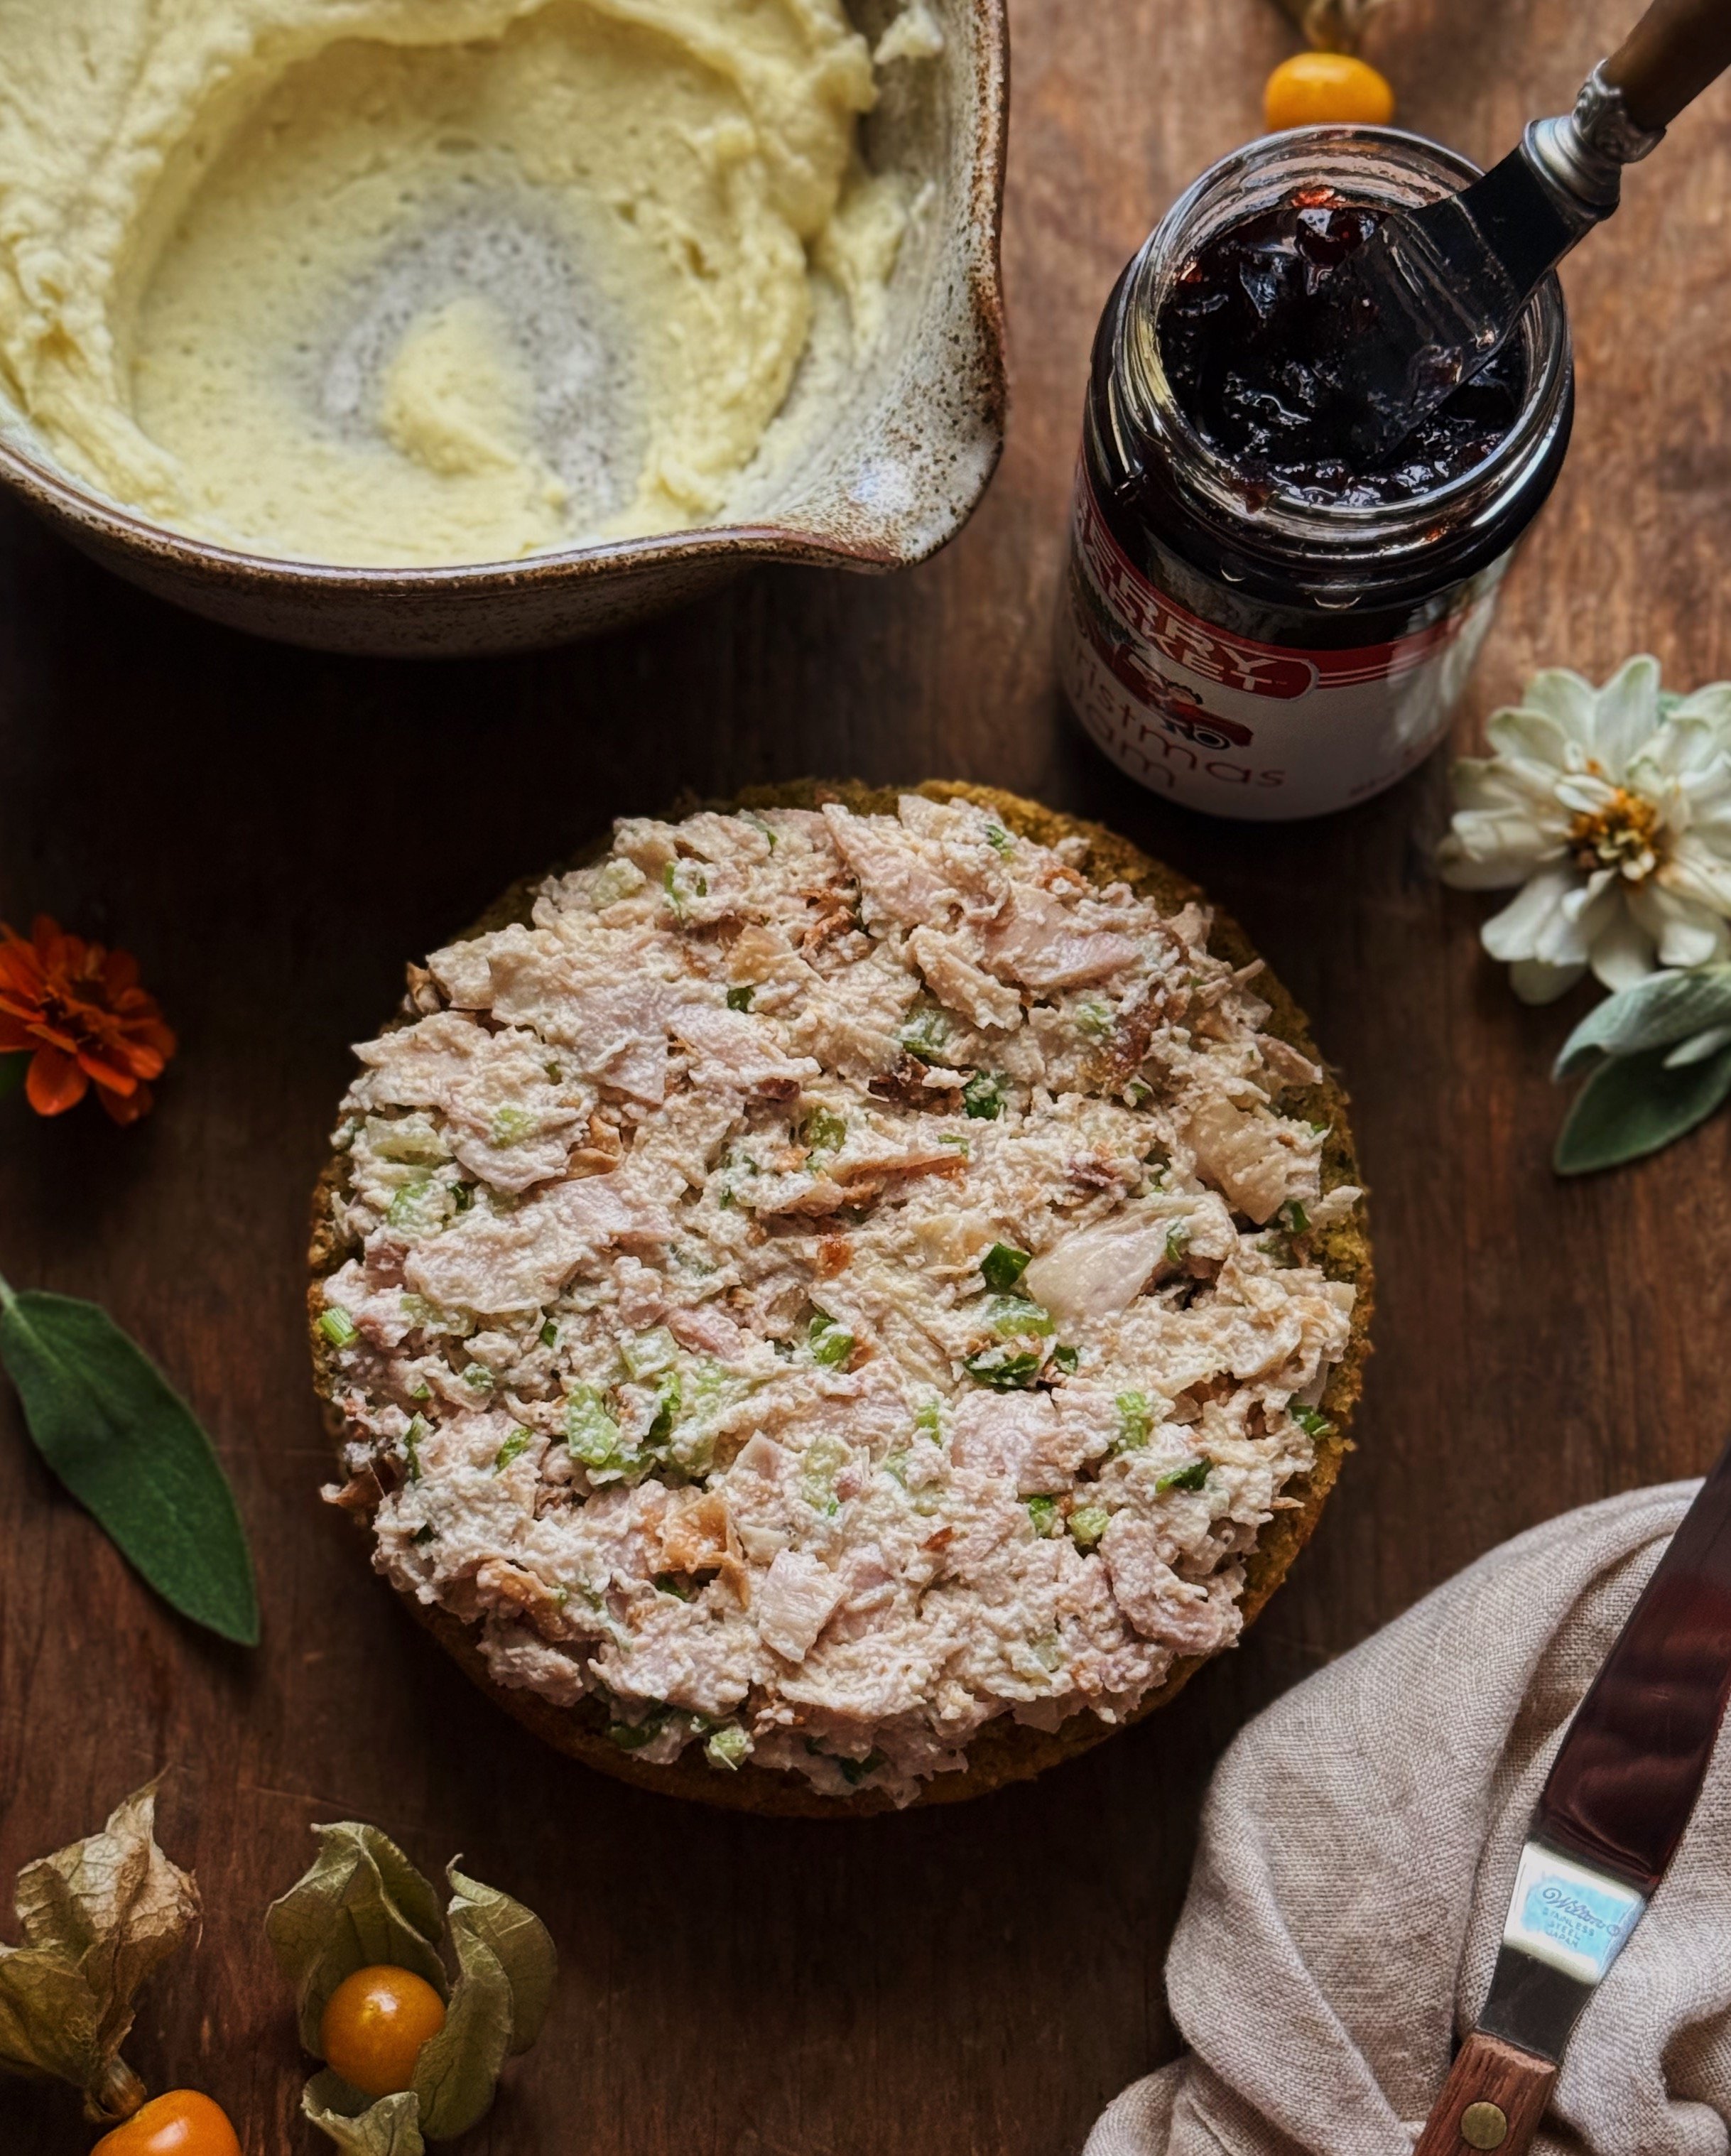
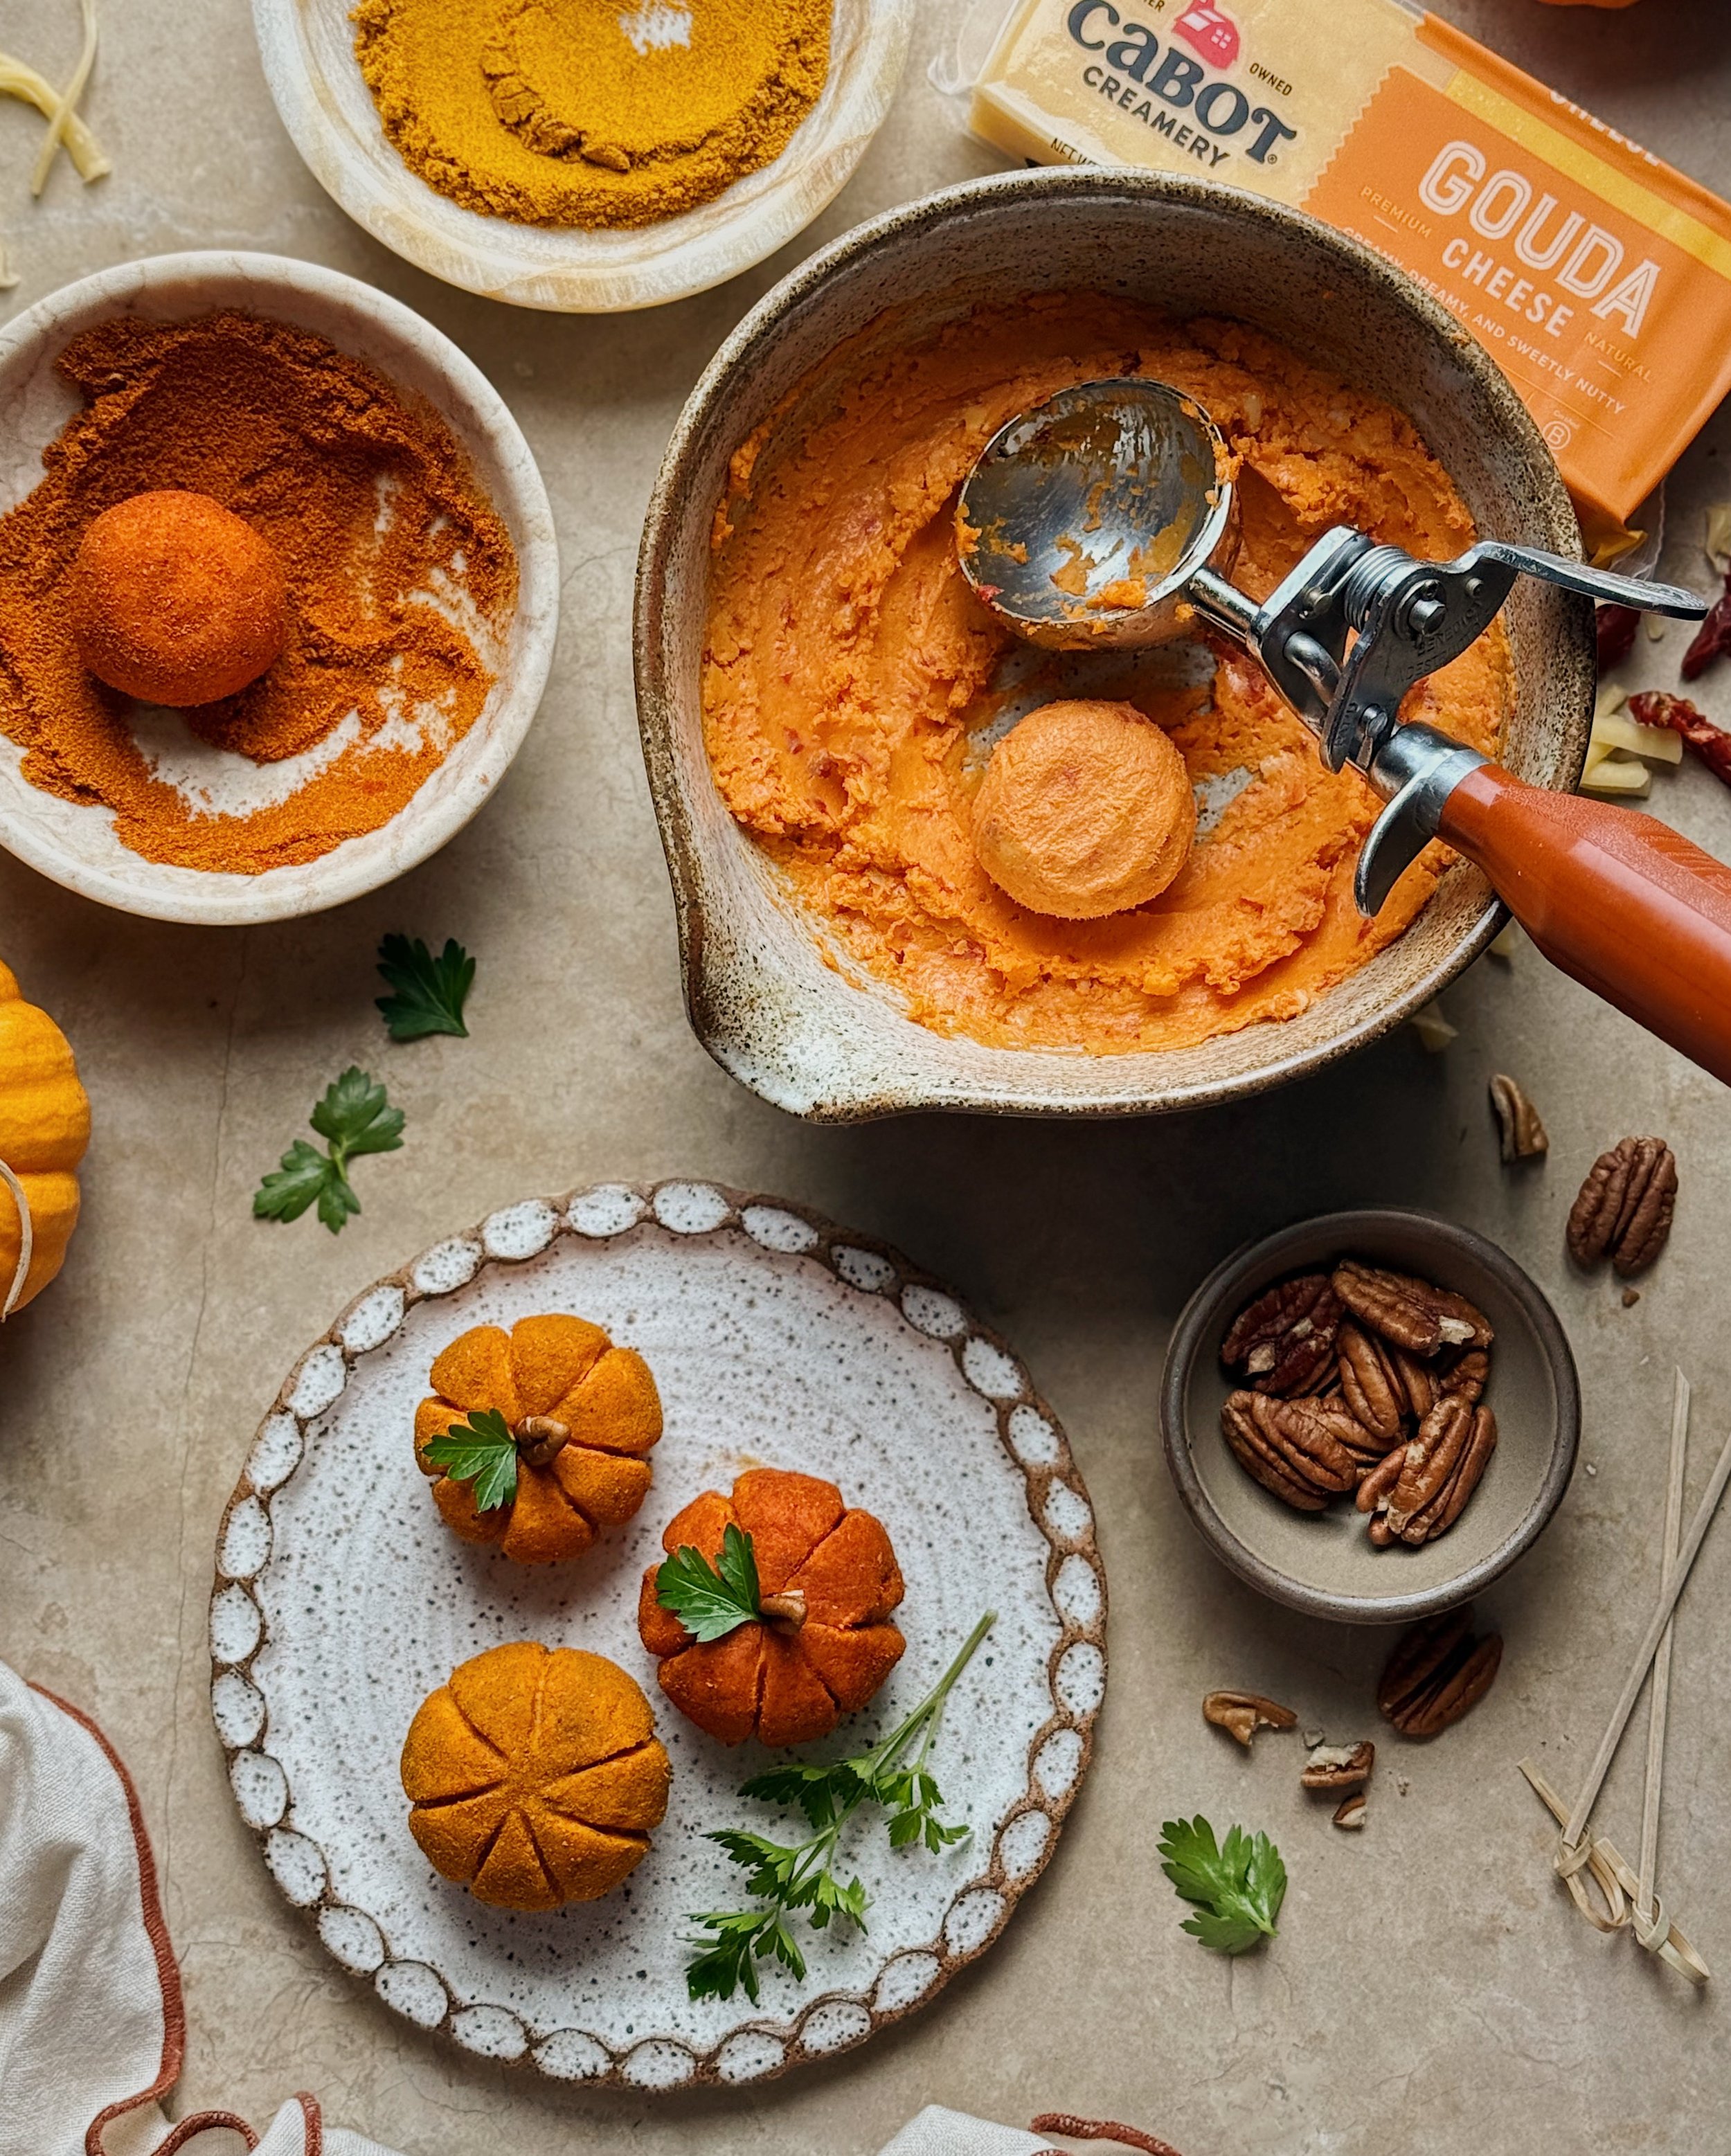
Turkey Salad: If you’re reading this, you’re probably already a fan of the Thanksgiving leftovers sandwich, so you probably already have a way that you’ve been turning some of that leftover turkey meat into turkey salad. Or if you are like my household where we just like to celebrate as a couple, perhaps you are working with leftover roast chicken instead. I like to use all the extra skin and scraggly bits, chop or shred them all up, and combine that with some Japanese mayo, finely diced celery, and cracker pepper. Sometimes I even throw in some curry powder or chopped walnuts. However you like to make it, you’ll need at least enough to spread just a thin layer over one of the cornbread layers. If you don’t have a ton, chopping the poultry up finer will make the spread go further.
Cranberry Something: I’ve long switched out making cranberry sauce for making or buying cranberry chutney or jam. Use what you have!
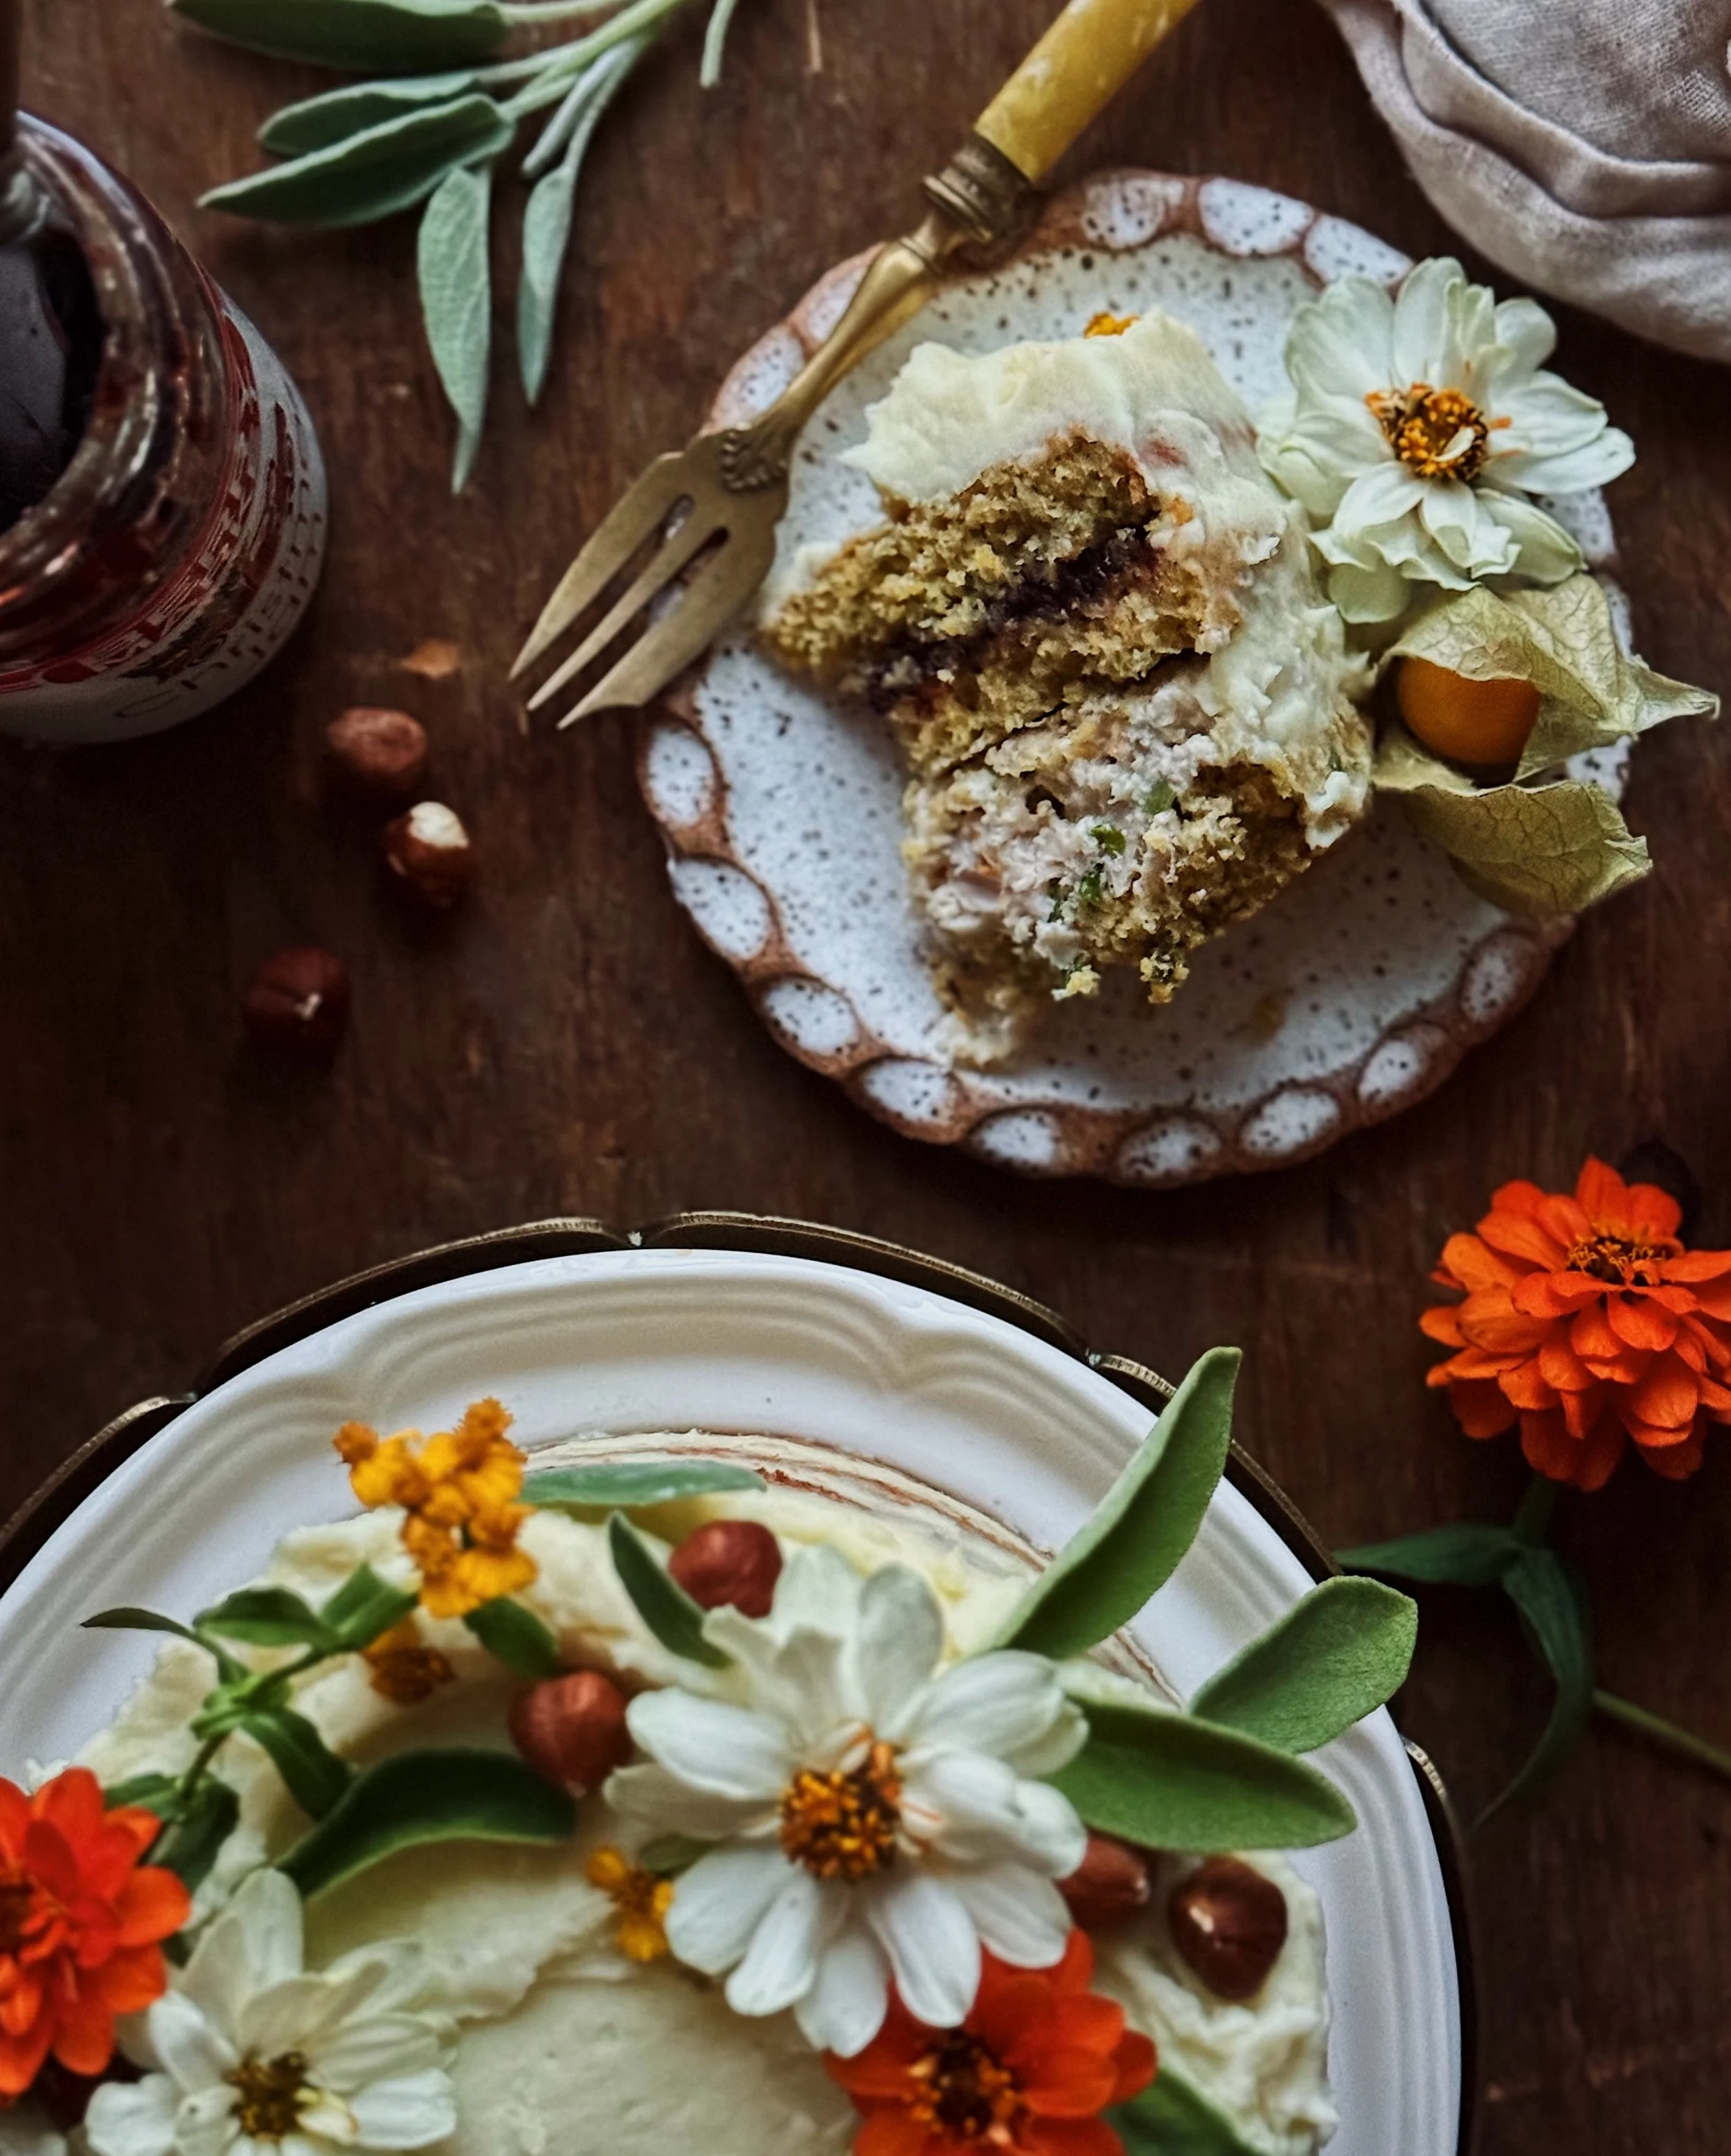
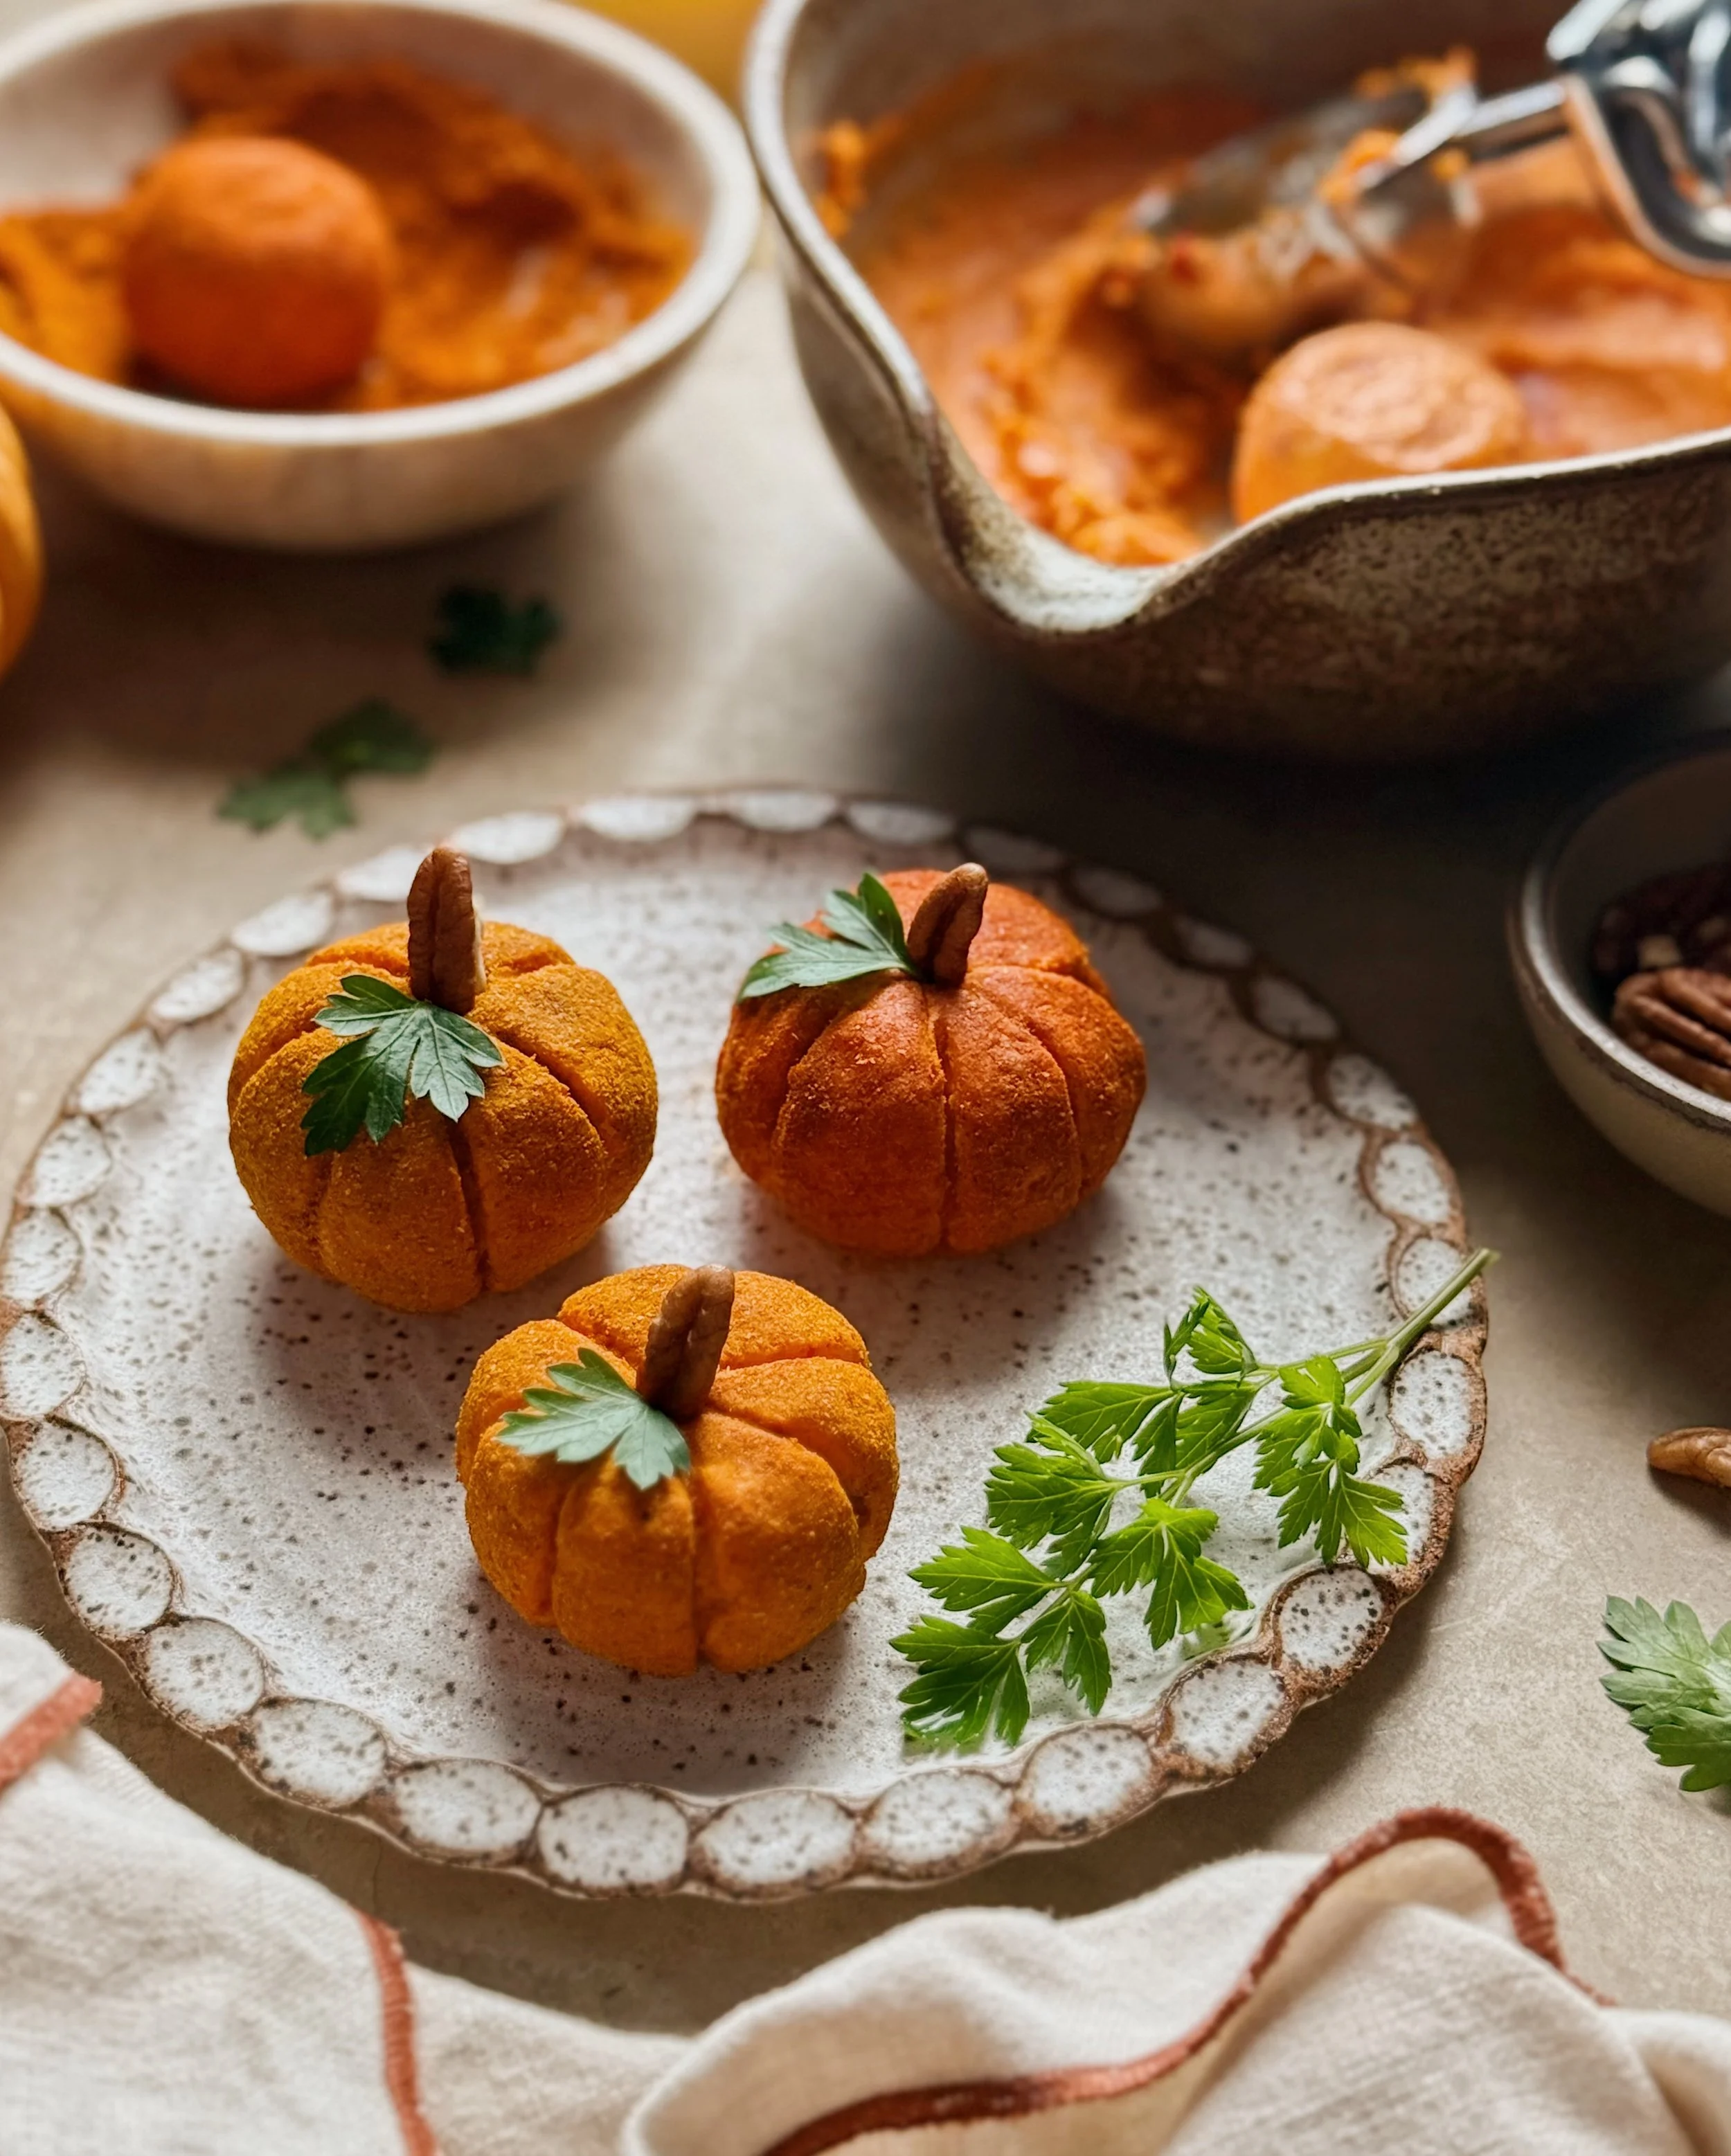
Mashed Potatoes: Mashed potatoes are acting as the “frosting” for this cake. You want a consistency that is smooth and easy to spread without being too runny. To get them ready to use on your cake, heat them on low heat in a pot and add small amounts of milk, heavy cream, or even sour cream, stirring to combine each time, until you get a consistency that still holds its shape but feels soft and spreadable. Cool the mashed potatoes slightly before frosting the cake. What’s great is that if you don’t have a lot of mashed potatoes left over, you can just go for the “naked” look on the sides, as I have done for mine, where the sides are only frosted very thinly so the cornbread still shows through; if you have a lot of leftovers, on the other hand, you can opt for a fully frosted look.
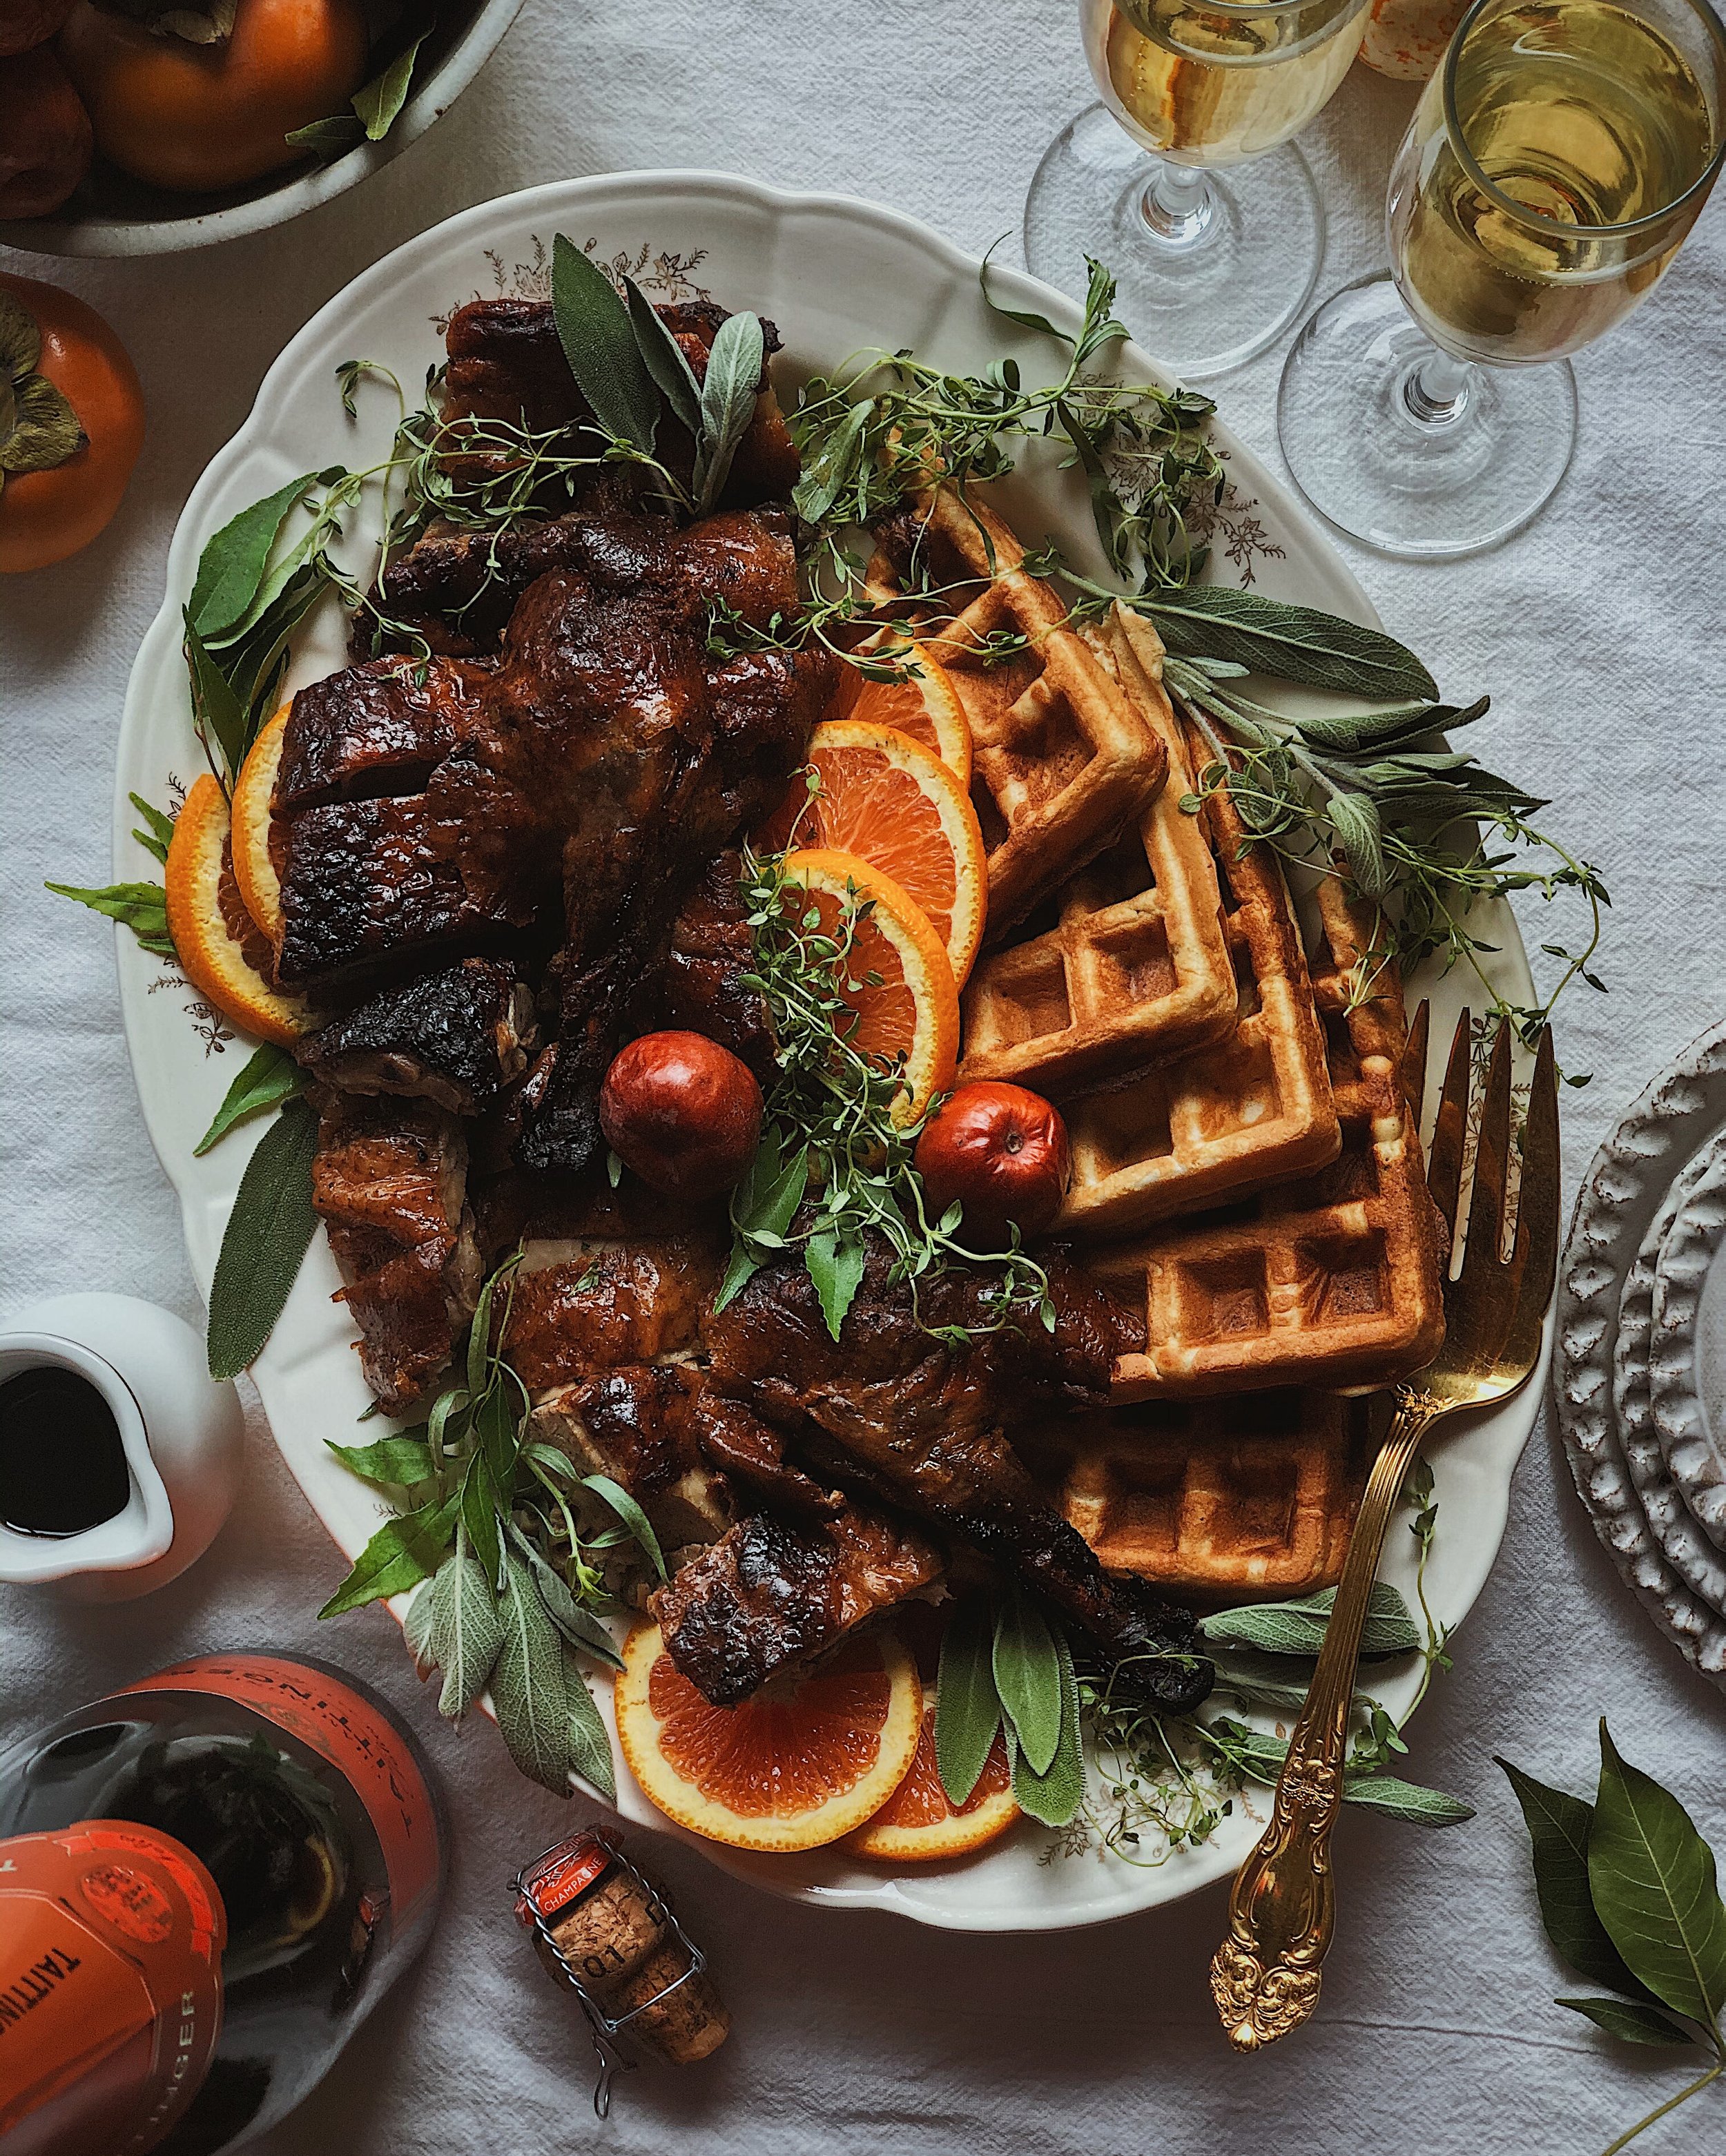
Since Spouse and I are celebrating Thanksgiving with his family in another state this year, and because of the nature of having to create content before it actually becomes relevant, I did not have true turkey dinner leftovers to work with when I shot these photos. But I did have leftovers of a rotisserie chicken from Costco, some old cranberry-based “Christmas Jam” from a prior holiday trip to Knott’s “Merry” Farm, about a third of a bag of frozen mashed potatoes, and a few mini boiled potatoes. So this cake was very much made in the spirit of using up leftovers.
What I did not have, though, were stuffing leftovers, so instead I had the idea to use cornbread as the cake, but with seasonings reminiscent of that classic Stove Top stuffing of my childhood. I did not grow up having cornbread at Thanksgiving but I know it’s a staple part of the meal in other regions. This cornbread recipe is without buttermilk because whenever I buy buttermilk for a recipe, I am never able to use the whole carton. A combination of Greek yogurt and milk works in place of the buttermilk. I got the idea to make the cornbread “stuffing-flavored” from the Thanksgiving Stuffing Flavored Popcorn that I recently impulse-bought from Trader Joe’s.

How to Make a Thanksgiving Leftovers Cake with Stuffing-Flavored Cornbread
Ingredients for the cornbread
3 tbsp salted butter, melted and cooled
1/4 cup greek yogurt
1/3 cup + 2 tbsp whole milk
1/2 cup medium-grind cornmeal
1/2 cup AP flour
2 tbsp sugar
1 heaping tsp chicken bullion powder
1/2 tsp unsalted poultry seasoning
1/4 tsp celery seeds, crushed
1 heaping tsp dried parsley
1 tsp baking powder
1/4 tsp baking soda
1 egg
Ingredients for the Cake
stuffing-flavored cornbread cake from above, fully cooled
chicken or turkey salad
cranberry sauce, chutney, or jam
mashed potatoes
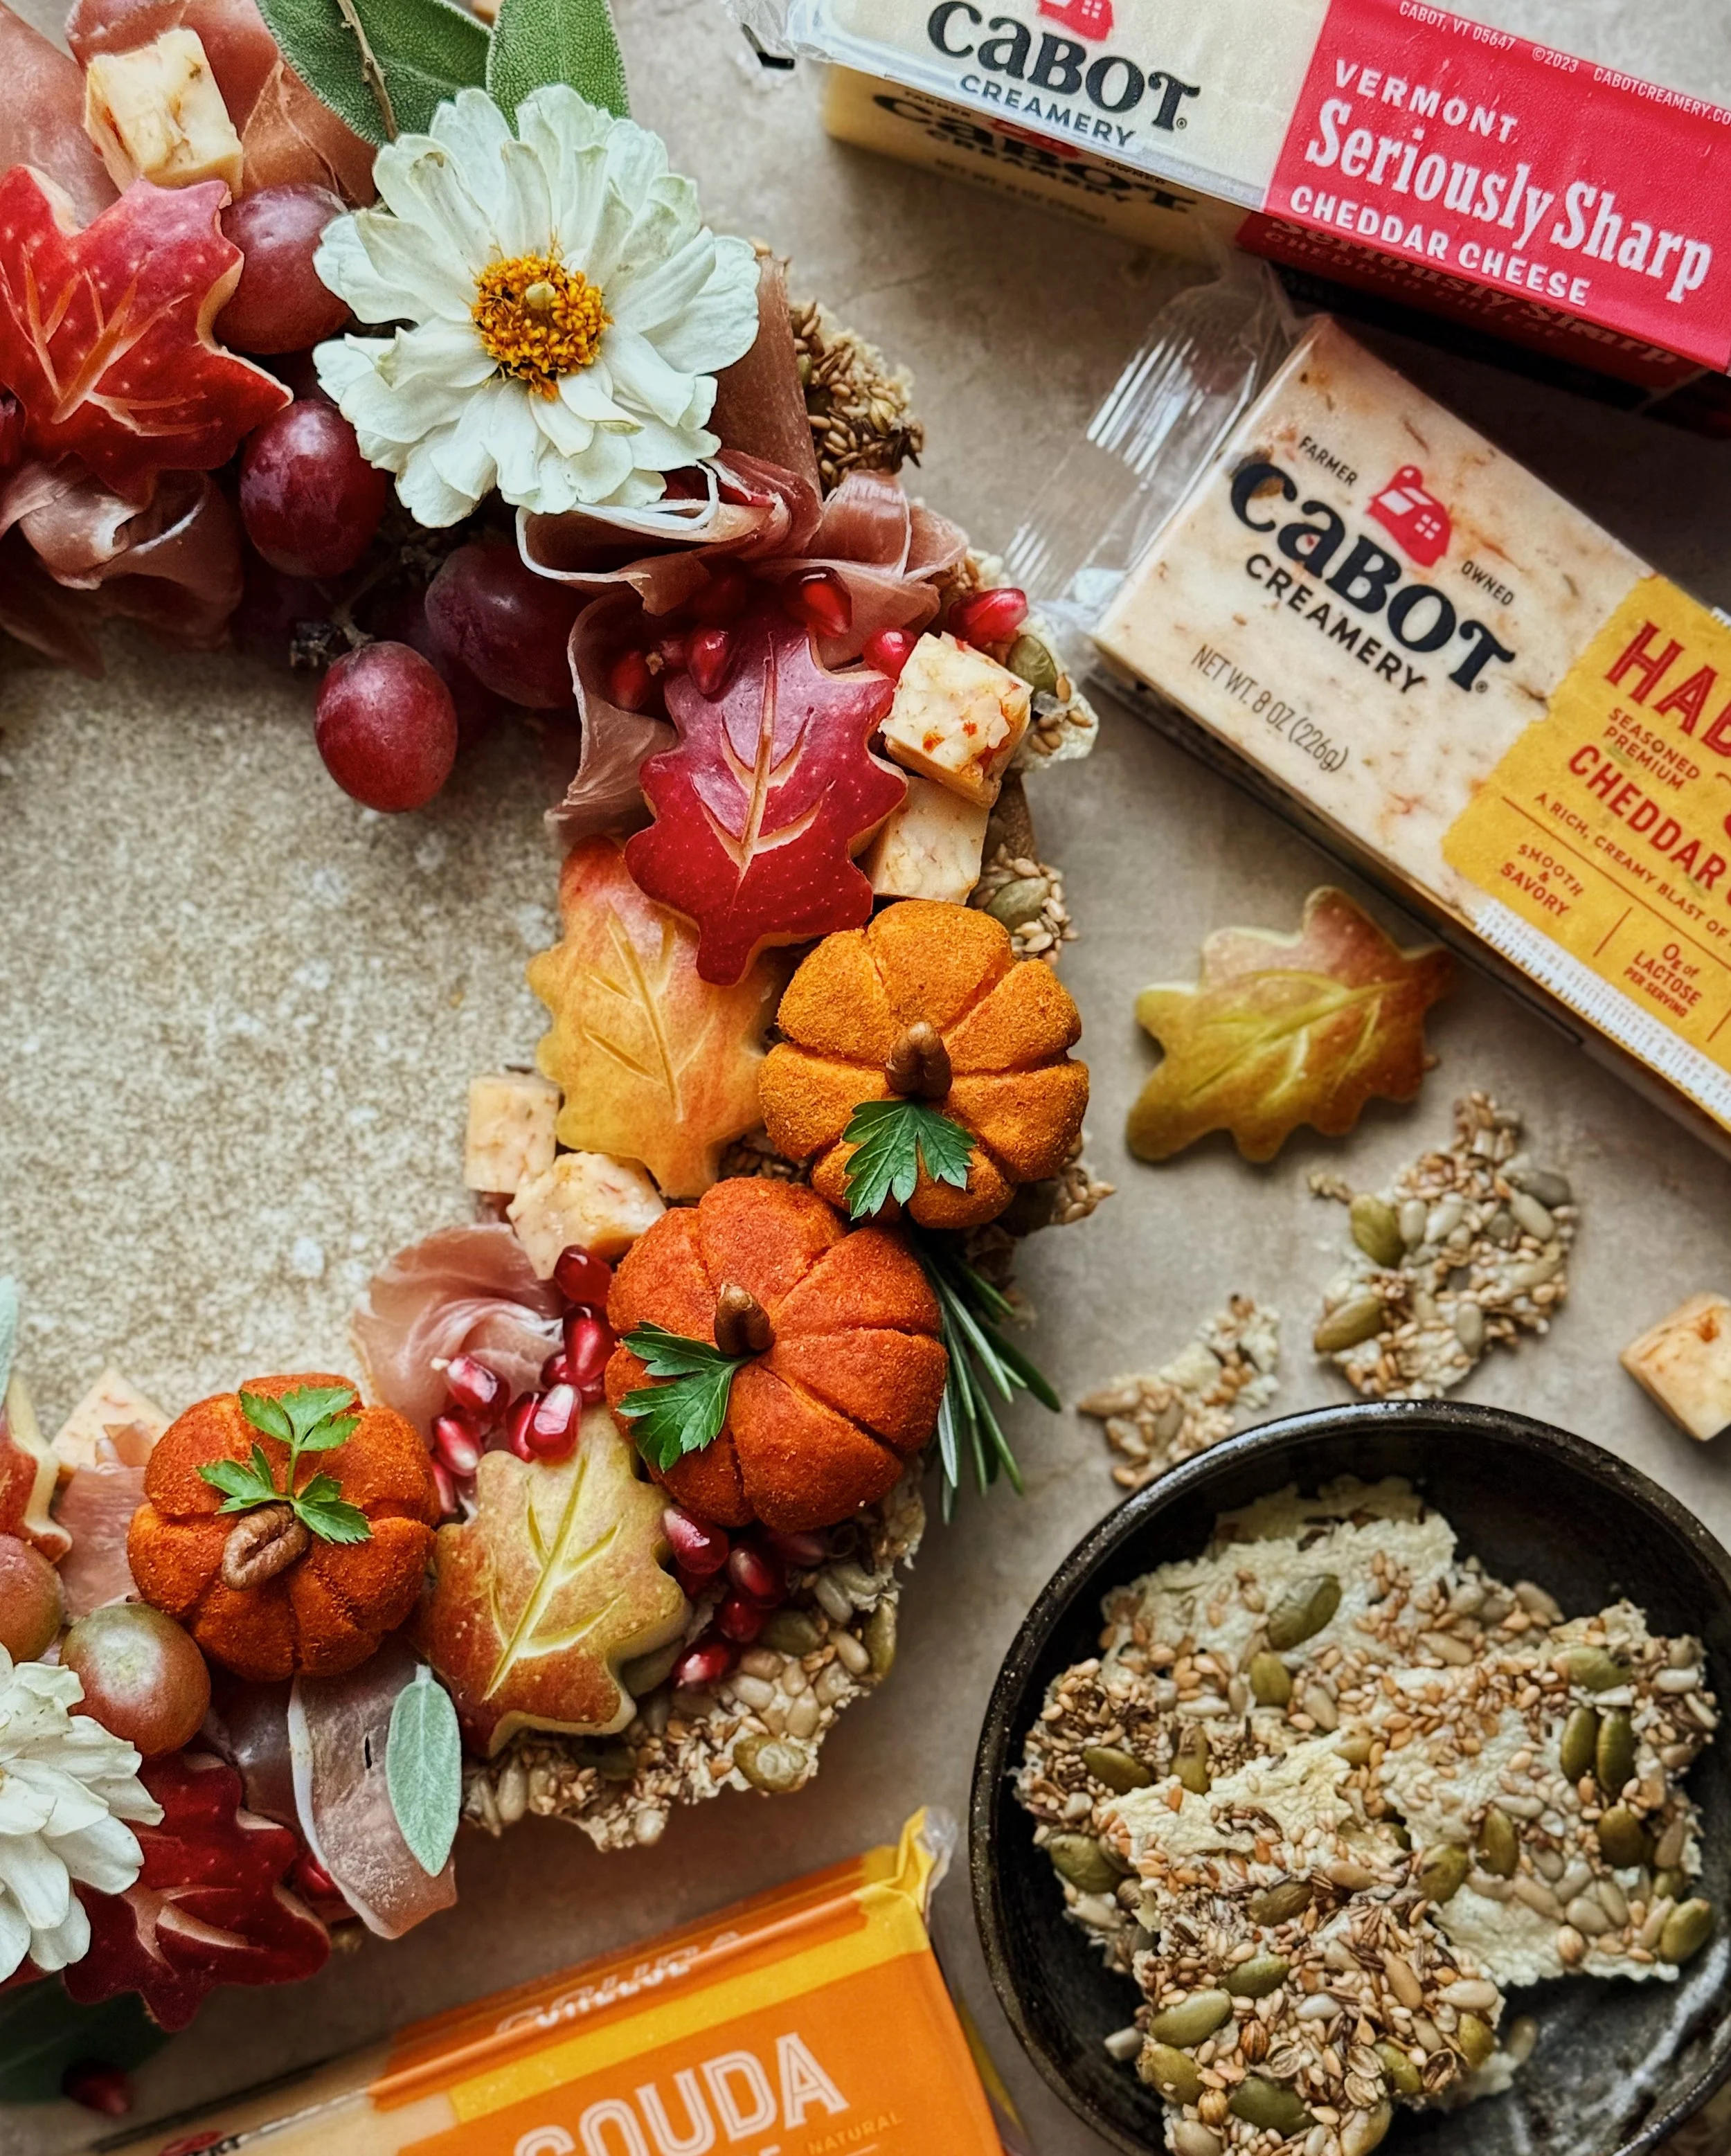
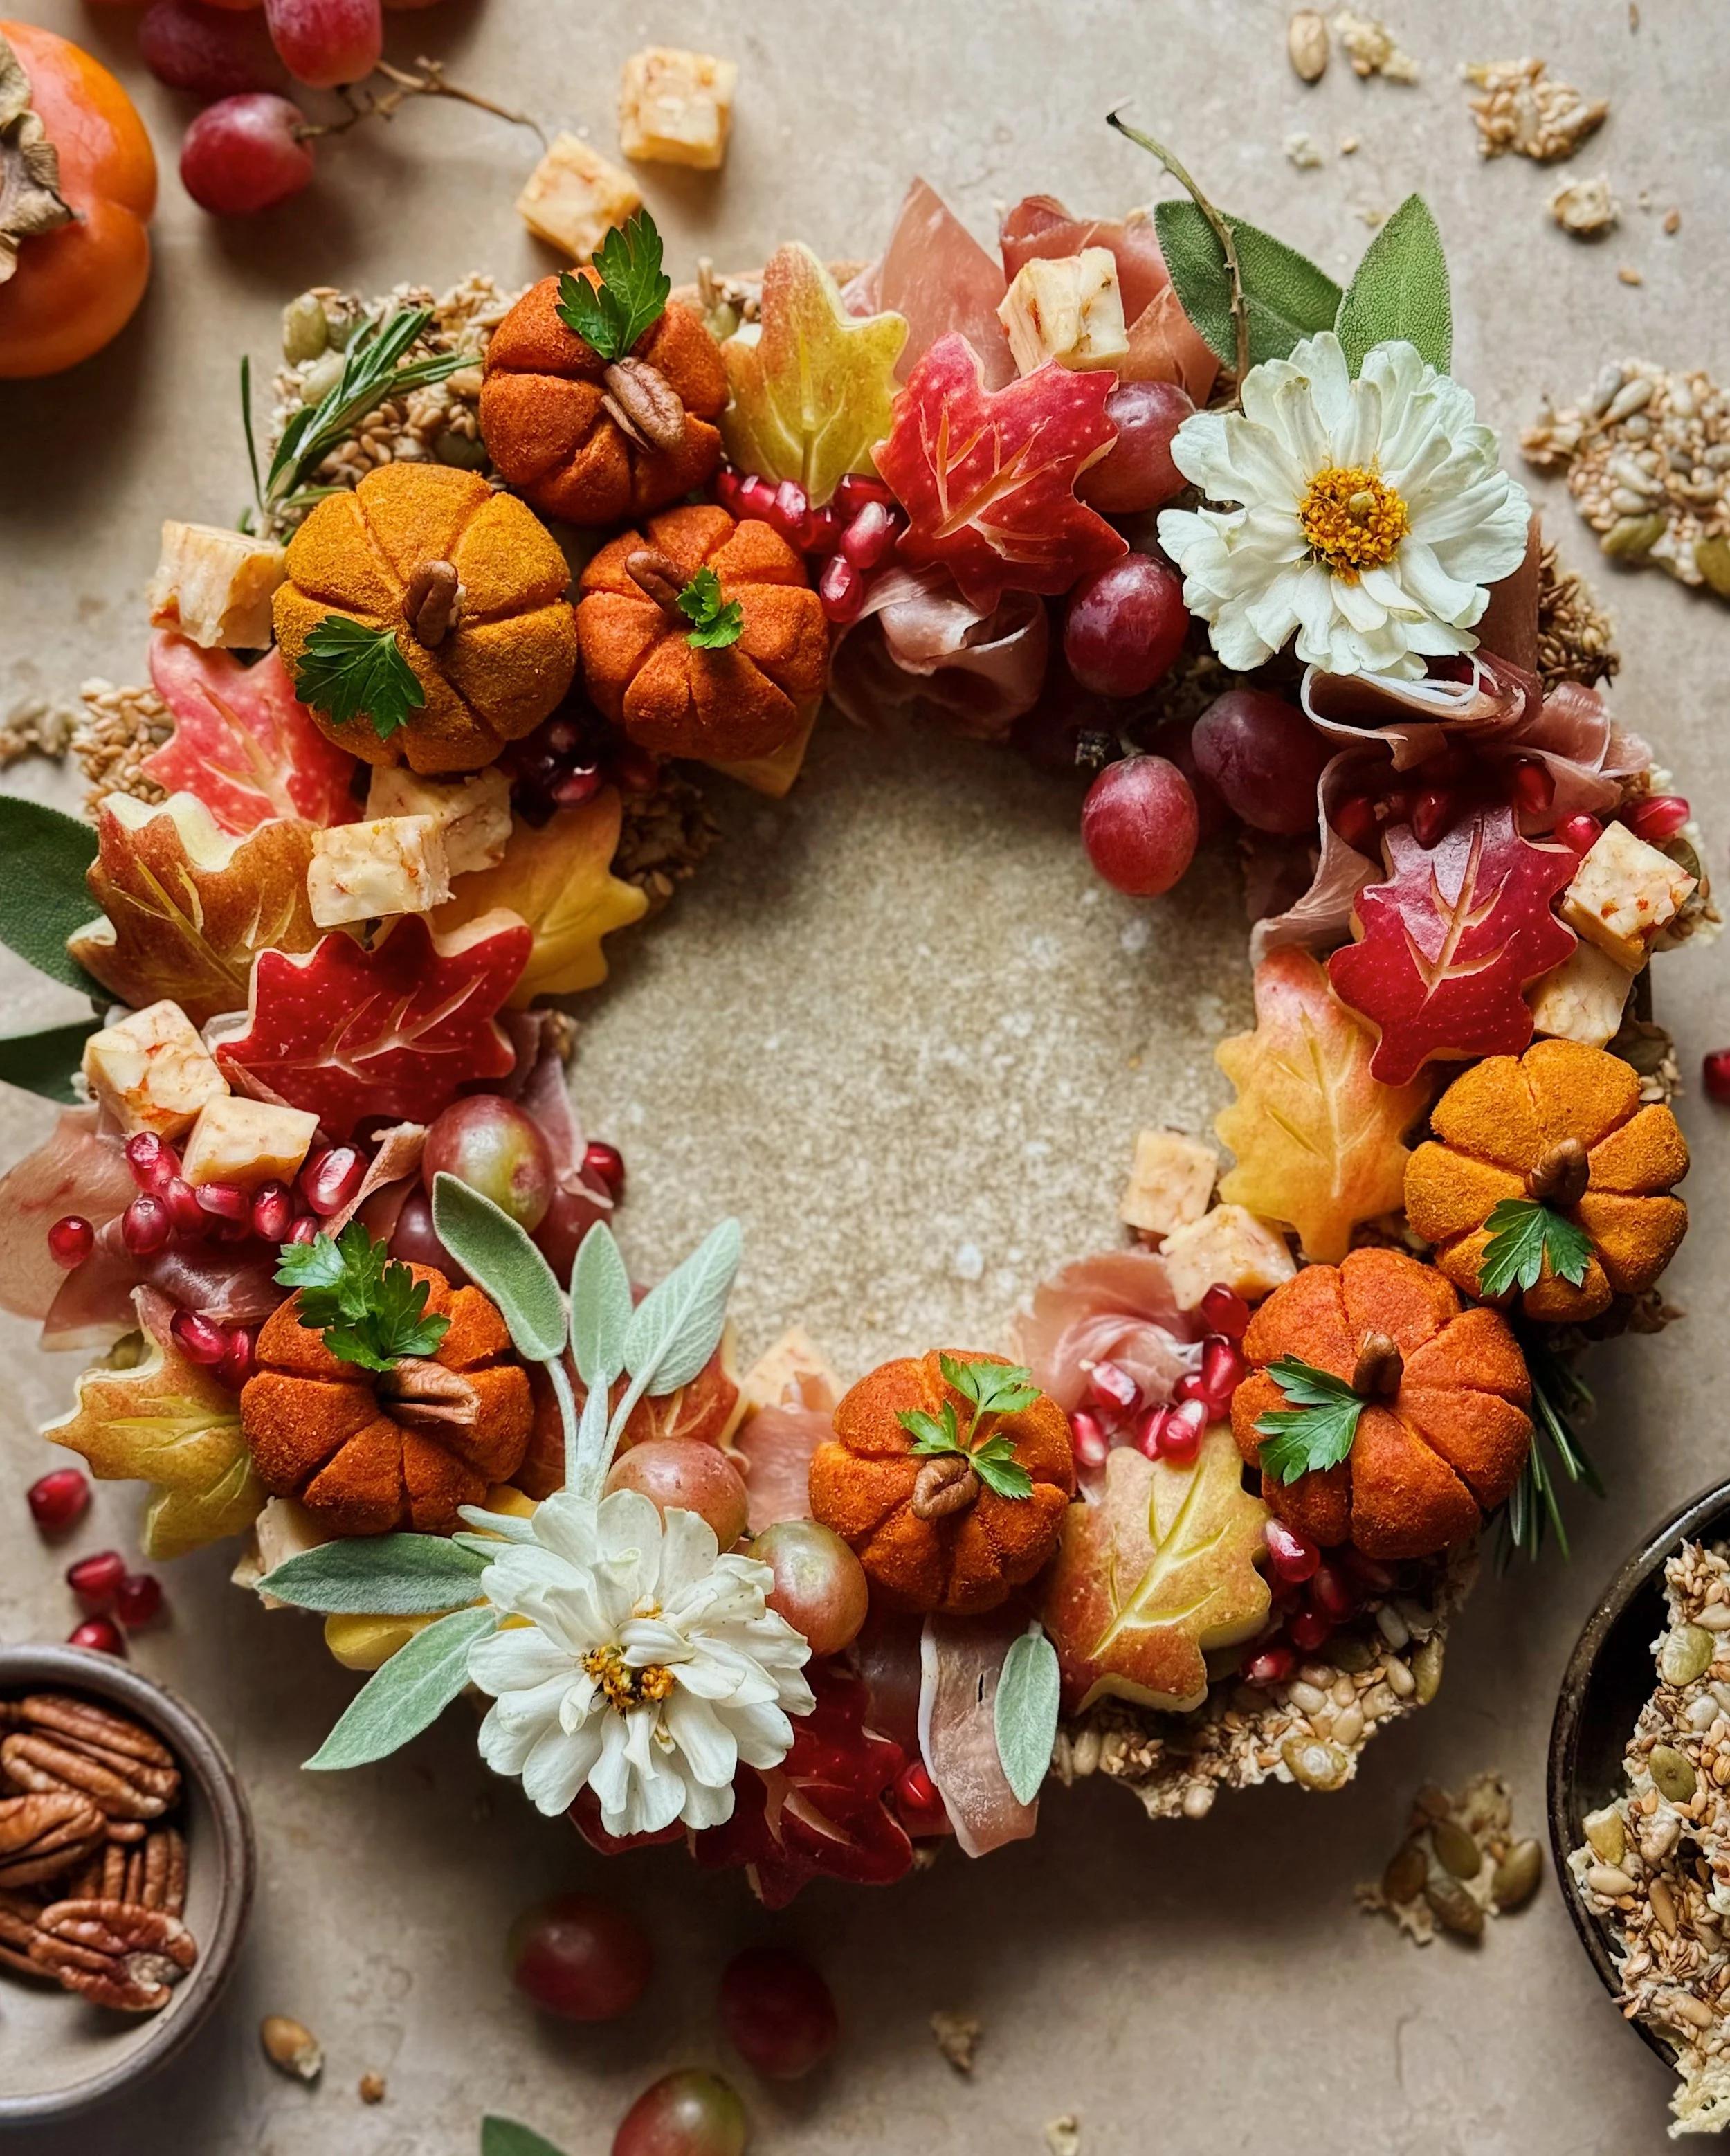
edible flowers, as desired, for decoration
sage or other herbs, as desired, for decoration
Procedure
To make the cornbread: Preheat oven to 375°F. Line a 6-inch mini springform cake pan with parchment paper. Brush with a thin layer of melted butter and set the rest of the butter aside to cool.
Whisk together the yogurt and milk in a large bowl. Add cornmeal, stir to combine, and let sit for at least 10 minutes.
Whisk together flour, sugar, bullion powder, poultry seasoning, celery seeds, dried parsley, baking powder, and baking soda. Stir dry ingredients into the cornmeal mixture. Stir in egg and remaining melted butter.
Pour cornbread mixture into prepared cake pan and pick up and drop the cake pan against the worksurface a few times so the mixture rests evenly and the top is smooth. Bake for 25–30 minutes or until an inserted toothpick comes out clean.
Carefully remove cornbread from pan and cool completely (overnight suggested) before using as a layer cake.
To assemble the cake: Slice the cornbread into 3 even layers.
Place the bottom layer on the serving dish or cake board. Spread chicken/turkey salad over it. Place middle cornbread layer over the salad spread. Spread cranberry compound over this middle layer. Top with the top layer of cornbread.
Frost cake as desired with mashed potatoes. Decorate with edible flowers and herbs.


