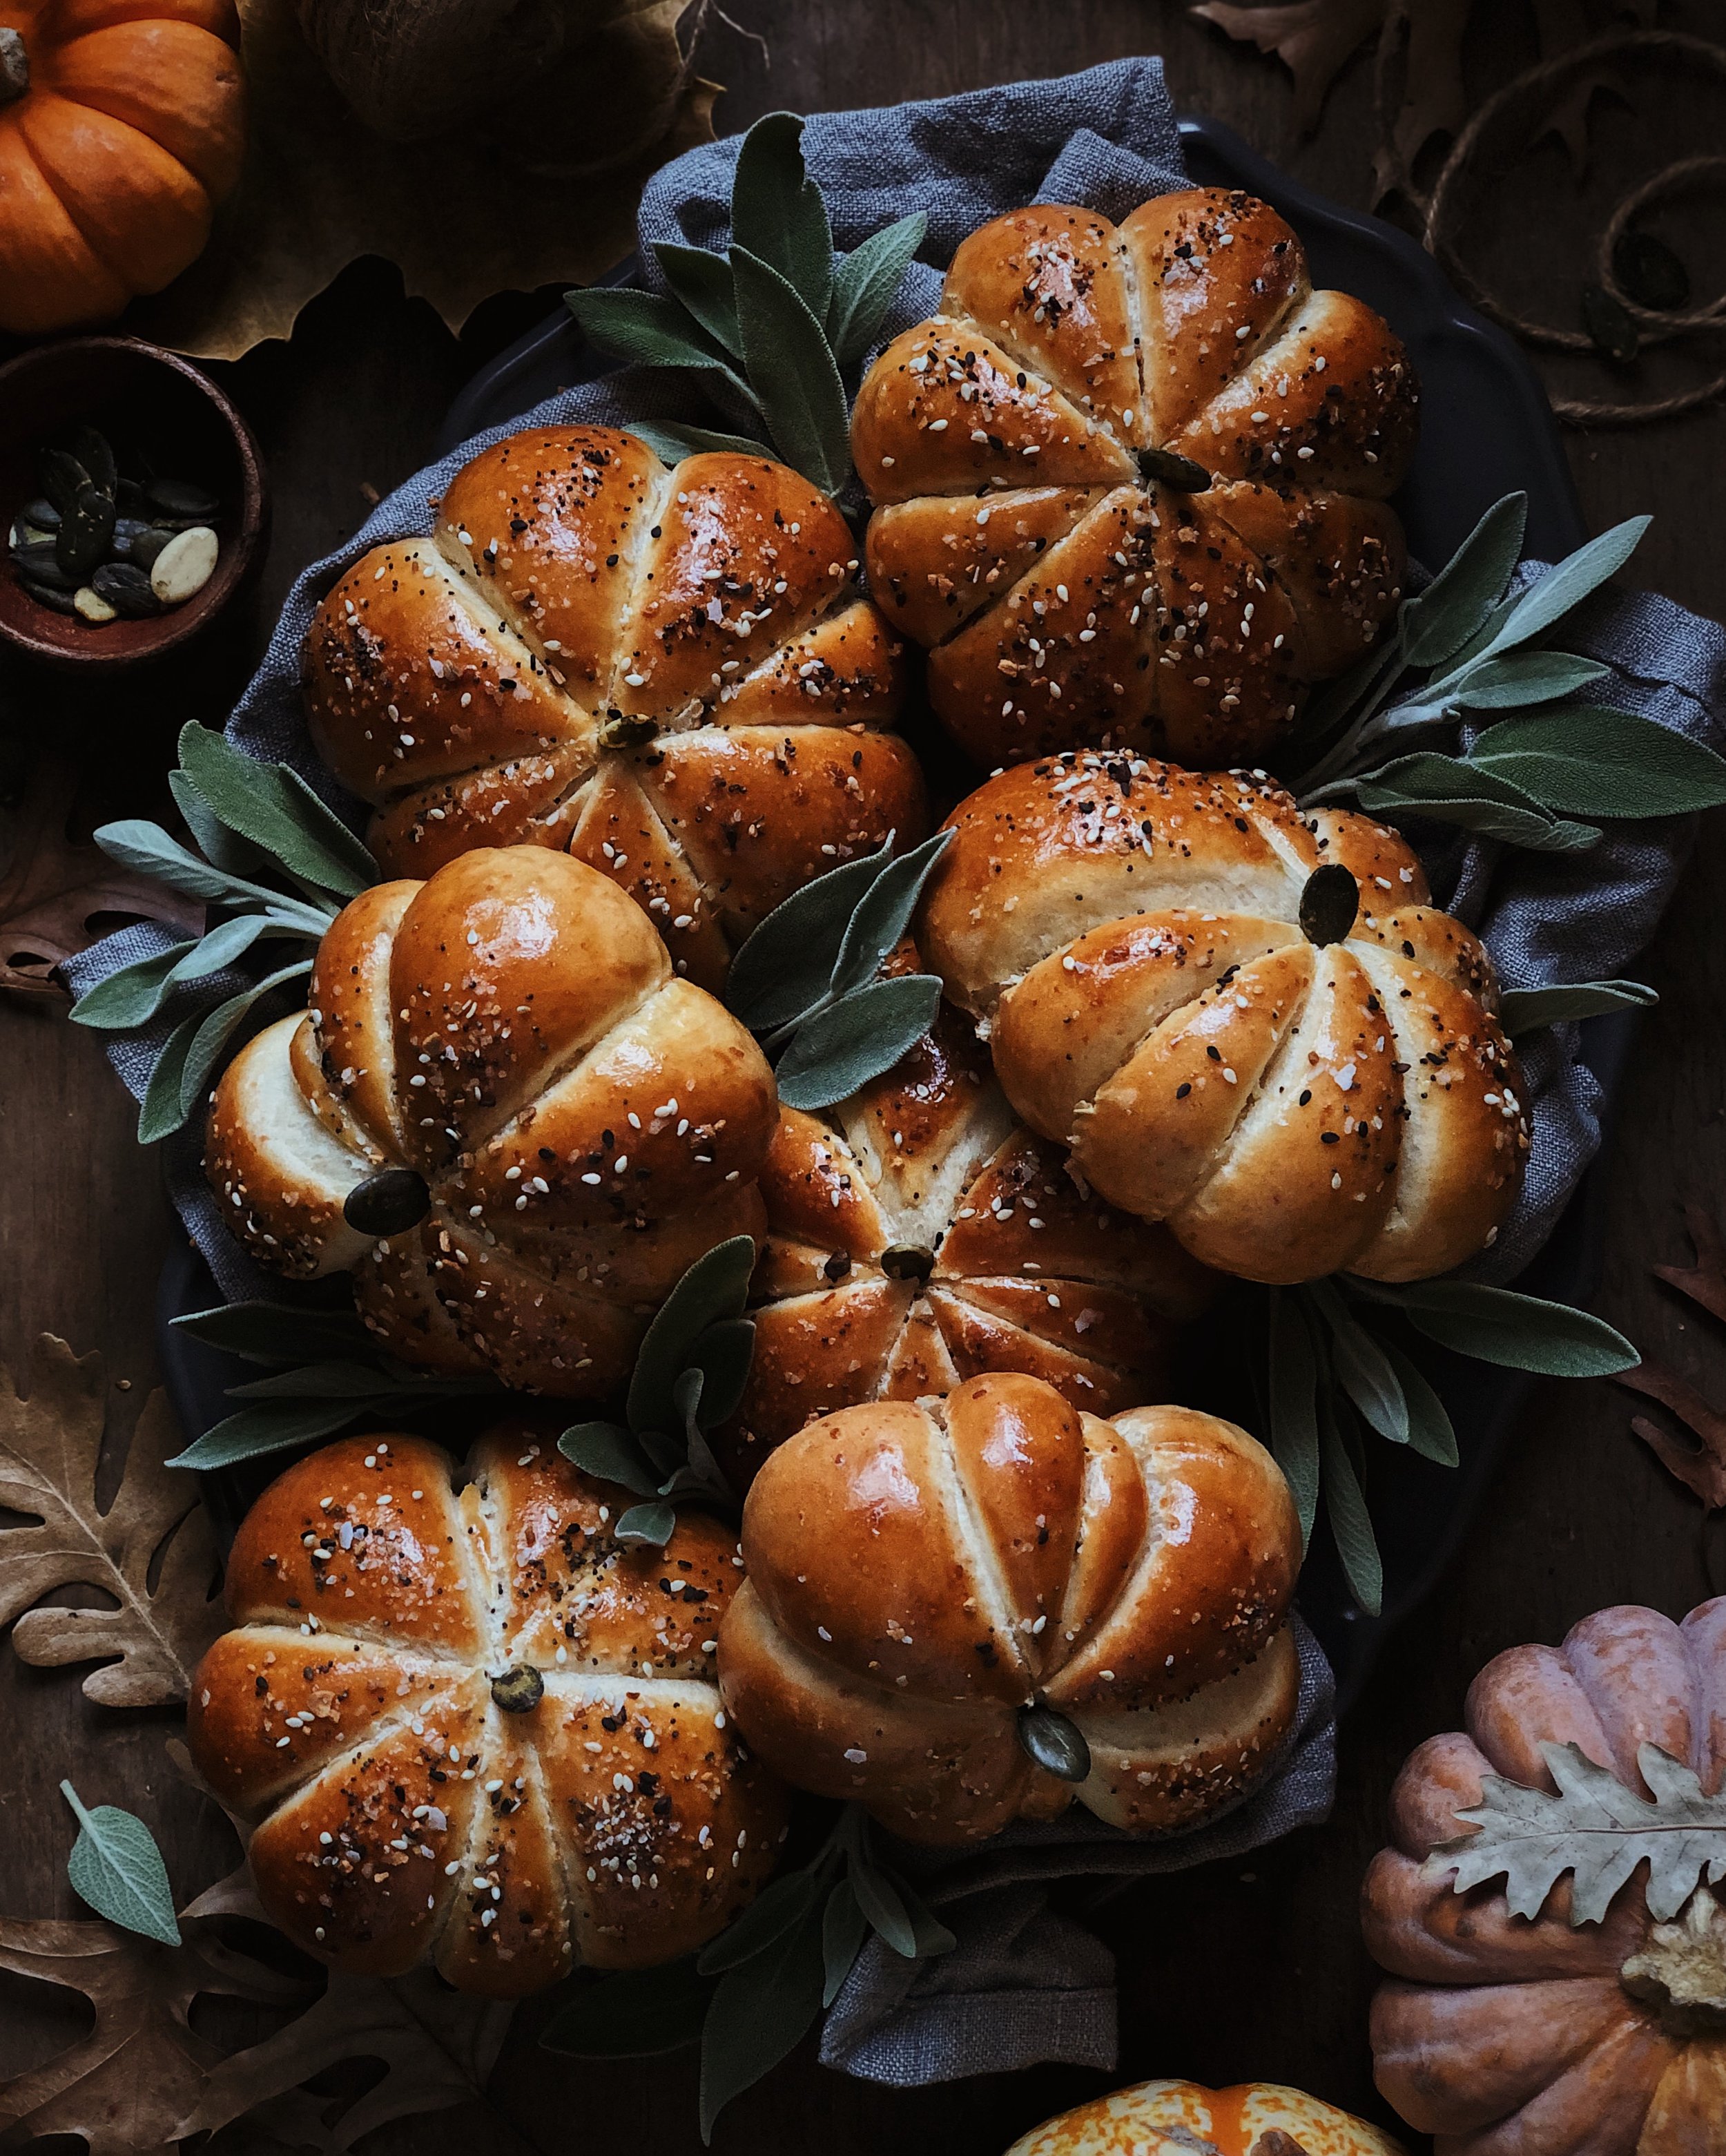
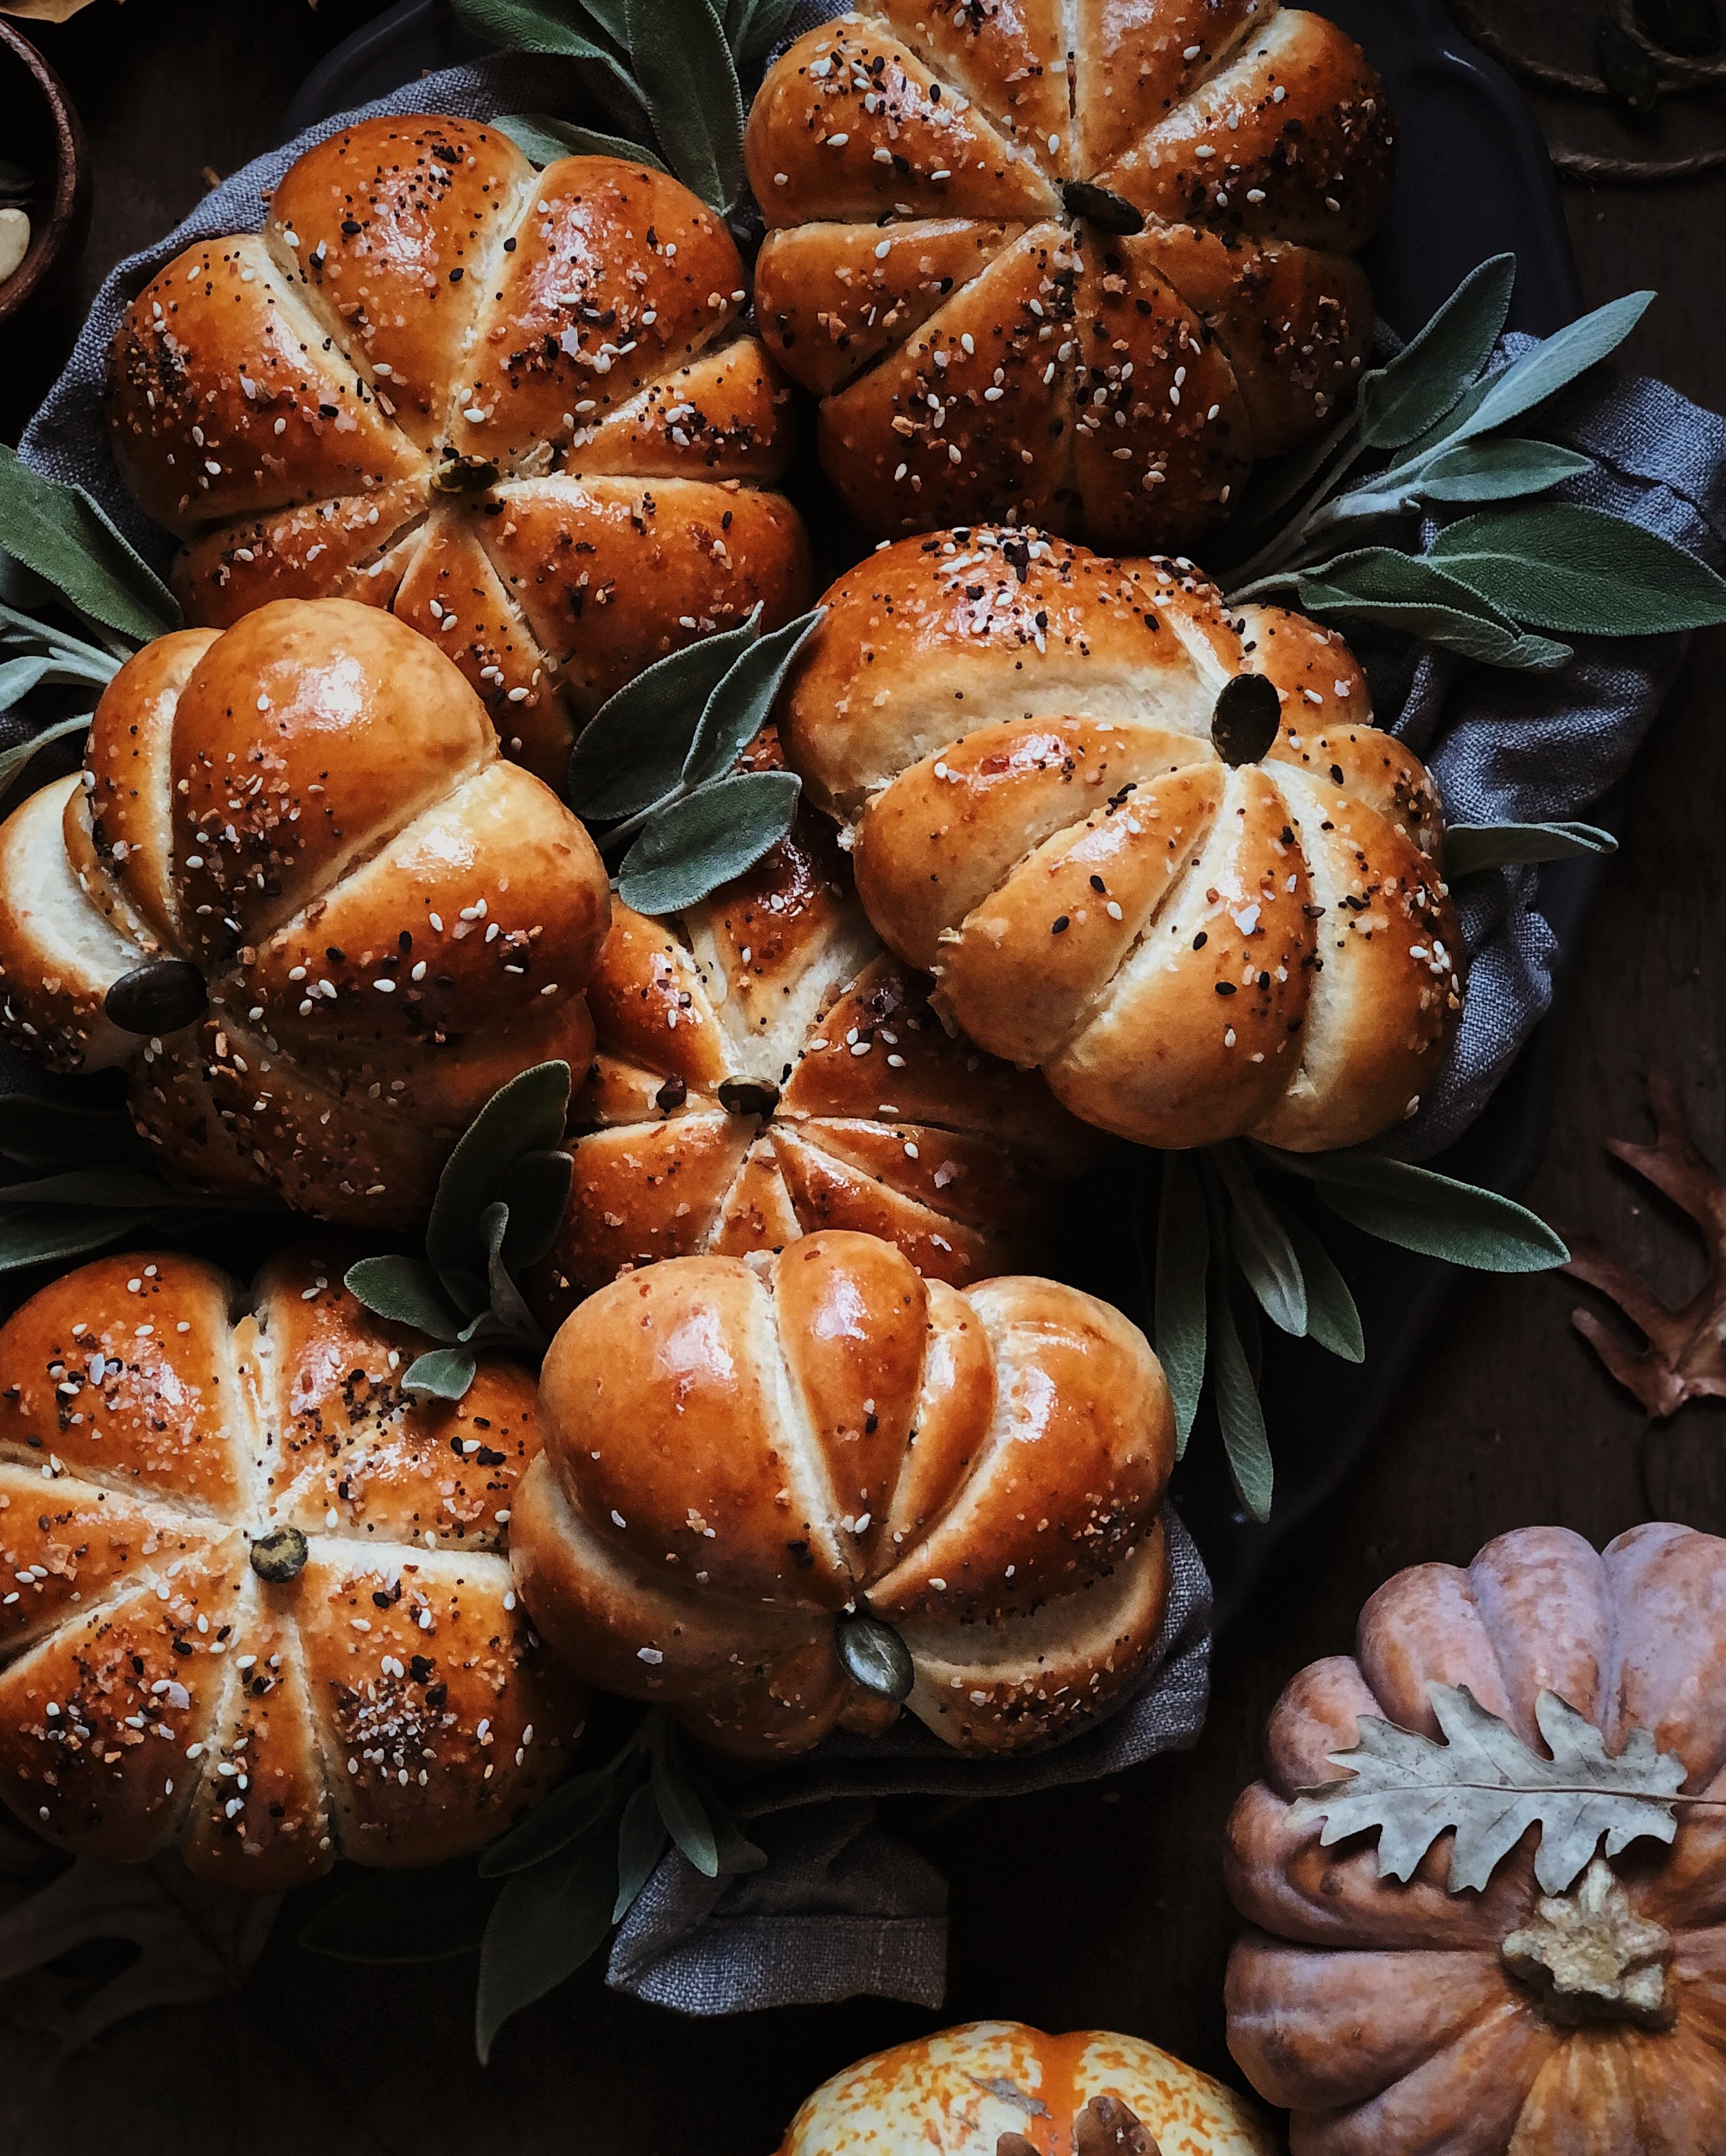
These instructions should work with any gluten-based dinner roll recipe that typically makes 12 rolls in a 9”x13” baking dish (I have not tried it with alternative/gluten-free flours). We are instead going to divide that dough recipe up into 8 equal parts to make 8 pumpkin-shaped buns that are sized like a fluffy hamburger bun. For mine, I used @arjolee’s cheesy everything bun recipe, which is my go-to recipe for making the tastiest savory buns that are plenty full of flavor to eat just on their own. (You could also follow the same shaping steps with an existing favorite hamburger bun recipe.)
Most dinner roll recipes have you first allow the dough to rise until doubled in size, and then undergo a second proof in the baking dish after the individual rolls have been divided and shaped. However, in this case, it will realistically take a bit of time for you to do all the tying of twine that is needed to create those pumpkin shapes, so the dough effectively undergos that second proof in that time.
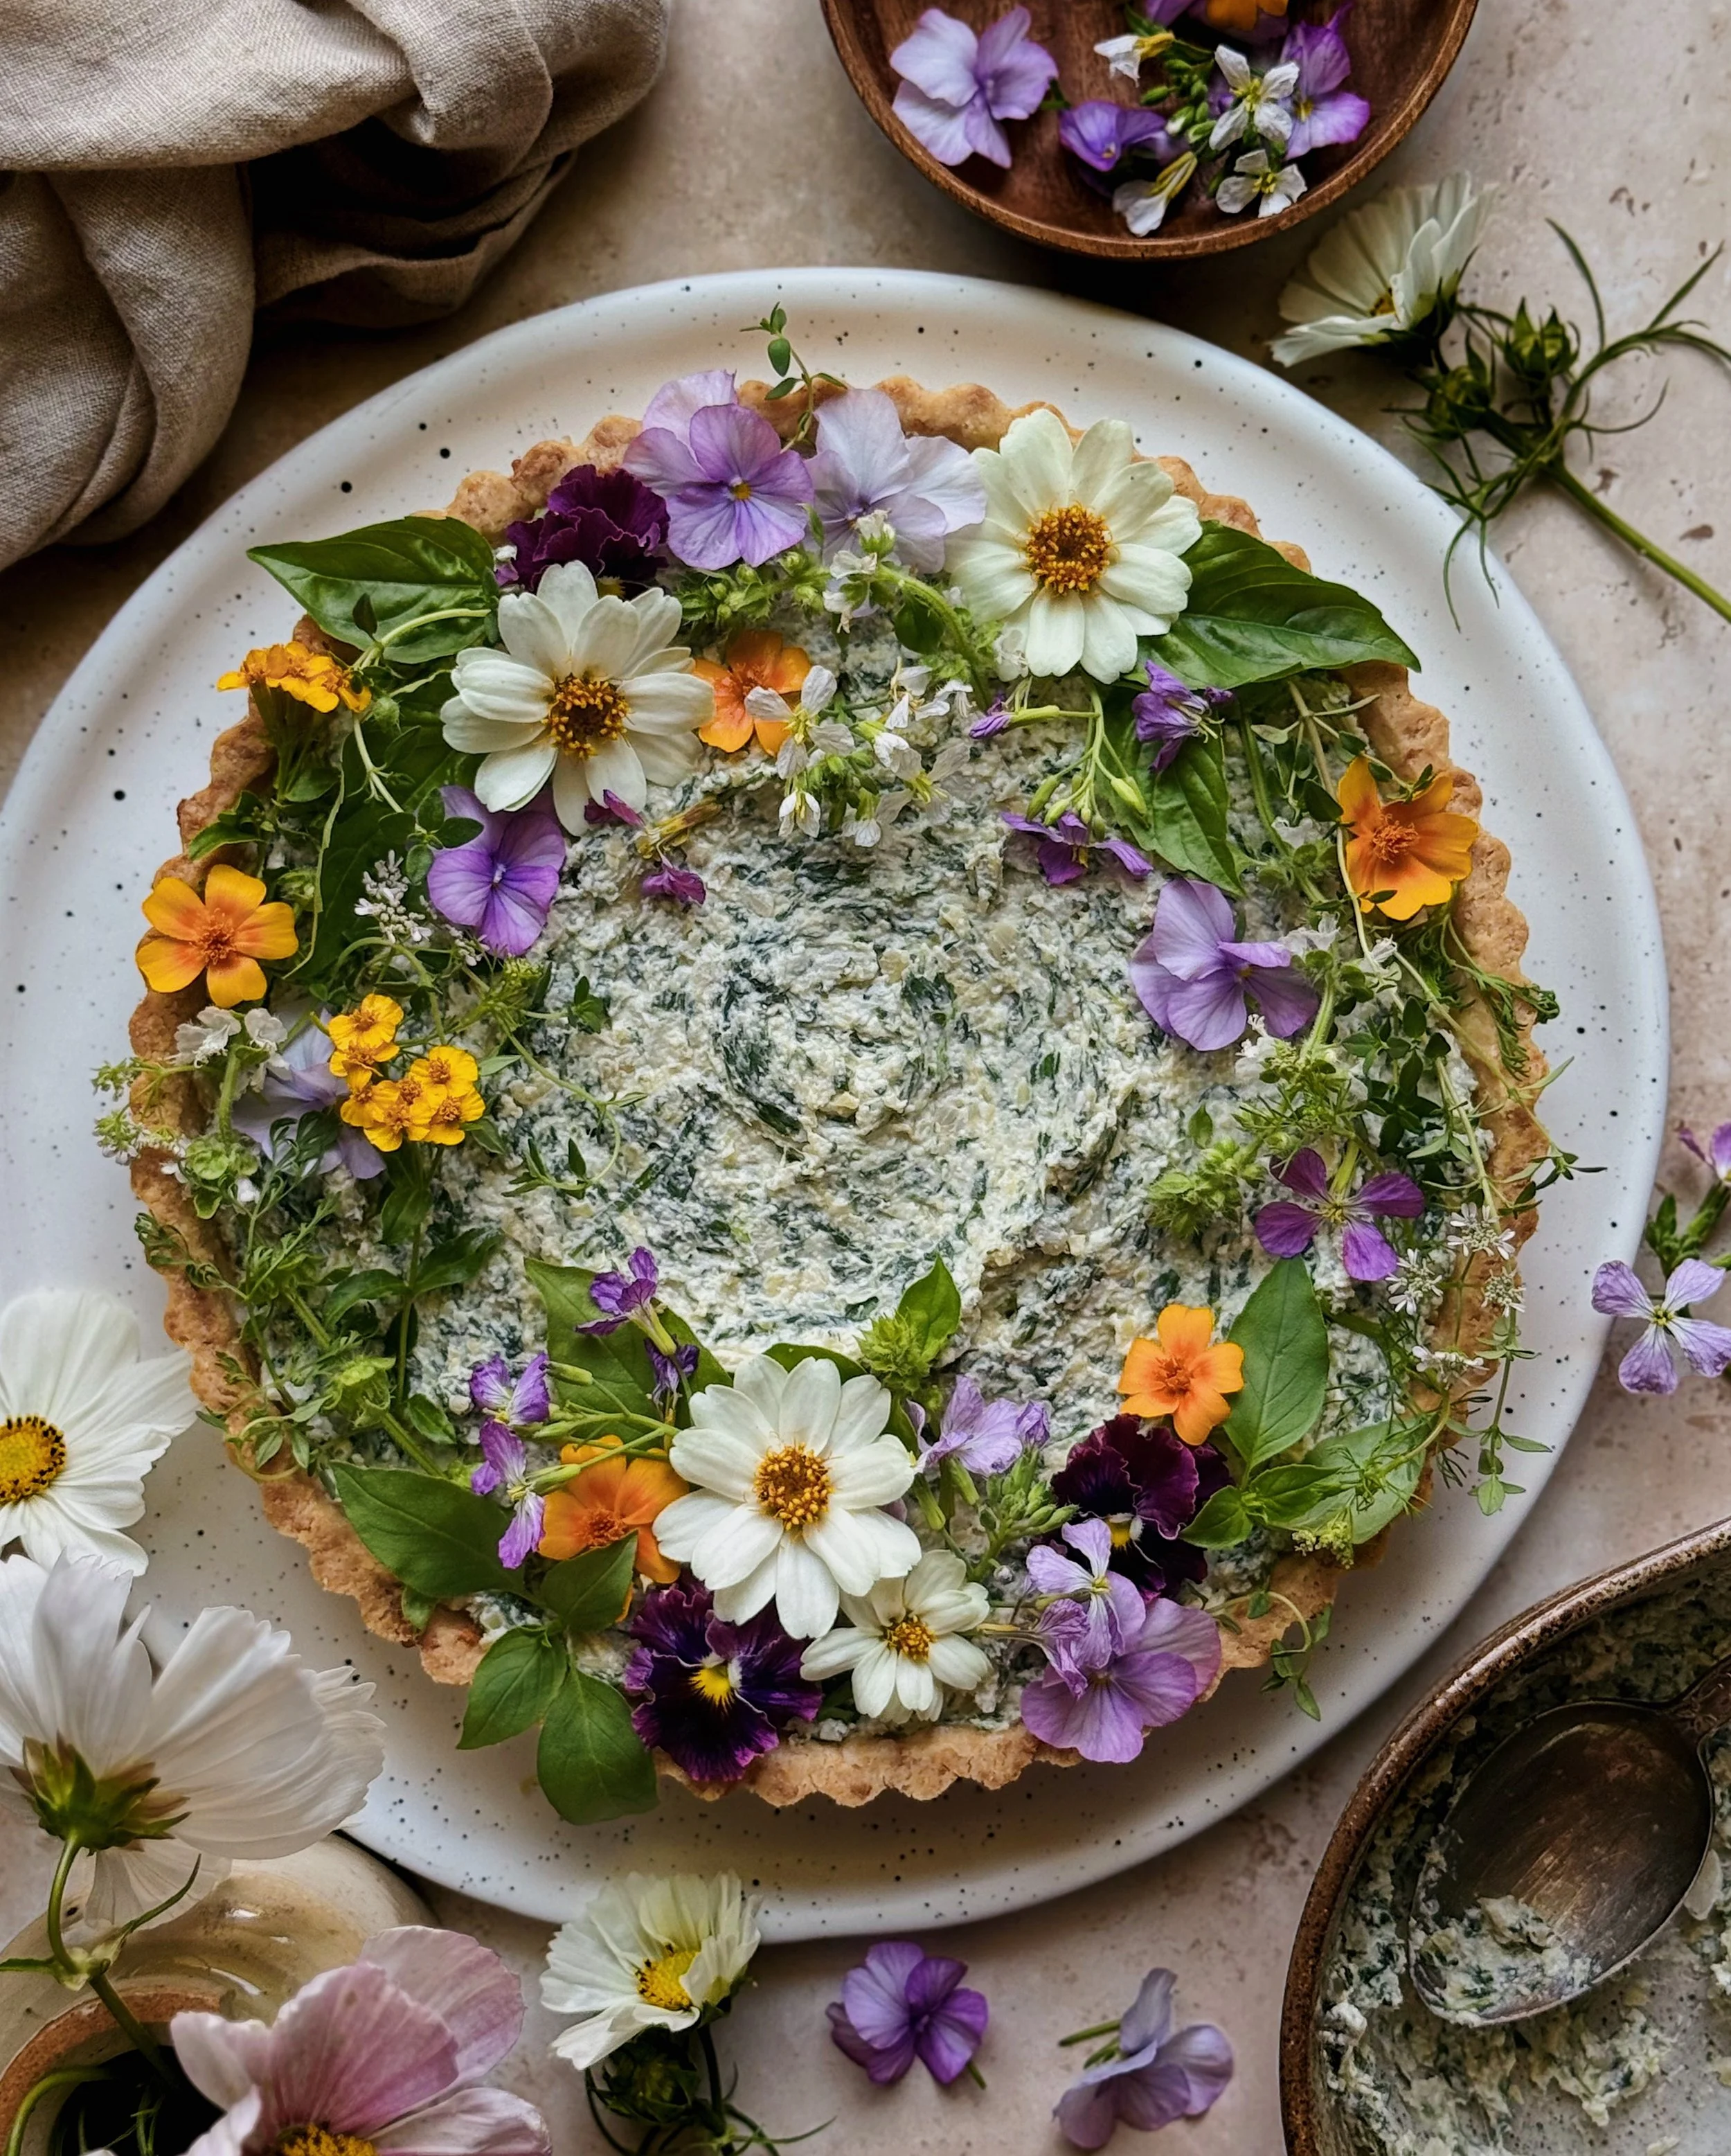
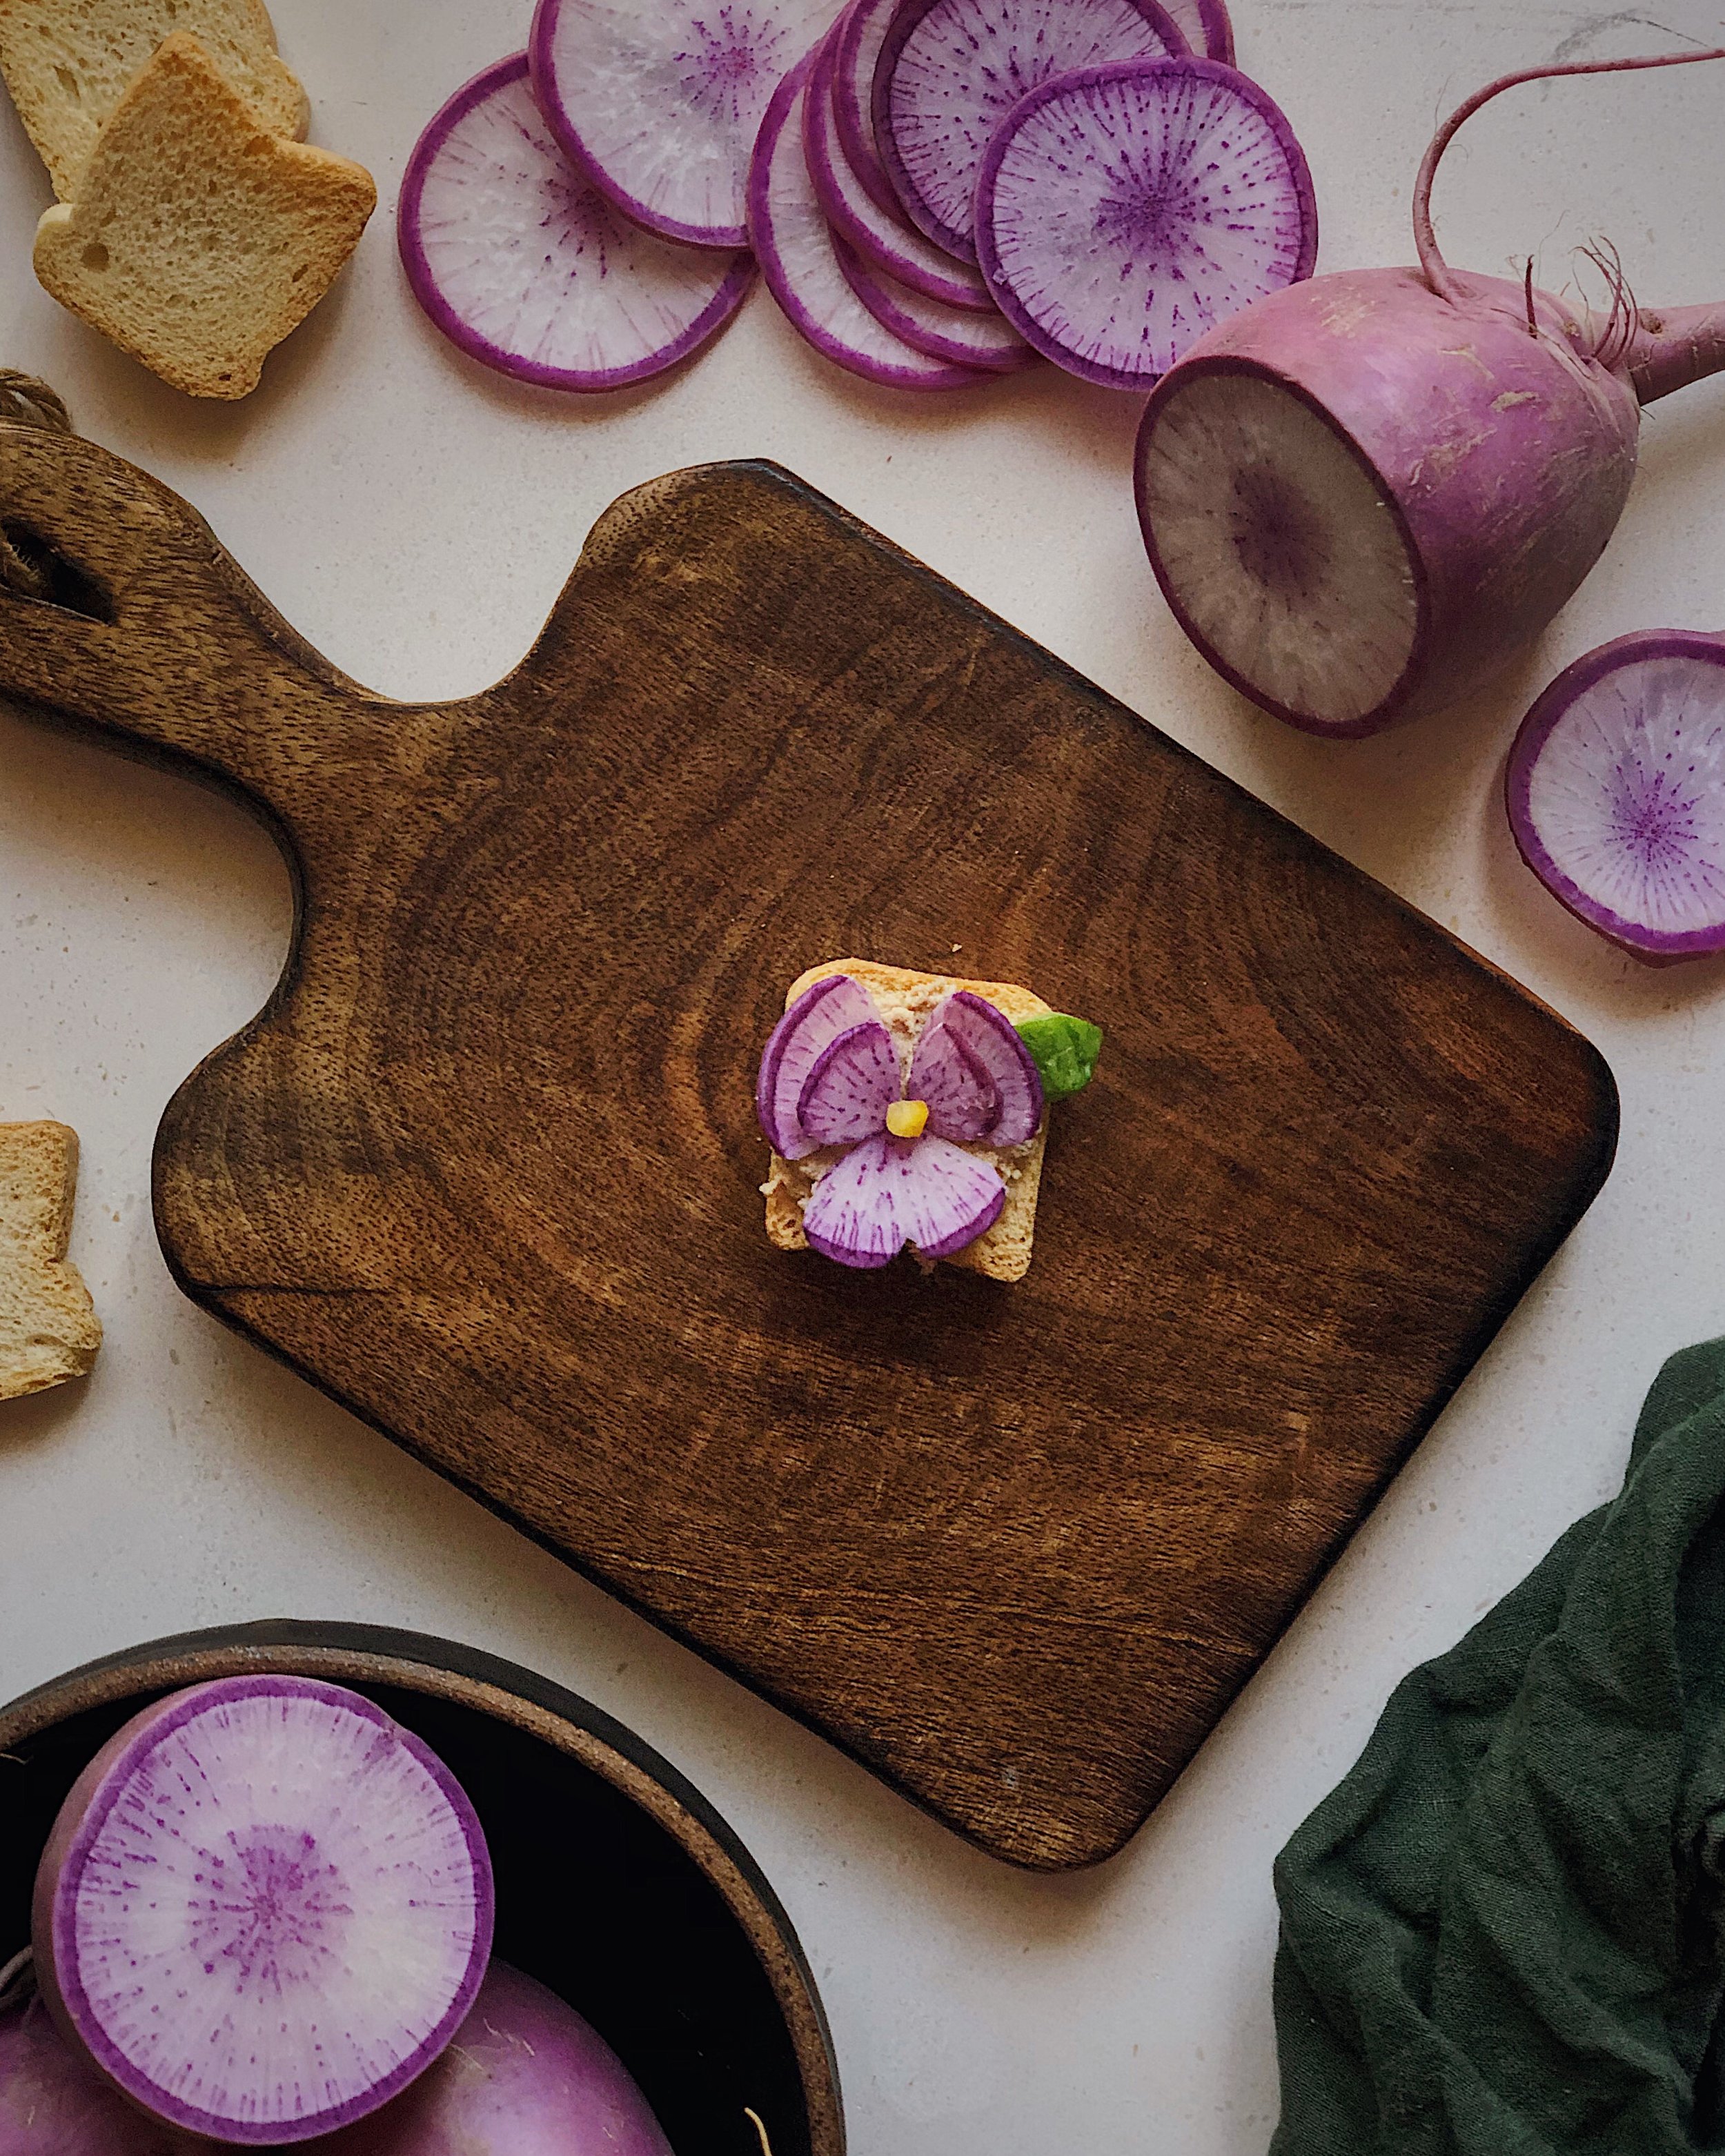
If you love pretzels and you’re looking for something to snack on with a little more chew while satisfying your autumnal obsession with all things pumpkin shaped, then I have a more precise recipe for pumpkin-shaped pretzel buns too, which you can check out here.
Here’s how to turn your favorite dinner roll recipe into pumpkin-shaped buns:
Start by making your batch of dough as you normally would. You can use whatever gluten-based 9”x13” bun/roll recipe you’d like and it should work, but I recommend using my pal Ariel Lee’s recipe, which is the one I used in the photos. Allow the dough to undergo the first proof.
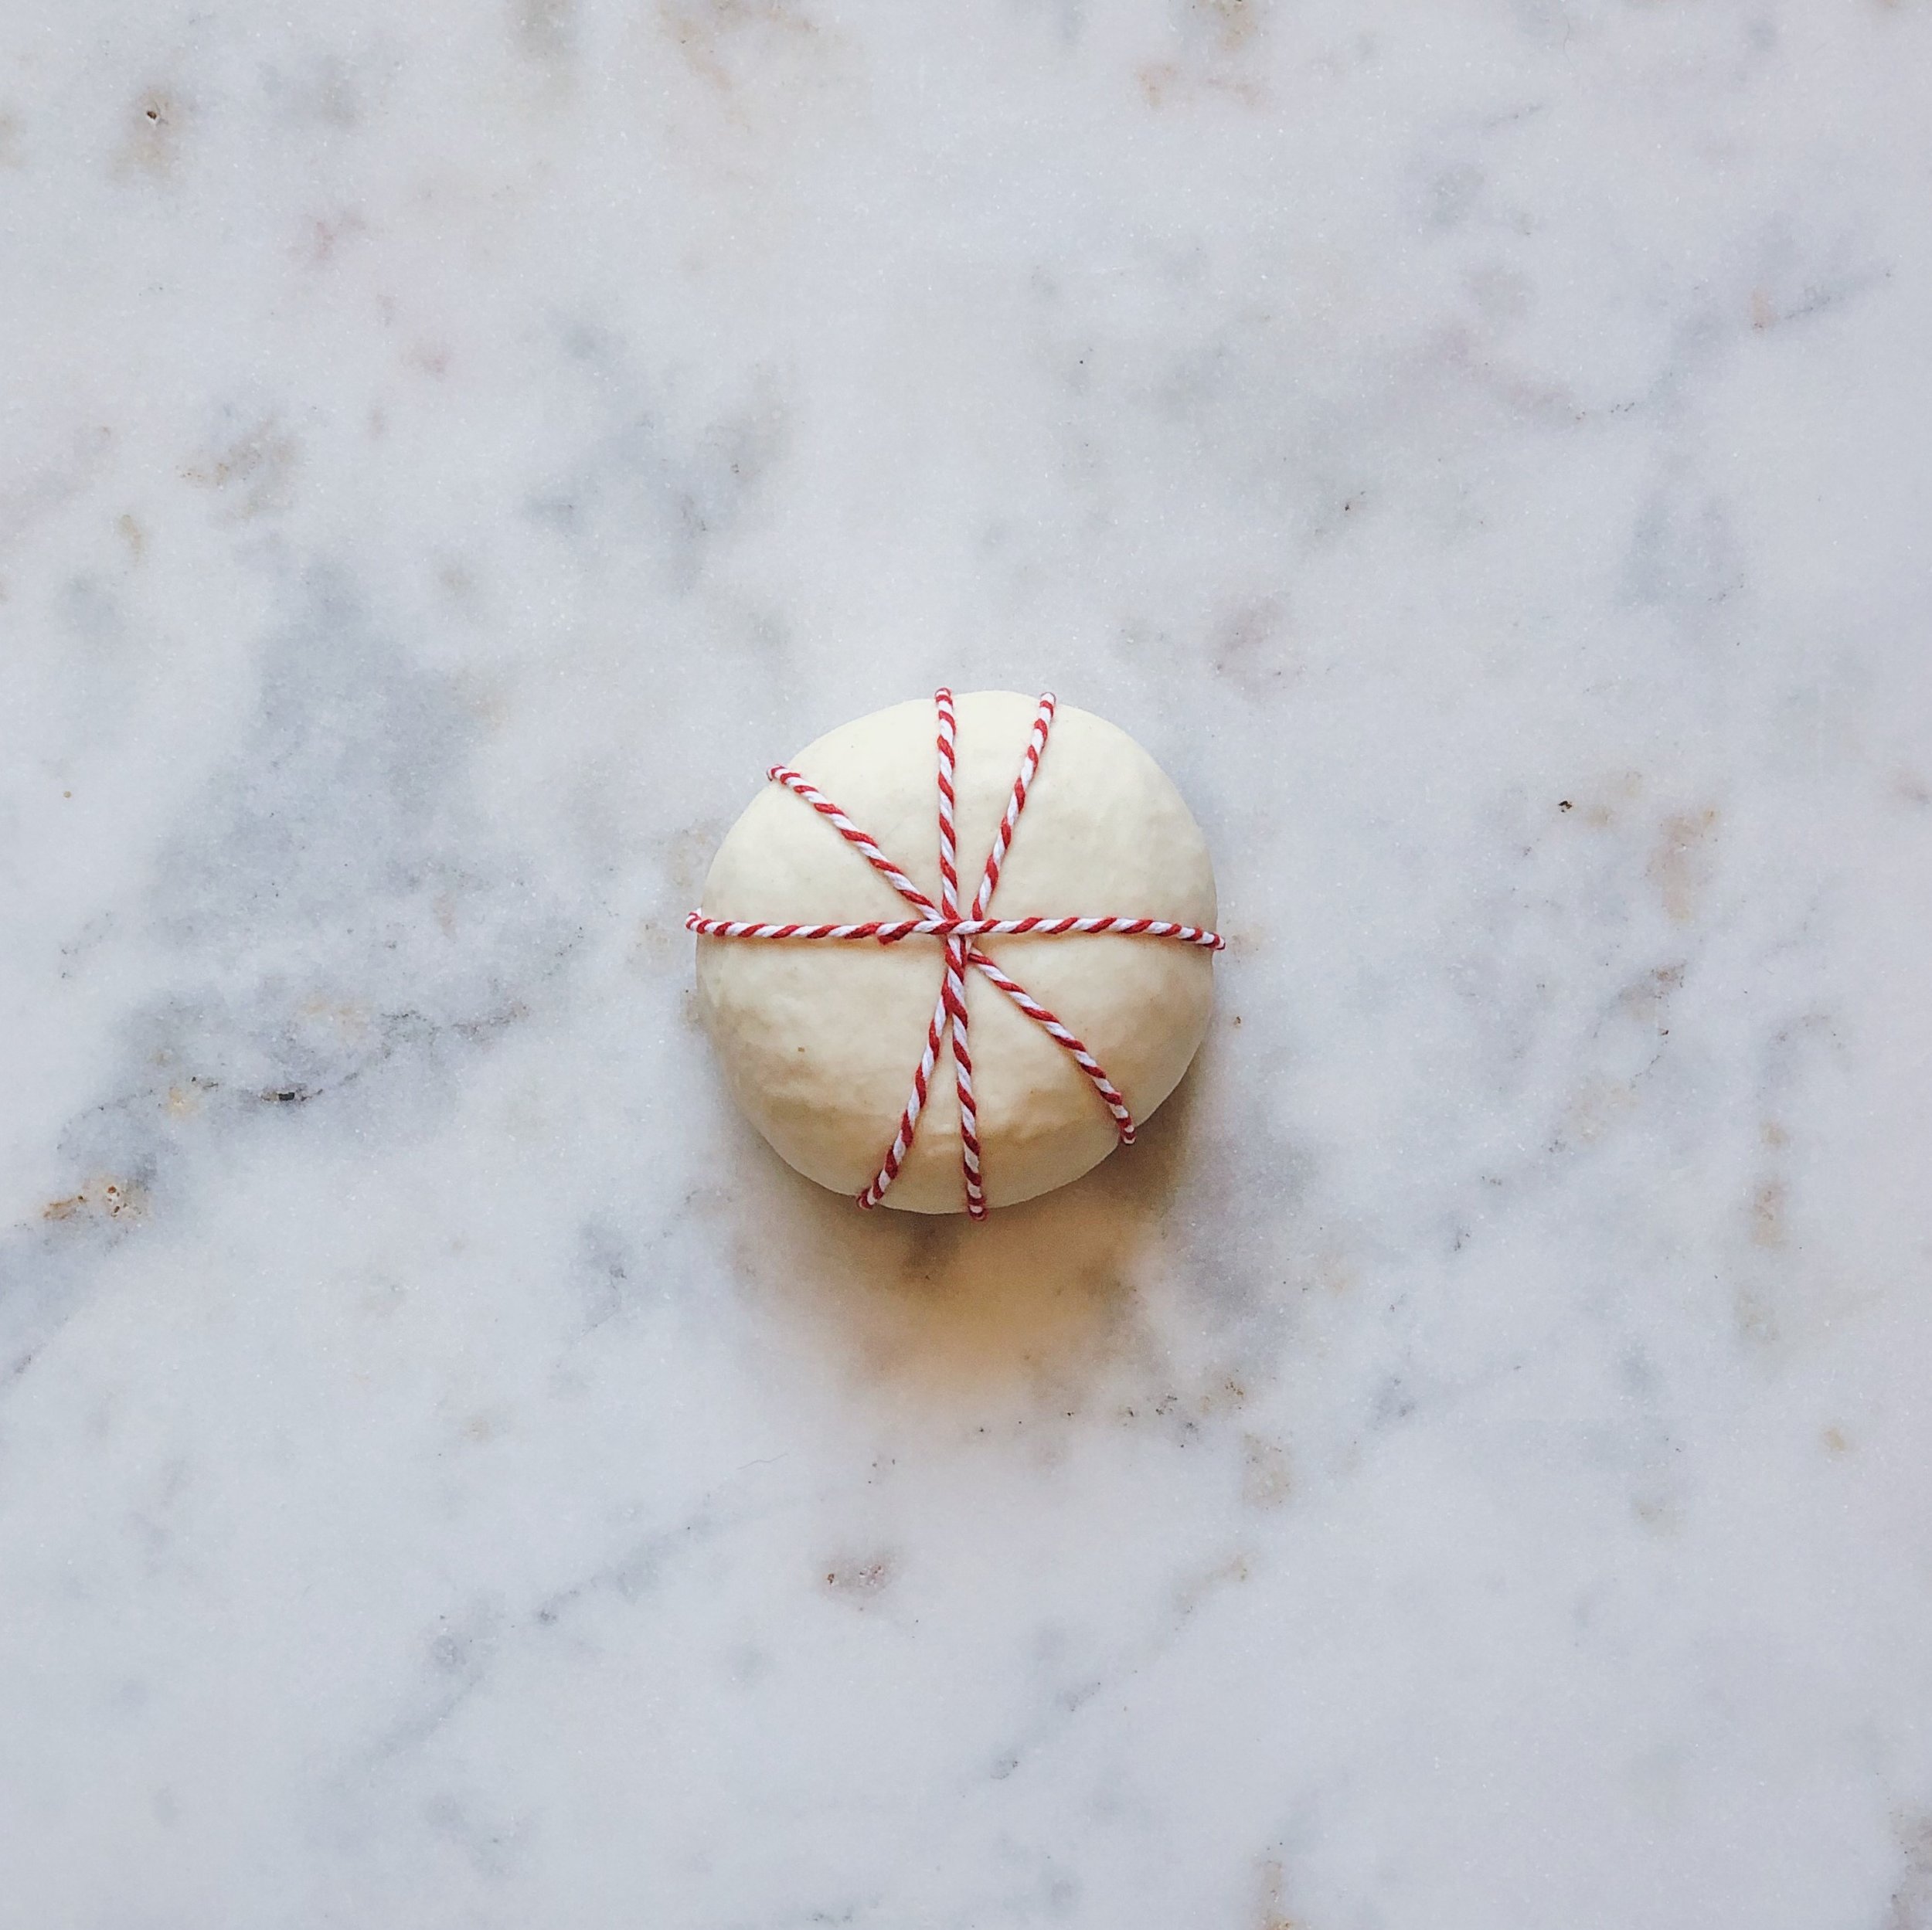
While the dough is proofing, prep your twine so you can do all the shaping efficiently when the dough is ready. Tying twine around the balls of dough is what creates those indentations of the pumpkin shape as the dough expands in the oven. Cut thin, food-safe baker’s twine into about 10-inch pieces. You will need 4 pieces of twine per bun and we’re making 8 buns, so you’ll need to prep 32 pieces of twine.
Preheat the oven according to your recipe.
After the first proof, divide the dough evenly into 8 portions. As you work with each portion, leave the others covered under a damp tea towel. Dust your hands lightly with bench flour but don’t use too much on your work surface as you’ll need a bit of surface tension.
Roll each portion of dough into a ball gently using the method used for shaping a boule: Flip the ball over and pull all of the edges into the middle to form a little pouch. Then flip it over again. Cup your palm and fingers gently around the ball to form a cage and roll the dough in a circular motion, using the tension with the work surface to seal the seams on the bottom and create an even ball shape. This will result in a nice domed surface on top while gently handling the dough to keep it light and airy. Repeat with all 8 pieces of dough.
For each portion of dough, lay out 4 pieces of twine to form an asterisk. They don’t have to be perfectly symmetrical; if you wish for your pumpkins to be a little more wonky because that is part of their charm, go ahead. However, I tried both irregular criss-crossing of the twine and others where I tried to make them as neat as possible and I found that the ones where I tried to keep them even are the ones that turned out looking the most pumpkin-like. The uneven shapes were more reminiscent to me of heirloom tomatoes.