


Recipe: Pumpkin-Shaped Pretzel Buns
/
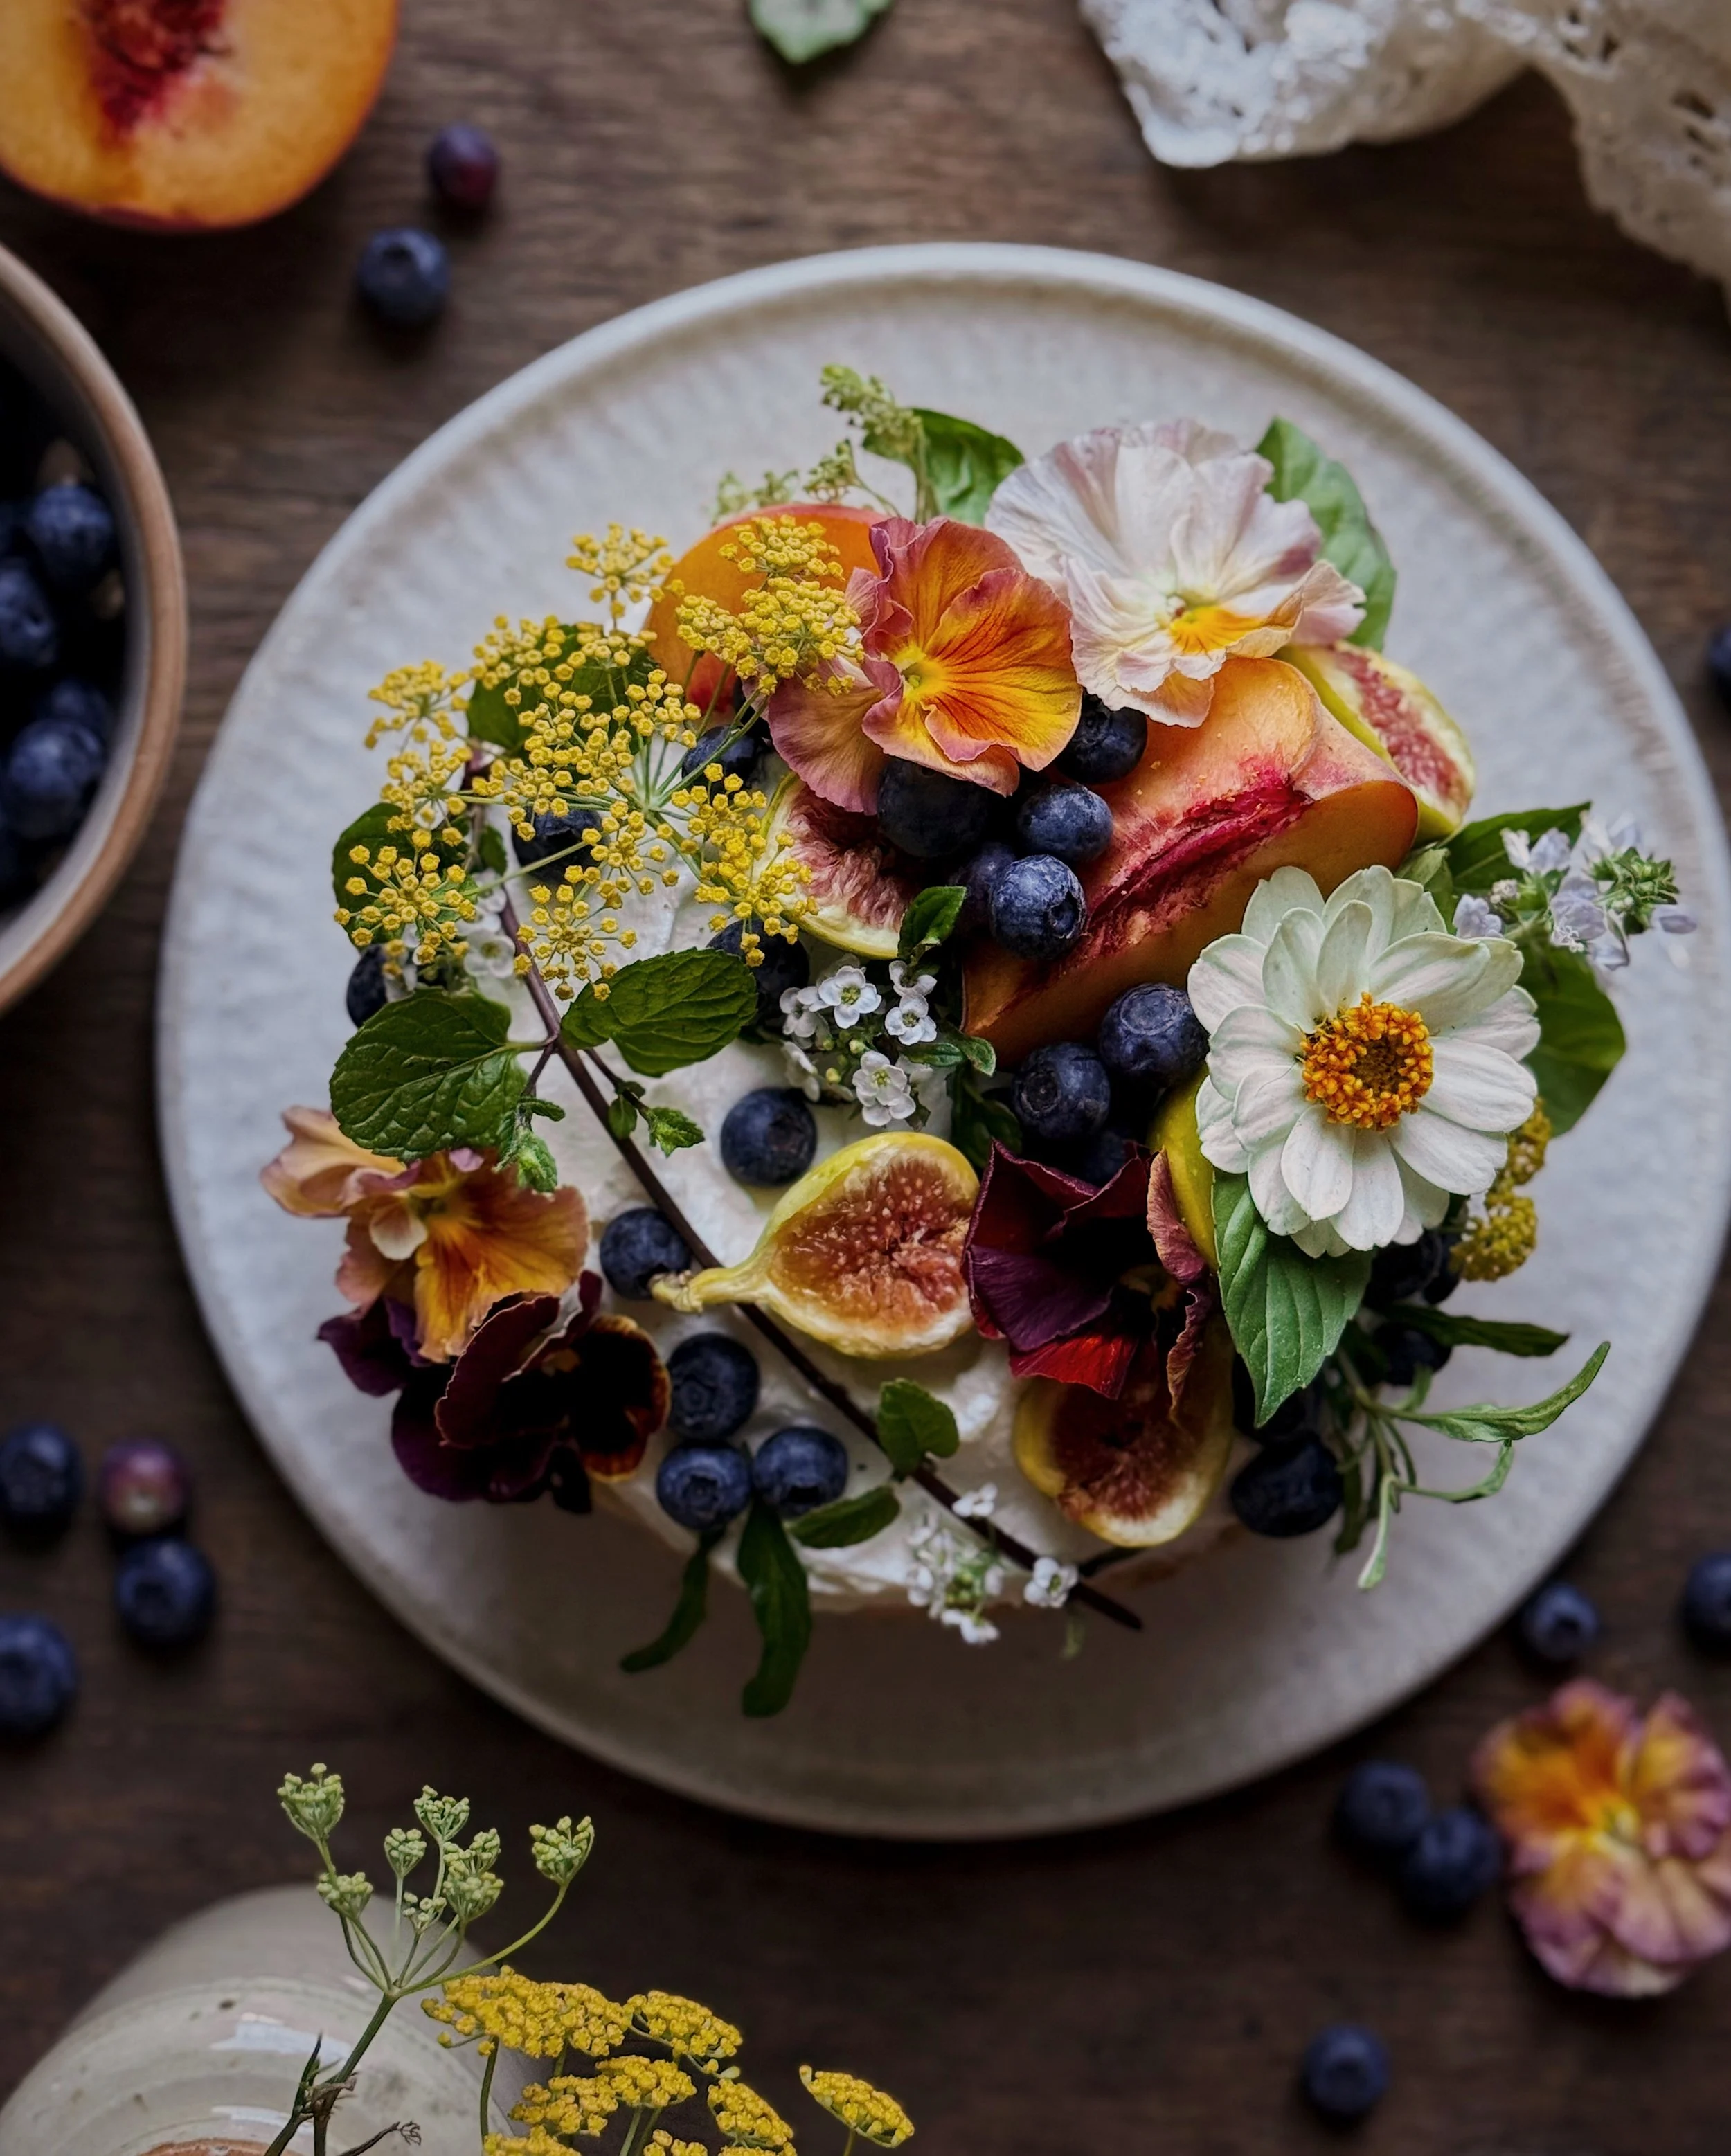
These photos of my finished and styled pumpkin-shaped pretzel buns are my favorite fall photos I have ever taken, so I really hope you like them too.
Having made pretzels several times now, I am still completely fascinated by them. I am awestruck and terrified by their traditional lye baths, and both relieved and amazed by how a baking soda bath can get the same brown look. I am mesmerized by the contrast in colors, and simply adore how such a relatively quick dough recipe can produce something so satisfying.
When fall rolled around and I started obsessing over pumpkin-shaped everything, I knew in my heart of hearts that pumpkin-shaped pretzels absolutely needed to exist. So, I decided to turn my go-to pretzel recipe into pumpkin-shaped pretzel buns. To be completely clear, this recipe will not produce the texture of a firm, chewy, traditional German pretzel. This is much more like the texture you’d find at a pretzel stand in an American mall (which I’ll shamefully admit I much prefer). Another disclaimer: I’ve made my soft pretzel recipe (adapted from Sally’s Baking Addiction) a few times, but unfortunately I only had a chance to try this pumpkin-shaped version once so far. So there are some caveats and learnings I want to share with you that won’t match the photos.
Some important notes:
Take a look at this photo below of the buns fresh out of the oven. This will show you the correct type of bakers twine to use. Do NOT use the coarse, textured brown twine seen in the beauty shots! That is clearly just there for the rustic aesthetic.
Also note that I tied the twine rather snugly around my dough balls. By the time I took the dough out of the water bath, I could already tell that I had made a mistake, as the dough does expand quite a bit with the boiling and baking processes. Keep your twine wrapped loosely to start, to avoid the twine getting so deeply embedded into your buns.
I went for rather irregular segments with my twine wrapping. Maybe go for a more symmetrical look so you don’t end up with heirloom-tomato-shaped pretzel buns.
UPDATE: I now have a step-by-step tutorial, with photos, for getting more symmetrical pumpkin-shaped buns. Check it out here!
But whether you do a better job than I did, or just the same regretful job as me, you’ll be able to enjoy them the same way. Tear those buns into wedges along those perforations, catch the smell of freshly baked pretzel rising out the middle, then dunk segment by segment into coarse mustard or cheese sauce. You certainly won’t regret that.


How to Make Pumpkin-Shaped Pretzel Buns
Ingredients
3/4 cup warm water
1 tsp (slightly heaped) active dry yeast
1 tbsp honey
1 tbsp butter, melted and cooled
2 tsp brown sugar
1/2 tsp salt
2 cups AP flour, plus more for dusting
nonstick cooking spray
coarse salt, for sprinkling
6 pepitas/hulled pumpkin seeds
For the Water Bath
9 cups water
1/2 cup baking soda
Procedure
Combine warm water, yeast, and honey in the bowl of your stand mixer and stir gently. Allow yeast to bloom and foam up for 5 minutes.
Add butter, brown sugar, and salt, and stir together. Fit stand mixer with the dough hook and turn on to the lowest setting. Begin adding flour, 1/2 cup at a time, until a dough starts to come together. Use a rubber spatula to scrape everything together. If the dough is sticky, add a little bit more flour.
Turn the mixer to medium high and knead the dough for about 5 minutes until it feels smooth and bouncy. Turn the dough onto a clean worksurface and roll into a smooth ball. Grease the inside of the mixing bowl, and place the ball of dough back inside. Cover with a damp towel and allow to rest in a warm place for 20 minutes.
On a lightly floured worksurface, divide the rested dough into 6 equal pieces and roll each piece into a ball.
In a large pot, combine water and baking soda for water bath and bring to a boil. Preheat oven to 425°F.
While waiting for the water to boil, wrap cotton baking twine around the balls of dough to form the ridges of a pumpkin shape (see notes above) and tie together loose ends or follow the typing steps shown here.
Place buns in boiling water bath for 10 seconds on each side, then place on a parchment-lined baking tray. (I find it is easiest to do this one at a time, placing the pumpkin upside down into the water first, then flipping in the water, then scooping onto the tray.)
Sprinkle coarse salt onto the buns. Brush with additional water from the water bath if necessary for more salt adhesion.
Bake for about 15 minutes, until the buns are a rich brown color.
Allow buns to cool slightly before cutting and removing the twine. Stick 1 pepita into the top-center of each to form a leaf/stem.