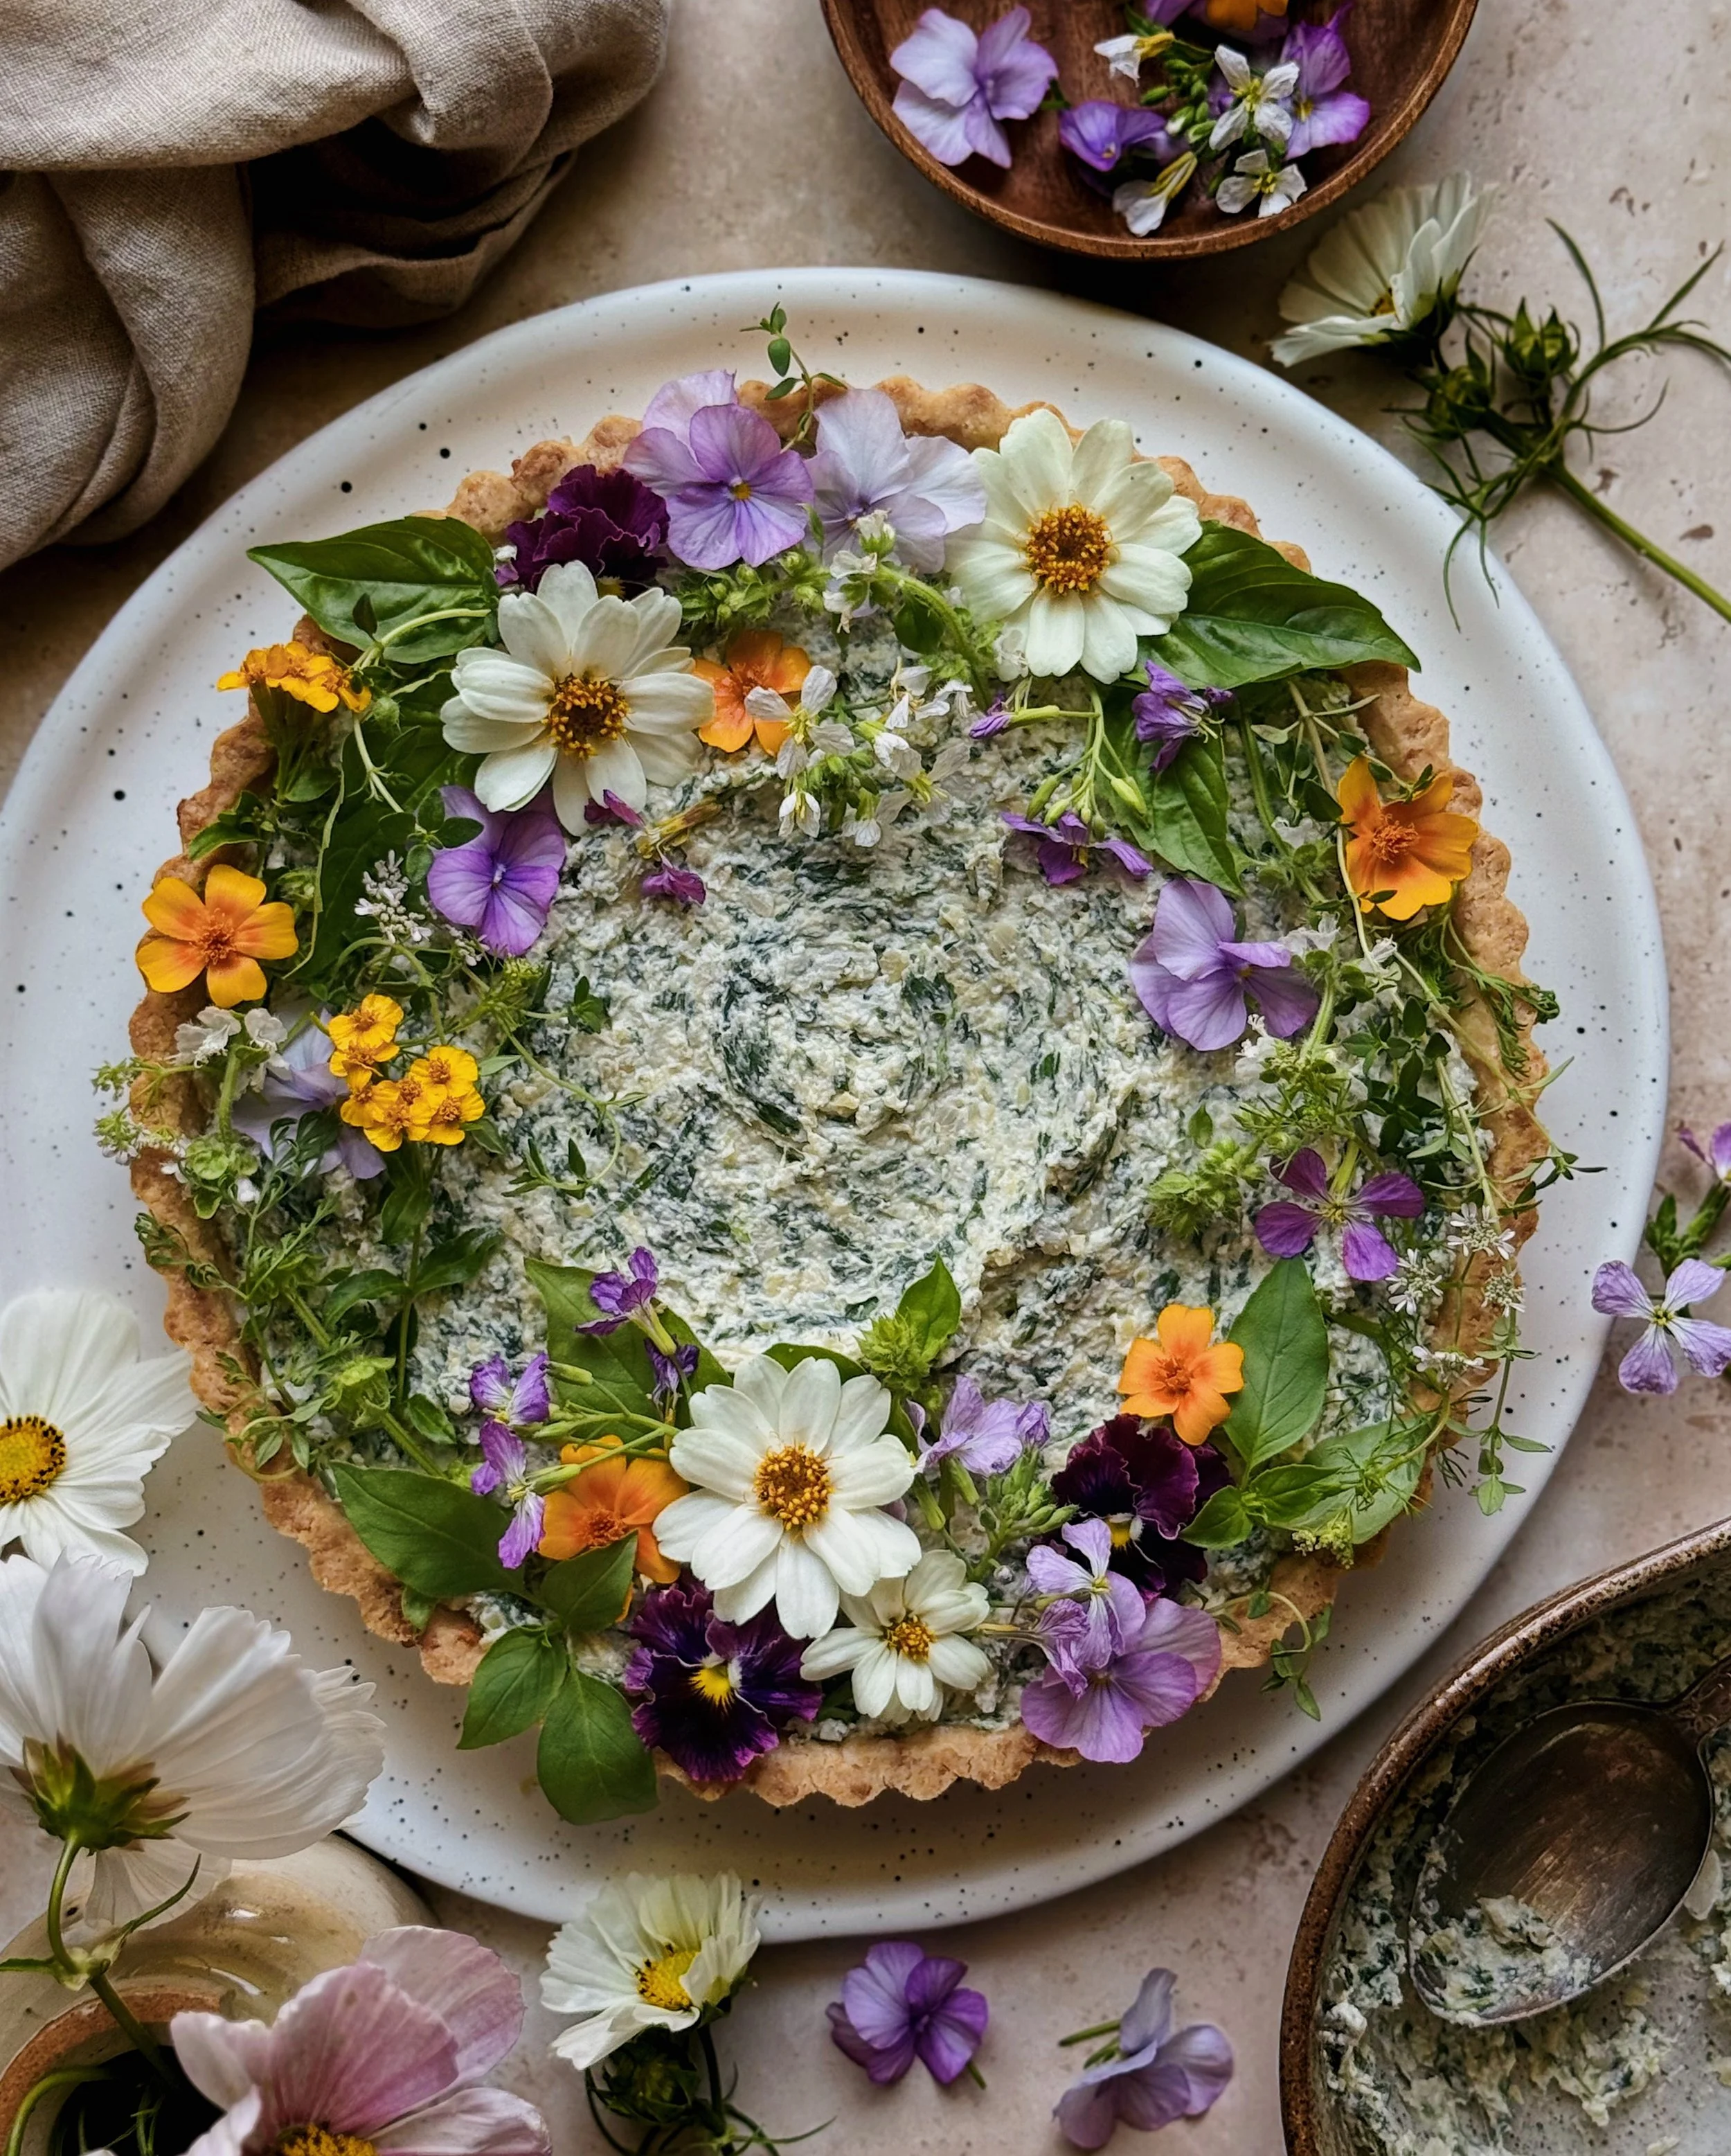


Recipe: Veggie and Pork Spiral Dumplings in Sparkling Wine Dumpling Sauce
/These jumbo vegetable and pork spiral dumplings are my latest mashup idea, perfect for a low-key Lunar New Year celebration at home. An seasonal filling of leafy greens (red chard, savoy cabbage, cilantro), umami-rich shiitake mushrooms, aromatics (leeks and garlic), and pork gets tucked into long strips of thin dough to form one long stuffed noodle, coiled into a spiral then pan-fried for a satisfyingly crispy bottom. The spiral dumplings are then served in a bright, savory sauce made with soy sauce, a hint of citrus, and a surprise ingredient of California sparkling wine, whose effervescence and a gentle hint of booziness gives the dish a celebratory feel.
This recipe was developed in partnership with California Wines. I know that Chinese food may not be the first pairing that comes to mind for sparkling wine but they actually work very well together. The dry acidity cuts through the fatty richness of traditional special occasion centerpieces like roast duck, and the bubbles refresh the palate between bites of savory, soy sauce-seasoned dishes like these dumplings. I am grateful that California Wines has given me the opportunity to share an example of how Chinese food is so much more than cheap takeout, and is as worthy of a sophisticated wine pairing as other globally revered cuisines. Dumplings carry so much meaning, care, and tradition, so pairing them with a California sparkling wine—both in the sauce and in the glass—feels perfect for the Lunar New Year season.
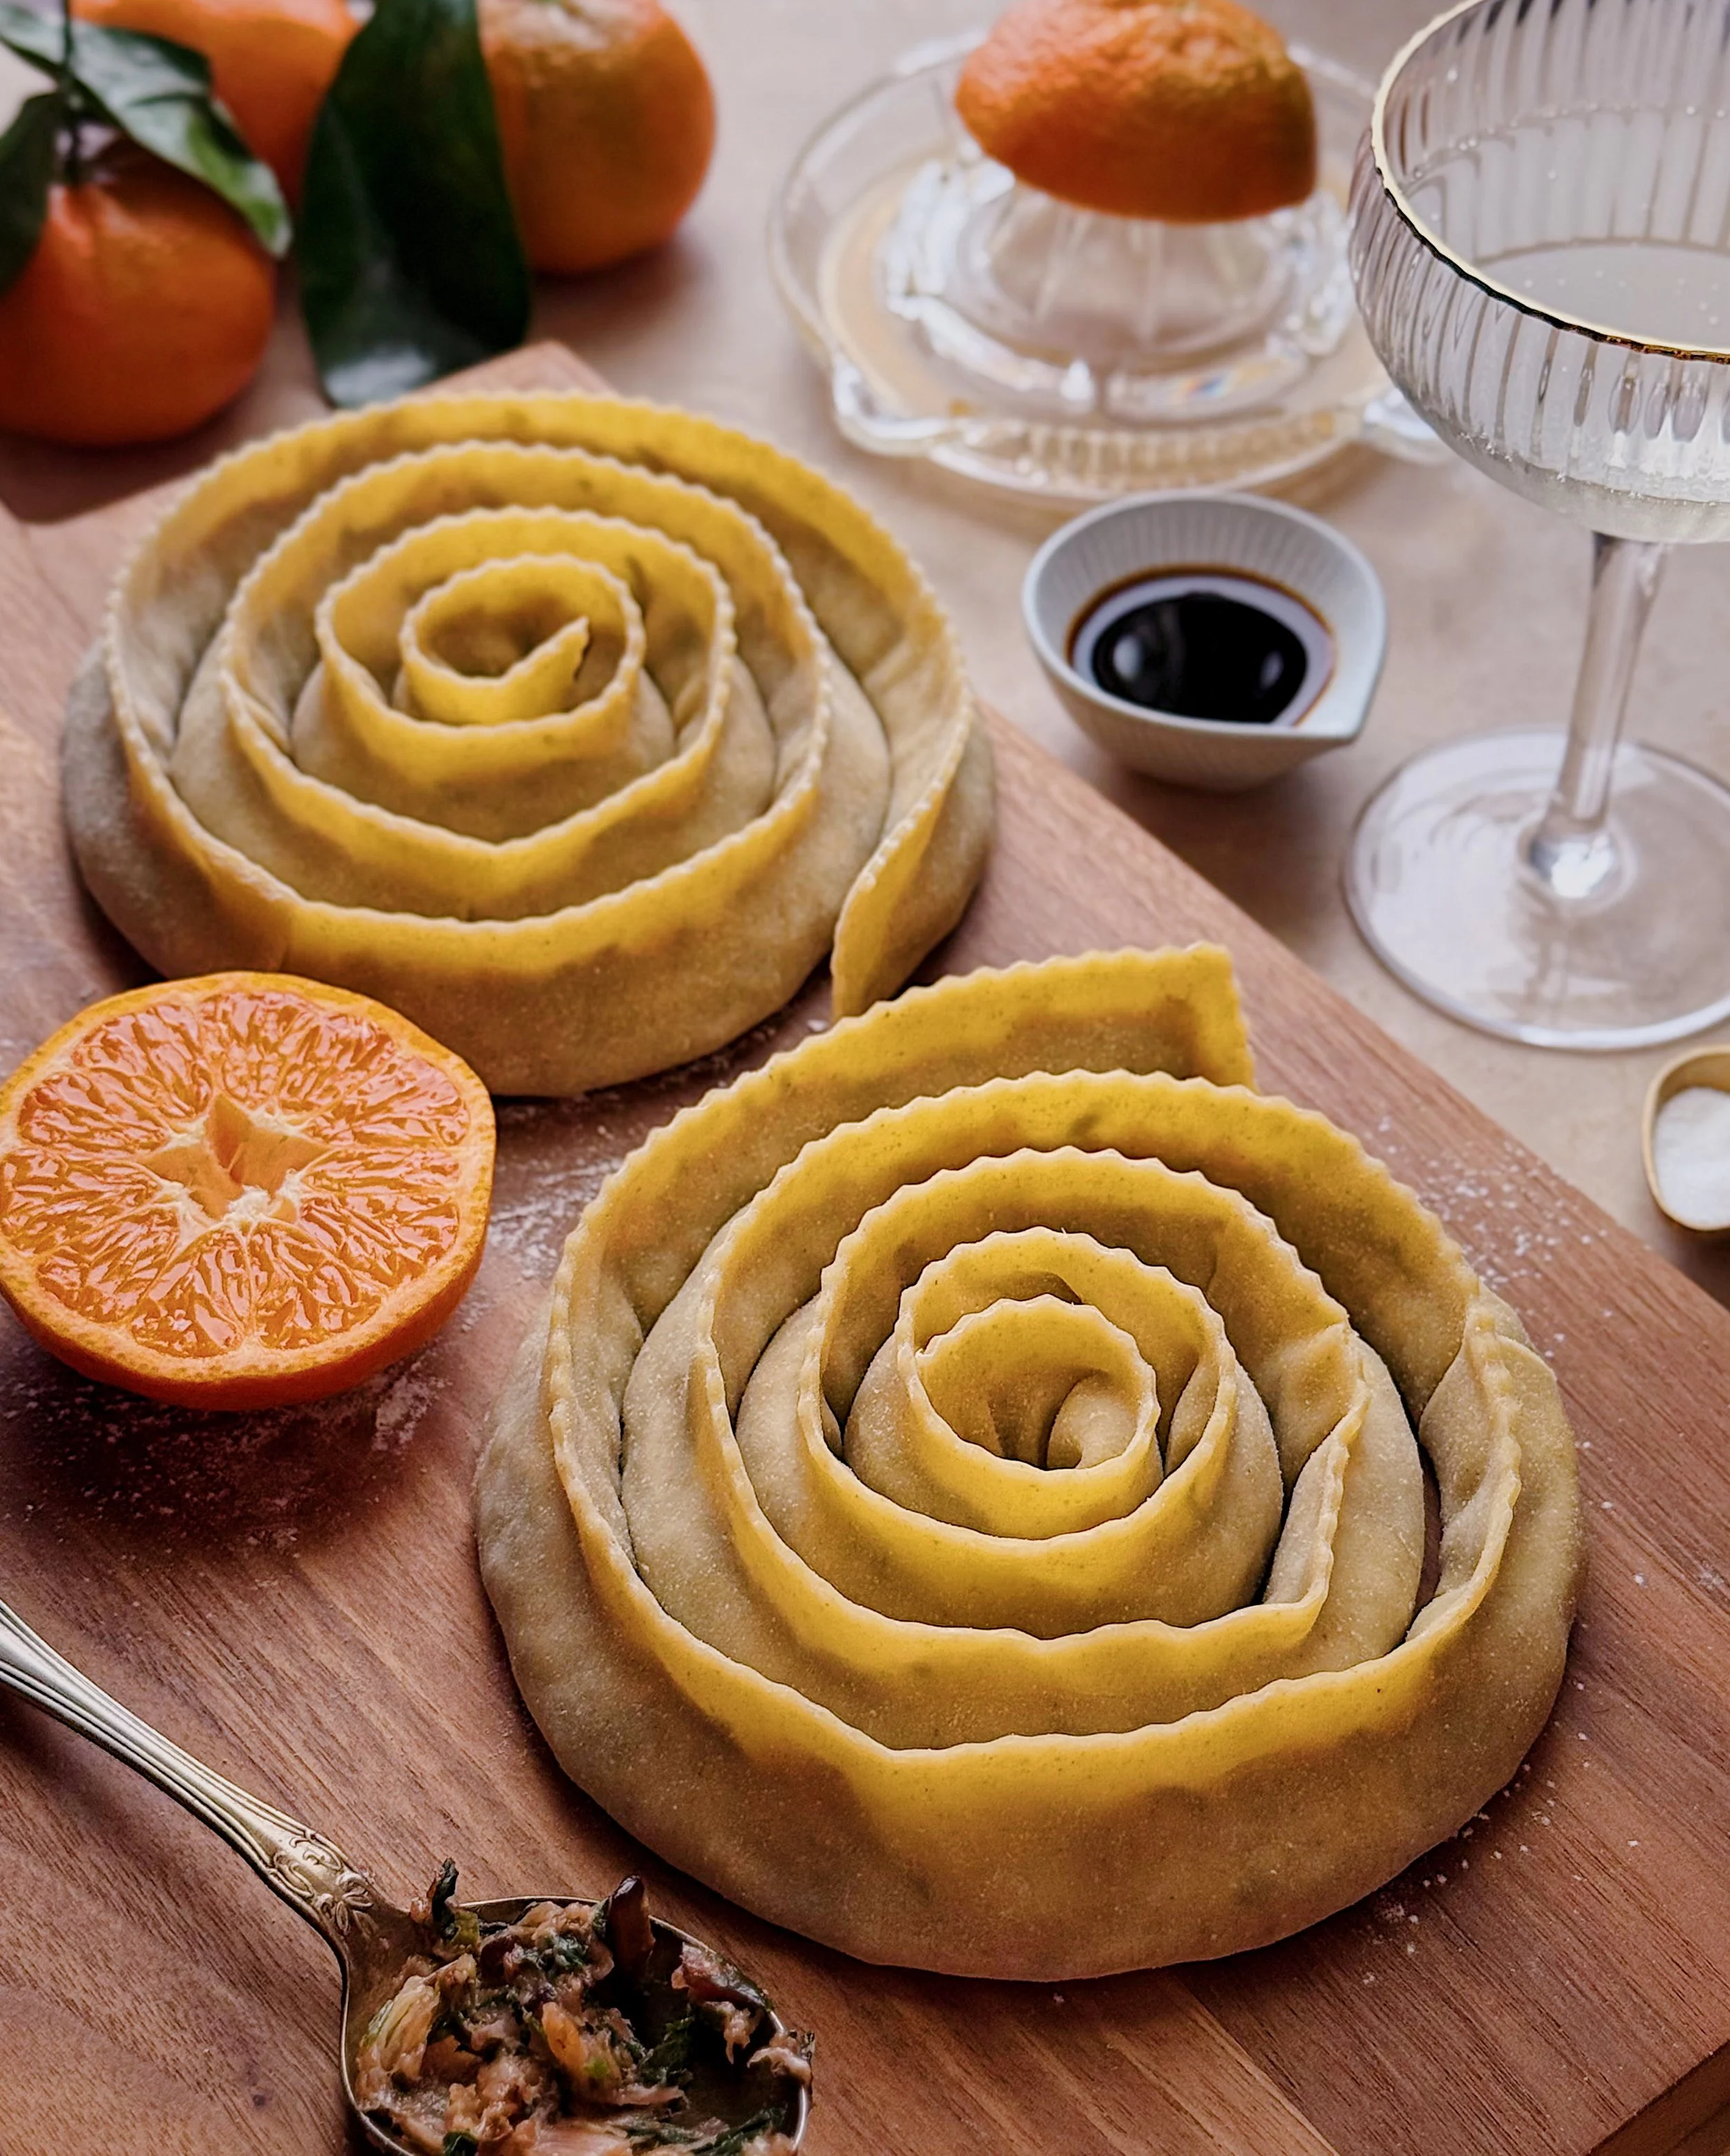
As part of Chinese traditions for celebrating the new year, many of the foods that we eat carry symbolism for wishes towards the year ahead. We eat dumplings because they resemble full purses or bags of money. And we eat noodles for longevity. Because I love hybridizing food concepts to come up with new delicious abominations, I decided that this year I could combine these two symbolic foods into one: a long, stuffed noodle dumpling coil which I will more succinctly refer to as a “spiral dumpling” from now on. I have seen Italian boiled pasta versions of this referred to as “girella pasta” or “spiral ravioli” but my version is distinctly cooked like a Chinese dumpling, steamed and pan-fried for a crispy bottom.
Notes About the Main Ingredients for Veggie and Pork Spiral Dumplings
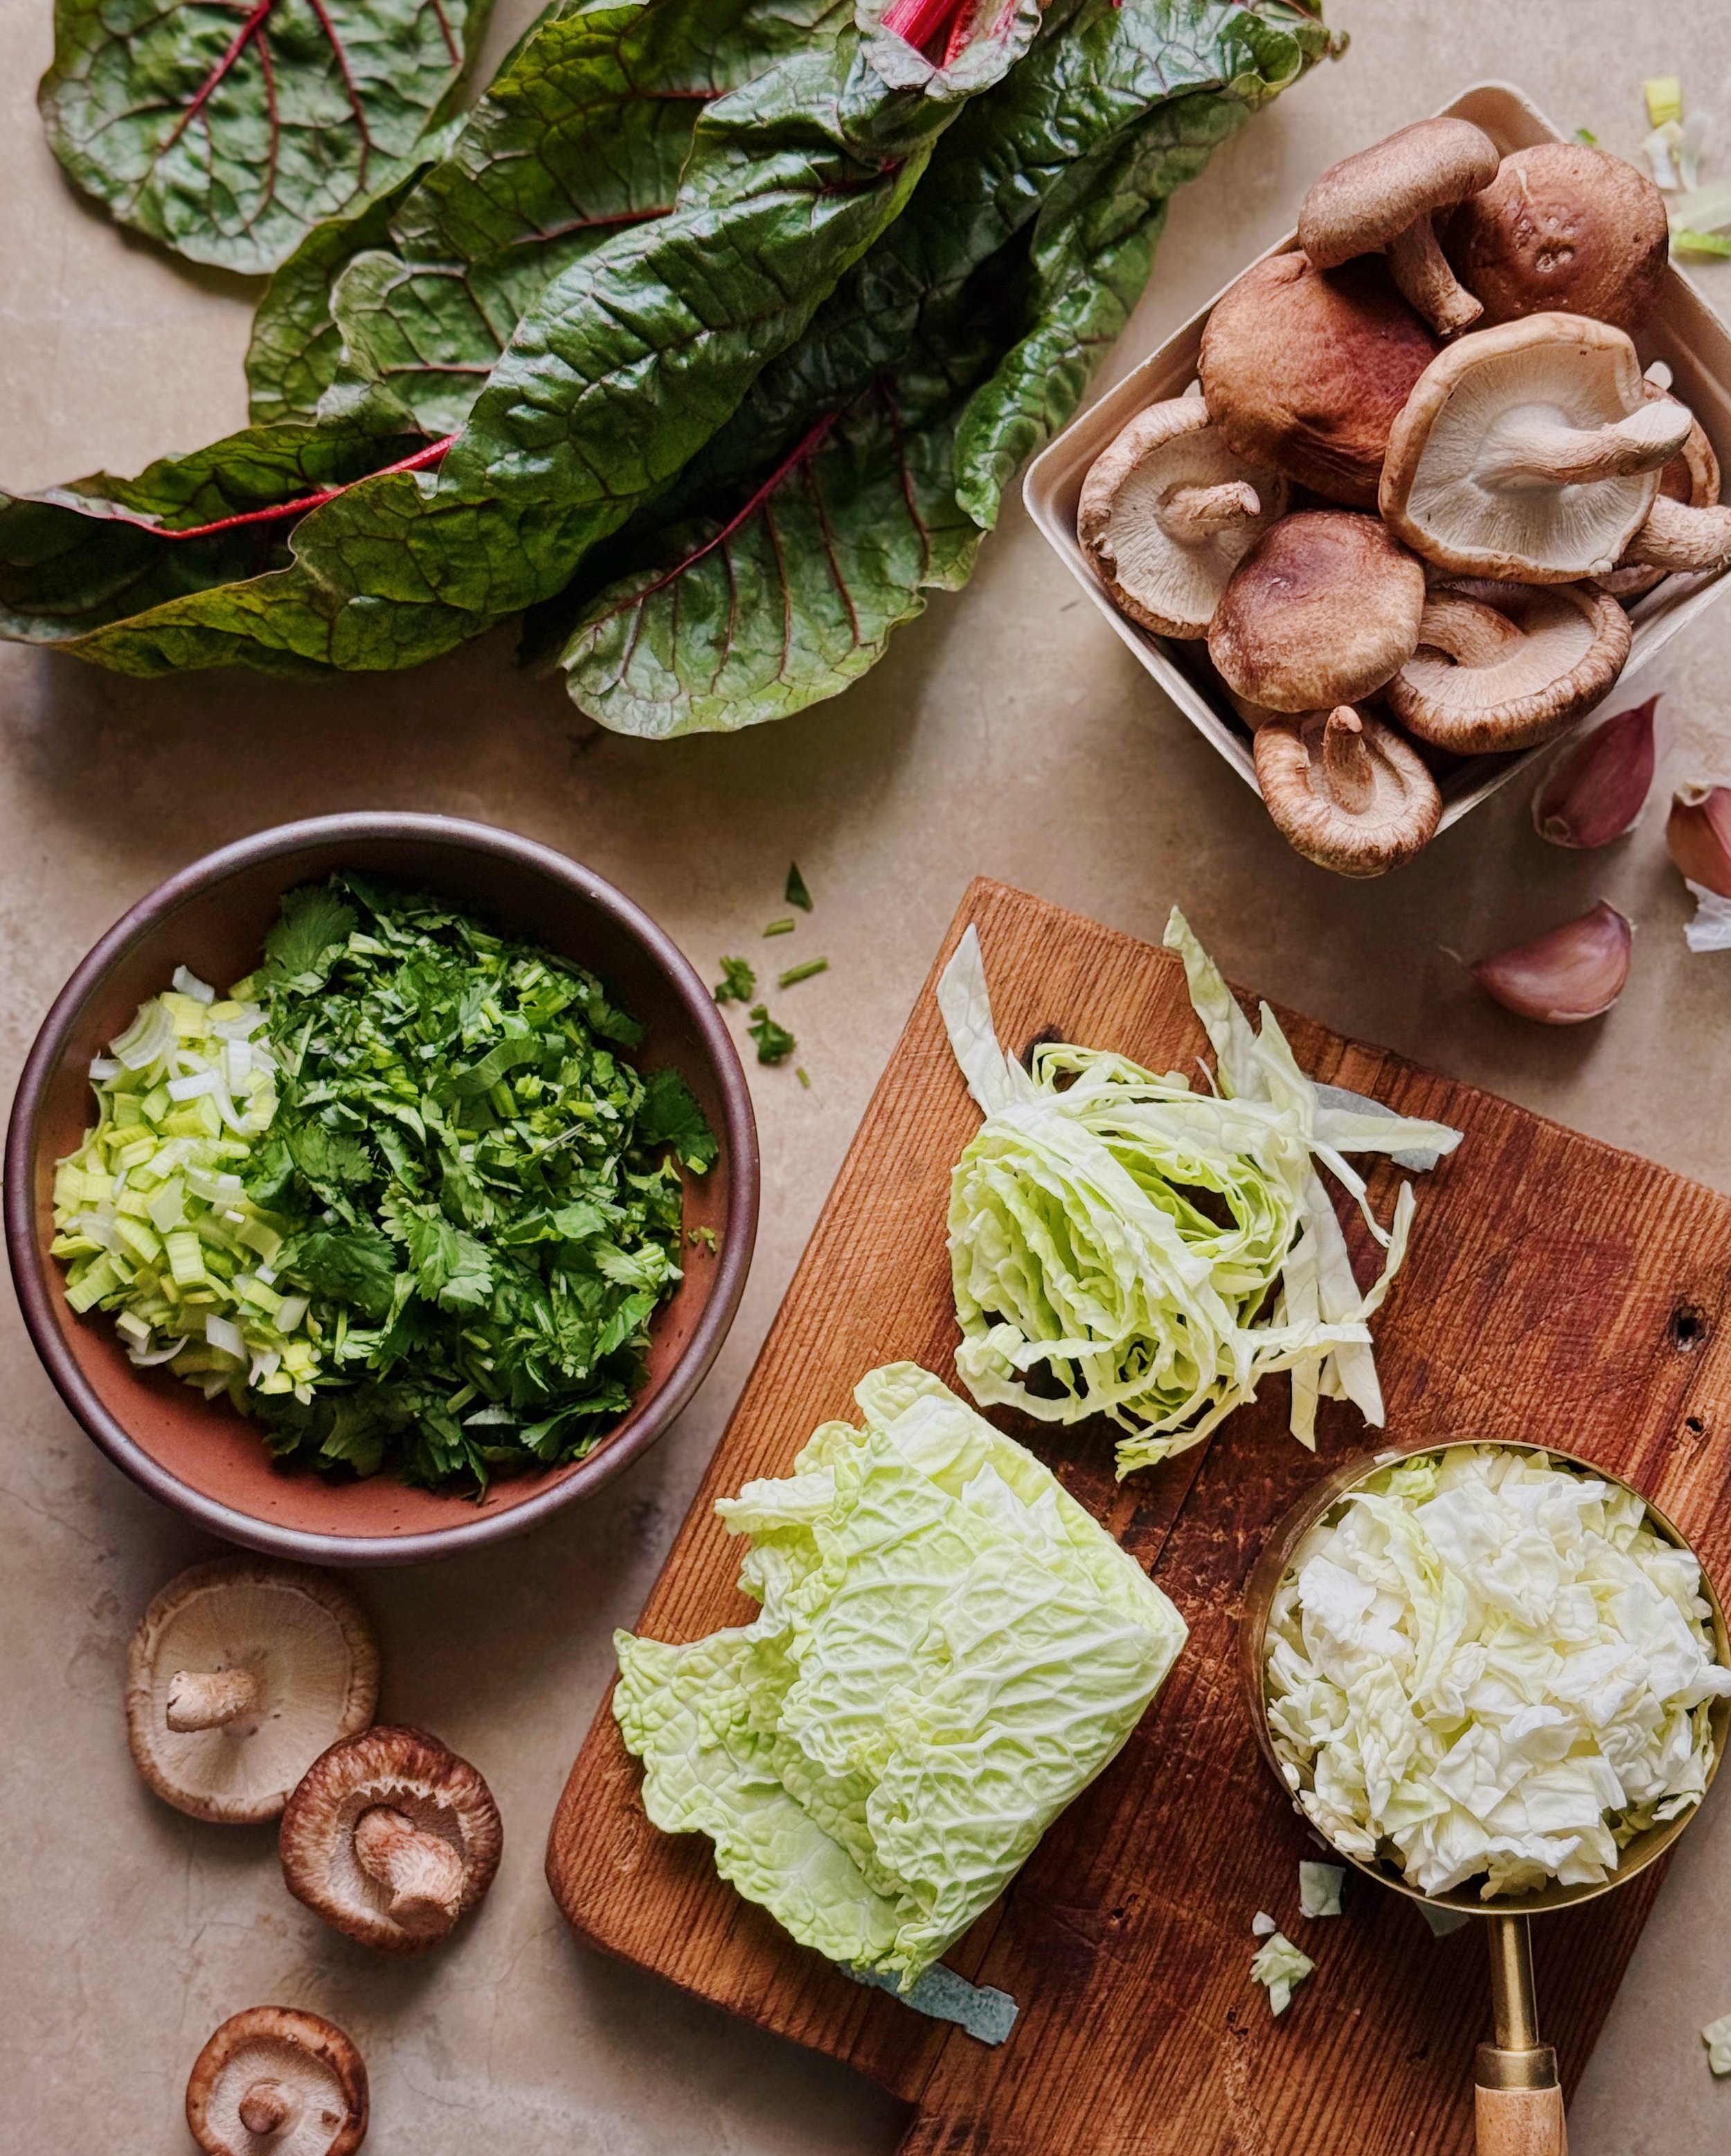
Red Chard: I wanted to feature a big leafy green in my veggie-forward dumpling filling because green vegetables are symbolic of growth and prosperity. Leafy greens are grown year-round in California, but in winter, especially, I think they become the stars of the farmers markets, with big piles of jumbo leaf bouquets at all the vegetable stalls. I particularly find chards to have a richer, more complex flavor than other more typical dumpling choices like bok choy or spinach, so I thought this prominent California crop was perfect for my quirky non-traditional creation. Plus, the red stems seemed like the right fit for a holiday where the red is considered a lucky color. Chop the leaves and tender cores into 1/4” pieces for a homogenous dumpling filling.
Savoy Cabbage: Cabbages and other brassicas are also grown all year in California. Like the red chard, this isn’t the typical cabbage choice for dumpling filling but I enjoy the texture that comes from the crinkly leaves of savoy cabbage. I also find that it is easier to handle this densely-packed cabbage when chopping it finely to prepare the dumpling filling. You’ll want to chop these into 1/4” pieces too.
Fresh Shiitake Mushrooms: Many classic Chinese recipes will utilize dried shiitake mushrooms but I find the tender texture of fresh shiitakes to be so much lovelier, while still bringing all their natural umami flavor into the mix. Fortunately, fresh shiitakes are easy to find from California mushroom farms! Trim off any hard stem ends and then chop these up into 1/4” pieces like the other veggies.
Leeks: California-grown leeks bring a little aromatic sweetness to the dumpling filling. I used only the tender light green and white parts and chopped those to the same size as the other veggies. (The darker green tops are great for throwing into soup stocks!)
Garlic: It wouldn’t be a savory recipe of mine without some garlic. I used a subdued 2 cloves for this recipe (1 per dumpling) but feel free to measure with your heart.
Cilantro: I know not everyone agrees, but I absolutely love the taste of cilantro. I added California-grown cilantro at the very end when cooking the vegetables for the filling, in order to retain its fresh herbaceous flavor.
Ground Pork: I used just enough to bind together all the vegetable bits and give this dumpling filling a plump, juicy, satisfying bite.
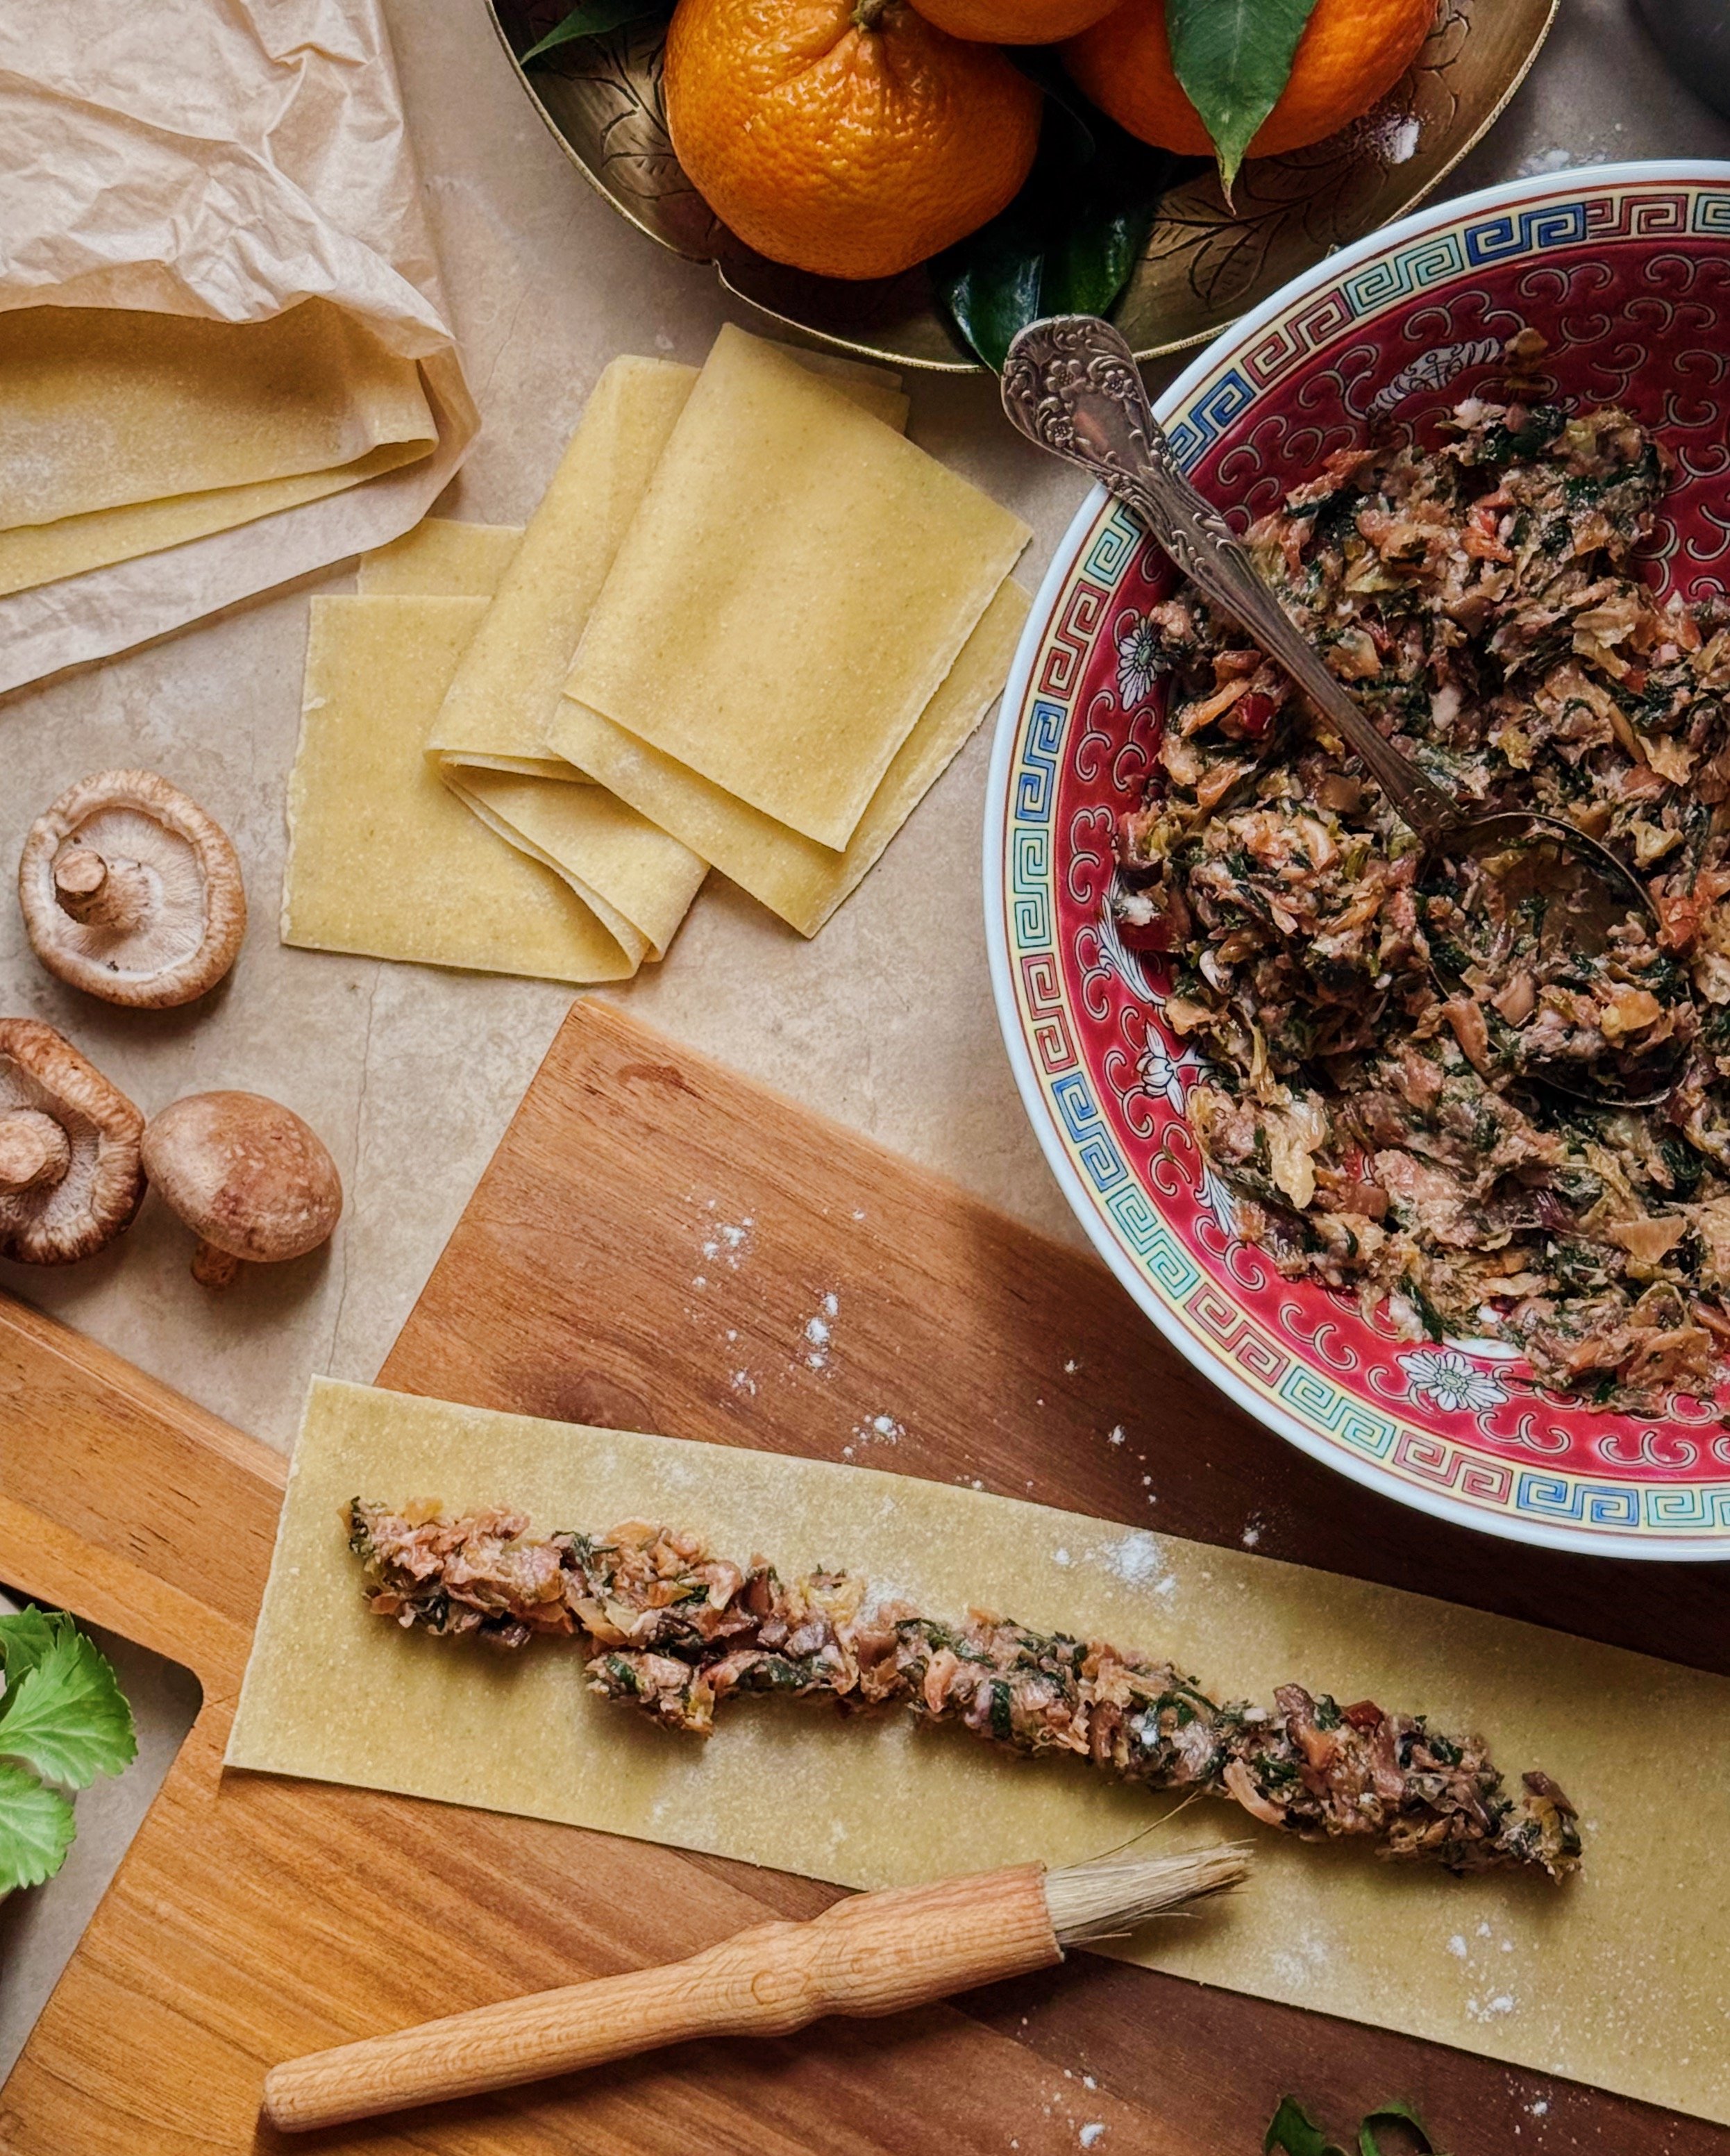
Fresh Pasta Sheets or Eggroll Wrappers: Since the goal was to keep this recipe simple for a low-key Lunar New Year celebration at home, I opted to use store-bought fresh egg pasta sheets as my dumpling wrappers. (If you like making fresh pasta at home, you can certainly do that too.) I have a great local Italian market that sells very fresh pasta sheets which work so well for this recipe, and their golden-yellow color is perfect for the occasion. Because the pasta is super fresh, it seals very nicely simply by applying a little water and pressing together. I tested this recipe with packaged refrigerated lasagna sheets and found them to be too dry to come together as a dumpling wrapper. So if you can’t find super fresh pasta, a much better alternative—which I found at even mainstream supermarkets—is packaged eggroll wrappers. These are even thinner and softer than the fresh pasta I used, and when I tested the recipe with them, they worked just as well. You will be cutting your wrappers into 3” strips and connecting multiple together to make these extra long stuffed noodles. For each big spiral, I used one 9”x12” pasta sheet cut into 3 strips. Most eggroll wrappers come as 6” squares, so alternatively you’ll need two of these per dumpling, cut into halves.
Note that when making dumplings with a predominantly vegetable filling, you will want to cook down the vegetables first. Mushrooms and leafy greens release a significant amount of water and change their form dramatically when cooked, which you want to happen before you stuff them into the wrappers. For this recipe, all the chard, cabbage, shiitakes, leeks, garlic, and cilantro get cooked and seasoned first, resulting in roughly just over 1 1/4 cups of cooked vegetables. This mixture should be cooled completely before being combined with ground pork and a bit of cornstarch to bind everything together. If you can plan ahead and cook (then refrigerate) the veggies the day before, the rest of the recipe will come together in a snap the next day!
Notes About the Ingredients for the Sparkling Wine Dumpling Sauce
Soy Sauce: The sauce for this recipe takes inspiration from ponzu sauce, which is a soy-based sauce combined with other bright, acidic flavors. So, similarly, this staple of Asian cooking will serve as the flavor foundation for the sauce for these spiral dumplings.
Freshly-Squeezed Mandarin Orange Juice: Where I grew up in California’s Central Valley, citrus trees loaded with way more fruit than their branches could hold were an iconic winter sight. Mandarin oranges are an especially prominent feature of the Lunar New Year table. In Cantonese, their name is a homophone for “gold” and as you have probably noticed by now, wishes of prosperity and wealth are a major part of Chinese celebrations. I wanted my dumpling sauce to have notes of citrus, so I opted to use freshly squeezed mandarin orange juice for my citrus of choice.
California Sparkling Wine: Since the unique size of these big spiral dumplings makes them not so conducive for dipping, I made a light sauce that can pool in the base of the serving dish without overpowering the flavors of the filling. Look for a crisp, dry sparkling white wine from California with fruity notes of citrus and apple to bring a unique complexity to the dumpling sauce while mellowing out the saltiness of the soy sauce, keeping it light and balanced. This wine will not be cooked, so it is important to use something that is also nice to drink as a celebratory beverage pairing for the dish. To be honest, though, I’ve never tried a sparkling wine from California that has been anything short of a bubbly delight!
Sugar: A touch of sugar ties all of the other sauce ingredients together, making the combination extra pleasing for the palate.
My family is from Malaysia, where we say “yam seng” for celebratory toasts—a Cantonese term meaning “drink to victory/success”. Whether your new year’s celebration is going to be small and intimate like mine or a boisterous family gathering, I hope your Year of the Horse is full of health, growth, and lots of auspicious foods like these dumplings. Yam seng!
How to Make Veggie and Pork Spiral Dumplings in Sparkling Wine Dumpling Sauce
(Makes 2 jumbo dumplings)
Ingredients for Dumplings
4–5 tbsp vegetable oil, divided
1/3 cup leeks (tender parts only), finely chopped
2 cloves garlic, minced
3/4 cup shiitake mushrooms, finely chopped
2 cups savoy cabbage, finely chopped
1 1/2 cup red chard leaves, finely chopped
1/2 cup cilantro leaves and stems, finely chopped
1/2 tsp ground white pepper
1/8 tsp kosher salt
1/4 lb ground pork
1/4 tsp soy sauce
2 tsp cornstarch
2 sheets fresh pasta (9” x 12”) or 4 eggroll wrappers (6” x 6”)
Ingredients for Dumpling Sauce
2 tbsp soy sauce
2 tbsp mandarin orange juice
3/8 cup California sparkling white wine
2 tsp sugar
Ingredients for Garnishing (Optional)
scallions, sliced
cilantro leaves
pea shoots
Fresno chili, sliced or cut into flower shapes
chili oil, to taste
Procedure
To make the filling, heat 2 tablespoons of vegetable oil in a large skillet or wok on medium heat. Add the leeks and garlic and toss to coat in the hot oil. Add the mushrooms. Cook until the mushrooms sound dry, about 3–5 minutes. Turn the heat up to medium-high and add the cabbage; cook until the color brightens and the cabbage begins to look tender and translucent, about 3 minutes. Mix in the white pepper and salt. Add the red chard and cook until all the excess moisture of the vegetables has been cooked out and the mixture feels and sounds dry, about 5 minutes. Reduce the heat to low and add the cilantro, stirring until the cilantro is completely wilted.
Remove the cooked vegetable mixture from the heat and cool completely, or store overnight in the refrigerator.
In a large mixing bowl, combine the pork and soy sauce. Add the cooled vegetables and the cornstarch and mix well until totally combined (I recommend using hands for this to really make sure it’s mixed thoroughly). Refrigerate the dumpling filling until you are ready to assemble the dumplings.
To turn the pasta sheets or eggroll wrappers into extra-long noodles for stuffing, use a pizza cutter or sharp knife to cut them lengthwise into 3” pieces. Wet the end of one strip with water and place the next piece on top, so they overlap by 1/4” to 1/2”. Press the overlapped section to join the pieces together. Repeat as needed until 2 equal extra-long noodle strips are prepared.
Divide the filling equally into two portions. Brush away any excess flour coating on one of the prepared giant noodles, and apply one portion of the dumpling filling evenly all the way along the length of the noodle. Lightly moisten the remaining exposed noodle with water. Start on one end and fold the exposed noodle over itself to enclose the filling, making sure to squeeze out any air pockets. Press firmly to seal before continuing along the length of the noodle/wrapper. Use a ravioli cutter to seal off the ends, then to seal together the big seam along the length of the giant stuffed noodle. Gently coil the giant stuffed noodle into a spiral and set aside. Repeat to form the second spiral dumpling. Store dumplings in the fridge or freezer until cooking time.
Prepare the sauce by stirring all the ingredients together until the sugar has dissolved. Store in a tightly-sealed container until ready to serve.
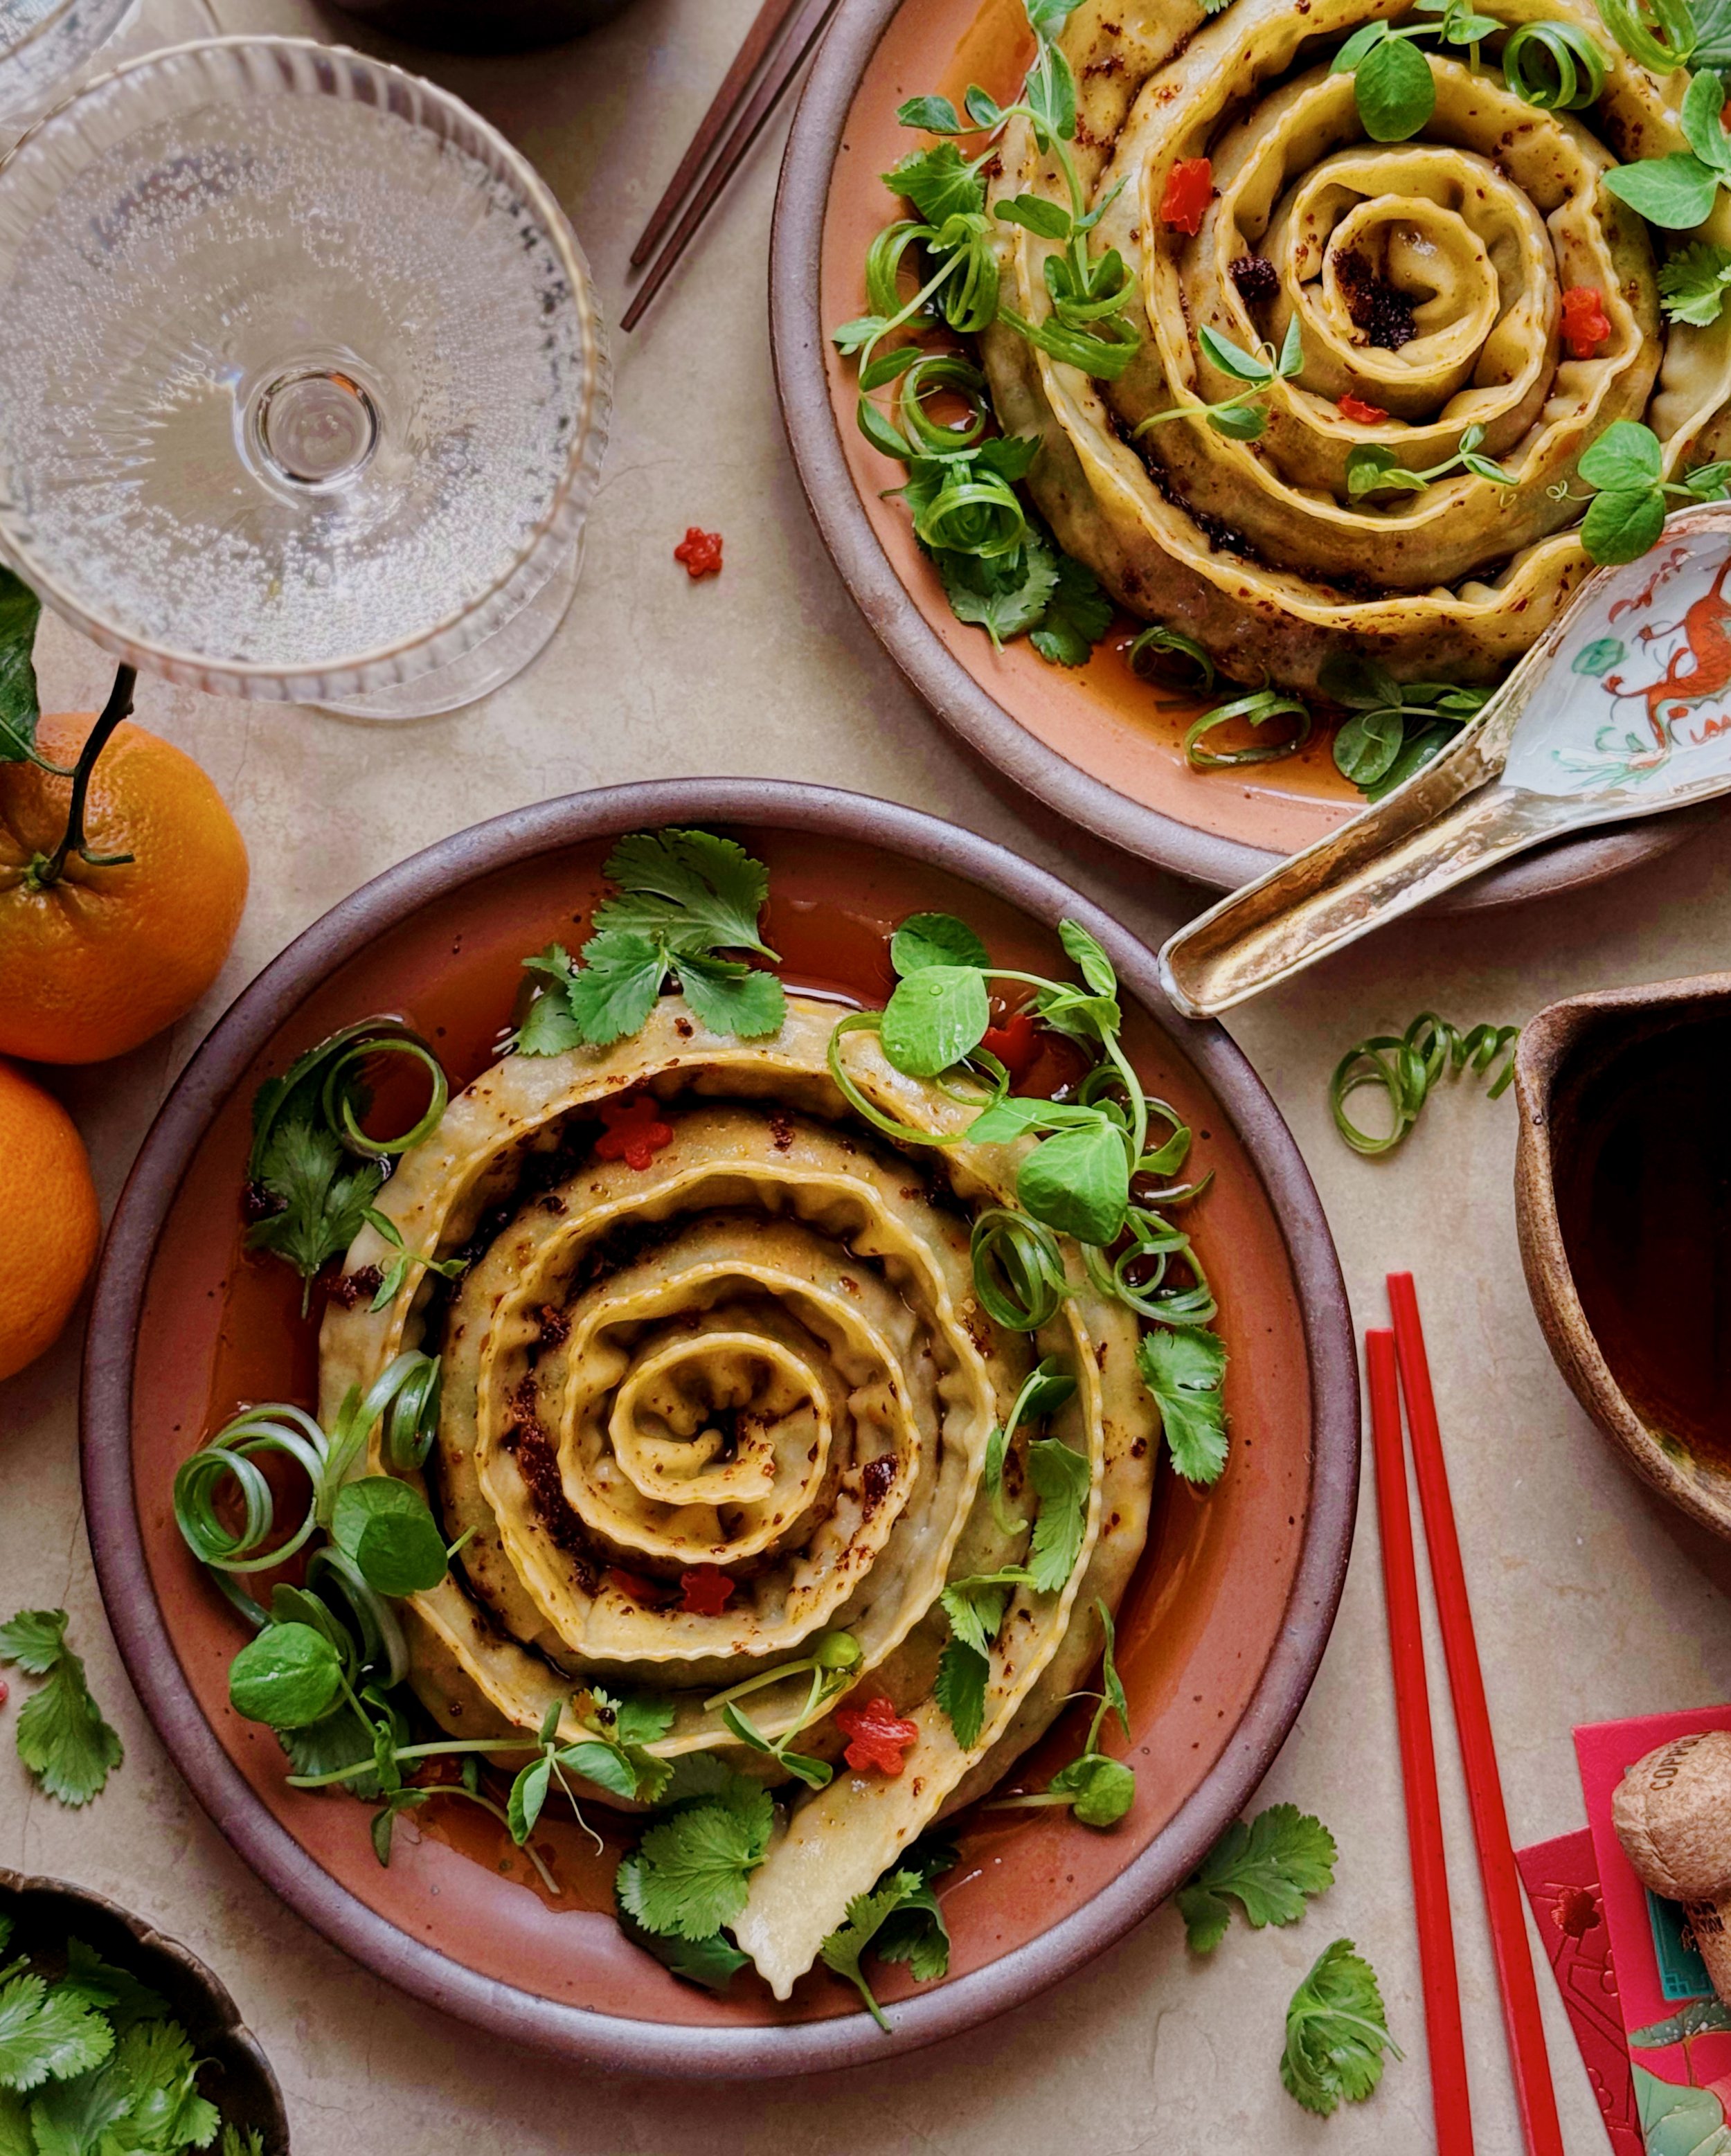
To cook the dumplings, use a lidded non-stick pan that is large enough to fit both without touching, or cook each dumpling individually. Heat the pan on medium and coat the base with 2–3 tablespoons vegetable oil. Carefully place the coiled dumplings in the pan and allow to fry for 2 minutes. Pour in enough water to cover the base of the pan in a thin layer (about 1/4 to 1/2 cup), cover with the lid, and reduce the heat to medium-low. Steam the dumplings for 4–6 minutes until the filling looks plumped and the noodle dough is tender. (If the water evaporates before this, add a bit more water.) Remove the lid, increase the heat to medium-high, and allow any remaining water to evaporate. Continue to pan-fry until the bottoms are crisp and golden brown.
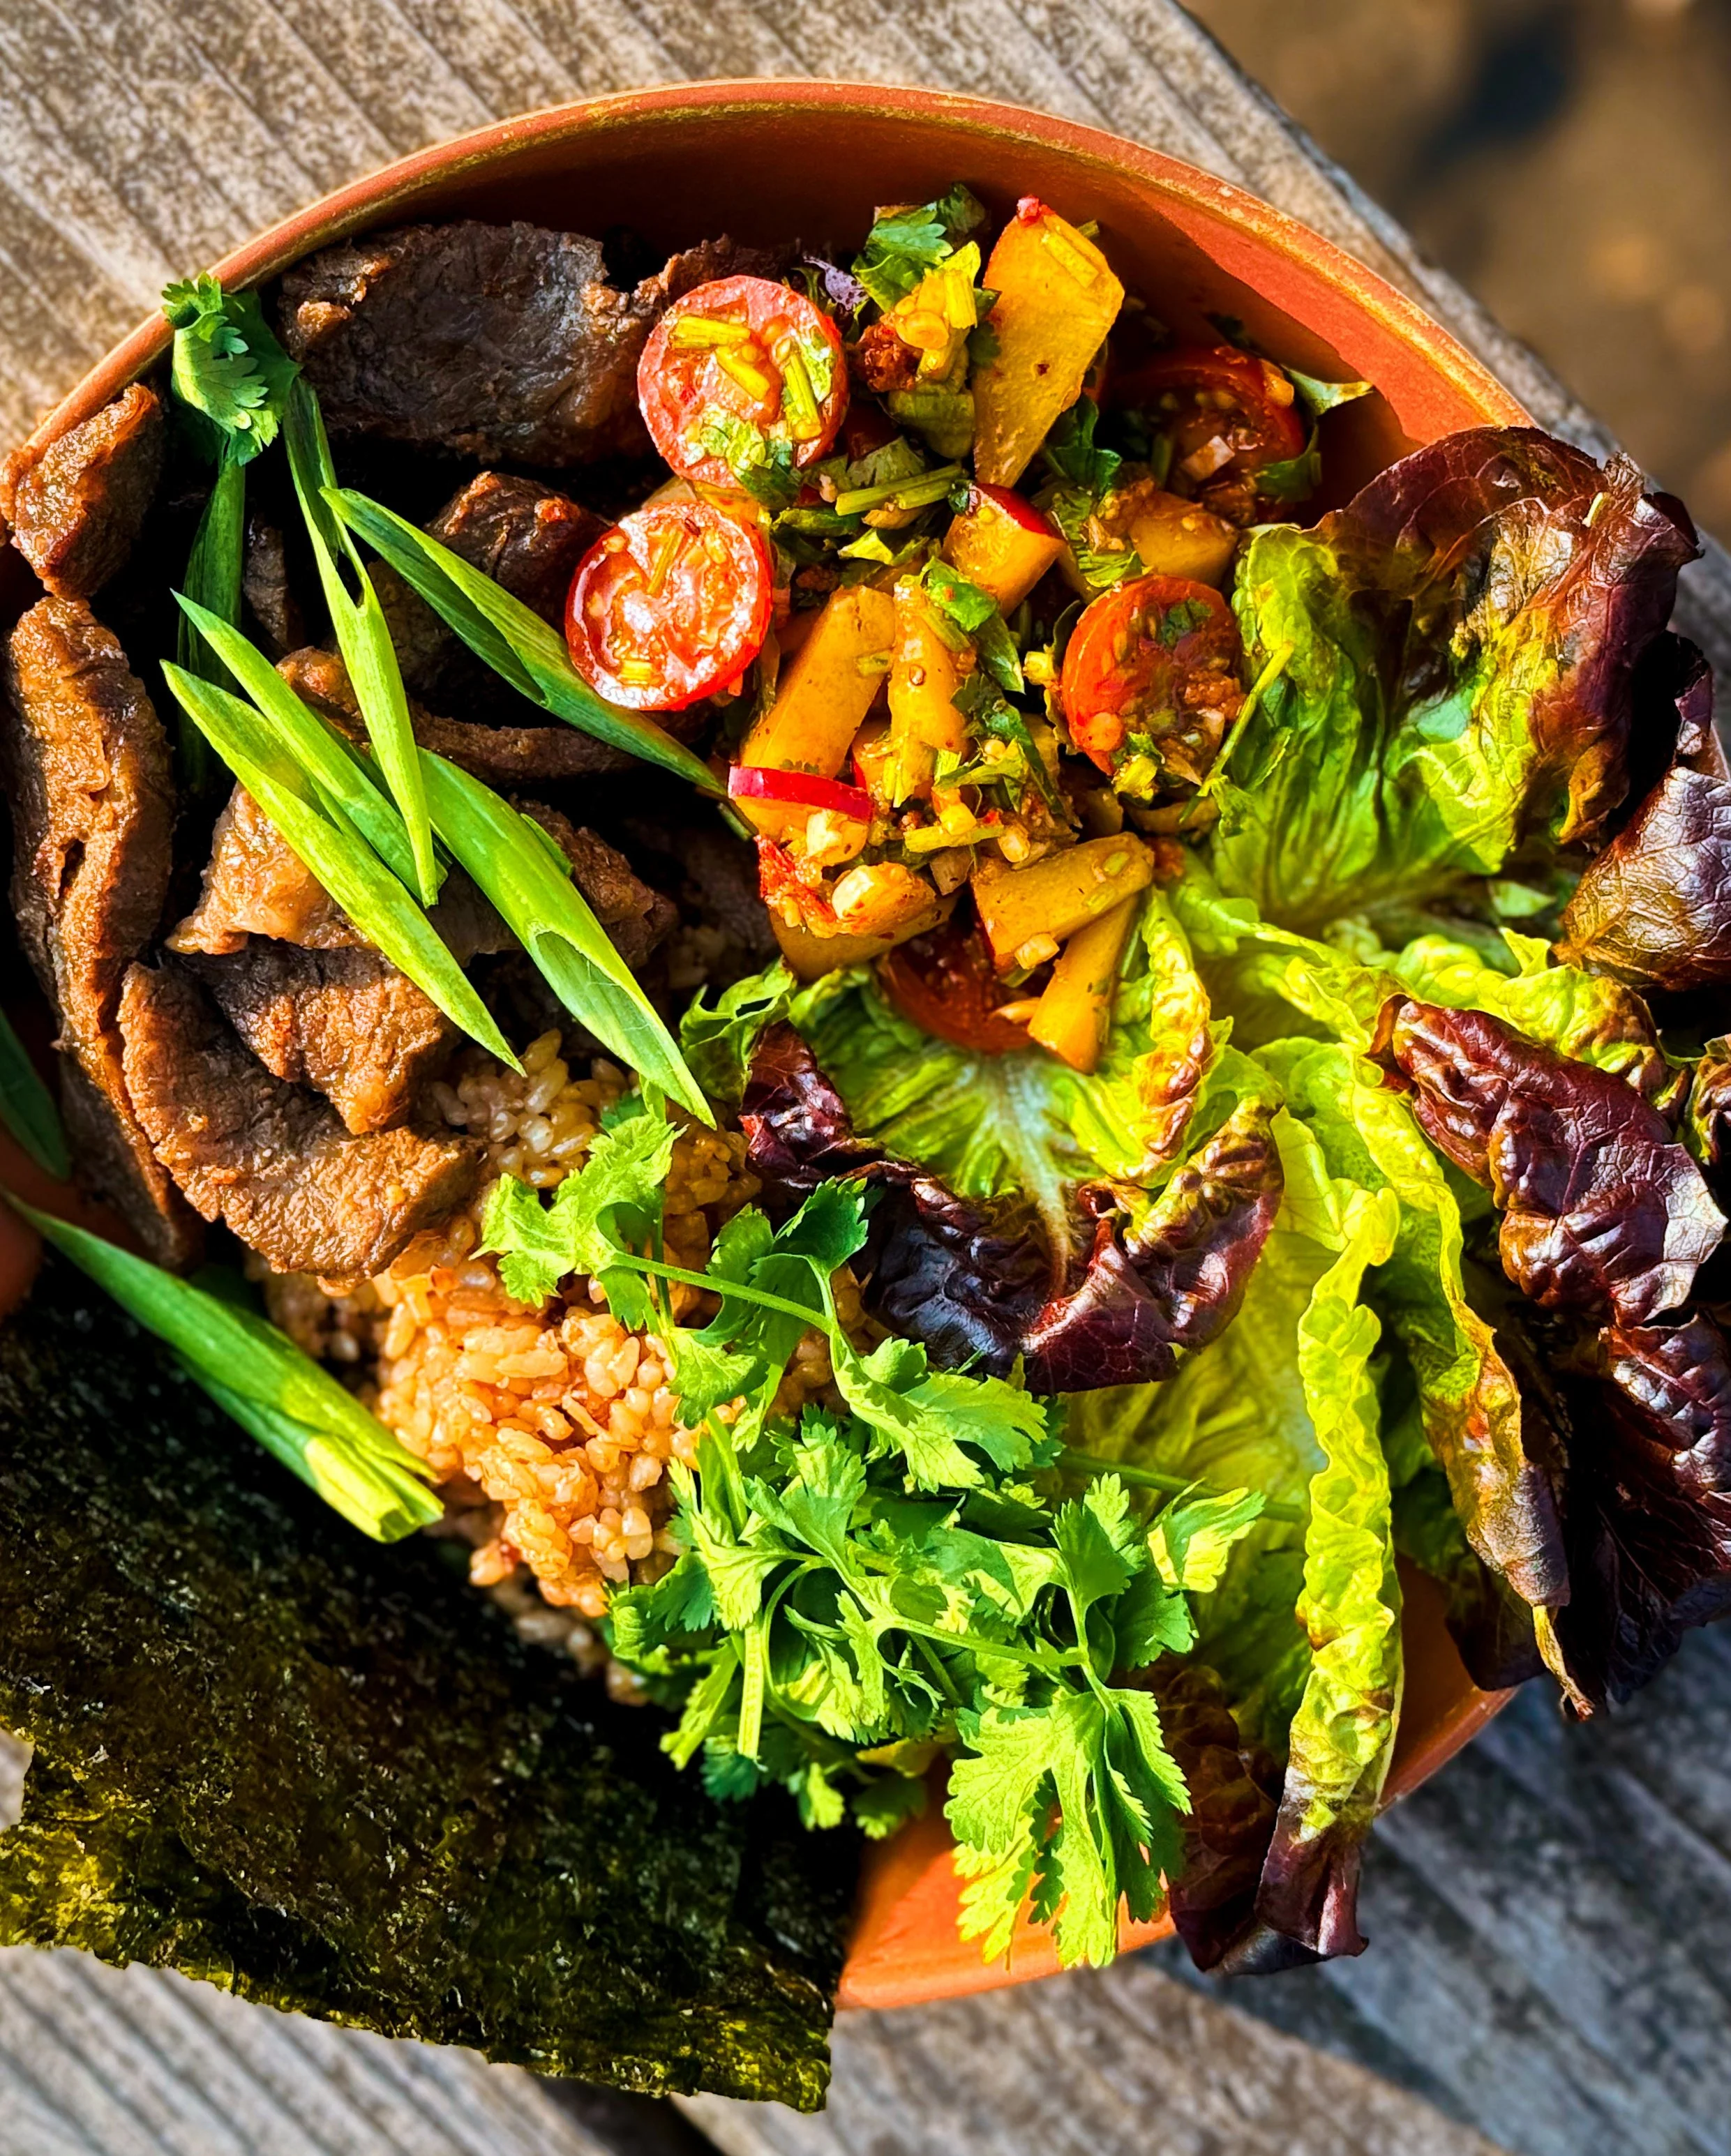
Place the dumplings in individual shallow bowls. Brush or drizzle chili oil over the tops, if desired. Pour the sauce around the base of the dumplings, then top with the desired garnishes.
Serve the dumplings immediately, paired with the remainder of the California sparkling wine that was used for the sauce!
Thank you so much to California Wines for sponsoring this recipe!