Recipe: Savory Veggie Cupcakes with Cheesy Cauliflower Frosting

Savory broccoli cheddar cupcakes with cheesy cauliflower frosting, decorated with edible flowers

For this recipe, I partnered with Cabot Creamery to create a savory version of a cupcake! These moist and tender cakes are loaded with broccoli and sharp cheddar and made both flavorful and fragrant with the help of a touch of curry.  Believe it or not, the “frosting” is savory too—it’s actually a smooth cauliflower purée loaded with sharp cheddar!

One of my creative challenges for myself this year is to explore making savory versions of foods that are usually associated with desserts. I’m someone whose taste buds always crave savory flavors over sweet, but I admit that my eyes are so often drawn to the beauty and visual delight of dessert confections. Just looking at a cupcake already brings me joy. But then I realized that there’s no reason for why savory foods can’t get that same visual attention, and that’s exactly what I set out to do with this savory cupcake recipe.

Savory broccoli cheddar cupcakes, frosted with a cheesy cauliflower mash puree
Savory broccoli cheddar cupcakes with cheesy cauliflower frosting, decorated with edible flowers

I’m glad that Cabot Creamery was willing to encourage my crazy idea, as their wonderful cheddars have become a regular tactic for bringing richness and cheesy goodness to my savory dishes. Cabot is a co-operative owned by farm families throughout New England & New York and 100% of profits go back to the farmers, which is another reason to love their stuff. I used their Vermont Sharp Cheddar Cheese in both the cake and frosting components of this recipe, which brought such a nice buttery tang that meant I didn’t even need to use butter in this recipe. With Cabot Creamery’s cheddars having 0 grams of lactose per serving, this savory cupcake recipe was developed with my lactose-sensitive pals in mind, too!

I hope you find these savory cupcakes as joy-inducing as I do! Let’s get into the details about these unique baked goodies and the ingredients you’ll need to make them for yourself.

Chopped broccoli and grated cheddar
Savory broccoli cheddar cupcakes cooling on a wire rack

Notes on the key ingredients for the cakes:

  • Broccoli: I thought a savory cupcake ought to be veggie-forward to make it something that—unlike its sweet counterparts—could be enjoyed throughout the day while getting some nutritional goodness out of it too. For this recipe, I used the very tops of the broccoli florets only and chopped them super fine (as shown in the photo) such that the cakes would have an even and delicate texture throughout.

  • Onion: A must to bring flavor and aromatics to any savory dish, I incorporated onion into my savory cake recipe too. I cut the onion into a fine dice and sautéed it with the broccoli before adding it to my cake batter so that it would basically dissolve into the background and all you would notice is the added flavor complexity from it.

  • Cheddar: For me, cheese is what brings excitement to a savory dish; it’s what makes something ordinary feel rich and indulgent. So in order to make these savory cupcakes feel just as decadent and luxurious as sweet ones, I loaded this cake recipe with lots of Cabot Vermont Sharp Cheddar. Its boldly sharp flavor and smooth consistency are perfect for tying together the veggie and spice components of the recipe. I grated the bar using the standard holes of my box grater for this part of the recipe.

  • Extra Virgin Olive Oil: Inspired by sweeter olive oil cakes, I leaned on a high-quality extra virgin olive oil to keep my savory cakes moist.

  • Oat Milk: In keeping with the challenge to avoid ingredients containing lactose, I used a full-fat oat milk here. You could definitely sub with your favorite nut milks if desired.

  • Curry Powder: This addition is what makes the cake interesting! I just love the combination of curry and cheddar together and I think the curry really takes the flavor profile of these out of breakfast muffin territory and into something more special. I used a Japanese style curry powder which brings a complex blend of spices without adding any spicy heat.

Savory cupcakes made with Cabot Cheddar

Notes on the key ingredients for the frosting: 

  • Cauliflower: I made a cauliflower purée to act as the “frosting” for my savory cupcakes. Boiled cauliflower is easy to get smooth and spreadable in the food processor without adding extra cream and it is also so very foolproof (unlike potatoes that can get gummy if over-handled). I’ve been pretty obsessed with cauliflower lately because it’s light and absorbs other flavors so well. After boiling the cauliflower, you’ll want to squeeze out the excess moisture before adding it to the food processor to avoid your savory frosting being too runny; you don’t want to wring it bone-dry but you do want to give it a good squeeze until water is no longer actively dripping from it. 

  • Leeks: These mild alliums will bring a savory-sweetness to the frosting without overpowering the gentle cauliflower. I used only the white and tender light green parts of the leek for this recipe to keep the frosting smooth as well as neutral in color.

  • Garlic: I added just a touch of garlic to the frosting for savory complexity. A recipe with just one clove of garlic is unusual coming from me, but in this case, it is possible to overdo it; in my recipe testing I tried raw garlic and more cooked garlic and those tests were  too overwhelming for those whipped, light, frosting vibes. Trust me on this one. You’ll want to gently sauté the garlic with the leeks before combining it with the boiled cauliflower.

  • Cheddar: Cabot Vermont Sharp Cheddar is what brings the main flavor here to this frosting. Since the cauliflower’s taste is pretty neutral, it leaves room for the delicious cheddar flavor to shine, so this frosting is very cheesy tasting indeed. I used a grater with small holes to finely grate the bar so that it would incorporate smoothly into the purée.

  • Lemon Juice: This brings some brightness to the flavor of the frosting and enhances the buttery tang of the Cabot Vermont Sharp Cheddar.

  • Extra Virgin Olive Oil: This helps keep the purée smooth and emulsified.

  • Miso Paste: I used a white miso here which is sweeter and milder than other types of miso. It brings an extra umami and saltiness, and it rounds out the savory flavor profile and makes it feel more complete. If you have a different type of miso, I suggest reducing the quantity; if miso paste is difficult for you to source, I recommend just adding a little extra salt, to taste.

Note that this recipe makes more than enough cheesy cauliflower frosting to do a casual coat over the tops of the cupcakes. But if you want to get your piping bags out and pipe a big ol’ swirl, or at least do a nice thick layer that you can decorate with pretty flowers like me, then this recipe will allow for those creative discretions!

Savory broccoli cheddar cupcakes with cauliflower frosting and decorated with edible flowers

How to Make Savory Veggie Cupcakes
with Cheesy Cauliflower Frosting

(Makes 12 cupcakes)

Ingredients for the Frosting

1 head cauliflower, cut into chunks
3/4 tsp kosher salt, divided
3/8 cup + 1 tsp extra virgin olive oil, divided
1 cup leeks (white and light green parts only), roughly chopped
1 clove garlic, roughly chopped
6 oz Cabot Vermont Sharp Cheddar, finely grated
2 1/2 tsp white miso paste
1/4 cup lemon juice

Ingredients for the Cupcakes

2 cups broccoli florets chopped very fine
1 cup yellow onion, finely diced
2/3 cup + 1 tbsp extra virgin olive oil, divided
1/2 tsp kosher salt
2 cups all-purpose flour
1 tsp baking powder
1 tsp baking soda
4 tsp sugar
1/2 tsp garlic powder
1/2 tsp cumin
3/4 tsp Japanese curry powder
4 oz Cabot Vermont Sharp Cheddar, grated
2 eggs, at room temperature
3/4 cup oat milk, at room temperature


Procedure

To make the frosting: Add cauliflower to a pot and cover with water. Add 1/4 teaspoon salt and bring to a boil. Boil until very tender and almost falling apart (about 10-15 minutes). Drain and allow to cool.

Heat 1 teaspoon of olive oil in a skillet on medium-low heat. Add the leaks and season with 1/4 teaspoon salt. When they start to become fragrant, add the garlic. Continue cooking the aromatics, stirring occasionally, until they are tender (about 3–5 minutes).

Squeeze out any excess moisture from the cauliflower and add the cauliflower  to the food processor. Add the cooked aromatics. Pulse until the cauliflower resembles a grain-like texture. Add the miso paste and one-third of the cheddar. Process until the ingredients look combined. Repeat with the rest of the cheese in two more batches. Add the lemon juice and the remaining 3/8 cup olive oil and process the mixture until very smooth, using a spatula to scrape the sides as needed. Transfer the purée to a bowl or piping bag and set aside or, optionally, allow to chill in the fridge. (Note: I found it to be easier to pipe/spread after chilling briefly in the fridge.)

To make the cake: Preheat oven to 425°F. Line a cupcake/muffin pan with paper baking cups.

Heat the skillet again on medium-low heat, with 1 tablespoon of olive oil. Add the onion and salt, and sauté until translucent. Add the broccoli and stir gently, cooking just until it becomes a vibrant green. Remove from heat and allow to cool slightly.

Meanwhile, whisk together the flour, baking powder, baking soda, sugar, garlic powder, cumin, and curry powder in a large mixing bowl. Add the cheddar and mix until it is evenly distributed.

In a separate bowl, whisk together the eggs, milk, and remaining 2/3 cup olive oil until well-combined. Add the cooled broccoli and onion mixture and stir to combine.

Gently fold the wet mixture into the dry one, until the liquid seems fully absorbed and no floury streaks remain. Mixture should be very thick. 

Divide the mixture evenly into the paper baking cups. Bake at 425°F for 5 minutes, then reduce the oven temperature to 350°F and continue to bake for 15–17 minutes, or until an inserted toothpick comes out clean. Leave the cupcakes in the pan for an additional 3 minutes to set before transferring to a cooling rack.

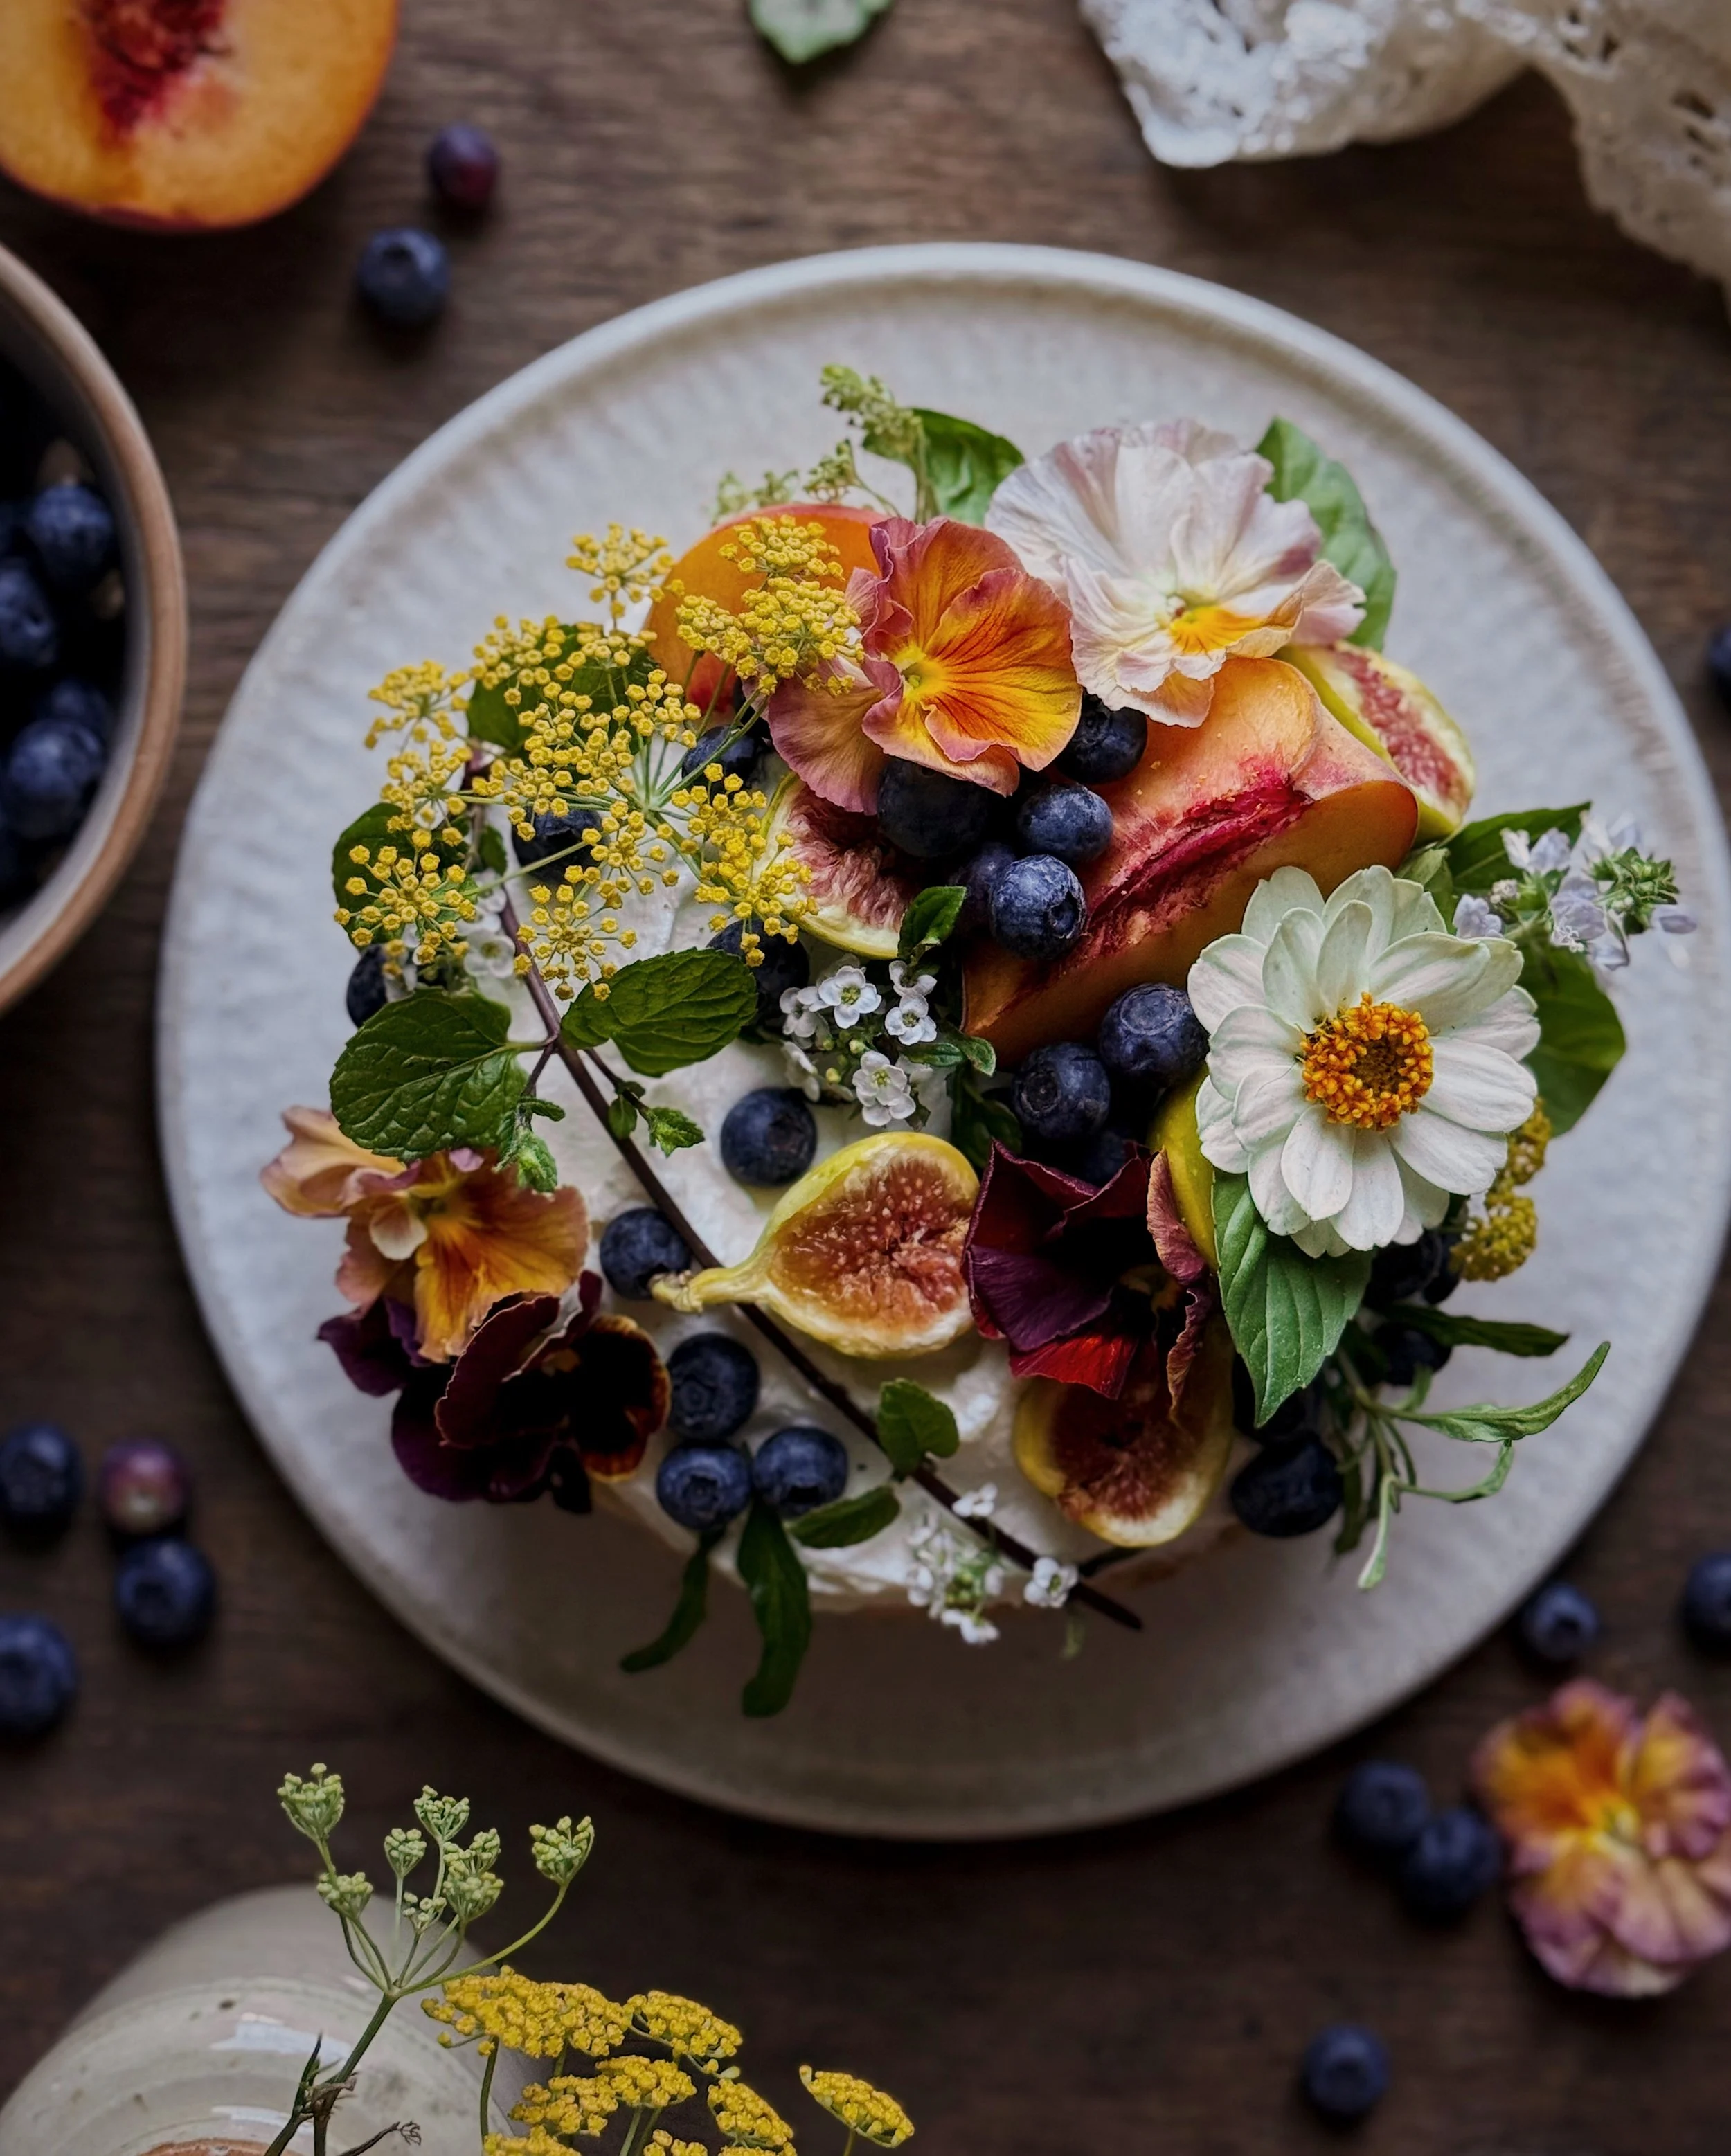
Once the cupcakes are cool enough to handle, they can be frosted and decorated as you wish! (The photos show the cupcakes decorated with nasturtium, wild radish flowers, and thyme.)

Thank you so much to Cabot Creamery for sponsoring this recipe! Visit their website to find out where you can get their delicious cheeses—which are naturally-aged and have 0 grams of lactose per serving—near you!

Downloadable Dahlia Wallpapers

I got such a great deal on some gorgeous dahlias at the Stonestown Farmers Market last Sunday. I wish I made a note of the name of the vendor but I think I will go back soon and look because it was such a great little farmers market with easy parking.

I got 4 bunches of dahlias for $20 total and they were exactly the colors I’d needed for an upcoming client shoot. I am guessing they were pesticide-free because I found quite a few teeny tiny snails hidden amongst the petals. Like, days later, I was still finding more.

Anyway, I shot some quick photos when I first brought home the flowers and turned them into some wallpaper images. You are welcome to save the images to your phone to use them as your wallpaper (these are sized for the iPhone X).

Please note that these are for personal use only and not to be used for any commercial purposes. All copyright of these images is retained by me, Lily Morello.

Recipe: Strawberry Herb Biscuits

For this recipe, I partnered with Danish Creamery to share something that captures the promise of sunny days and a beautiful spring season. And to me, bright, ripe strawberries are the sign of the peak of spring. Growing up in the agricultural Central Valley, it used to make me so happy to see little farm stands popping up everywhere we drove, with painted wooden signs pointing to cartons full of freshly picked strawberries. It was a marker for those perfect spring days when it was a joy to be outside; the ones that came sandwiched in between foggy, frosty winters and scalding summers.

Now that I am in San Francisco, the seasons are not quite so distinct, weather-wise, but I still live for how the changing of the seasons becomes evident in the produce aisle. We have strawberries all year but they definitely do not taste the same when they are not in season! 

I got the idea to fold fresh strawberries into my base biscuit recipe from a local bakery that had strawberry scones, but I can’t resist a good biscuit. These might look a bit like scones from the outside, but trust that inside you will find a hint of savory and lots of tender layers. These joys are all thanks to the perfectly creamy 85% butterfat Danish Creamery European Style Sea Salted Butter, which I freeze and then grate to form the dough. I have found this technique to be way easier than cutting all that butter into tiny cubes or rubbing them into pea-sized kernels. The grating of the slow-churned velvety butter and a quick series of letter folds of the dough are my tricks to getting these beautiful biscuits every time—the kind that you don’t even need a knife to split open because you’ve created all those wonderful layers.

And once they are out of the oven and as soon as they are cool enough for you to be able to stand prying them open without burning your fingerprints off, spreading on more of that creamy butter (and maybe just a tiny sprinkle of flaky salt) is all these biscuits need to be enjoyed to their full potential. No jam necessary because that sweet strawberry goodness is already baked in! Danish Creamery European Style butters are carefully crafted using the same recipe they’ve been using since 1895 plus high-quality cream from family farms in California’s Central Valley (where I’m from!) so you can bet that it is mighty tasty slathered on all your home-baked biscuits.

What you need to know about the ingredients for this Strawberry Herb Biscuit recipe:

  • butter: Great butter is one of the most critical ingredients for making biscuits, both for the taste and texture. I used Danish Creamery European Style Sea Salted Butter because of Danish Creamery’s legacy for producing an old world style butter with a high butterfat content, made with milk from healthy cows that munch on grass on wide open California family farms. Freezing and then grating the butter makes short work of incorporating this decadent butter into the biscuit dough in a way that will create lovely layers as they bake up in the oven. Don’t sweat it if a bit of butter gets left stuck on the grater—there should still be plenty of buttery goodness to make your biscuits nice and yummy. 

  • Greek yogurt: While many biscuit recipes call for sour cream, Greek yogurt is what I always have already in my fridge and I’ve found it works great. There is plenty of creaminess already in the dough from all that high-quality butter, so using Greek yogurt has an added plus of making the biscuits a little healthier (...not that we’re concerned about that here!) Before using, stir up your Greek yogurt to create a uniform consistency. If the yogurt feels dry and thick like cream cheese, add a teaspoon of water to thin it out.

  • strawberries: This recipe is all about celebrating strawberry season, so be sure to use strawberries that are firm but sweet. If you’re making this Strawberry Herb Biscuit recipe with off-season fruit, you may wish to add an extra tablespoon of sugar into the batter. As you’re handling the dough, do so gently to avoid completely smashing the bits of strawberry that are mixed in; a little moisture running out of them is expected and is nothing to sweat about but you want to keep the pieces relatively intact. 

  • fresh herbs: I love the combination of strawberry and basil for the perfect sweet-savory balance that is encapsulated by this biscuit recipe. I also used lemon thyme because the stems are much more tender than French thyme and simply require a rough chop without picking the tiny leaves. You can certainly sub in your favorite thyme, or other herbs that pair well with strawberries like sage or tarragon. Just be sure to leave out any hard stems.

One last note:

You definitely don’t need to decorate your biscuits with edible flowers like I did, but you know I can’t resist pressing pretty blooms onto all my bakes when my backyard garden is thriving in the spring. I used violas, as well as the leaves of lemon balm, lemon thyme, and parsley. I’m guessing they successfully lured you into coming to this recipe, but now that you’re here, I assure you that it’s the good butter that is key to making these delicious springtime indulgences, and they will taste just as good with or without the floral decor.

How to Make Strawberry Herb Biscuits

Ingredients

2 1/2 cups AP flour, plus extra for dusting
1 3/4 tsp baking powder
1/2 tsp baking soda
1–2 tbsp sugar
1/2 tsp kosher salt
10 tbsp Danish Creamery European Style Sea Salted Butter, frozen
4 tbsp honey, divided
1 1/4 cup Greek yogurt, stirred
1 cup strawberries, stems removed, cut roughly into 1/4” pieces (about 7–9 strawberries)
1 tbsp lemon thyme, tough stems removed and coarsely chopped
2 tbsp basil leaves, coarsely chopped

Procedure

Combine flour, baking powder, baking soda, sugar, and salt in a large bowl and whisk together.

Grate in the frozen butter using the large holes of a box grater; toss together with the dry ingredients as you go, to avoid clumps. Then, toss all the butter and dry ingredients together gently so each shaving of butter is separated and coated with the dry ingredients. Drizzle 3 tablespoons of honey evenly over the mixture.

Add strawberry pieces and chopped herbs to the mixture and gently combine.

Create a well in the center of the mixture. Pour yogurt in the well, then slowly incorporate the flour mixture into the wet yogurt . Once all the yogurt is absorbed, resulting in a craggy texture, use hands to gather the dough together and fold it on itself a few times until it is a cohesive dough.

Dump dough onto a cold work surface and try to work quickly and keep everything cold during the folding process. Dust work surface with flour and do so generously throughout the process as needed to prevent sticking. Use hands to shape dough into a rectangle, then use a dusted rolling pin to roll into a rectangle roughly 8 inches wide by 12 inches tall. Fold down the top third and then fold up the bottom third (like you would fold a letter). Flip and rotate 90 degrees and repeat the shaping, rolling, and folding sequence. Flip and rotate again, then do the sequence one more time, so you have done 3 sets of letter folds total.

Roll out the dough one more time, to a rectangle slightly larger than 8 inches x 12 inches. Using a sharp knife dusted in flour, cut the rectangle into 6 even sections by pushing the knife straight down firmly to avoid any sort of sawing motion (that could seal the layers and prevent the biscuits from puffing up). If desired, trim off a tiny amount of dough from all the outer edges of the rectangle to create sharper edges and discard the excess dough—this will also result in a more puffed-up biscuit.

Place biscuits on a parchment-lined baking tray. Freeze for 10 minutes.

While biscuits are in the freezer, preheat oven to 425°F.

Combine remaining 1 tablespoon of honey with 1 tablespoon of water and whisk together until homogeneous. Brush evenly over the tops of biscuits.

If desired, gently press edible flowers and herb leaves on top of the biscuits for decoration. If biscuits do not feel chilled when done decorating, return them to the freezer for another 5–10 minutes before baking.

Bake for 17–20 minutes, or until the biscuits are golden. Enjoy by splitting open with your hands and spreading halves with softened Danish Creamery European Style Sea Salted Butter.

Thank you so much to Danish Creamery for sponsoring this recipe! Visit their website to learn more about their legacy of carefully-crafted Old World-quality butter made with milk from family farms since 1895.

Downloadable Peony Wallpapers

Peony Season 2020 has come and gone. But back in mid-May, I shot a couple of photos that I thought would make lovely iPhone wallpapers, so I thought I’d share them here. I am trying to think of other types of blog posts and other forms of content that I want to share on here besides recipes, so I am hoping that more wallpaper-worthy photos can be shared here on occasion.

Save the images to your phone to use them as your wallpaper (these are sized for the iPhone X).

Please note that these are for personal use only and not to be used for any commercial purposes. All copyright of these images is retained by me, Lily Morello.